
If you’re anything like me, there’s always room for chocolate—whether it’s a casual treat or the star of a celebration. Texas Sheet Cake, with its rich, decadent chocolate flavor, is one of those desserts that is always a crowd-pleaser. Whether you’re new to baking or simply looking for an easy, no-fuss recipe, this cake is perfect for beginners.
Print
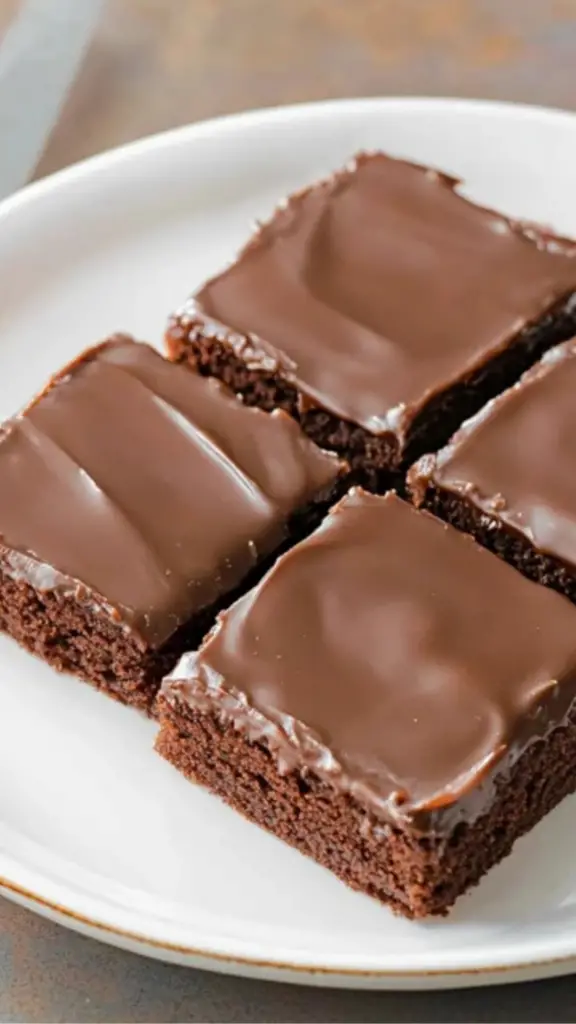
Texas Sheet Cake with Buttermilk: A Beginner-Friendly Recipe for Chocolate Lovers
Calling all chocolate lovers! This Texas Sheet Cake with Buttermilk is the ultimate easy-to-make dessert that delivers big flavor. Moist, ultra-chocolaty cake topped with a silky, pour-over frosting—what’s not to love? The secret ingredient? Buttermilk! It adds richness and enhances the deep cocoa taste, making every bite melt in your mouth. Perfect for beginners and a guaranteed crowd-pleaser, this cake is all about simple ingredients and maximum indulgence. Ready to bake your new favorite dessert?
#EasyChocolateCake #TexasSheetCake #FudgyAndDelicious #BakingForBeginners #ChocolateFix #SouthernClassic #HomemadeDessert #SimpleAndSweet #CrowdFavorite #DessertLover
- Total Time: 35 minutes
- Yield: 15 servings 1x
Ingredients
For the Cake:
- 2 cups of all-purpose flour
- 2 cups of granulated sugar
- ¼ teaspoon salt
- 4 tablespoons unsweetened cocoa powder
- 1 cup (16 tablespoons) unsalted butter
- 1 cup boiling water
- ½ cup buttermilk
- 2 large eggs (whisked together)
- 1 teaspoon baking soda
- 1 teaspoon vanilla extract
For the Icing:
- 14 tablespoons unsalted butter
- 4 tablespoons unsweetened cocoa powder
- 6 tablespoons milk
- 1 teaspoon vanilla extract
- 3½ cups powdered sugar (sifted)
Instructions
- Preheat the Oven and Prep the Pan: Begin by preheating your oven to 350°F (175°C). While the oven is heating up, lightly spray an 18×13-inch baking sheet with cooking spray or grease it with butter. Set it aside to get ready for the cake batter.
- Mix the Dry Ingredients: In a large mixing bowl, whisk together the flour, sugar, and salt. This will ensure that the dry ingredients are evenly distributed before you add the wet ones. It’s a quick step that will make the rest of the process even smoother.
- Melt the Butter and Cocoa: In a medium saucepan over medium-low heat, melt 1 cup (16 tablespoons) of unsalted butter. Once the butter is fully melted, add in the cocoa powder. Whisk it together until smooth. This is the base of your rich chocolate flavor, and trust me, it smells heavenly.
- Add Boiling Water: Carefully add 1 cup of boiling water to the saucepan and whisk it in with the cocoa and butter mixture. The water helps create a smooth batter and gives the cake its moist texture. The mixture will bubble a little—this is totally normal and ensures the cake will be rich and flavorful.
- Combine Wet Ingredients: In a separate bowl, whisk together the buttermilk, eggs, baking soda, and vanilla extract. This will ensure the eggs are fully incorporated and the baking soda is evenly distributed. Once everything is well mixed, add it to the chocolate mixture in the saucepan.
- Combine Wet and Dry Ingredients: Pour the wet mixture into the bowl with the dry ingredients and gently stir until just combined. Be careful not to overmix, as this could lead to a dense cake. You want to keep things light and fluffy.
- Bake the Cake: Pour the cake batter into your prepared baking sheet. Use a spatula to spread the batter evenly. Pop the pan into the preheated oven and bake for 20 minutes, or until a toothpick inserted into the center of the cake comes out clean. The cake should rise nicely and develop a soft, moist texture.
- Poke the Cake: Once the cake is out of the oven, grab a fork or a wooden skewer and poke small holes all over the surface of the cake. This step is important because it allows the frosting to soak into the cake, making it extra moist and flavorful. You’ll want to poke it generously but carefully—just enough to make small holes without breaking the cake.
- Make the Frosting: While the cake is baking, prepare the frosting. Melt the remaining 14 tablespoons of butter in a saucepan over medium-low heat. Once melted, whisk in the cocoa powder. After the cocoa is smooth, turn off the heat. Add in the milk, vanilla extract, and sift in the powdered sugar while whisking constantly to avoid lumps.
- Frost the Cake: Once the frosting is smooth and velvety, pour it over the warm cake, making sure to cover it evenly. Let the frosting settle into the holes you made earlier for a moist and rich finish. Let the cake cool for 10-15 minutes before slicing and serving.
Notes
- Don’t Overmix the Batter: When combining your wet and dry ingredients, mix gently until they’re just incorporated. Overmixing can lead to a dense cake, and that’s the last thing you want!
- Poking the Cake: Make sure you poke the cake with a fork or skewer while it’s still hot out of the oven. This is one of the secrets to creating a moist cake with an irresistible frosting soak.
- Check for Doneness: Baking times can vary depending on your oven and the pan you use. After 20 minutes, insert a toothpick into the center of the cake. If it comes out clean or with just a few moist crumbs, the cake is done. If not, pop it back into the oven for a few more minutes.
- Storage Tips: This cake is actually better the longer it sits, so you can store leftovers (if there are any!) at room temperature for up to 5 days. Just cover it with plastic wrap or foil. The frosting will help keep it moist, so there’s no need to refrigerate it unless you’re storing it for an extended period of time.
- Freezing the Cake: You can also freeze this cake! Let it cool completely, then wrap it tightly in plastic wrap and foil. Store in the freezer for up to 2 months. When you’re ready to eat it, just let the cake thaw to room temperature, and it’ll taste just as delicious as the day you made it.
- Prep Time: 15 minutes
- Cook Time: 20 minutes
This cake is what you might call “easy to love”—and for good reason. It’s simple to prepare, doesn’t require any complicated techniques, and is always a hit at gatherings. Plus, it’s the perfect size to serve a crowd. I remember making this cake for the first time, expecting it to be a complex, time-consuming process. Instead, it came together in just under 40 minutes and resulted in a rich, fudgy cake topped with a creamy, irresistible icing. That’s when I knew I had a new favorite dessert on my hands.
What’s even better? This Texas Sheet Cake with buttermilk recipe is great for beginner bakers. With a straightforward ingredient list and simple instructions, it takes the stress out of baking. Plus, there’s no worrying about perfecting intricate frosting techniques or layering a cake. The frosting is poured on while the cake is still warm, ensuring the most decadent result.
So, if you’re ready to try your hand at baking or simply craving something sweet, this recipe is the one for you!
Ingredients and Preparation
Let’s talk about what you’ll need to make this show-stopping dessert. The beauty of Texas Sheet Cake lies in its simplicity—no obscure ingredients or tricky methods here. You likely already have most of these pantry staples in your kitchen!
For the Cake:
- 2 cups of all-purpose flour
- 2 cups of granulated sugar
- ¼ teaspoon salt
- 4 tablespoons unsweetened cocoa powder
- 1 cup (16 tablespoons) unsalted butter
- 1 cup boiling water
- ½ cup buttermilk
- 2 large eggs (whisked together)
- 1 teaspoon baking soda
- 1 teaspoon vanilla extract
For the Icing:
- 14 tablespoons unsalted butter
- 4 tablespoons unsweetened cocoa powder
- 6 tablespoons milk
- 1 teaspoon vanilla extract
- 3½ cups powdered sugar (sifted)
These ingredients are basic, but they come together in a way that delivers a rich and moist chocolate cake. You don’t need to be a baking pro to turn them into something amazing.
Ingredient Substitutions:
- Buttermilk: If you don’t have buttermilk on hand, don’t worry! You can make a quick substitute by adding 1 tablespoon of vinegar or lemon juice to ½ cup of regular milk. Let it sit for about 5 minutes, and you’ll have an effective buttermilk substitute.
- Dairy-Free Option: You can use dairy-free butter and non-dairy milk like almond or oat milk for both the cake and frosting if you prefer a dairy-free version.
- Flour: If you’re gluten-sensitive, you can try using a 1:1 gluten-free flour blend, though the texture might vary slightly.
Having these ingredients ready will ensure you have a smooth baking process and the foundation for a delicious cake.
Step-by-Step Instructions
Now comes the fun part—baking! Let’s go over the easy-to-follow steps that will take you from having a few basic ingredients to enjoying a warm, fudgy slice of Texas Sheet Cake.
- Preheat the Oven and Prep the Pan: Begin by preheating your oven to 350°F (175°C). While the oven is heating up, lightly spray an 18×13-inch baking sheet with cooking spray or grease it with butter. Set it aside to get ready for the cake batter.
- Mix the Dry Ingredients: In a large mixing bowl, whisk together the flour, sugar, and salt. This will ensure that the dry ingredients are evenly distributed before you add the wet ones. It’s a quick step that will make the rest of the process even smoother.
- Melt the Butter and Cocoa: In a medium saucepan over medium-low heat, melt 1 cup (16 tablespoons) of unsalted butter. Once the butter is fully melted, add in the cocoa powder. Whisk it together until smooth. This is the base of your rich chocolate flavor, and trust me, it smells heavenly.
- Add Boiling Water: Carefully add 1 cup of boiling water to the saucepan and whisk it in with the cocoa and butter mixture. The water helps create a smooth batter and gives the cake its moist texture. The mixture will bubble a little—this is totally normal and ensures the cake will be rich and flavorful.
- Combine Wet Ingredients: In a separate bowl, whisk together the buttermilk, eggs, baking soda, and vanilla extract. This will ensure the eggs are fully incorporated and the baking soda is evenly distributed. Once everything is well mixed, add it to the chocolate mixture in the saucepan.
- Combine Wet and Dry Ingredients: Pour the wet mixture into the bowl with the dry ingredients and gently stir until just combined. Be careful not to overmix, as this could lead to a dense cake. You want to keep things light and fluffy.
- Bake the Cake: Pour the cake batter into your prepared baking sheet. Use a spatula to spread the batter evenly. Pop the pan into the preheated oven and bake for 20 minutes, or until a toothpick inserted into the center of the cake comes out clean. The cake should rise nicely and develop a soft, moist texture.
- Poke the Cake: Once the cake is out of the oven, grab a fork or a wooden skewer and poke small holes all over the surface of the cake. This step is important because it allows the frosting to soak into the cake, making it extra moist and flavorful. You’ll want to poke it generously but carefully—just enough to make small holes without breaking the cake.
- Make the Frosting: While the cake is baking, prepare the frosting. Melt the remaining 14 tablespoons of butter in a saucepan over medium-low heat. Once melted, whisk in the cocoa powder. After the cocoa is smooth, turn off the heat. Add in the milk, vanilla extract, and sift in the powdered sugar while whisking constantly to avoid lumps.
- Frost the Cake: Once the frosting is smooth and velvety, pour it over the warm cake, making sure to cover it evenly. Let the frosting settle into the holes you made earlier for a moist and rich finish. Let the cake cool for 10-15 minutes before slicing and serving.
Beginner Tips and Notes
Baking can sometimes be intimidating, especially when you’re just starting out. But don’t worry—this Texas Sheet Cake is forgiving, and a few key tips will ensure that your cake comes out perfect every time!
- Don’t Overmix the Batter: When combining your wet and dry ingredients, mix gently until they’re just incorporated. Overmixing can lead to a dense cake, and that’s the last thing you want!
- Poking the Cake: Make sure you poke the cake with a fork or skewer while it’s still hot out of the oven. This is one of the secrets to creating a moist cake with an irresistible frosting soak.
- Check for Doneness: Baking times can vary depending on your oven and the pan you use. After 20 minutes, insert a toothpick into the center of the cake. If it comes out clean or with just a few moist crumbs, the cake is done. If not, pop it back into the oven for a few more minutes.
- Storage Tips: This cake is actually better the longer it sits, so you can store leftovers (if there are any!) at room temperature for up to 5 days. Just cover it with plastic wrap or foil. The frosting will help keep it moist, so there’s no need to refrigerate it unless you’re storing it for an extended period of time.
- Freezing the Cake: You can also freeze this cake! Let it cool completely, then wrap it tightly in plastic wrap and foil. Store in the freezer for up to 2 months. When you’re ready to eat it, just let the cake thaw to room temperature, and it’ll taste just as delicious as the day you made it.
Serving Suggestions
This cake is a showstopper on its own, but you can easily elevate it with a few simple additions.
- Ice Cream: Serve a slice of warm Texas Sheet Cake with a scoop of vanilla ice cream. The cold ice cream and the warm cake create a delightful contrast that makes every bite even more enjoyable.
- Fresh Fruit: Top the cake with fresh berries or slices of banana for a touch of brightness and freshness. It’s a simple addition that complements the rich chocolate flavor.
- Nuts: If you like a bit of crunch, sprinkle chopped pecans or walnuts over the top of the frosting. The texture contrasts nicely with the soft, fudgy cake.
Conclusion: Ready to Try It Yourself?
This Texas Sheet Cake with buttermilk is a beginner-friendly dessert that will make you feel like a pro in the kitchen. It’s quick, easy, and packed with rich chocolate flavor that will have everyone asking for seconds.
I hope you’re feeling inspired to give it a try! Don’t let the idea of baking overwhelm you—this recipe is designed to be simple and forgiving, so you can enjoy the process as much as the final result. Plus, it’s the perfect dessert to bring to a potluck or share with friends and family. If you try this recipe, let me know how it turns out in the comments. I’d love to hear about your experience!
Happy baking!