If you’ve ever craved the creamy, tangy goodness of cheesecake but wanted something cold and refreshing, this Blueberry Cheesecake Ice Cream is the perfect solution. The sweet burst of fresh blueberries, velvety cream cheese, and crunchy graham cracker pieces come together in an irresistible dessert that’s both rich and refreshing. It’s an easy-to-make, indulgent treat, even for beginners in the kitchen. Whether you’re cooling off in the summer heat or treating yourself after a long day, this ice cream will leave you feeling like a pro.
Print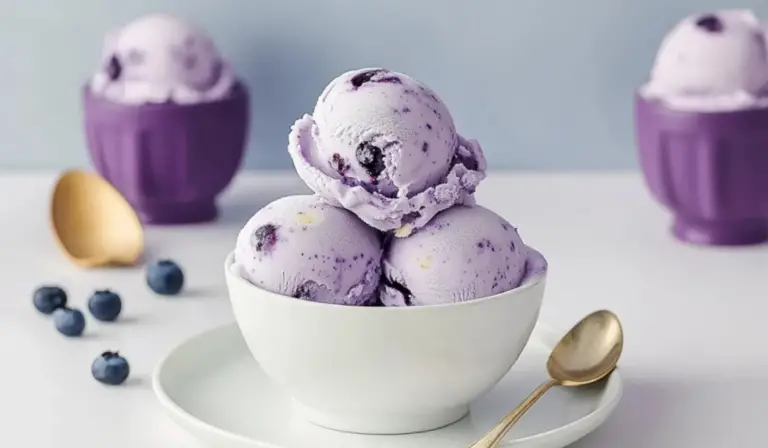
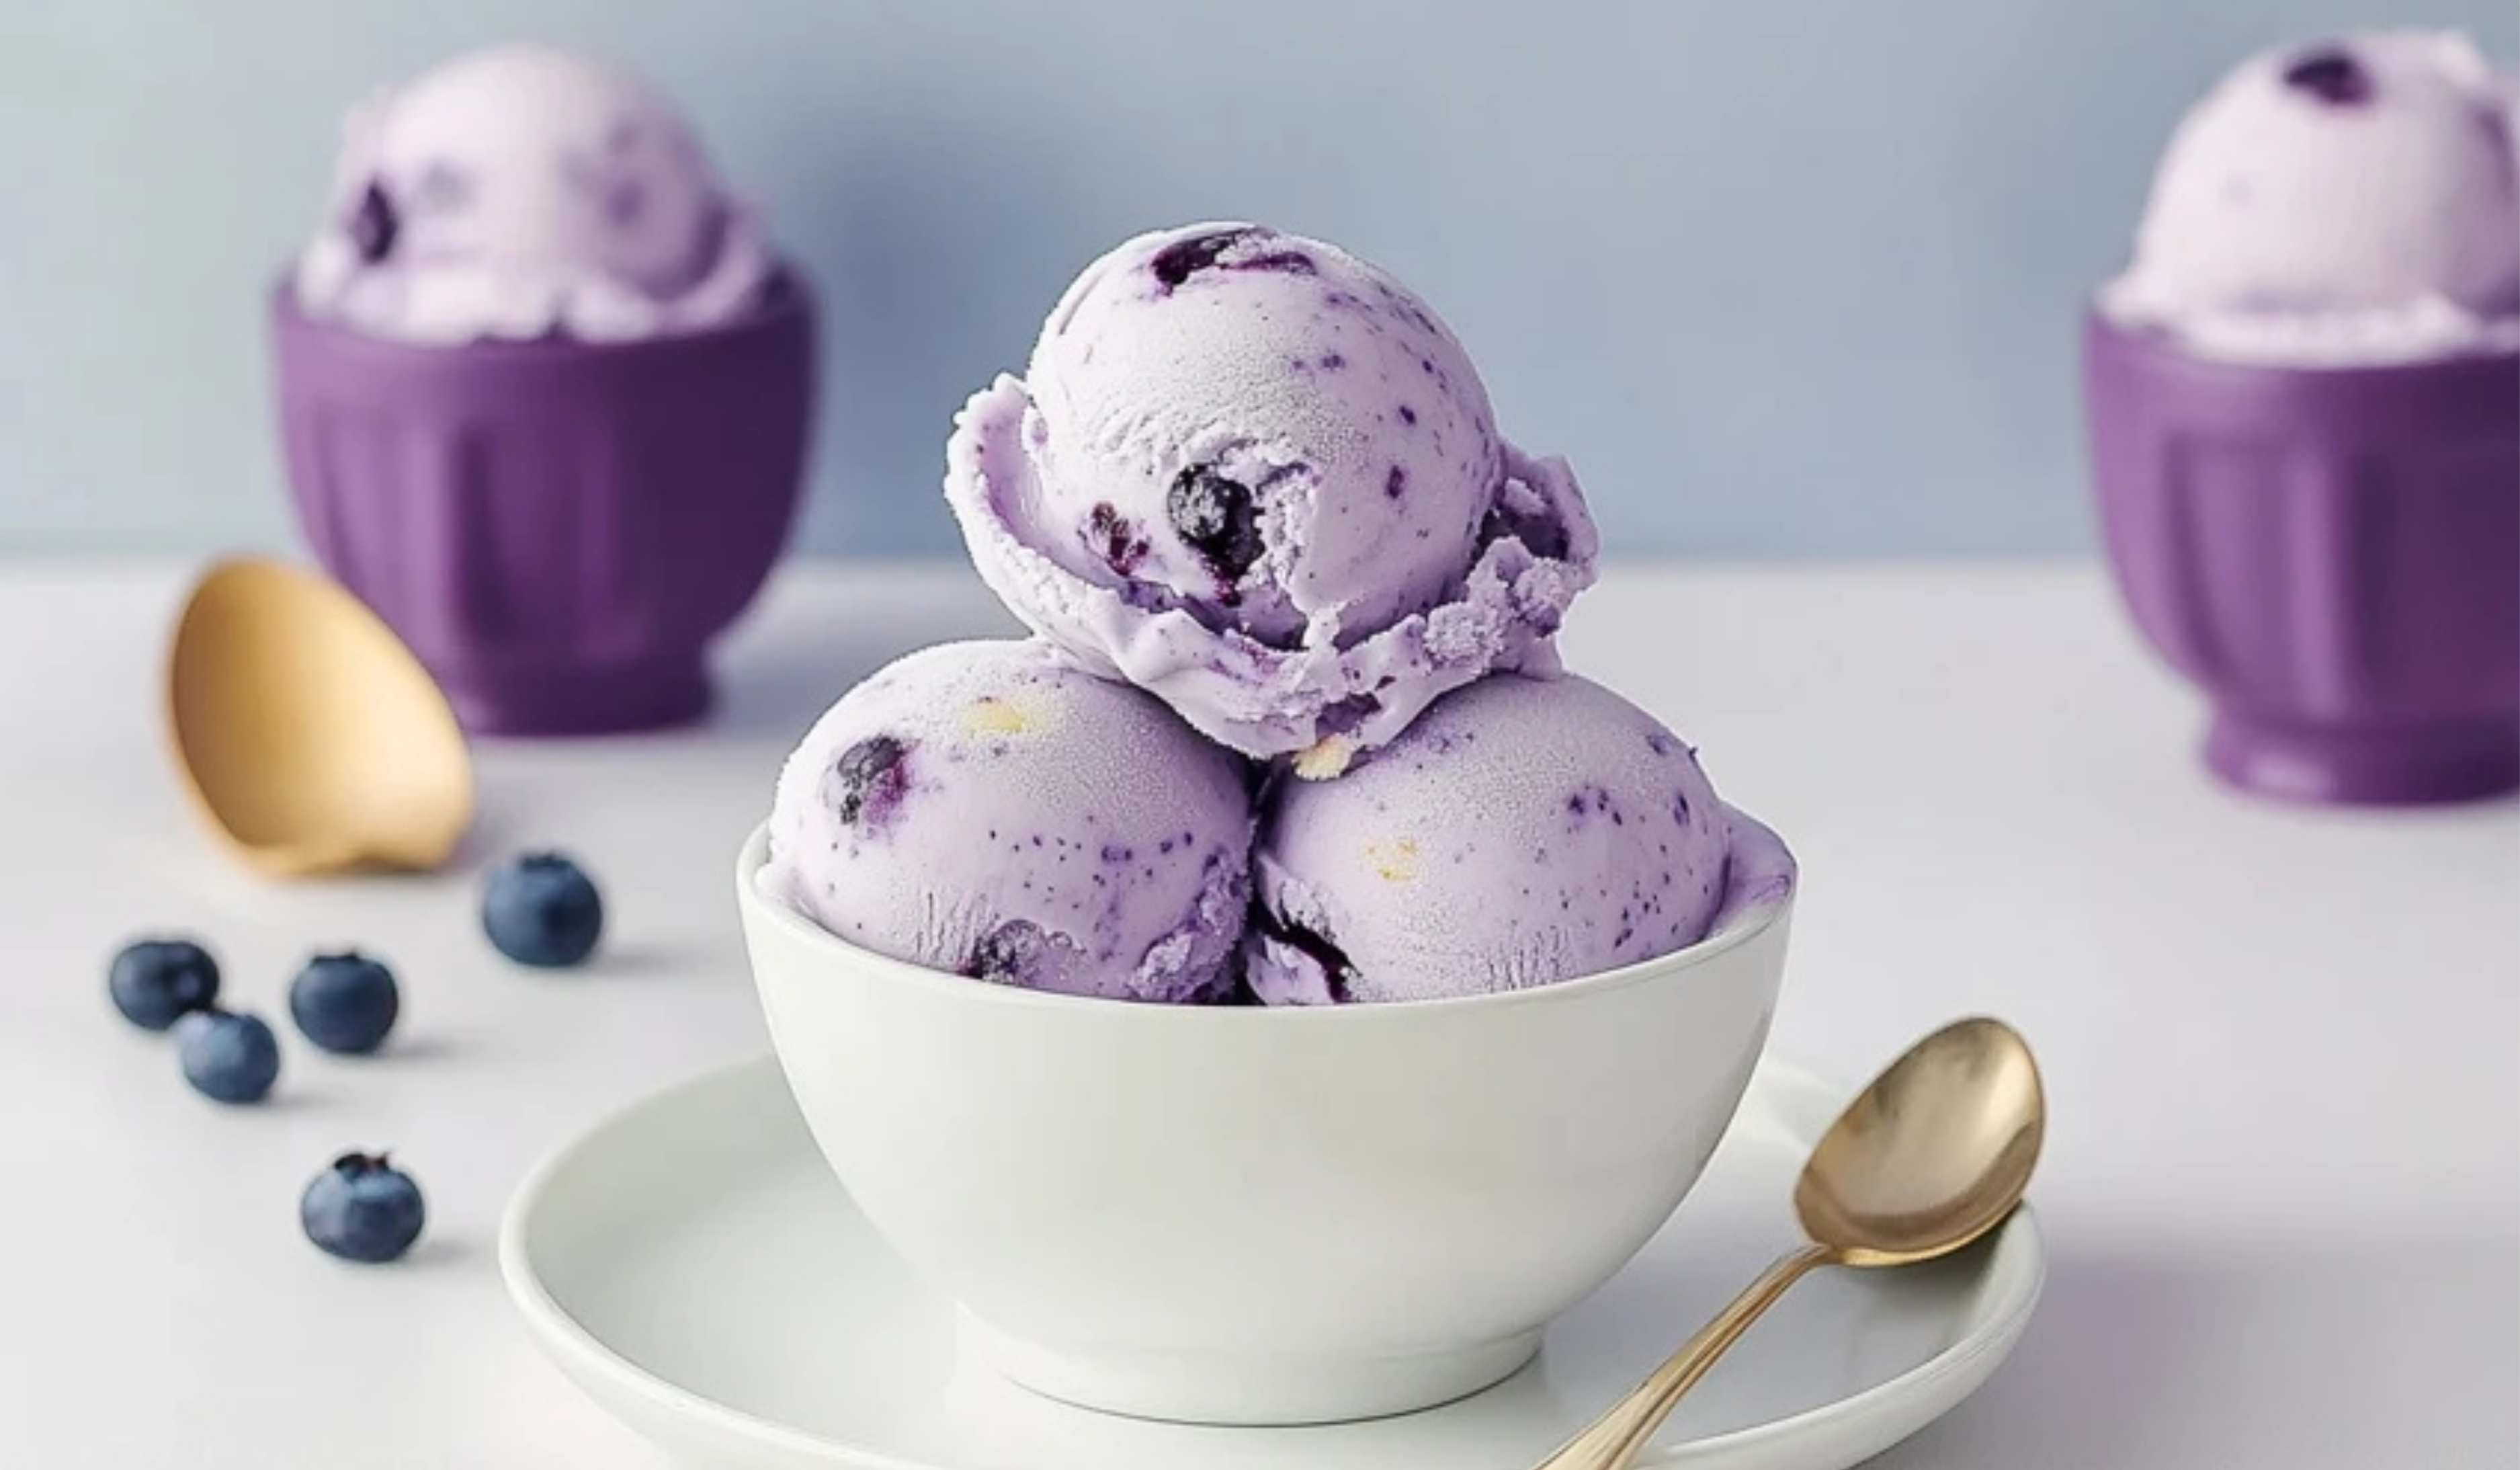
Blueberry Cheesecake Ice Cream: A Beginner’s Dream Dessert
Creamy, dreamy, and bursting with blueberry goodness—this Blueberry Cheesecake Ice Cream is a must-try for dessert lovers! Velvety cheesecake-flavored ice cream swirled with sweet blueberry compote creates the ultimate indulgence. The best part? No ice cream maker needed, making it a beginner-friendly treat that’s ridiculously easy to whip up! Whether it’s a hot summer day or you’re just craving something sweet, this frozen delight is pure bliss in every spoonful. Ready to dive in?
#BlueberryCheesecakeIceCream #NoChurnMagic #EasyDessertRecipe #FrozenIndulgence #CreamyAndSweet #BerryLover #SimpleAndDelicious #HomemadeGoodness #BeginnerFriendlyTreat #IceCreamLover
- Total Time: 5 hours
- Yield: 10 Servings 1x
Ingredients
- 1 pint fresh blueberries (about 2 cups)
- 1 cup granulated sugar, divided
- 2 teaspoons fresh lemon zest (optional, but adds a lovely fresh flavor!)
- 1 teaspoon cornstarch + 1 tablespoon water (whisked together to create a slurry)
- 8 ounces cream cheese, softened
- 2 cups heavy cream
- 1 cup whole milk
- 1 teaspoon pure vanilla extract
- ½ teaspoon kosher salt
- 1 cup chopped graham crackers (adds that signature cheesecake crunch)
Instructions
- Chill the Ice Cream Maker Bowl: Start by chilling your ice cream maker bowl as per the manufacturer’s instructions. This step is key to getting that smooth, creamy texture.
- Prepare the Blueberry Sauce: In a medium saucepan, combine the blueberries, ¼ cup of granulated sugar, and lemon zest. Bring the mixture to a boil and then reduce the heat to a simmer. Let it cook for about 10 minutes, or until the berries have burst and become syrupy.
- Thicken the Sauce: Stir in the cornstarch slurry (cornstarch mixed with water) and cook for another 1-2 minutes until it thickens slightly. Remove from the heat and transfer to an airtight container to cool completely. This cooling step ensures that it won’t melt the ice cream base later.
- Mix the Ice Cream Base: In a stand mixer or large bowl, beat the softened cream cheese with the remaining sugar until it becomes light and fluffy—about 1 minute. Add the heavy cream, whole milk, vanilla extract, and salt slowly, mixing on low speed to ensure everything combines smoothly. You don’t want any lumps of cream cheese in your ice cream, so be thorough here!
- Chill the Base: Once mixed, transfer the ice cream base to the fridge and chill for at least 30 minutes or up to overnight. This chilling process helps the flavors to meld together.
- Churn the Ice Cream: Pour the chilled ice cream base into your ice cream maker and churn according to the manufacturer’s instructions. (For me, this took about 18 minutes in a Kitchenaid Ice Cream Attachment.)
- Layer and Swirl: Spoon ⅓ of the ice cream mixture into a shallow container or loaf pan. Drizzle ⅓ of the cooled blueberry sauce over the ice cream, then sprinkle ⅓ of the chopped graham crackers. Repeat the layering process twice more with the remaining ice cream, blueberry sauce, and graham crackers. Swirl the mixture with a butter knife to evenly distribute the sauce and crumbs.
- Freeze the Ice Cream: Wrap the container tightly with plastic wrap and freeze the ice cream for at least 4 hours or until it’s firm. When ready to serve, let the ice cream soften for a few minutes at room temperature for easier scooping.
Notes
Troubleshooting:
- If the Ice Cream is Too Hard: Homemade ice cream often freezes harder than store-bought versions. Let it sit at room temperature for about 5 minutes before scooping.
- Overcooked Veggies in the Sauce: If your blueberry sauce turns too mushy or thick, simply add a splash of water to loosen it up before cooling.
- Avoiding Ice Crystals: For smooth ice cream, place a piece of wax paper or plastic wrap directly on the surface before sealing the container to prevent ice crystals.
Helpful Kitchen Tips:
- Prep Efficiently: Start by preparing the blueberry sauce and chilling the ice cream base at the same time. This will save you time in the kitchen and get you to the fun part—churning—faster!
- Cream Cheese Tip: Ensure the cream cheese is fully softened before mixing to avoid lumps in the ice cream base. Leaving it at room temperature for about an hour is ideal.
- Prep Time: 20 minutes
- Cook Time: 10 minutes
This recipe takes only a few simple ingredients and combines them in a way that results in a delightful, creamy treat with the perfect balance of flavors. Plus, the hands-on prep is quick and straightforward, making this recipe an ideal starting point for anyone new to making homemade ice cream.
Why This Recipe Is Perfect for Beginners:
- Simple and Straightforward: No fancy techniques needed—just combine, chill, and churn!
- Time-Efficient: Most of the time is spent chilling and freezing, so you can prep and relax.
- Healthier Twist: Compared to store-bought ice cream, you control the ingredients, meaning less sugar and preservatives.
Ingredients and Preparation
For this delicious Blueberry Cheesecake Ice Cream, here’s what you’ll need:
Ingredients:
- 1 pint fresh blueberries (about 2 cups)
- 1 cup granulated sugar, divided
- 2 teaspoons fresh lemon zest (optional, but adds a lovely fresh flavor!)
- 1 teaspoon cornstarch + 1 tablespoon water (whisked together to create a slurry)
- 8 ounces cream cheese, softened
- 2 cups heavy cream
- 1 cup whole milk
- 1 teaspoon pure vanilla extract
- ½ teaspoon kosher salt
- 1 cup chopped graham crackers (adds that signature cheesecake crunch)
Alternatives & Tips:
- Dairy-Free: Use coconut cream and almond milk for a dairy-free version.
- No Ice Cream Maker?: You can freeze the ice cream mixture in a shallow container, stirring every 30 minutes for about 3-4 hours, until it reaches the consistency you desire.
- Substitute Lemon Zest: If you’re not a fan of lemon, leave it out or substitute with a splash of orange zest for a different flavor profile.
Step-by-Step Instructions
Let’s walk through how to make this delicious treat!
- Chill the Ice Cream Maker Bowl: Start by chilling your ice cream maker bowl as per the manufacturer’s instructions. This step is key to getting that smooth, creamy texture.
- Prepare the Blueberry Sauce: In a medium saucepan, combine the blueberries, ¼ cup of granulated sugar, and lemon zest. Bring the mixture to a boil and then reduce the heat to a simmer. Let it cook for about 10 minutes, or until the berries have burst and become syrupy.
- Thicken the Sauce: Stir in the cornstarch slurry (cornstarch mixed with water) and cook for another 1-2 minutes until it thickens slightly. Remove from the heat and transfer to an airtight container to cool completely. This cooling step ensures that it won’t melt the ice cream base later.
- Mix the Ice Cream Base: In a stand mixer or large bowl, beat the softened cream cheese with the remaining sugar until it becomes light and fluffy—about 1 minute. Add the heavy cream, whole milk, vanilla extract, and salt slowly, mixing on low speed to ensure everything combines smoothly. You don’t want any lumps of cream cheese in your ice cream, so be thorough here!
- Chill the Base: Once mixed, transfer the ice cream base to the fridge and chill for at least 30 minutes or up to overnight. This chilling process helps the flavors to meld together.
- Churn the Ice Cream: Pour the chilled ice cream base into your ice cream maker and churn according to the manufacturer’s instructions. (For me, this took about 18 minutes in a Kitchenaid Ice Cream Attachment.)
- Layer and Swirl: Spoon ⅓ of the ice cream mixture into a shallow container or loaf pan. Drizzle ⅓ of the cooled blueberry sauce over the ice cream, then sprinkle ⅓ of the chopped graham crackers. Repeat the layering process twice more with the remaining ice cream, blueberry sauce, and graham crackers. Swirl the mixture with a butter knife to evenly distribute the sauce and crumbs.
- Freeze the Ice Cream: Wrap the container tightly with plastic wrap and freeze the ice cream for at least 4 hours or until it’s firm. When ready to serve, let the ice cream soften for a few minutes at room temperature for easier scooping.
Beginner Tips and Notes
Troubleshooting:
- If the Ice Cream is Too Hard: Homemade ice cream often freezes harder than store-bought versions. Let it sit at room temperature for about 5 minutes before scooping.
- Overcooked Veggies in the Sauce: If your blueberry sauce turns too mushy or thick, simply add a splash of water to loosen it up before cooling.
- Avoiding Ice Crystals: For smooth ice cream, place a piece of wax paper or plastic wrap directly on the surface before sealing the container to prevent ice crystals.
Helpful Kitchen Tips:
- Prep Efficiently: Start by preparing the blueberry sauce and chilling the ice cream base at the same time. This will save you time in the kitchen and get you to the fun part—churning—faster!
- Cream Cheese Tip: Ensure the cream cheese is fully softened before mixing to avoid lumps in the ice cream base. Leaving it at room temperature for about an hour is ideal.
Serving Suggestions
- Pairing Sides: This ice cream is a dessert in itself, but you can serve it alongside some fresh berries or a light fruit salad for a balanced treat.
- Drizzle Sauces: Drizzle with extra blueberry sauce or honey for added sweetness.
Storing Leftovers:
If you happen to have leftovers (though we doubt it!), store your homemade ice cream in an airtight container. It’ll stay fresh for up to a month. Just be sure to press a layer of plastic wrap or wax paper directly onto the surface to prevent ice crystals from forming.
Conclusion: Let’s Get Churning!
Now that you have a foolproof recipe, it’s time to get churning and create your very own Blueberry Cheesecake Ice Cream. Don’t forget to share your thoughts and any tips you might have in the comments below. Whether you’re making it for a special occasion or just as a treat for yourself, this creamy, tangy dessert is sure to impress. Happy cooking, and enjoy every bite!