There’s something magical about a warm, bubbling dessert fresh out of the oven. The comforting aroma, the golden-brown top, and the gooey sweetness all make for a treat that feels like home. If you’re new to baking, finding a recipe that’s both simple and foolproof can be a challenge, but Strawberry Bubble-Up is the perfect solution.
Print
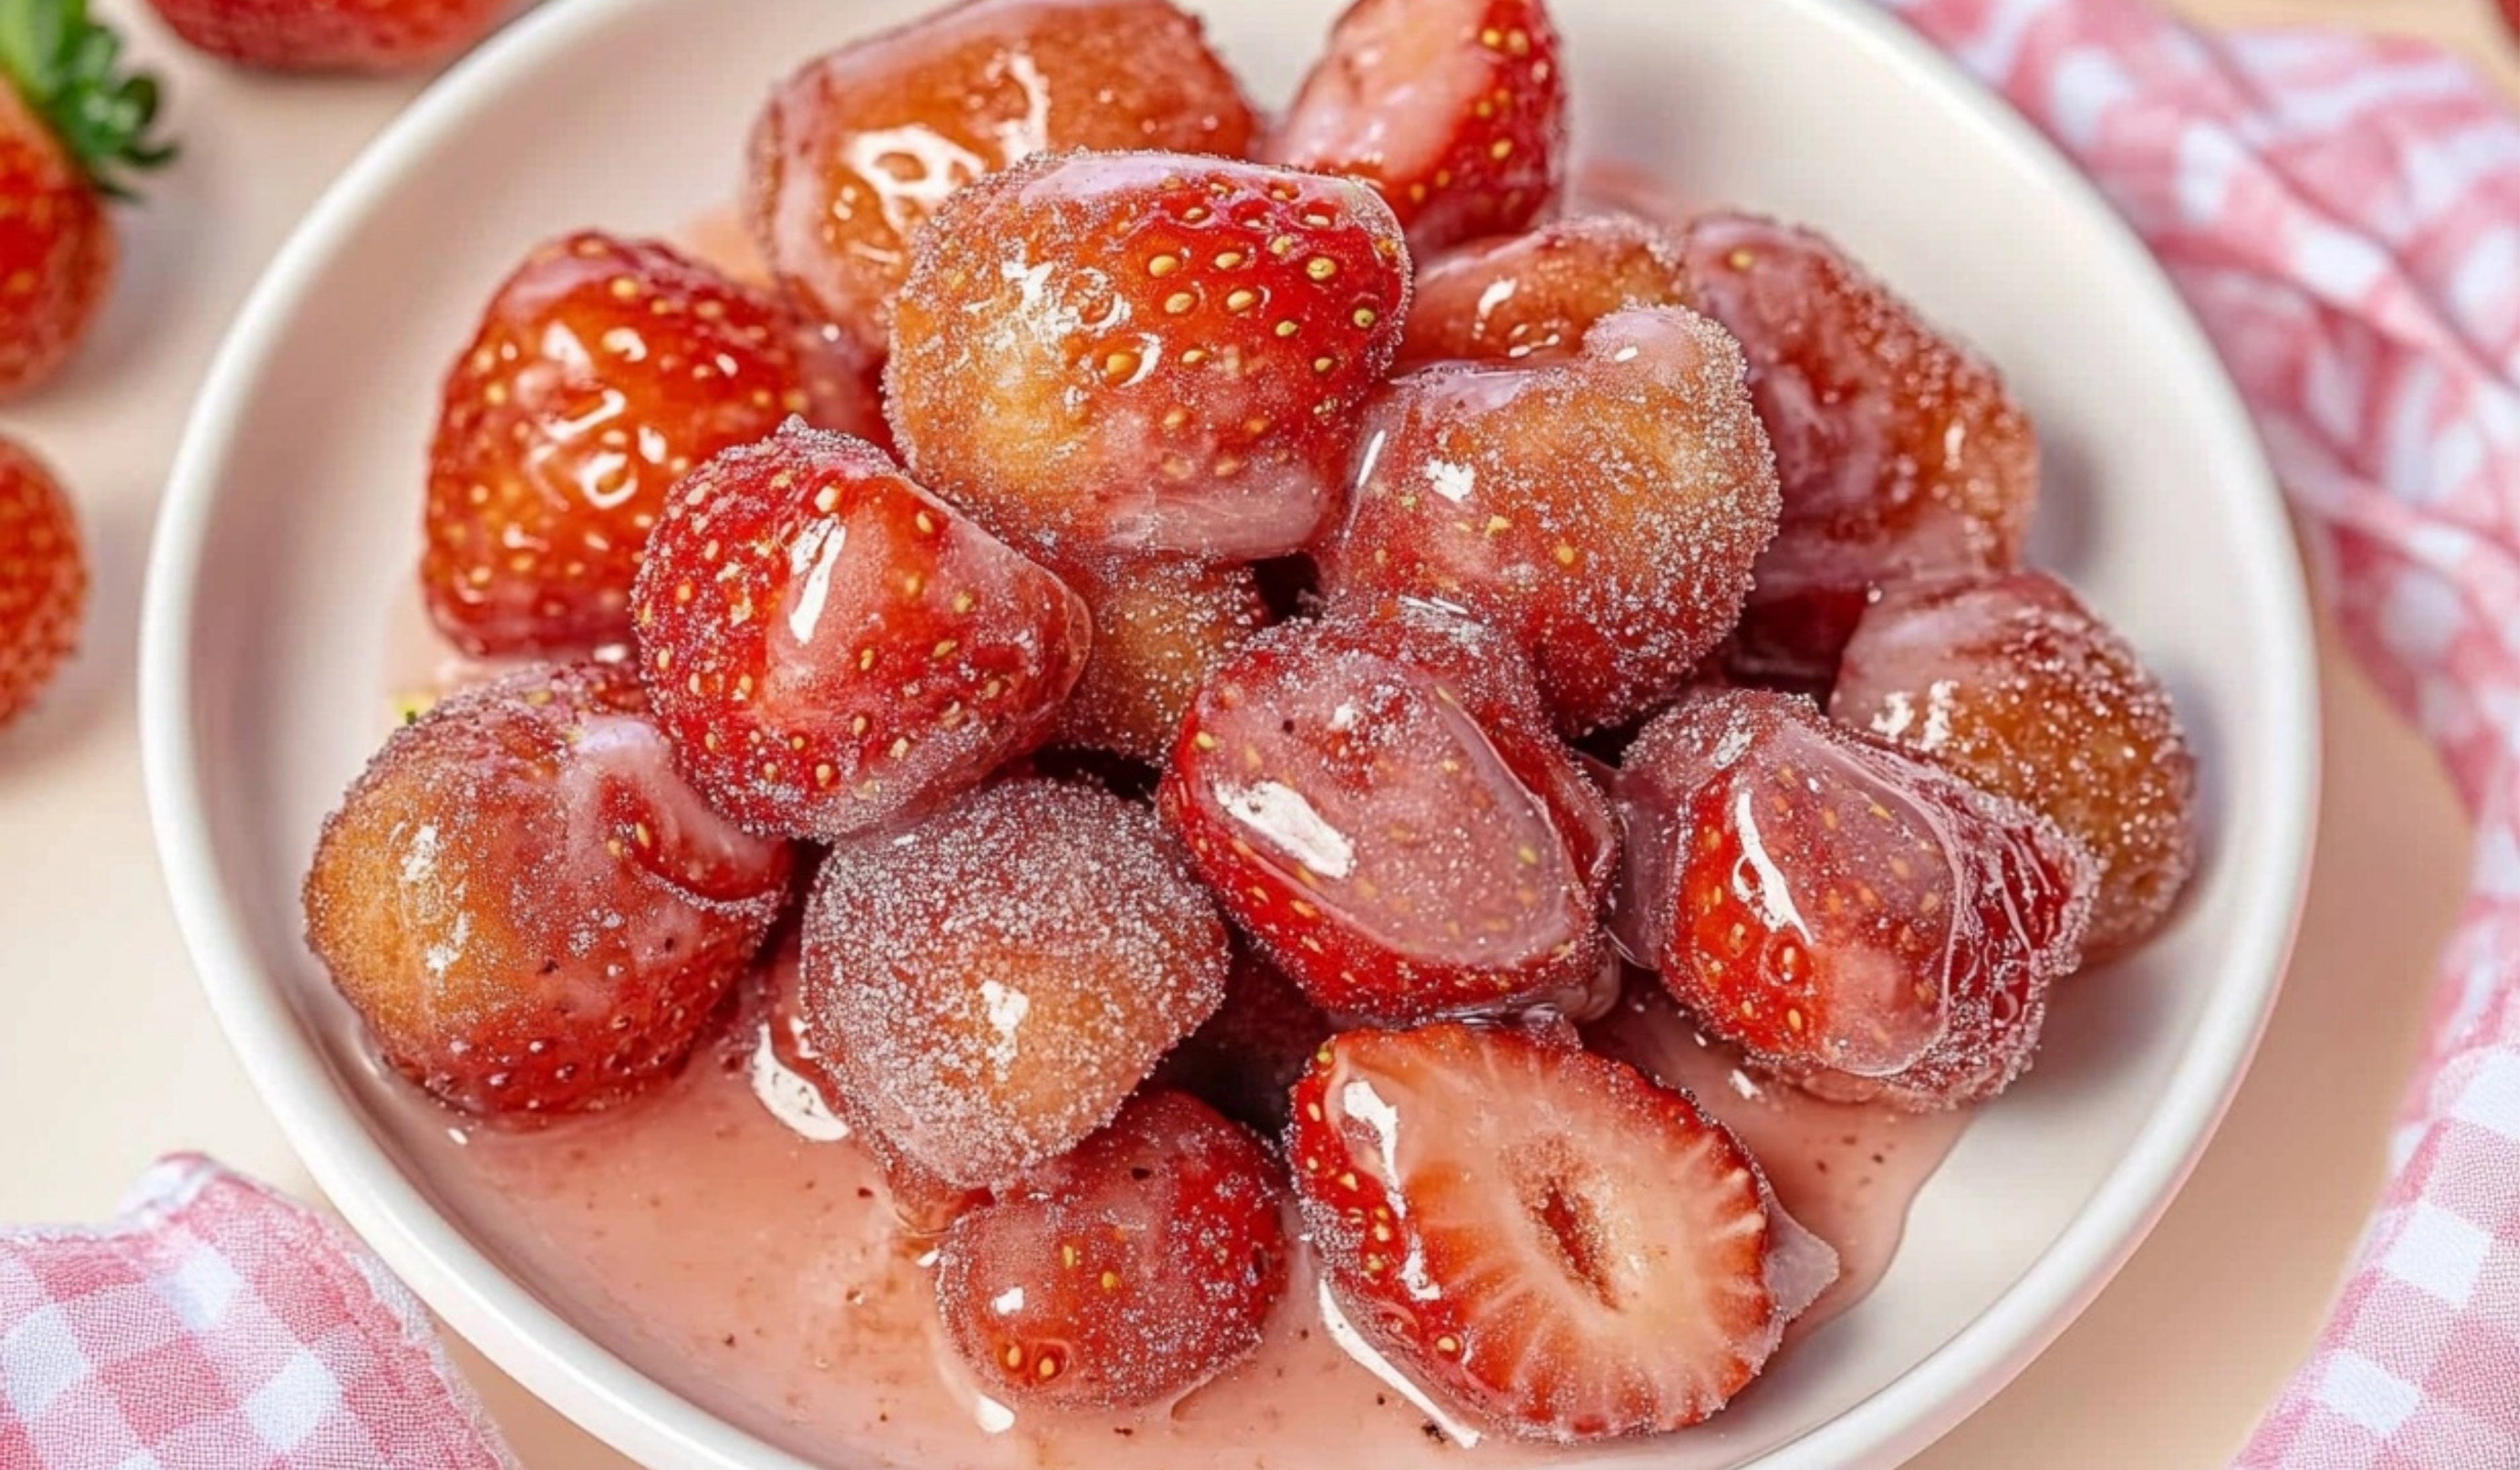
Easy Strawberry Bubble-Up: A Beginner-Friendly Dessert
Looking for a quick and delicious dessert that requires zero baking skills? This Easy Strawberry Bubble-Up is a game-changer! With tender biscuit dough, fresh strawberries, and a hint of sweetness, this bubbly masterpiece bakes to golden perfection in no time. It’s warm, gooey, and bursting with fruity flavor—the perfect last-minute treat for any occasion. Serve it fresh out of the oven with a scoop of ice cream for the ultimate indulgence. Who’s ready to dig in?
#EasyBaking #StrawberryLover #SimpleAndSweet #GooeyGoodness #HomemadeDesserts #BakingMadeEasy #BerryDelight #WarmAndFluffy #QuickDesserts #SweetToothSatisfaction
- Total Time: 1 hour
- Yield: 6 servings 1x
Ingredients
- 1 (21-ounce) can strawberry pie filling
- ½ cup light brown sugar, packed (or substitute white sugar)
- ¼ cup (½ stick) salted butter, melted
- 1 teaspoon vanilla extract
- 2 (6-ounce) cans Pillsbury Grands homestyle biscuits (you’ll need 10 biscuits total)
- ½ cup powdered sugar
- 1 Tablespoon milk
Instructions
1. Prepare the Oven and Baking Dish
Preheat your oven to 350°F. Lightly grease a 9×13-inch baking dish with cooking spray to prevent sticking. This ensures that your dessert bakes evenly and is easy to serve.
2. Mix the Base Ingredients
In a large mixing bowl, stir together the strawberry pie filling, brown sugar, melted butter, and vanilla extract until well combined. This forms the sweet, gooey base of the dessert. The butter helps enhance the richness, while the vanilla extract adds depth of flavor.
3. Cut and Add the Biscuits
Take the refrigerated biscuit dough and cut each biscuit into eight equal pieces. Cutting them into small chunks ensures even baking and allows the filling to coat every piece, creating a soft, caramelized texture.
Add the biscuit pieces to the strawberry mixture, stirring gently to coat them evenly. Be careful not to overmix—just ensure that the biscuits are fully covered in the filling.
4. Transfer to the Baking Dish
Pour the coated biscuit mixture into your greased 9×13-inch baking dish, spreading it out into an even layer.
5. Bake Until Golden and Bubbly
Place the dish in the oven and bake for 45-50 minutes or until:
- The top is golden brown.
- The biscuits are fully cooked through.
- The filling is bubbling around the edges.
Tip: If you notice that the top is browning too quickly, loosely cover the dish with aluminum foil during the last 10 minutes of baking.
6. Make the Glaze
While the dessert cools slightly, prepare the glaze. In a small bowl, whisk together the powdered sugar and milk until smooth. The glaze should be thick but pourable. If it’s too thick, add a few extra drops of milk; if it’s too thin, add a little more powdered sugar.
7. Finish and Serve
Drizzle the glaze evenly over the baked Strawberry Bubble-Up and serve warm.
Notes
Common Troubleshooting Issues:
- The biscuits aren’t cooking through – Make sure they’re evenly spread out in the baking dish. Overcrowding can lead to uneven baking.
- The top is browning too fast – Cover loosely with foil for the last 10 minutes to prevent burning.
- Too sweet? – Reduce the brown sugar slightly or use unsweetened pie filling to balance the flavors.
- Not enough glaze? – If you prefer extra glaze, simply double the powdered sugar and milk when preparing it.
Efficiency Tips for Beginners:
- Cut the biscuits ahead of time – If you want to save time, cut the biscuits earlier and store them in an airtight container in the fridge until needed.
- Use a spatula to mix – This prevents the biscuits from getting crushed while coating them in the filling.
- Line the baking dish – If you’re worried about cleanup, line the dish with parchment paper for easy removal.
- Prep Time: 10 minutes
- Cook Time: 50 minutes
This dessert is quick, easy, and made with just a few ingredients, making it ideal for beginner cooks. You don’t need to worry about precise baking techniques, rolling out dough, or using special equipment—this is a simple mix-and-bake recipe. Even if you’ve never baked before, you’ll be able to master this dish with confidence.
What makes this recipe so great?
- Minimal ingredients – It uses store-bought biscuit dough and canned strawberry pie filling, which saves time.
- Beginner-friendly steps – There’s no need for fancy baking skills. Just mix, bake, and drizzle with glaze.
- Quick preparation – Only 10 minutes of prep is needed before baking.
- Versatile – You can customize it with different fruits, glazes, or toppings.
If you’re looking for an easy dessert that delivers big flavor, this Strawberry Bubble-Up is the perfect treat. Now, let’s get started!
Ingredients and Preparation
Before you begin, gather your ingredients. Having everything ready will make the process smooth and stress-free.
Ingredients:
- 1 (21-ounce) can strawberry pie filling
- ½ cup light brown sugar, packed (or substitute white sugar)
- ¼ cup (½ stick) salted butter, melted
- 1 teaspoon vanilla extract
- 2 (6-ounce) cans Pillsbury Grands homestyle biscuits (you’ll need 10 biscuits total)
- ½ cup powdered sugar
- 1 Tablespoon milk
Ingredient Notes and Substitutions:
- Pie Filling: While strawberry pie filling is the classic choice, you can swap it for blueberry, cherry, or peach pie filling for variety.
- Sugar: If you prefer a slightly lighter dessert, you can reduce the brown sugar to ⅓ cup or use white sugar instead.
- Butter: If you only have unsalted butter, simply add a pinch of salt to balance the flavors.
- Biscuits: Pillsbury Grands biscuits provide a fluffy, rich texture, but any refrigerated biscuit dough will work. Ensure you use about 10 biscuits in total.
Step-by-Step Instructions
1. Prepare the Oven and Baking Dish
Preheat your oven to 350°F. Lightly grease a 9×13-inch baking dish with cooking spray to prevent sticking. This ensures that your dessert bakes evenly and is easy to serve.
2. Mix the Base Ingredients
In a large mixing bowl, stir together the strawberry pie filling, brown sugar, melted butter, and vanilla extract until well combined. This forms the sweet, gooey base of the dessert. The butter helps enhance the richness, while the vanilla extract adds depth of flavor.
3. Cut and Add the Biscuits
Take the refrigerated biscuit dough and cut each biscuit into eight equal pieces. Cutting them into small chunks ensures even baking and allows the filling to coat every piece, creating a soft, caramelized texture.
Add the biscuit pieces to the strawberry mixture, stirring gently to coat them evenly. Be careful not to overmix—just ensure that the biscuits are fully covered in the filling.
4. Transfer to the Baking Dish
Pour the coated biscuit mixture into your greased 9×13-inch baking dish, spreading it out into an even layer.
5. Bake Until Golden and Bubbly
Place the dish in the oven and bake for 45-50 minutes or until:
- The top is golden brown.
- The biscuits are fully cooked through.
- The filling is bubbling around the edges.
Tip: If you notice that the top is browning too quickly, loosely cover the dish with aluminum foil during the last 10 minutes of baking.
6. Make the Glaze
While the dessert cools slightly, prepare the glaze. In a small bowl, whisk together the powdered sugar and milk until smooth. The glaze should be thick but pourable. If it’s too thick, add a few extra drops of milk; if it’s too thin, add a little more powdered sugar.
7. Finish and Serve
Drizzle the glaze evenly over the baked Strawberry Bubble-Up and serve warm.
Beginner Tips and Notes
Even though this is a simple recipe, a few extra tips can make it even easier to perfect.
Common Troubleshooting Issues:
- The biscuits aren’t cooking through – Make sure they’re evenly spread out in the baking dish. Overcrowding can lead to uneven baking.
- The top is browning too fast – Cover loosely with foil for the last 10 minutes to prevent burning.
- Too sweet? – Reduce the brown sugar slightly or use unsweetened pie filling to balance the flavors.
- Not enough glaze? – If you prefer extra glaze, simply double the powdered sugar and milk when preparing it.
Efficiency Tips for Beginners:
- Cut the biscuits ahead of time – If you want to save time, cut the biscuits earlier and store them in an airtight container in the fridge until needed.
- Use a spatula to mix – This prevents the biscuits from getting crushed while coating them in the filling.
- Line the baking dish – If you’re worried about cleanup, line the dish with parchment paper for easy removal.
Serving Suggestions
While this dessert is fantastic on its own, you can elevate it with these serving ideas:
- With Ice Cream: A scoop of vanilla or strawberry ice cream pairs perfectly with the warm, gooey texture.
- With Whipped Cream: A dollop of freshly whipped cream balances the richness.
- With Fresh Berries: Garnish with fresh strawberries, blueberries, or raspberries for an extra burst of flavor.
Storage and Reheating Tips:
- Refrigeration: Store leftovers in an airtight container in the refrigerator for up to 3 days.
- Reheating: Warm individual portions in the microwave for 15-20 seconds before serving.
- Freezing: This dessert can be frozen for up to 2 months in an airtight container. Thaw overnight in the fridge before reheating.
Why This Recipe Works for Beginners
If you’re new to baking, you might feel intimidated by complex recipes that require precision. The beauty of this Strawberry Bubble-Up is its simplicity and flexibility.
- No advanced baking skills needed – You don’t have to worry about yeast, dough rising, or rolling out pastry.
- Minimal prep time – Just 10 minutes of active prep before the oven does the rest.
- Foolproof method – Even if you make small mistakes, this recipe is forgiving. The glaze and fruit filling help keep everything moist and delicious.
This makes it a fantastic recipe for beginners, families, or anyone who wants a quick and tasty dessert without a hassle.
Conclusion: Give It a Try!
This Strawberry Bubble-Up is proof that great desserts don’t have to be complicated. With just a few ingredients and an easy method, it’s perfect for beginners looking to build confidence in the kitchen.
Whether you’re making this for a casual family dessert, a gathering with friends, or just to satisfy a sweet craving, it’s guaranteed to impress.
Have you tried this recipe? Let us know how it turned out! Share your experience, tips, or variations in the comments. Happy baking!