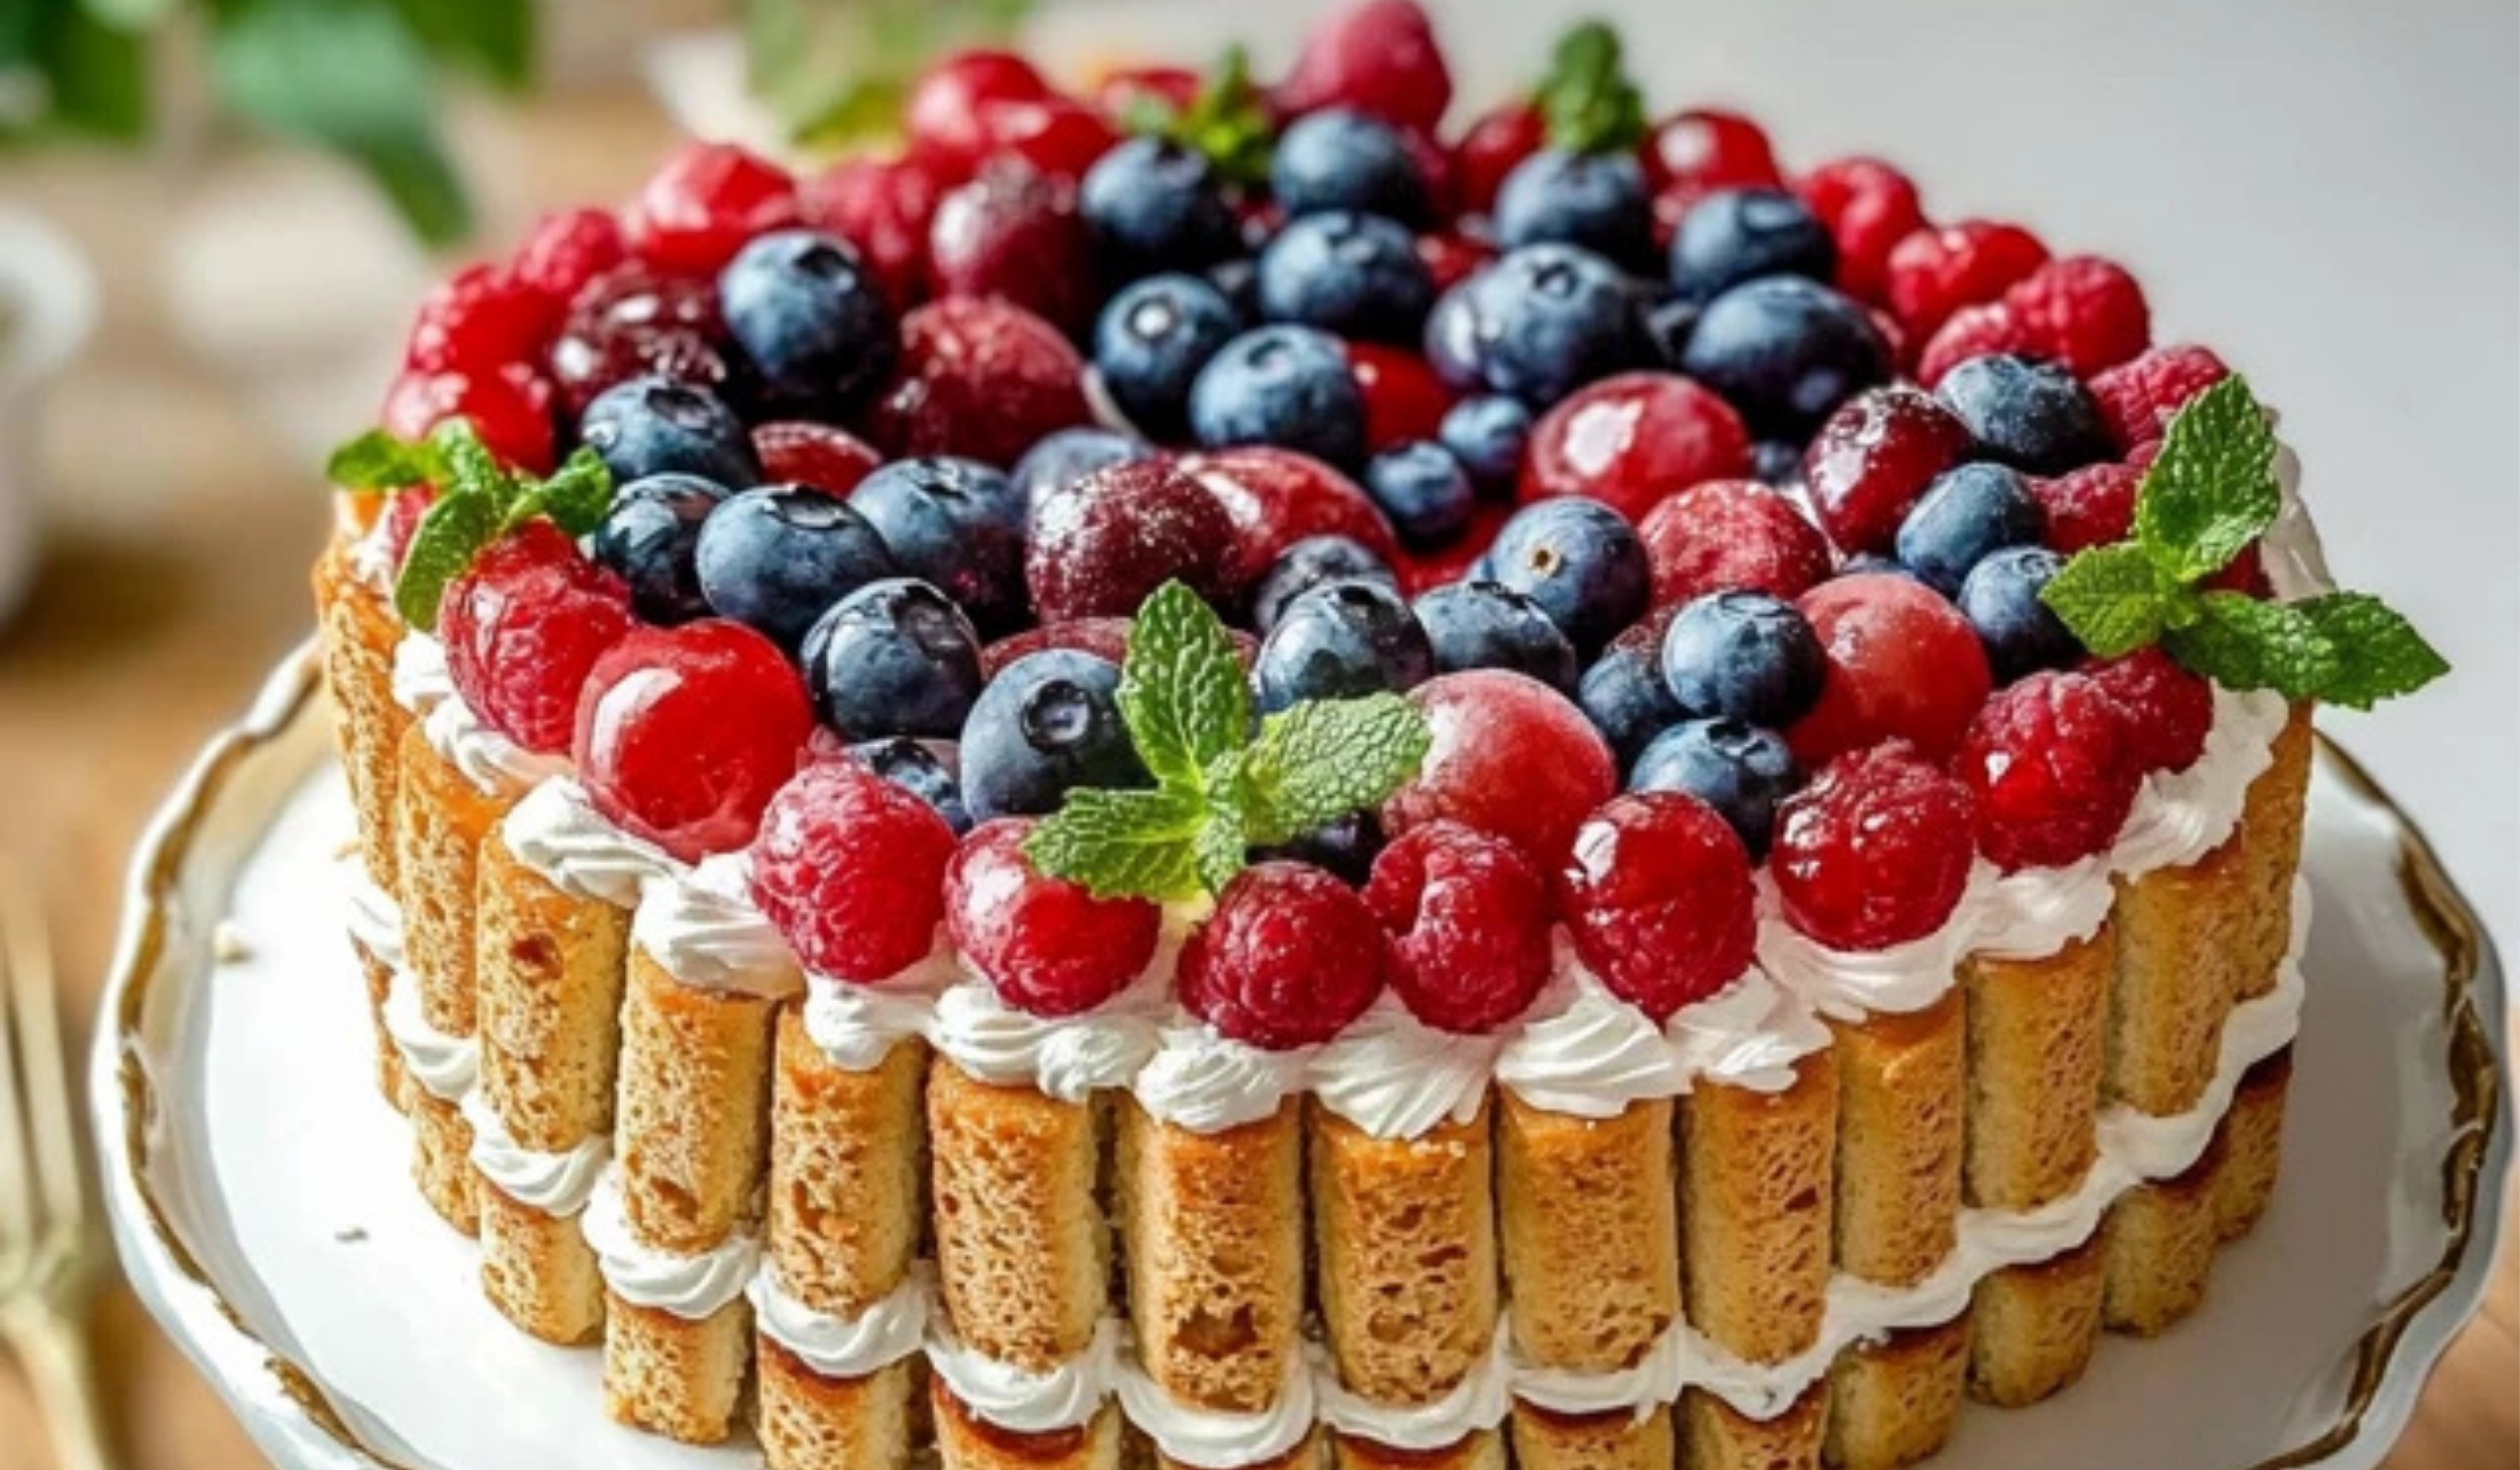
There’s something incredibly special about baking a cake that’s not just rich in flavor but also in heritage. The Russian Royal Cake, or Korolevsky Tort, is exactly that—a stunning, layered dessert that brings together the depth of toasted hazelnuts, the brightness of dried cherries, and the distinct texture of poppyseeds, all wrapped in a creamy, indulgent frosting. Though it may sound like the kind of cake reserved for seasoned bakers or festive tables in grand Eastern European households, this recipe is surprisingly accessible with a little patience and the right guidance.
Print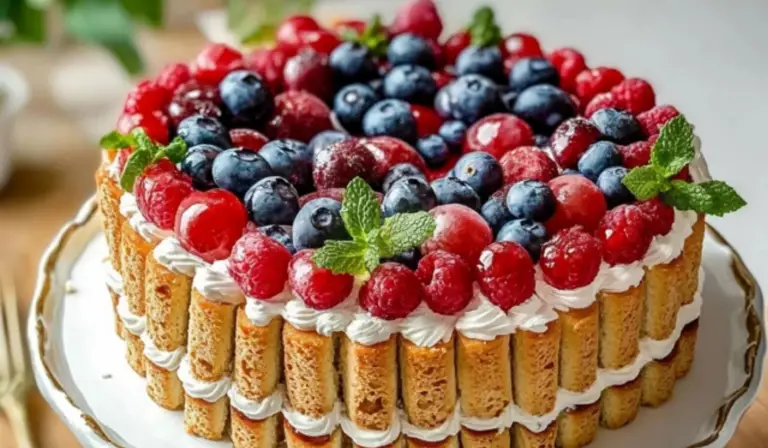
Russian Royal Cake (Korolevsky Cake): A Beginner’s Guide to Baking a Decadent Classic
Layers of rich flavor, soft sponge, and creamy filling—Korolevsky Cake is the ultimate indulgence! A beginner-friendly way to impress with every slice. 👑🍰✨
- Total Time: 58 minutes
- Yield: 10 servings 1x
Ingredients
For the Cake Layers:
- 3/4 cup poppyseeds
- 3/4 cup dried cherries, roughly chopped
- 3/4 cup toasted hazelnuts, chopped
- 1 3/4 cups all-purpose flour
- 2 teaspoons baking powder
- 1/2 teaspoon baking soda
- 8 large eggs
- 1 3/4 cups granulated sugar
- 1 1/2 cups sour cream
- 3 tablespoons light-tasting oil (canola or vegetable)
For the Cream Filling:
- 1 can (about 14 oz) cooked sweetened condensed milk (look for dulce de leche or boil your own)
- 1 1/2 cups unsalted butter, softened
- 1 1/2 cups sour cream
- 1 cup heavy cream
- 1 teaspoon vanilla extract
Instructions
1. Preheat and Prepare the Pans: Set your oven to 350°F (175°C). Line three 10-inch cake pans with parchment paper and spray with non-stick spray. If you don’t have three pans, you can bake the layers in batches.
2. Mix Dry Ingredients: In a medium bowl, sift together the flour, baking powder, and baking soda. Set aside.
3. Beat Eggs and Sugar: In the bowl of a stand mixer or with a handheld mixer, beat the eggs on high speed until light and fluffy (about 5–7 minutes). Gradually add in the sugar and continue beating until the mixture is pale and thickened.
4. Add Sour Cream and Oil: Reduce the mixer speed and gently mix in the sour cream and oil until just incorporated. Avoid overmixing.
5. Fold in Dry Ingredients: Using a whisk or spatula, carefully fold the sifted flour mixture into the egg mixture. Do this gradually to avoid deflating the batter.
6. Divide the Batter: Split the batter evenly into three separate bowls. Add the hazelnuts to one bowl, cherries to another, and poppyseeds to the third. Gently stir each until evenly distributed.
7. Bake the Layers: Pour each flavored batter into its own prepared pan. If your oven can’t accommodate all three at once, bake the cherry and hazelnut layers first as these are heavier and more likely to settle. Bake each layer for 15–18 minutes, or until a toothpick inserted into the center comes out clean.
8. Cool the Cakes: Let each cake layer cool in its pan for 10 minutes, then carefully transfer to a wire rack to cool completely.
9. Prepare the Cream Filling:
- In a large mixing bowl, beat the softened butter with the cooked sweetened condensed milk until smooth and fluffy.
- Add the sour cream and beat until fully incorporated.
- In a separate bowl, whip the heavy cream until stiff peaks form.
- Gently fold the whipped cream and vanilla into the butter mixture. Chill slightly if the frosting is too soft to spread.
10. Assemble the Cake: Place the hazelnut layer on your serving plate and spread a generous layer of cream over it. Follow with the poppyseed layer, more cream, then the cherry layer on top. Finish with a final coat of cream on top and sides, if desired.
Optional Decoration: Decorate with fresh or dried cherries, chopped nuts, or rolled wafer cookies filled with cream. A light dusting of cocoa powder or grated dark chocolate can also add a polished finish.
Notes
What to Do If…
- The cake layers come out uneven: Don’t worry. You can trim them with a serrated knife to even them out, or simply stack them with extra cream to level things.
- Your cherries sink to the bottom: Dusting them with flour helps, but if they still sink, use that layer as the bottom cake layer—it will help support the rest of the cake.
- The cream looks runny: Chill it for 15–20 minutes. The butter will firm up, making it easier to spread.
Kitchen Tips for Easier Baking:
- Measure out all ingredients before starting—this is called mise en place and will save time and reduce mistakes.
- When folding ingredients like flour or whipped cream, use a gentle scoop-and-turn motion to preserve airiness.
- Use a cake turntable for easier frosting and a smoother finish.
Substitutions:
- Hazelnuts can be swapped for walnuts or pecans.
- Dried cherries can be replaced with cranberries or chopped dried apricots.
- If you don’t have cooked sweetened condensed milk, boil a regular can (unopened) in a pot of water for 2.5–3 hours, keeping the can fully submerged at all times. Cool completely before opening.
- Prep Time: 40 minutes
- Cook Time: 18 minutes
I first encountered this cake in my aunt’s kitchen during a winter visit to Moscow. The kitchen smelled of vanilla, sweetened milk, and roasted nuts. The cake looked regal on the table, and I couldn’t believe how easily it came together under her calm, confident hands. I’ve since adapted her methods to suit modern kitchens and beginner bakers who want to create something special without the stress.
What makes the Russian Royal Cake perfect for beginner bakers is that while it looks elaborate, it’s built on straightforward steps. The batter is made once and then divided into three parts—each flavored uniquely. The frosting, while rich, doesn’t rely on finicky techniques like meringue or custard. And best of all, it’s forgiving; even if the layers aren’t perfectly even or the cream isn’t spread with bakery-level precision, the final result is still visually impressive and deeply delicious.
So whether you’re baking for a holiday, a birthday, or just want to challenge yourself with a showstopper cake, this guide will walk you through everything you need to know—from ingredients to decoration—to bring the Russian Royal Cake to life in your own kitchen.
Ingredients and Preparation
Before diving into the step-by-step process, take a moment to review the ingredients. It’s helpful to set out everything ahead of time to keep your workflow smooth and stress-free.
For the Cake Layers:
- 3/4 cup poppyseeds
- 3/4 cup dried cherries, roughly chopped
- 3/4 cup toasted hazelnuts, chopped
- 1 3/4 cups all-purpose flour
- 2 teaspoons baking powder
- 1/2 teaspoon baking soda
- 8 large eggs
- 1 3/4 cups granulated sugar
- 1 1/2 cups sour cream
- 3 tablespoons light-tasting oil (canola or vegetable)
For the Cream Filling:
- 1 can (about 14 oz) cooked sweetened condensed milk (look for dulce de leche or boil your own)
- 1 1/2 cups unsalted butter, softened
- 1 1/2 cups sour cream
- 1 cup heavy cream
- 1 teaspoon vanilla extract
Preparation Tips:
- Toast the hazelnuts in a dry skillet or oven at 350°F for 8–10 minutes, then chop roughly.
- Dust the cherries and hazelnuts with 1 tablespoon of flour each before mixing them into the batter. This prevents them from sinking during baking.
- Use room temperature eggs, butter, and sour cream for smoother mixing.
- If you don’t have hazelnuts, almonds or walnuts can be substituted.
- For a non-dairy or lighter version, Greek yogurt can replace sour cream.
Step-by-Step Instructions
1. Preheat and Prepare the Pans: Set your oven to 350°F (175°C). Line three 10-inch cake pans with parchment paper and spray with non-stick spray. If you don’t have three pans, you can bake the layers in batches.
2. Mix Dry Ingredients: In a medium bowl, sift together the flour, baking powder, and baking soda. Set aside.
3. Beat Eggs and Sugar: In the bowl of a stand mixer or with a handheld mixer, beat the eggs on high speed until light and fluffy (about 5–7 minutes). Gradually add in the sugar and continue beating until the mixture is pale and thickened.
4. Add Sour Cream and Oil: Reduce the mixer speed and gently mix in the sour cream and oil until just incorporated. Avoid overmixing.
5. Fold in Dry Ingredients: Using a whisk or spatula, carefully fold the sifted flour mixture into the egg mixture. Do this gradually to avoid deflating the batter.
6. Divide the Batter: Split the batter evenly into three separate bowls. Add the hazelnuts to one bowl, cherries to another, and poppyseeds to the third. Gently stir each until evenly distributed.
7. Bake the Layers: Pour each flavored batter into its own prepared pan. If your oven can’t accommodate all three at once, bake the cherry and hazelnut layers first as these are heavier and more likely to settle. Bake each layer for 15–18 minutes, or until a toothpick inserted into the center comes out clean.
8. Cool the Cakes: Let each cake layer cool in its pan for 10 minutes, then carefully transfer to a wire rack to cool completely.
9. Prepare the Cream Filling:
- In a large mixing bowl, beat the softened butter with the cooked sweetened condensed milk until smooth and fluffy.
- Add the sour cream and beat until fully incorporated.
- In a separate bowl, whip the heavy cream until stiff peaks form.
- Gently fold the whipped cream and vanilla into the butter mixture. Chill slightly if the frosting is too soft to spread.
10. Assemble the Cake: Place the hazelnut layer on your serving plate and spread a generous layer of cream over it. Follow with the poppyseed layer, more cream, then the cherry layer on top. Finish with a final coat of cream on top and sides, if desired.
Optional Decoration: Decorate with fresh or dried cherries, chopped nuts, or rolled wafer cookies filled with cream. A light dusting of cocoa powder or grated dark chocolate can also add a polished finish.
Beginner Tips and Notes
What to Do If…
- The cake layers come out uneven: Don’t worry. You can trim them with a serrated knife to even them out, or simply stack them with extra cream to level things.
- Your cherries sink to the bottom: Dusting them with flour helps, but if they still sink, use that layer as the bottom cake layer—it will help support the rest of the cake.
- The cream looks runny: Chill it for 15–20 minutes. The butter will firm up, making it easier to spread.
Kitchen Tips for Easier Baking:
- Measure out all ingredients before starting—this is called mise en place and will save time and reduce mistakes.
- When folding ingredients like flour or whipped cream, use a gentle scoop-and-turn motion to preserve airiness.
- Use a cake turntable for easier frosting and a smoother finish.
Substitutions:
- Hazelnuts can be swapped for walnuts or pecans.
- Dried cherries can be replaced with cranberries or chopped dried apricots.
- If you don’t have cooked sweetened condensed milk, boil a regular can (unopened) in a pot of water for 2.5–3 hours, keeping the can fully submerged at all times. Cool completely before opening.
Serving Suggestions
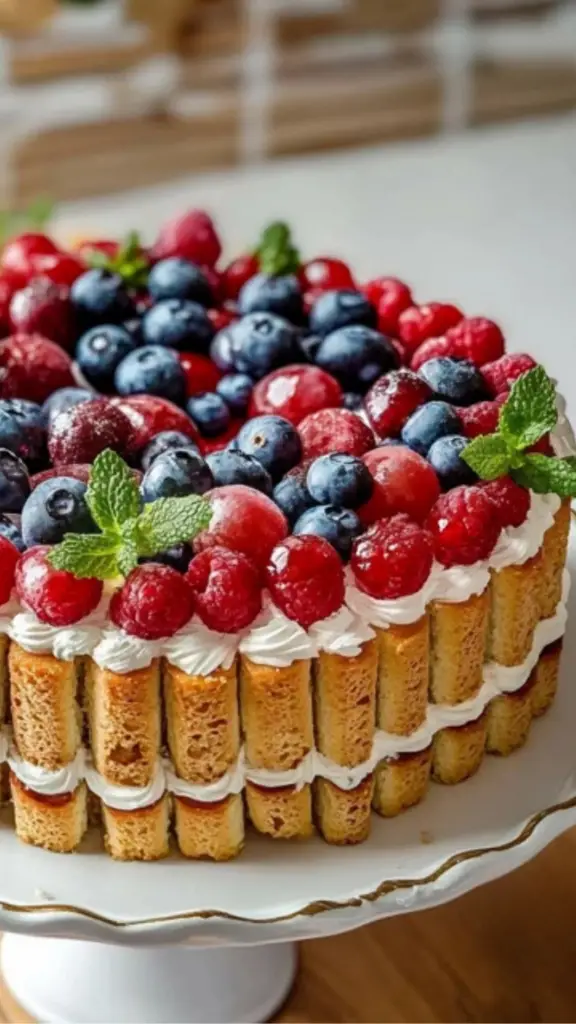
This cake is a celebration on its own but pairs beautifully with a few thoughtful additions:
- Serve with hot black tea or a light coffee to balance the richness.
- Fresh fruit, like raspberries or citrus segments, adds brightness on the side.
- For an extra touch, drizzle with a dark chocolate glaze or add a dollop of fruit preserves between the layers.
- This cake stores well in the refrigerator, tightly covered, for up to 4–5 days. The flavors often deepen and improve after a day or two.
Make-Ahead Tip: You can bake the cake layers a day in advance and store them wrapped in plastic wrap at room temperature. Assemble and frost the cake the day you plan to serve it for the freshest flavor.
Engagement Features
Don’t let the multiple layers or fancy-sounding name intimidate you—this cake is all about creativity and celebration. You don’t need a professional kitchen or years of baking experience to make something memorable. If this is your first time baking a multi-layered cake, embrace the process, and don’t stress about perfection. Each step brings you closer to a dessert that’s not only beautiful but tells a story of tradition, care, and joy.
We’d love to hear how your Russian Royal Cake turned out. Did you make any flavor swaps? How did your friends or family react when you served it? Share your experiences, tips, or questions in the comments. This community is here to support your journey, one delicious layer at a time.
Happy baking!