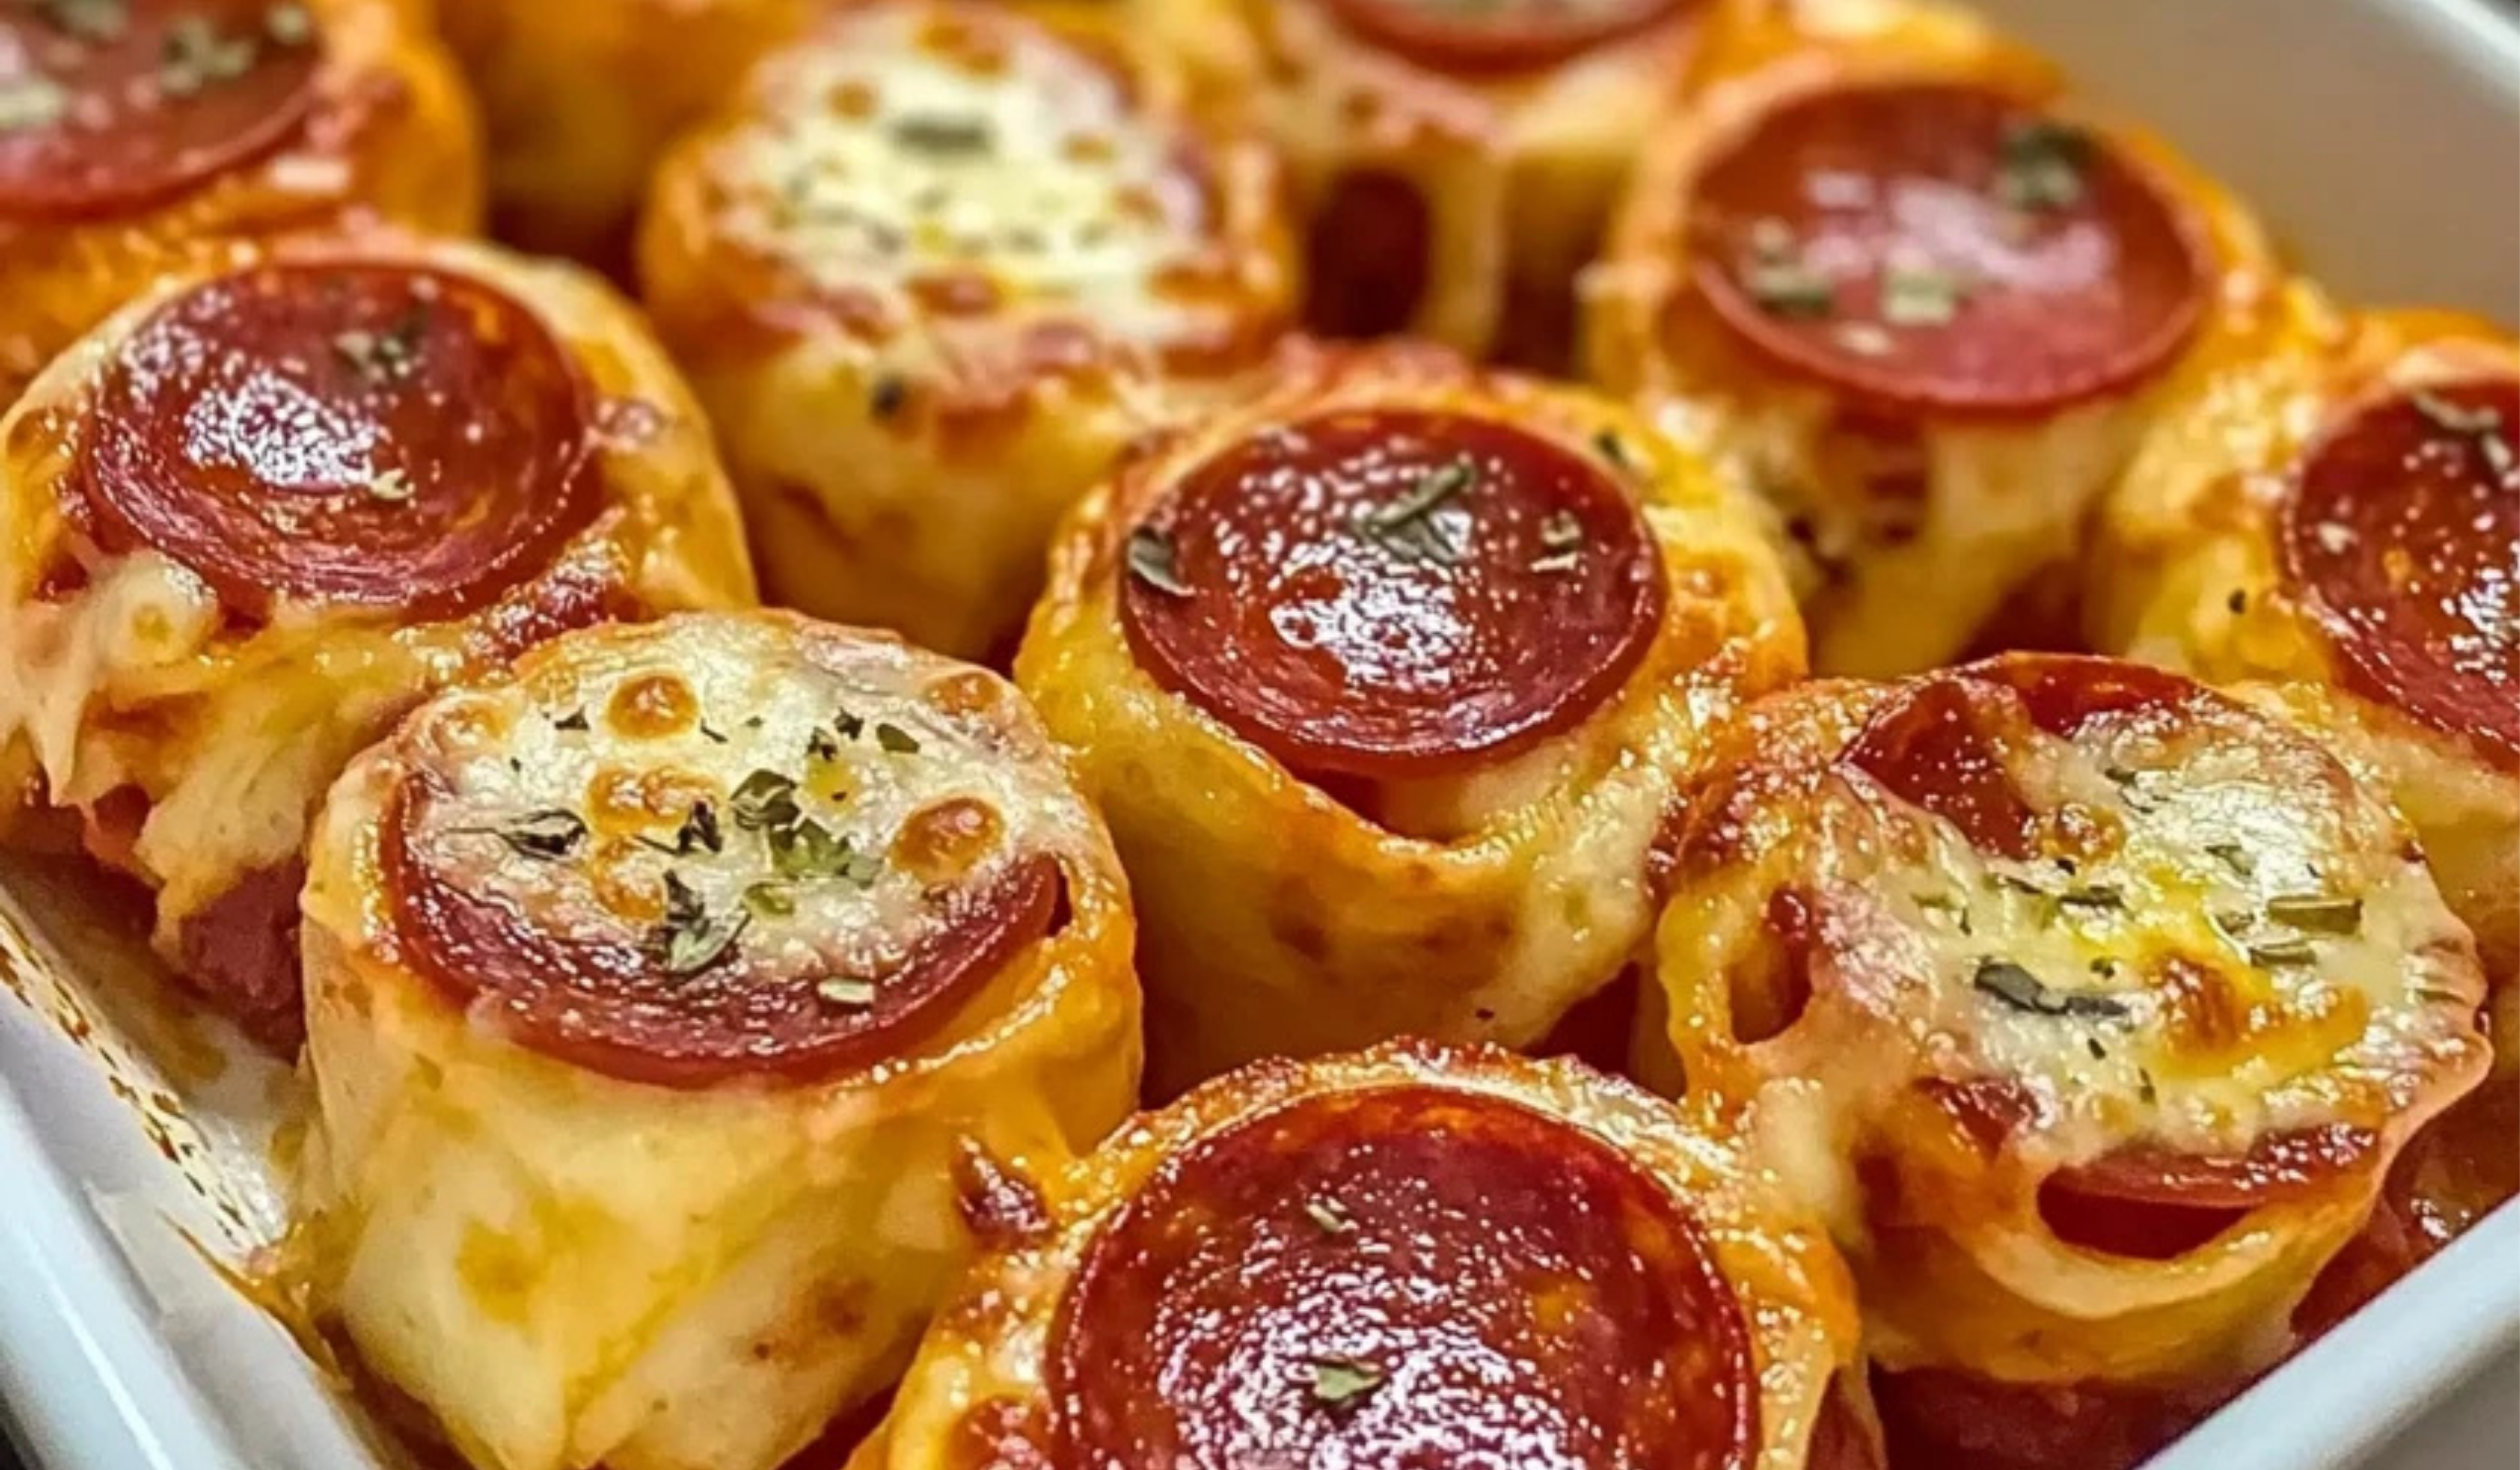
There’s something undeniably comforting about the flavors of pizza—melted cheese, flavorful seasoning, and a satisfying crunch. But what if you could enjoy all of those delicious elements without the extra carbs? That’s where these Low-Carb Cheesy Chicken Pizza Roll-Ups come in.
Print
Low-Carb Cheesy Chicken Pizza Roll-Ups: A Beginner-Friendly Delight
Craving pizza without the carbs? These Low-Carb Cheesy Chicken Pizza Roll-Ups have all the melty cheese, savory sauce, and delicious flavor—minus the guilt. Wrapped in juicy chicken and packed with pizza goodness, this easy, beginner-friendly recipe is perfect for a quick meal or snack.
- Total Time: 25 minutes
- Yield: 4 servings 1x
Ingredients
- 4 low-carb tortillas – These serve as the base for the roll-ups. Look for soft, pliable tortillas for the best texture.
- 1 cup shredded mozzarella cheese – Provides creaminess and helps bind the filling together.
- 1 cup cooked, shredded chicken – A flavorful, high-protein alternative to traditional pepperoni. You can use grilled, rotisserie, or leftover chicken.
- ½ teaspoon Italian seasoning – Enhances the classic pizza flavor.
- ½ teaspoon garlic powder – Adds depth and a hint of savory aroma.
- ¼ cup marinara sauce for dipping – A tangy, slightly sweet sauce that complements the roll-ups.
Instructions
1. Preheat the Oven
Set your oven to 400°F (200°C). This high heat ensures that the tortillas crisp up nicely while melting the cheese to perfection.
2. Prepare the Tortillas
Lay a tortilla flat on a clean surface. This is your base for layering the ingredients evenly.
3. Add the Cheese and Chicken
Sprinkle a quarter of the shredded mozzarella cheese evenly over the tortilla. Then, spread a quarter of the shredded chicken on top.
4. Season the Roll-Ups
Sprinkle a small amount of Italian seasoning and garlic powder over the cheese and chicken. This step enhances the overall flavor and makes the roll-ups taste just like pizza.
5. Roll and Place on a Baking Sheet
Starting from one edge, roll the tortilla tightly to enclose the filling. Place it seam-side down on a lined or greased baking sheet to prevent it from unrolling while baking.
6. Bake to Perfection
Place the roll-ups in the preheated oven and bake for 12-15 minutes until the tortillas are golden brown and the cheese is melted.
7. Let Cool and Slice
Allow the roll-ups to cool for a few minutes before slicing them into bite-sized pinwheels. This prevents the cheese from oozing out too much and makes them easier to handle.
8. Serve with Marinara Sauce
Enjoy the roll-ups warm with a side of marinara sauce for dipping. The sauce adds a burst of flavor and enhances the pizza-like experience.
Notes
Common Troubleshooting Advice
- Tortillas cracking? Warm them slightly in the microwave for 10-15 seconds before rolling to make them more flexible.
- Cheese spilling out while baking? Roll the tortillas tightly and make sure they are seam-side down on the baking sheet.
- Chicken drying out? If using pre-cooked chicken, mix it with a small amount of olive oil or extra cheese before rolling to keep it moist.
- Overcooked or burnt tortillas? Check your oven temperature and start checking at the 10-minute mark to ensure they don’t overbrown.
Helpful Kitchen Tips
- Efficient Prep – Have all your ingredients measured and ready before assembling the roll-ups. This makes the process faster and smoother.
- Knife Safety – Use a sharp knife when slicing the roll-ups to avoid tearing the tortilla. A serrated knife works well.
- Storage Tips – Store leftover roll-ups in an airtight container in the refrigerator for up to 3 days. Reheat them in the oven or air fryer to maintain crispiness.
- Prep Time: 10 minutes
- Cook Time: 15 minutes
I remember the first time I tried to make a homemade low-carb snack. I wanted something quick, simple, and full of flavor—without sacrificing health benefits. That’s when I discovered that tortillas could be the perfect vessel for a pizza-inspired roll-up. With a few easy steps and minimal ingredients, I had a dish that satisfied my cravings without making me feel sluggish afterward.
This recipe is perfect for beginners because it requires minimal prep work, uses common ingredients, and comes together in just 25 minutes. Whether you need a quick snack, a light meal, or a party appetizer, these roll-ups deliver. They are also highly customizable, allowing you to adjust the ingredients to suit your preferences.
Why This Recipe Works for Beginners
- Simplicity – With just a handful of ingredients and a straightforward process, this recipe is easy to follow.
- Time Efficiency – Ready in under 30 minutes, making it ideal for busy days.
- Health Benefits – A great low-carb option that still satisfies pizza cravings.
- Customizable – You can adjust the seasoning, cheese, or protein to suit your tastes.
Now, let’s dive into the details and get started on making these delicious roll-ups.
Ingredients and Preparation
Ingredients (Serves 4)
- 4 low-carb tortillas – These serve as the base for the roll-ups. Look for soft, pliable tortillas for the best texture.
- 1 cup shredded mozzarella cheese – Provides creaminess and helps bind the filling together.
- 1 cup cooked, shredded chicken – A flavorful, high-protein alternative to traditional pepperoni. You can use grilled, rotisserie, or leftover chicken.
- ½ teaspoon Italian seasoning – Enhances the classic pizza flavor.
- ½ teaspoon garlic powder – Adds depth and a hint of savory aroma.
- ¼ cup marinara sauce for dipping – A tangy, slightly sweet sauce that complements the roll-ups.
Ingredient Substitutions and Variations
- Tortillas – If you don’t have low-carb tortillas, try whole wheat or almond flour tortillas for a slightly different texture.
- Cheese – Swap mozzarella for provolone, cheddar, or a dairy-free alternative if needed.
- Protein – Instead of shredded chicken, try ground beef or thinly sliced grilled steak.
- Seasonings – Add red pepper flakes for a bit of heat or a sprinkle of parmesan for extra depth.
Step-by-Step Instructions
1. Preheat the Oven
Set your oven to 400°F (200°C). This high heat ensures that the tortillas crisp up nicely while melting the cheese to perfection.
2. Prepare the Tortillas
Lay a tortilla flat on a clean surface. This is your base for layering the ingredients evenly.
3. Add the Cheese and Chicken
Sprinkle a quarter of the shredded mozzarella cheese evenly over the tortilla. Then, spread a quarter of the shredded chicken on top.
4. Season the Roll-Ups
Sprinkle a small amount of Italian seasoning and garlic powder over the cheese and chicken. This step enhances the overall flavor and makes the roll-ups taste just like pizza.
5. Roll and Place on a Baking Sheet
Starting from one edge, roll the tortilla tightly to enclose the filling. Place it seam-side down on a lined or greased baking sheet to prevent it from unrolling while baking.
6. Bake to Perfection
Place the roll-ups in the preheated oven and bake for 12-15 minutes until the tortillas are golden brown and the cheese is melted.
7. Let Cool and Slice
Allow the roll-ups to cool for a few minutes before slicing them into bite-sized pinwheels. This prevents the cheese from oozing out too much and makes them easier to handle.
8. Serve with Marinara Sauce
Enjoy the roll-ups warm with a side of marinara sauce for dipping. The sauce adds a burst of flavor and enhances the pizza-like experience.
Beginner Tips and Notes
Common Troubleshooting Advice
- Tortillas cracking? Warm them slightly in the microwave for 10-15 seconds before rolling to make them more flexible.
- Cheese spilling out while baking? Roll the tortillas tightly and make sure they are seam-side down on the baking sheet.
- Chicken drying out? If using pre-cooked chicken, mix it with a small amount of olive oil or extra cheese before rolling to keep it moist.
- Overcooked or burnt tortillas? Check your oven temperature and start checking at the 10-minute mark to ensure they don’t overbrown.
Helpful Kitchen Tips
- Efficient Prep – Have all your ingredients measured and ready before assembling the roll-ups. This makes the process faster and smoother.
- Knife Safety – Use a sharp knife when slicing the roll-ups to avoid tearing the tortilla. A serrated knife works well.
- Storage Tips – Store leftover roll-ups in an airtight container in the refrigerator for up to 3 days. Reheat them in the oven or air fryer to maintain crispiness.

Serving Suggestions
Perfect Pairings
These Low-Carb Cheesy Chicken Pizza Roll-Ups can be enjoyed on their own or paired with a variety of side dishes. Here are some great options:
- Fresh Green Salad – A light, refreshing salad with a lemon vinaigrette balances out the richness of the cheese.
- Roasted Vegetables – Serve with a side of roasted zucchini, bell peppers, or asparagus for added nutrients.
- Garlic Butter Broccoli – Steamed or sautéed broccoli tossed in garlic butter complements the flavors of the roll-ups.
- Homemade Dipping Sauces – Try a garlic aioli, spicy sriracha mayo, or a creamy ranch dressing for variety.
How to Store and Reheat
- Refrigeration – Store leftover roll-ups in an airtight container for up to 3 days.
- Freezing – You can freeze unbaked roll-ups for later use. Wrap them individually in plastic wrap and store them in a freezer bag. Bake directly from frozen, adding a few extra minutes to the cooking time.
- Reheating – For best results, reheat in a toaster oven or air fryer at 350°F (175°C) for 5-7 minutes. Avoid microwaving, as it can make the tortillas soggy.
Conclusion: Try This Easy Low-Carb Recipe Today
If you’re new to cooking or looking for an easy, satisfying low-carb recipe, these Cheesy Chicken Pizza Roll-Ups are a great place to start. They’re simple, quick, and packed with flavor, making them a perfect meal or snack option. Plus, they’re versatile enough to customize based on your preferences.
I encourage you to give this recipe a try and see just how easy homemade, healthy, and delicious meals can be. Whether you’re making them for yourself, your family, or even as a party appetizer, these roll-ups are sure to impress.
Have you tried this recipe? Let me know how it turned out for you. Feel free to share any modifications you made or serving ideas in the comments. Happy cooking!