There’s something undeniably comforting about warm, gooey cheese wrapped in soft, fluffy dough, all coated in a rich garlic butter glaze. Whether you’re making these for a party, a family gathering, or just as a treat for yourself, Garlic Butter Cheese Bombs are an easy and satisfying recipe that delivers big flavor with minimal effort.
Print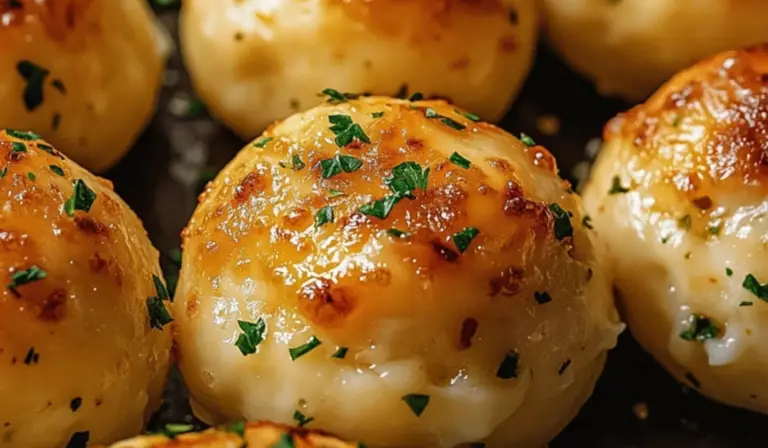
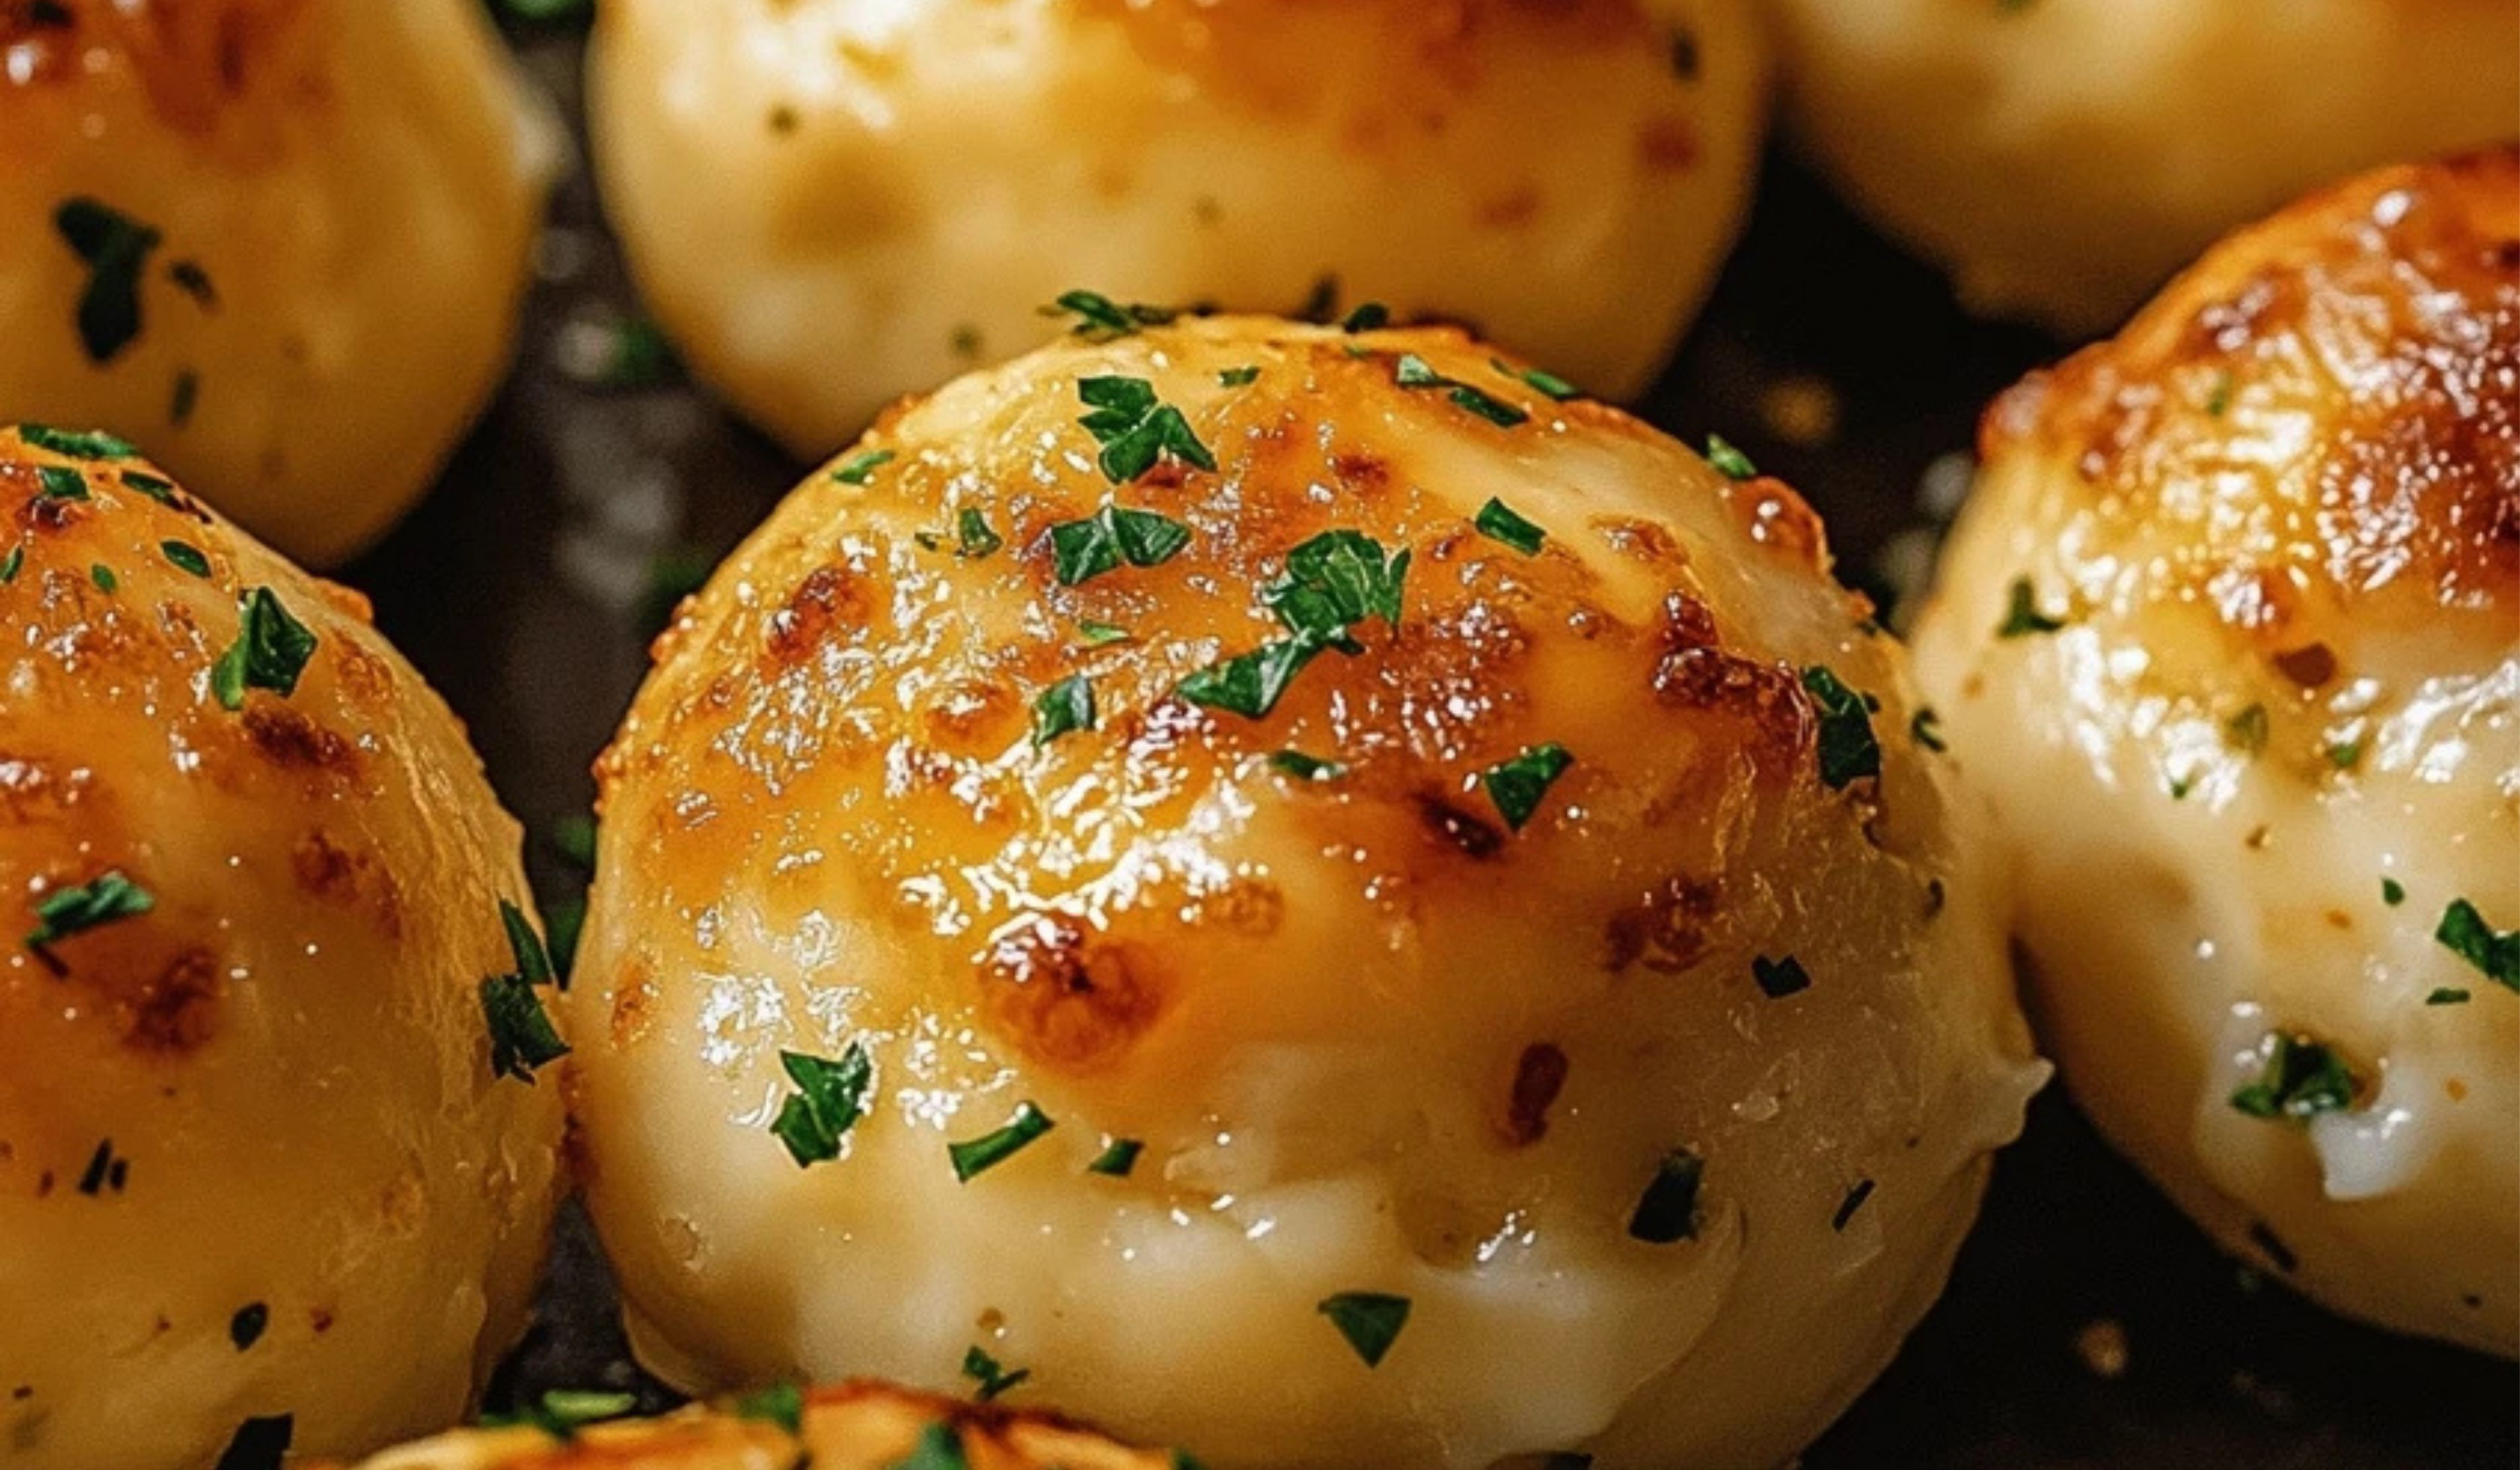
Garlic Butter Cheese Bombs: A Beginner-Friendly Recipe for Gooey Perfection
Golden, fluffy, and bursting with gooey cheese—these Garlic Butter Cheese Bombs are the ultimate snack or side dish. Coated in rich, buttery garlic goodness, every bite is pure comfort. Beginner-friendly and ready in minutes, they’re perfect for any occasion!
- Total Time: 30 minutes
- Yield: 12–15 cheese bombs 1x
Ingredients
For the Dough:
- 1 can refrigerated biscuit dough (8-count)
For the Filling:
- 1 cup shredded mozzarella cheese (or substitute with cheddar, Monterey Jack, or provolone)
- ½ cup cooked and seasoned shredded chicken or ground beef (optional, for added protein)
For the Garlic Butter Coating:
- ¼ cup unsalted butter, melted
- 2 teaspoons garlic powder (or 3–4 fresh garlic cloves, minced)
- 1 teaspoon dried parsley (or fresh, finely chopped)
- ¼ teaspoon salt
- ¼ teaspoon black pepper
- ¼ teaspoon paprika (optional, for a hint of spice)
Instructions
1. Prepare the Dough and Filling
- Preheat your oven to 375°F (190°C).
- Open the can of refrigerated biscuit dough and separate the biscuits. Using your hands or a rolling pin, gently flatten each biscuit into a thin circle, about 3 inches in diameter.
- Place about 1-2 tablespoons of shredded cheese in the center of each flattened dough circle. If you are adding chicken or beef, place about 1 teaspoon of cooked meat on top of the cheese.
- Carefully fold the edges of the dough over the filling, pinching the seams tightly to seal. Roll each filled dough piece into a smooth ball, ensuring there are no open gaps where the cheese might leak out.
2. Prepare the Garlic Butter Coating
- In a small bowl, melt the butter in the microwave or on the stovetop.
- Stir in the garlic powder (or minced fresh garlic), parsley, salt, black pepper, and paprika until well combined.
3. Coat and Bake the Cheese Bombs
- Dip each cheese bomb into the garlic butter mixture, coating it evenly on all sides.
- Place the coated cheese bombs on a baking sheet lined with parchment paper or in a greased baking dish. Leave a little space between them to allow for expansion during baking.
- Bake in the preheated oven for 12-15 minutes, or until the cheese bombs are golden brown and the dough is fully cooked.
4. Serve and Enjoy
- Let the cheese bombs cool for a few minutes before serving to avoid burning your mouth on the hot cheese.
- For an extra touch, brush any remaining garlic butter mixture over the cheese bombs before serving. Sprinkle with additional parsley or grated Parmesan cheese for added flavor.
Notes
- Sealing the Dough – Make sure the edges of the dough are well-sealed to prevent cheese from oozing out during baking.
- Checking for Doneness – The cheese bombs should be golden brown on the outside. If unsure, gently press the dough—if it feels firm and not doughy, they are ready.
- Avoid Overstuffing – Adding too much cheese or filling can cause the bombs to burst open while baking. Stick to about 1-2 tablespoons of cheese per bomb.
- Storage Tips – Store leftovers in an airtight container in the refrigerator for up to 3 days. Reheat in the oven at 350°F (175°C) for 5 minutes to maintain crispiness.
- Freezing Option – You can freeze unbaked cheese bombs for later. Once assembled, place them on a baking sheet and freeze until solid. Transfer to a zip-top bag and store for up to 2 months. When ready to bake, add an extra 2-3 minutes to the baking time.
- Prep Time: 15 minutes
- Cook Time: 15 minutes
I still remember the first time I made these for a casual dinner with friends. The scent of garlic and butter filled the kitchen, and before they even came out of the oven, everyone was eagerly waiting to dig in. What makes these cheese bombs special is how simple yet impressive they are. The combination of crispy, golden-brown dough with a melty cheese center is irresistible, and the versatility of the recipe means you can customize them with your favorite cheeses, herbs, or even a protein filling like seasoned chicken or beef.
This recipe is perfect for beginners because it uses pre-made refrigerated biscuit dough, reducing the prep time while still giving you a freshly baked result. If you’ve ever felt intimidated by making bread or dough from scratch, this is a great way to get comfortable working with dough without the hassle of kneading and rising times.
Whether you are making these as an appetizer, a snack, or a side dish, these Garlic Butter Cheese Bombs are guaranteed to be a crowd-pleaser. They pair beautifully with soups, salads, and even pasta dishes, making them a versatile addition to your meal planning.
Why You’ll Love This Recipe
- Gooey Cheese Center – Every bite is filled with warm, melted cheese, making these bombs absolutely addictive.
- Garlic Butter Coating – The rich garlic butter glaze adds a deliciously savory touch that enhances the overall flavor.
- Soft and Fluffy Dough – The pre-made biscuit dough bakes up golden brown and soft, giving a perfect texture contrast to the gooey cheese inside.
- Beginner-Friendly – This recipe is easy to follow and doesn’t require any advanced cooking skills.
- Customizable – Swap out the cheese, add herbs, or include cooked chicken or beef for a heartier version.
- Quick and Easy – With a prep time of just 15 minutes and a bake time of 15 minutes, you can have these ready in under 30 minutes.
Ingredients
For the Dough:
- 1 can refrigerated biscuit dough (8-count)
For the Filling:
- 1 cup shredded mozzarella cheese (or substitute with cheddar, Monterey Jack, or provolone)
- ½ cup cooked and seasoned shredded chicken or ground beef (optional, for added protein)
For the Garlic Butter Coating:
- ¼ cup unsalted butter, melted
- 2 teaspoons garlic powder (or 3-4 fresh garlic cloves, minced)
- 1 teaspoon dried parsley (or fresh, finely chopped)
- ¼ teaspoon salt
- ¼ teaspoon black pepper
- ¼ teaspoon paprika (optional, for a hint of spice)
Ingredient Substitutions and Variations:
- Cheese Options – Use a blend of cheeses for added flavor, such as mozzarella and sharp cheddar.
- Dough Alternatives – Crescent roll dough or pizza dough can also be used in place of biscuit dough.
- Herbs & Seasoning – Fresh basil, oregano, or thyme can add a unique twist to the garlic butter glaze.
- Spicy Kick – A pinch of red pepper flakes in the garlic butter gives these bombs a slight heat.
Step-by-Step Instructions
1. Prepare the Dough and Filling
- Preheat your oven to 375°F (190°C).
- Open the can of refrigerated biscuit dough and separate the biscuits. Using your hands or a rolling pin, gently flatten each biscuit into a thin circle, about 3 inches in diameter.
- Place about 1-2 tablespoons of shredded cheese in the center of each flattened dough circle. If you are adding chicken or beef, place about 1 teaspoon of cooked meat on top of the cheese.
- Carefully fold the edges of the dough over the filling, pinching the seams tightly to seal. Roll each filled dough piece into a smooth ball, ensuring there are no open gaps where the cheese might leak out.
2. Prepare the Garlic Butter Coating
- In a small bowl, melt the butter in the microwave or on the stovetop.
- Stir in the garlic powder (or minced fresh garlic), parsley, salt, black pepper, and paprika until well combined.
3. Coat and Bake the Cheese Bombs
- Dip each cheese bomb into the garlic butter mixture, coating it evenly on all sides.
- Place the coated cheese bombs on a baking sheet lined with parchment paper or in a greased baking dish. Leave a little space between them to allow for expansion during baking.
- Bake in the preheated oven for 12-15 minutes, or until the cheese bombs are golden brown and the dough is fully cooked.
4. Serve and Enjoy
- Let the cheese bombs cool for a few minutes before serving to avoid burning your mouth on the hot cheese.
- For an extra touch, brush any remaining garlic butter mixture over the cheese bombs before serving. Sprinkle with additional parsley or grated Parmesan cheese for added flavor.
Beginner Tips and Notes
- Sealing the Dough – Make sure the edges of the dough are well-sealed to prevent cheese from oozing out during baking.
- Checking for Doneness – The cheese bombs should be golden brown on the outside. If unsure, gently press the dough—if it feels firm and not doughy, they are ready.
- Avoid Overstuffing – Adding too much cheese or filling can cause the bombs to burst open while baking. Stick to about 1-2 tablespoons of cheese per bomb.
- Storage Tips – Store leftovers in an airtight container in the refrigerator for up to 3 days. Reheat in the oven at 350°F (175°C) for 5 minutes to maintain crispiness.
- Freezing Option – You can freeze unbaked cheese bombs for later. Once assembled, place them on a baking sheet and freeze until solid. Transfer to a zip-top bag and store for up to 2 months. When ready to bake, add an extra 2-3 minutes to the baking time.

Serving Suggestions
These Garlic Butter Cheese Bombs are versatile and can be served in multiple ways:
- As an Appetizer – Serve with marinara sauce, ranch dressing, or a spicy sriracha mayo dip.
- Alongside Soup – Pair with tomato soup, creamy potato soup, or a hearty beef stew.
- With a Salad – A fresh green salad with a lemon vinaigrette balances the richness of the cheese bombs.
- As a Side Dish – Serve with grilled chicken, steak, or pasta for a satisfying meal.
For a more indulgent version, try stuffing the bombs with a mix of cheese and caramelized onions, or brush them with garlic parmesan butter for an extra layer of flavor.
Conclusion
Garlic Butter Cheese Bombs are an easy and delicious recipe that anyone can make, even with minimal kitchen experience. Their simple preparation, gooey cheese center, and rich garlic butter coating make them a perfect choice for parties, gatherings, or even a quick snack at home.
If you’re new to cooking, this recipe is a great way to build confidence in the kitchen. With just a few ingredients and straightforward steps, you can create a dish that looks impressive and tastes amazing.
I’d love to hear how your cheese bombs turned out! Did you try any unique variations or serving ideas? Share your experiences in the comments and let’s talk about all things cheesy and delicious. Happy cooking!