Cooking can be intimidating when you’re just starting out, especially when it feels like every recipe requires a fully stocked kitchen or years of experience. That’s why this Coconut Whipped Cream recipe is the perfect place to begin. It’s simple, satisfying, and requires only a few ingredients. Best of all, it’s completely dairy-free, making it a wonderful choice for those with dietary restrictions or anyone simply looking for a light, plant-based alternative to traditional whipped cream.
Print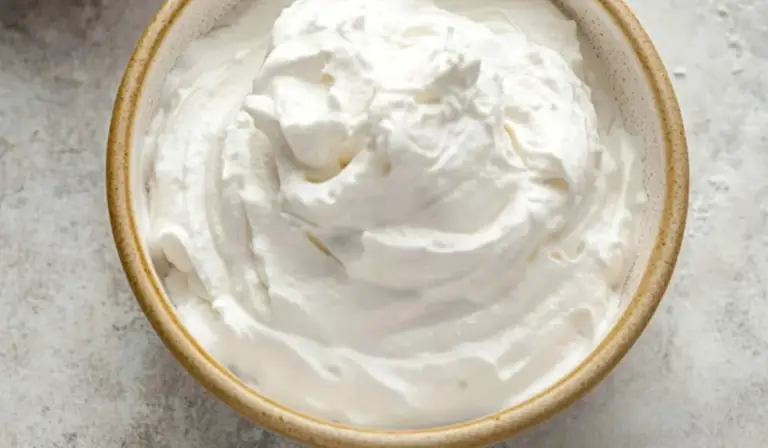
How to Make Coconut Whipped Cream: A Simple, Creamy Treat for Beginners
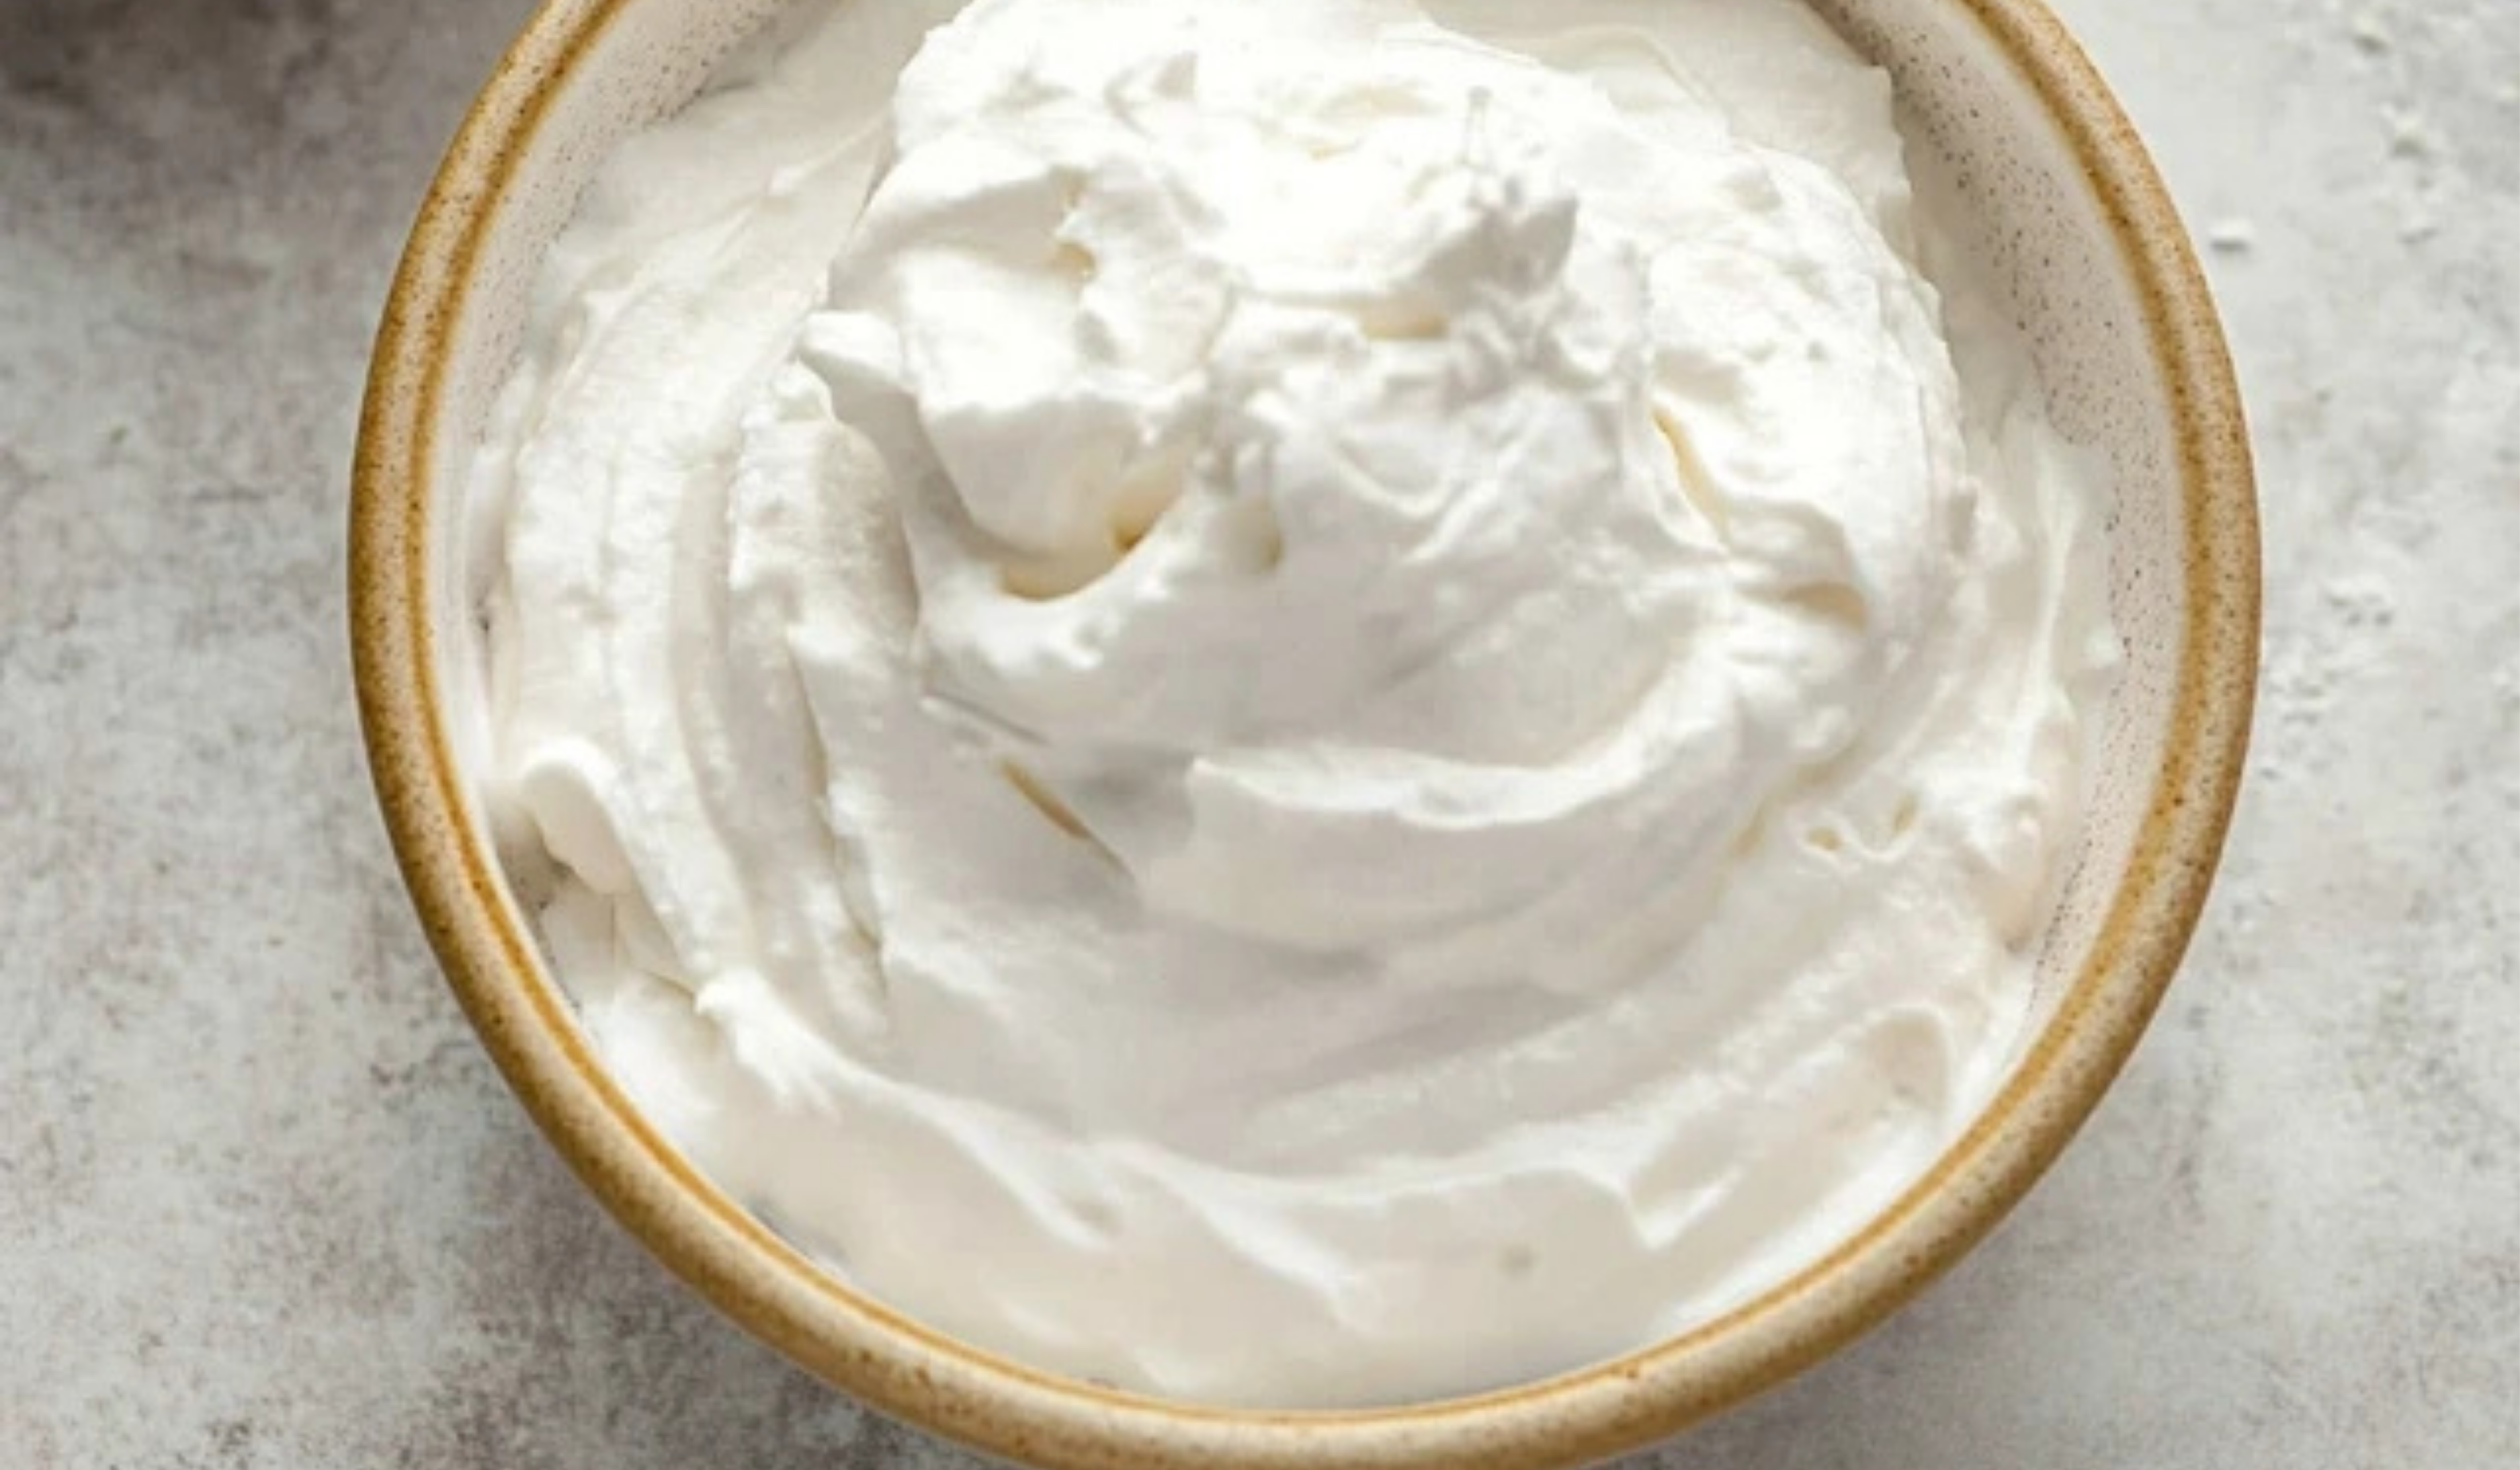
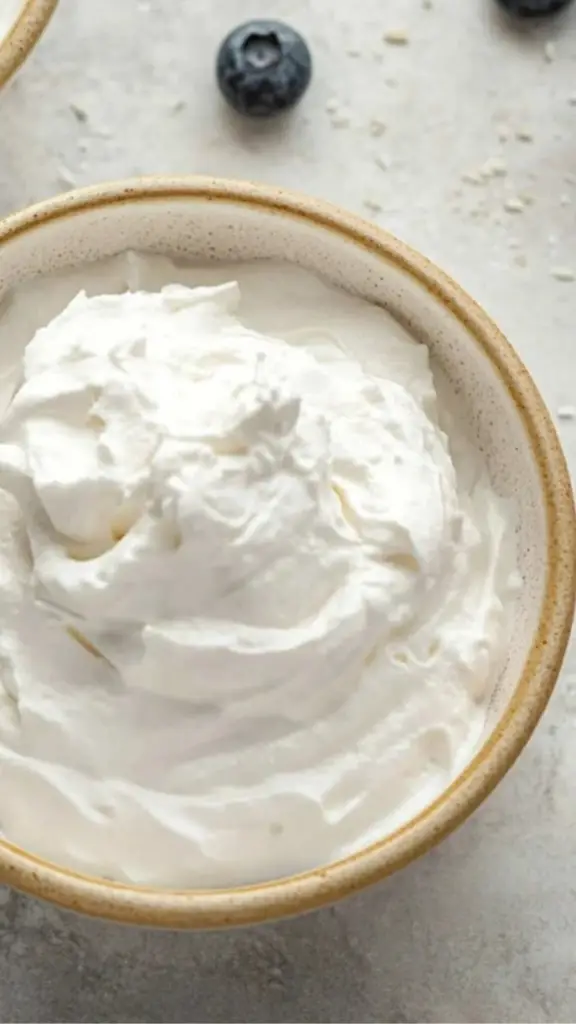
Light, fluffy, and naturally dairy-free—this Coconut Whipped Cream is the perfect topper for desserts, fruits, or coffee! Easy to make and irresistibly creamy. 🥥🍓☁️
- Total Time: 10 minutes
- Yield: 1 to 1.5 cups (about 6 servings) 1x
Ingredients
- 13.5 ounces of coconut cream
- Alternative: Full-fat canned coconut milk (with only coconut and water in the ingredients)
- 2 tablespoons of powdered sugar
- Alternative: Maple syrup, honey (if not vegan), or a sugar substitute like stevia
- 1 teaspoon of vanilla extract
- Alternative: Almond extract, or citrus zest such as lemon or orange for a brighter flavor
Equipment Needed
- A stand mixer with a whisk attachment (recommended) or a handheld electric mixer
- A mixing bowl (preferably metal or glass, chilled for best results)
- A spatula for scraping and serving
Instructions
Step 1: Chill Your Equipment Place your mixing bowl and whisk attachment in the freezer for 10–15 minutes before you begin. Cold equipment helps maintain the texture and volume of your whipped cream.
Step 2: Scoop the Coconut Cream Carefully open your can of chilled coconut cream or coconut milk. Using a spoon, scoop the solid cream into your mixing bowl. Leave the liquid behind (this is coconut water and can be saved for smoothies or other recipes).
Step 3: Begin Whipping Start whipping the coconut cream on medium speed. After about 1 minute, the mixture should begin to fluff and resemble traditional whipped cream.
Step 4: Add Sugar and Vanilla Add in the powdered sugar and vanilla extract. Continue to beat for another 1–2 minutes, until the mixture becomes light, airy, and smooth. If you’re using a different sweetener, adjust quantities to taste. Stop whipping once you reach soft peaks.
Step 5: Taste and Adjust Give the whipped cream a quick taste. If you want more sweetness or a stronger vanilla flavor, gently fold in a bit more sugar or extract. Just be careful not to overmix, as coconut cream can become grainy if overwhipped.
Step 6: Serve Immediately For the best texture, serve the coconut whipped cream the same day you make it. It can be stored in the refrigerator for a day or two, but it may harden slightly or separate, in which case a quick re-whip may be necessary.
Notes
- Use the Right Coconut Product: Not all coconut products are created equal. Look for full-fat coconut cream with no additives. A good tip is to gently shake the can at the store—if it feels solid, it’s likely to whip well.
- Avoid Overmixing: Whipping for too long can break down the structure of the cream and lead to a grainy or oily texture. Once you see soft peaks forming, stop mixing.
- Troubleshooting Separation: If your whipped cream separates in the bowl, you can try chilling it again and gently re-whipping. Sometimes adding a little bit of tapioca starch or arrowroot powder (1/4 teaspoon) can help stabilize it.
- Efficient Prep: Plan ahead by keeping a can or two of coconut cream in your fridge at all times. That way, you’ll be ready whenever you need a quick, dairy-free whipped topping.
- No Fancy Tools? You can make this recipe with a handheld whisk, but be prepared for a bit of an arm workout. A hand mixer is a great middle ground if you don’t have a stand mixer.
- Flavor Twists: Add 1–2 teaspoons of citrus zest (like lemon, lime, or orange) for a fresh burst of flavor. For a warmer taste, consider a dash of cinnamon or nutmeg.
- Prep Time: 10 minutes
I still remember the first time I tried to make whipped cream from a can of coconut cream. I’d read about it online, seen stunning pictures of fluffy, cloud-like peaks, and thought, “I can do that.” The result was far from perfect, but even that first attempt tasted delicious. Since then, I’ve learned a few key tips that make all the difference. This article will walk you through every step of the process so that you can avoid the common pitfalls and achieve great results, even if you’ve never picked up a whisk before.
Whether you’re dressing up a bowl of fruit, topping a warm stack of pancakes, or adding the finishing touch to a dessert, this coconut whipped cream is versatile, flavorful, and easy to master. If you’re just beginning your cooking journey, this is a great recipe to start with—minimal equipment, quick prep, and room for creativity.
Ingredients and Preparation
This recipe uses only three ingredients and one essential piece of equipment. Despite its simplicity, the results are luxurious and rich, with a soft texture and subtle coconut-vanilla flavor.
Ingredients
- 13.5 ounces of coconut cream
- Alternative: Full-fat canned coconut milk (with only coconut and water in the ingredients)
- 2 tablespoons of powdered sugar
- Alternative: Maple syrup, honey (if not vegan), or a sugar substitute like stevia
- 1 teaspoon of vanilla extract
- Alternative: Almond extract, or citrus zest such as lemon or orange for a brighter flavor
Equipment Needed
- A stand mixer with a whisk attachment (recommended) or a handheld electric mixer
- A mixing bowl (preferably metal or glass, chilled for best results)
- A spatula for scraping and serving
Preparation Tips
Before you begin, the most important step is to chill your coconut cream or milk in the refrigerator for at least 24 hours, preferably 48. This allows the fat to separate from the liquid, making it easier to whip into a thick, stable cream. Do not shake the can before opening—you’re looking to scoop out only the solidified cream.
If you’re using coconut milk, make sure it’s full-fat and does not contain added stabilizers or emulsifiers, as these can prevent separation and result in a runny mixture. Brands vary greatly in quality and consistency, so you may need to experiment. Some cooks have found success with brands like Native Forest or 365 Whole Foods, while others avoid brands like Thai Kitchen, which often fails to separate properly.
Step-by-Step Instructions
Step 1: Chill Your Equipment
Place your mixing bowl and whisk attachment in the freezer for 10–15 minutes before you begin. Cold equipment helps maintain the texture and volume of your whipped cream.
Step 2: Scoop the Coconut Cream
Carefully open your can of chilled coconut cream or coconut milk. Using a spoon, scoop the solid cream into your mixing bowl. Leave the liquid behind (this is coconut water and can be saved for smoothies or other recipes).
Step 3: Begin Whipping
Start whipping the coconut cream on medium speed. After about 1 minute, the mixture should begin to fluff and resemble traditional whipped cream.
Step 4: Add Sugar and Vanilla
Add in the powdered sugar and vanilla extract. Continue to beat for another 1–2 minutes, until the mixture becomes light, airy, and smooth. If you’re using a different sweetener, adjust quantities to taste. Stop whipping once you reach soft peaks.
Step 5: Taste and Adjust
Give the whipped cream a quick taste. If you want more sweetness or a stronger vanilla flavor, gently fold in a bit more sugar or extract. Just be careful not to overmix, as coconut cream can become grainy if overwhipped.
Step 6: Serve Immediately
For the best texture, serve the coconut whipped cream the same day you make it. It can be stored in the refrigerator for a day or two, but it may harden slightly or separate, in which case a quick re-whip may be necessary.
Beginner Tips and Notes
Understanding the quirks of coconut cream is the key to success. Here are a few practical tips to help you avoid the most common beginner mistakes:
- Use the Right Coconut Product: Not all coconut products are created equal. Look for full-fat coconut cream with no additives. A good tip is to gently shake the can at the store—if it feels solid, it’s likely to whip well.
- Avoid Overmixing: Whipping for too long can break down the structure of the cream and lead to a grainy or oily texture. Once you see soft peaks forming, stop mixing.
- Troubleshooting Separation: If your whipped cream separates in the bowl, you can try chilling it again and gently re-whipping. Sometimes adding a little bit of tapioca starch or arrowroot powder (1/4 teaspoon) can help stabilize it.
- Efficient Prep: Plan ahead by keeping a can or two of coconut cream in your fridge at all times. That way, you’ll be ready whenever you need a quick, dairy-free whipped topping.
- No Fancy Tools? You can make this recipe with a handheld whisk, but be prepared for a bit of an arm workout. A hand mixer is a great middle ground if you don’t have a stand mixer.
- Flavor Twists: Add 1–2 teaspoons of citrus zest (like lemon, lime, or orange) for a fresh burst of flavor. For a warmer taste, consider a dash of cinnamon or nutmeg.
Serving Suggestions
Coconut whipped cream is incredibly versatile and can elevate both everyday snacks and special desserts. Here are some ideas to inspire your creativity:
- With Fresh Fruit: Top a bowl of strawberries, blueberries, or mango slices for a light and refreshing dessert. The richness of the coconut cream balances the natural sweetness of fruit beautifully.
- On Pancakes or Waffles: Swap out syrup and butter for a big spoonful of coconut whipped cream, and maybe a drizzle of honey or chocolate sauce.
- As a Cake or Cupcake Topping: Use it like frosting for a dairy-free alternative. It’s particularly good on carrot cake, banana bread, or vanilla cupcakes.
- In Beverages: Add a dollop to your hot chocolate, iced coffee, or even a smoothie for extra richness.
- As a Dip: Serve it in a small bowl with sliced apples, pears, or graham crackers for a simple snack platter.
Storage Tips
If you have leftovers, store them in an airtight container in the fridge. The cream will likely firm up after a few hours, so you may want to let it sit at room temperature for a few minutes or re-whip briefly before serving. Do not freeze coconut whipped cream, as the texture will become unpleasant once thawed.
Engagement Features
One of the joys of learning to cook is seeing how a simple recipe can turn into something deeply satisfying. Coconut whipped cream is one of those recipes that welcomes experimentation. Once you’ve tried it a couple of times, you may start imagining new ways to tweak the flavors or incorporate it into your favorite treats.
If you’ve made this recipe, share your experience in the comments. Did you try a different sweetener or flavor? Did you find a coconut milk brand that worked especially well? Your tips might help another beginner avoid the common first-time frustrations. Cooking is as much about community as it is about technique, and your voice matters.
Whether you’re brand new to the kitchen or just looking to add a new dairy-free dessert topping to your repertoire, this recipe is a great place to start. With minimal ingredients, no complicated techniques, and plenty of room for personalization, coconut whipped cream proves that cooking doesn’t need to be intimidating—it just needs to be inviting.
Try it out, have fun, and don’t worry about getting it perfect on the first go. The best lessons in the kitchen come from doing, tasting, and sometimes even failing. Each time you make it, you’ll get a little better—and a little more confident. That’s what cooking is all about.