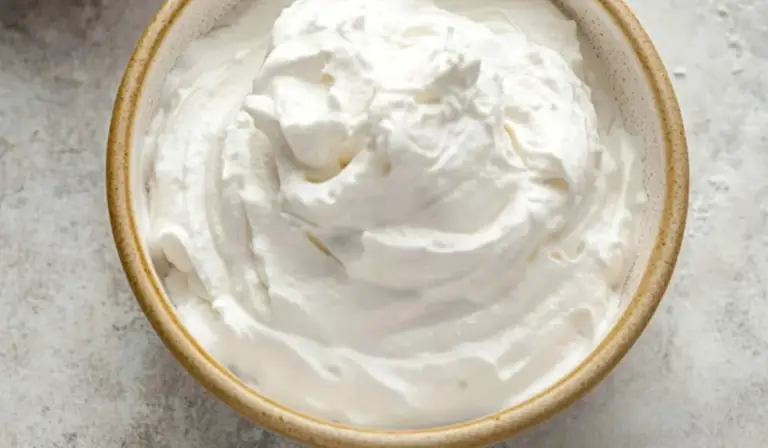
Ingredients
- 13.5 ounces of coconut cream
- Alternative: Full-fat canned coconut milk (with only coconut and water in the ingredients)
- 2 tablespoons of powdered sugar
- Alternative: Maple syrup, honey (if not vegan), or a sugar substitute like stevia
- 1 teaspoon of vanilla extract
- Alternative: Almond extract, or citrus zest such as lemon or orange for a brighter flavor
Equipment Needed
- A stand mixer with a whisk attachment (recommended) or a handheld electric mixer
- A mixing bowl (preferably metal or glass, chilled for best results)
- A spatula for scraping and serving
Instructions
Step 1: Chill Your Equipment Place your mixing bowl and whisk attachment in the freezer for 10–15 minutes before you begin. Cold equipment helps maintain the texture and volume of your whipped cream.
Step 2: Scoop the Coconut Cream Carefully open your can of chilled coconut cream or coconut milk. Using a spoon, scoop the solid cream into your mixing bowl. Leave the liquid behind (this is coconut water and can be saved for smoothies or other recipes).
Step 3: Begin Whipping Start whipping the coconut cream on medium speed. After about 1 minute, the mixture should begin to fluff and resemble traditional whipped cream.
Step 4: Add Sugar and Vanilla Add in the powdered sugar and vanilla extract. Continue to beat for another 1–2 minutes, until the mixture becomes light, airy, and smooth. If you’re using a different sweetener, adjust quantities to taste. Stop whipping once you reach soft peaks.
Step 5: Taste and Adjust Give the whipped cream a quick taste. If you want more sweetness or a stronger vanilla flavor, gently fold in a bit more sugar or extract. Just be careful not to overmix, as coconut cream can become grainy if overwhipped.
Step 6: Serve Immediately For the best texture, serve the coconut whipped cream the same day you make it. It can be stored in the refrigerator for a day or two, but it may harden slightly or separate, in which case a quick re-whip may be necessary.
Notes
- Use the Right Coconut Product: Not all coconut products are created equal. Look for full-fat coconut cream with no additives. A good tip is to gently shake the can at the store—if it feels solid, it’s likely to whip well.
- Avoid Overmixing: Whipping for too long can break down the structure of the cream and lead to a grainy or oily texture. Once you see soft peaks forming, stop mixing.
- Troubleshooting Separation: If your whipped cream separates in the bowl, you can try chilling it again and gently re-whipping. Sometimes adding a little bit of tapioca starch or arrowroot powder (1/4 teaspoon) can help stabilize it.
- Efficient Prep: Plan ahead by keeping a can or two of coconut cream in your fridge at all times. That way, you’ll be ready whenever you need a quick, dairy-free whipped topping.
- No Fancy Tools? You can make this recipe with a handheld whisk, but be prepared for a bit of an arm workout. A hand mixer is a great middle ground if you don’t have a stand mixer.
- Flavor Twists: Add 1–2 teaspoons of citrus zest (like lemon, lime, or orange) for a fresh burst of flavor. For a warmer taste, consider a dash of cinnamon or nutmeg.
- Prep Time: 10 minutes