There’s something special about the rich aroma of chocolate cookies baking in the oven—a scent that brings back childhood memories of cozy kitchens and sweet indulgence. If you’ve ever wanted to recreate that nostalgic experience but felt unsure about your baking skills, you’re in the right place. This old-fashioned chocolate cookie recipe is perfect for beginners, combining classic flavors with simple, straightforward techniques.
Print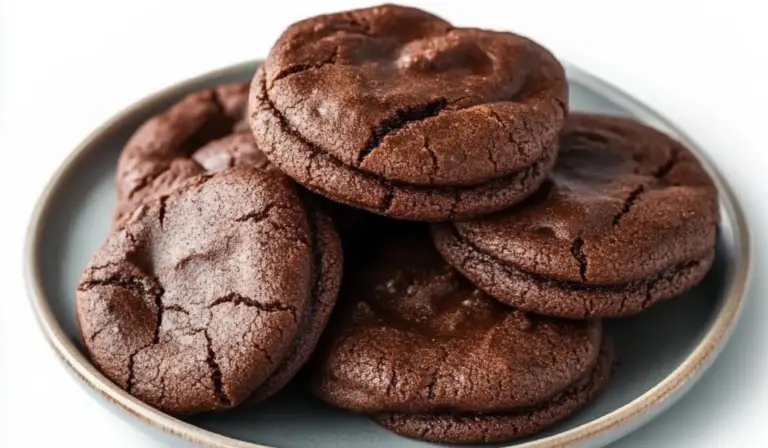
The Ultimate Guide to Making Old-Fashioned Chocolate Cookies: A Timeless Treat for Beginners
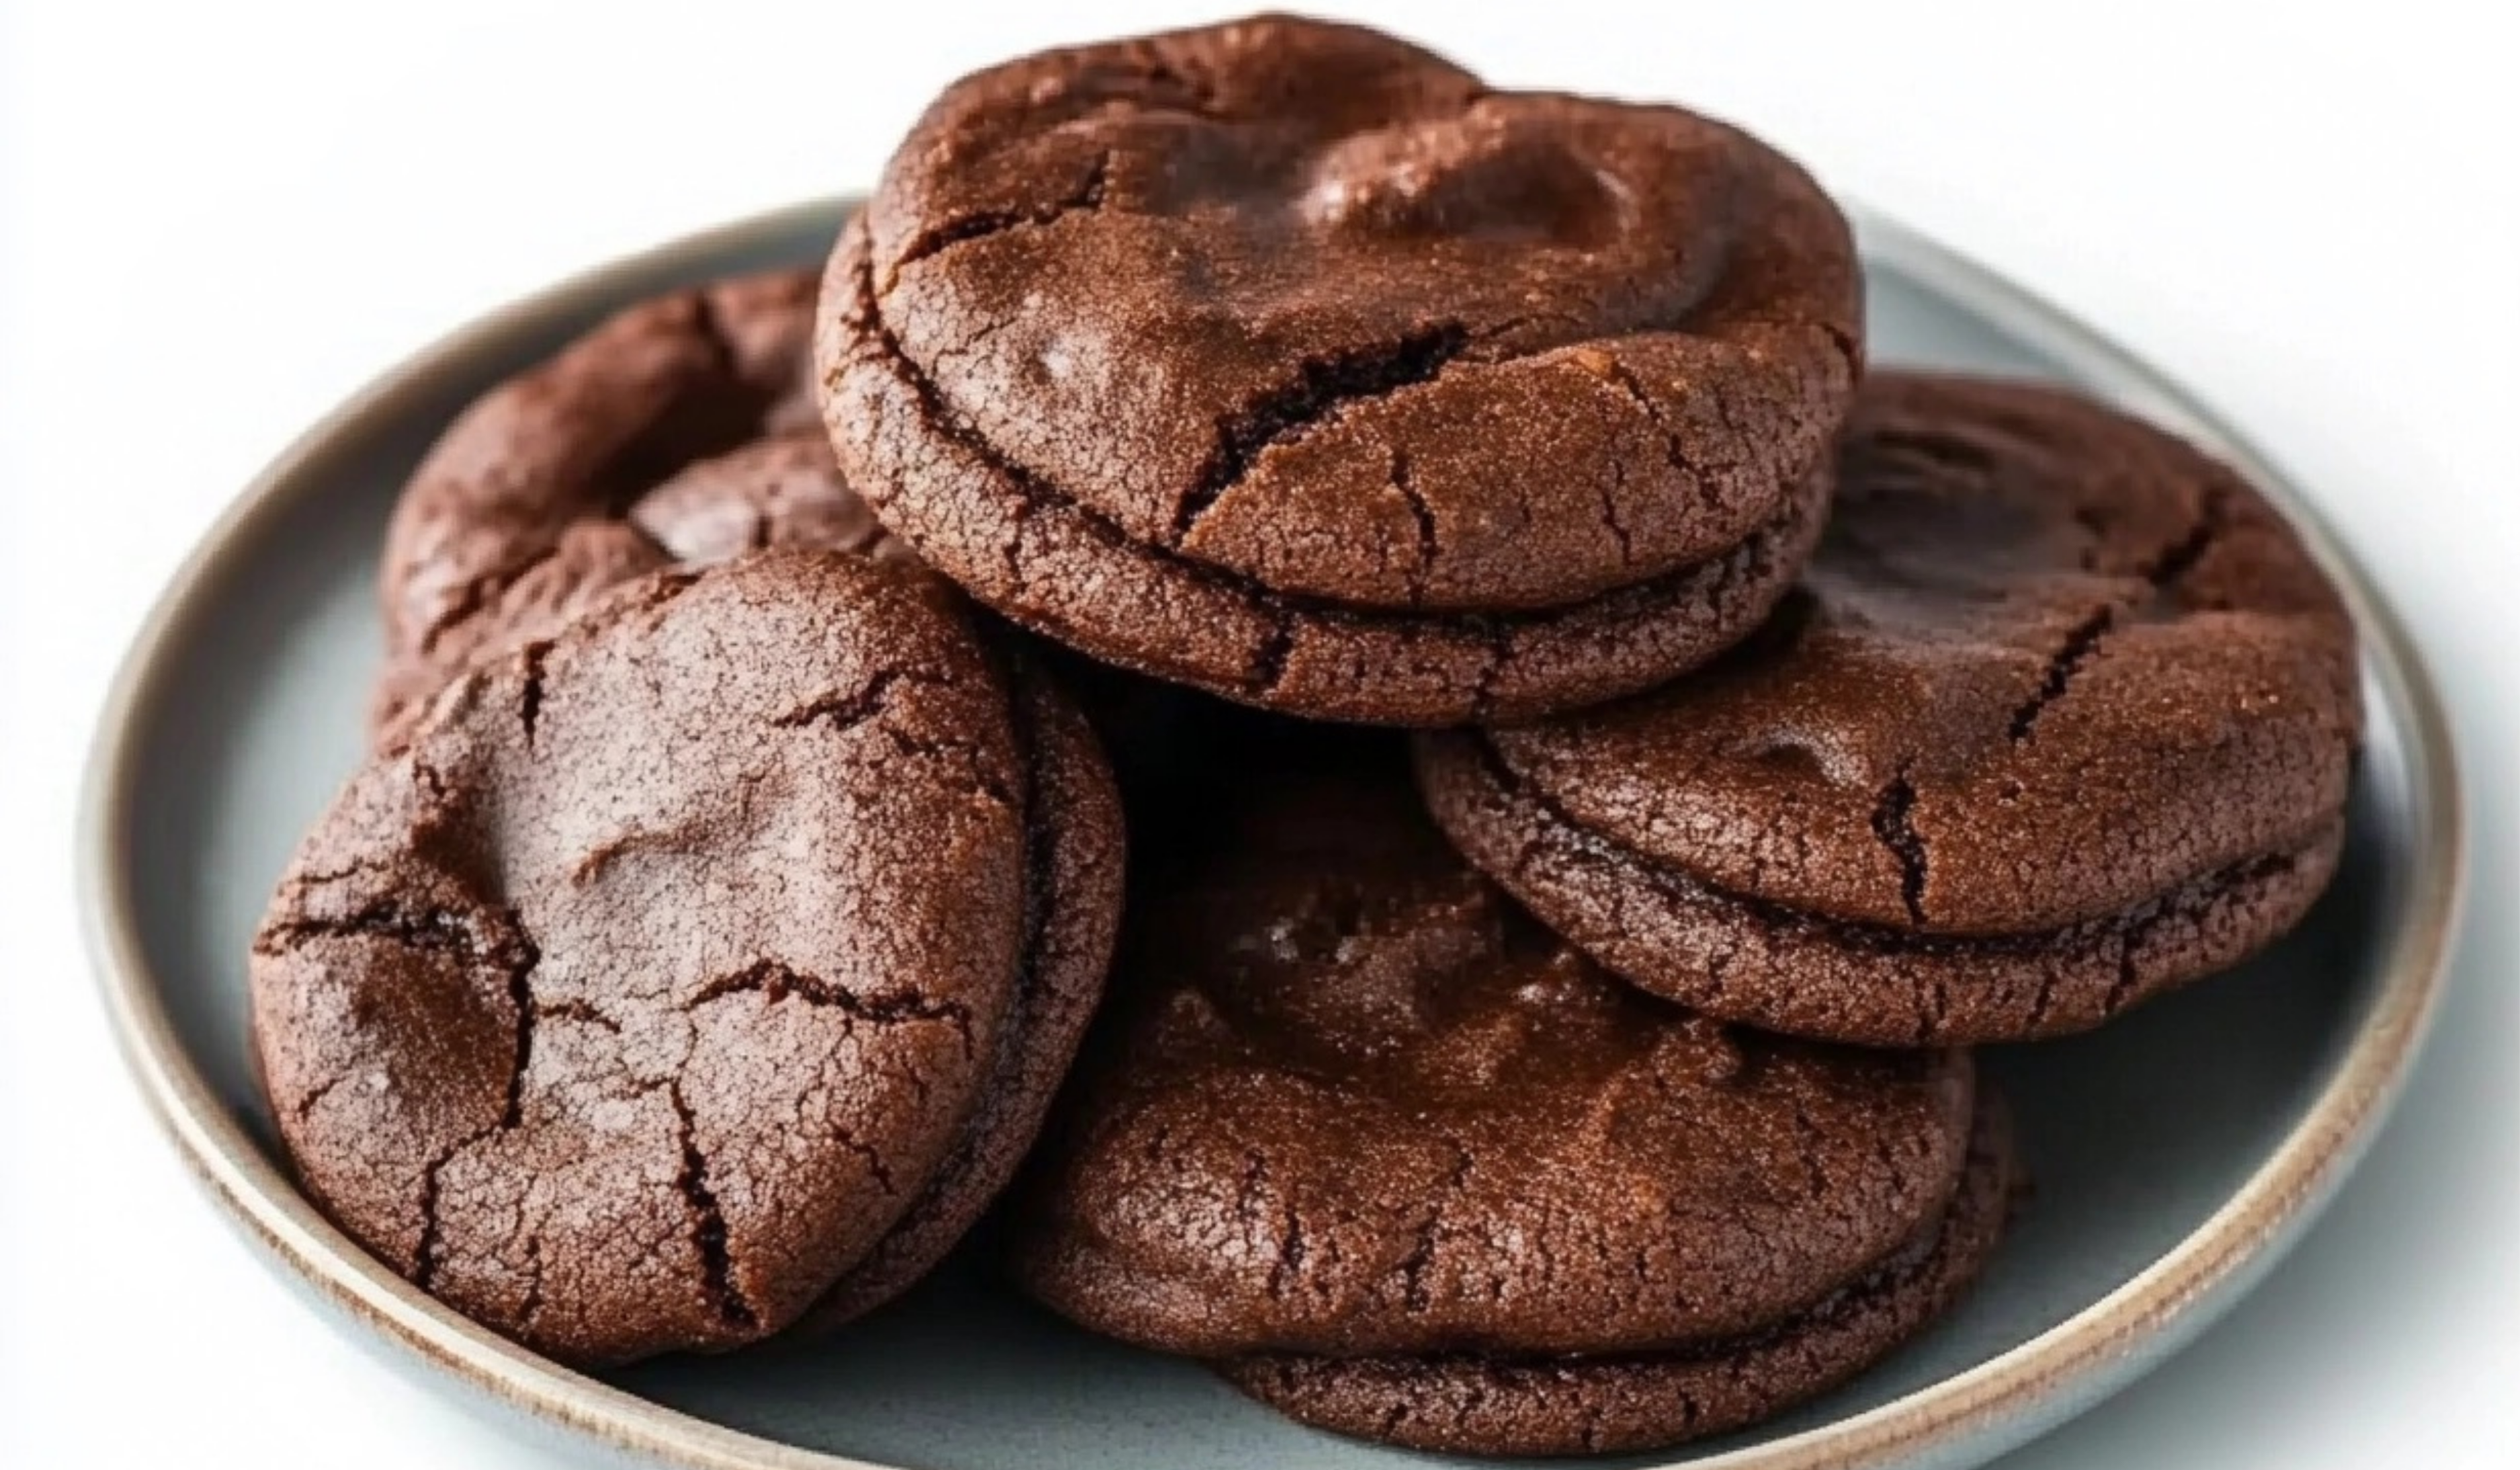
🍪✨ Old-Fashioned Chocolate Cookies—a timeless classic that never goes out of style! Rich, chewy, and packed with deep chocolate flavor, these cookies are perfect for beginners and guaranteed to satisfy any sweet tooth. Whether with a glass of milk or straight from the tray, they’re pure homemade goodness! 😍
#ChocolateCookies #OldFashionedBaking #ClassicDesserts #BakingForBeginners #SweetAndChewy #HomemadeGoodness #CookieLovers #ChocolateCravings #EasyBaking #DessertPerfection 🍪🍫✨
- Total Time: 4 hours 30 minutes (including chilling time)
- Yield: 18 cookies 1x
Ingredients
- Unsalted butter (¾ cup, softened) – Provides richness and moisture, ensuring soft cookies.
- Brown sugar (¾ cup) – Adds a deep, caramel-like sweetness and helps keep the cookies chewy.
- Unsweetened chocolate (2 ounces, melted) – The key to a bold, chocolate flavor without added sweetness.
- Large egg (1) – Acts as a binding agent, giving structure to the cookies.
- Vanilla extract (1 teaspoon) – Enhances the chocolate flavor with warm, aromatic notes.
- Milk (¼ cup) – Adds moisture and helps create a tender texture.
- All-purpose flour (2 cups) – Provides structure and stability to the cookie dough.
- Baking powder (1 teaspoon) & Baking soda (¼ teaspoon) – These leavening agents ensure the cookies rise just enough for a soft bite.
- Salt (½ teaspoon) – Balances the sweetness and enhances all the flavors.
- Granulated sugar (½ cup) – Used for rolling the cookies, creating a slight crispness on the outside.
Instructions
Step 1: Cream the Butter and Sugar
- In a large bowl, use a hand mixer or stand mixer to cream together the softened butter and brown sugar until light and fluffy. This step is crucial because it incorporates air, making the cookies soft.
- Stir in the melted unsweetened chocolate and mix until well combined.
Step 2: Incorporate the Wet Ingredients
- Add the egg, milk, and vanilla extract to the mixture. Beat until smooth and fully incorporated.
Step 3: Prepare the Dry Ingredients
- In a separate bowl, whisk together the flour, baking powder, baking soda, and salt. This ensures even distribution of the leavening agents, preventing clumps.
Step 4: Combine Wet and Dry Ingredients
- Gradually add the dry ingredients into the wet mixture, stirring slowly. The dough will become thick, but make sure not to overmix, as that can lead to tough cookies.
Step 5: Chill the Dough
- Cover the dough with plastic wrap and refrigerate for at least 4 hours (or overnight if possible). Chilling allows the flavors to develop and ensures the cookies don’t spread too much while baking.
Step 6: Preheat the Oven
- Once the dough is chilled, preheat your oven to 350°F (175°C). Line a baking sheet with parchment paper or a silicone mat.
Step 7: Shape and Coat the Cookies
- Scoop out about 1 ½ tablespoons of dough and roll them into balls with your hands.
- Roll each dough ball in granulated sugar to create a slightly crisp outer layer.
- Place them on the prepared baking sheet, leaving 2 inches of space between each cookie for spreading.
Step 8: Bake to Perfection
- Bake for 8-10 minutes. The cookies will look soft and slightly underbaked in the center, but don’t worry—they will firm up as they cool.
- Avoid overbaking, as this will make them dry instead of soft and chewy.
Step 9: Cool and Enjoy
- Allow the cookies to cool on the baking sheet for 10 minutes before transferring them to a wire rack. This step is crucial since the cookies are very delicate when warm.
- Once completely cooled, they are ready to be enjoyed!
Notes
Avoiding Common Mistakes
- Why Chill the Dough? Chilling solidifies the butter, preventing the cookies from spreading too much. It also deepens the chocolate flavor.
- Soft or Crispy? If you like slightly crispier cookies, bake them closer to 10 minutes. For extra softness, remove them at the 8-minute mark.
- Melting Chocolate the Right Way: To avoid burning the chocolate, melt it using a double boiler or in short 15-second bursts in the microwave, stirring between intervals.
- Storage Tips: Keep cookies in an airtight container at room temperature for up to 4 days or freeze for up to 2 months.
Kitchen Hacks for Efficiency
- Prep Ahead: Mix the dough the night before and bake fresh cookies the next day.
- Even Cookies: Use a cookie scoop to ensure uniform sizes, which helps with even baking.
- No Mixer? A wooden spoon and some elbow grease will work just fine—just mix thoroughly!
- Prep Time: 20 minutes
- Cook Time: 10 minutes
Unlike some fancy desserts that require complicated steps or specialty equipment, these cookies are all about ease and comfort. The dough is simple to prepare, uses everyday ingredients, and requires minimal effort—just a bit of patience while chilling. The result? Soft, chewy, and deeply chocolatey cookies that will impress your family and friends. Plus, this recipe teaches essential baking skills, such as creaming butter and sugar, properly mixing dry and wet ingredients, and understanding baking times to achieve the perfect texture.
If you’re ready to build your confidence in the kitchen while making a batch of irresistible cookies, let’s dive into the details.
Ingredients and Preparation
What You’ll Need
- Unsalted butter (¾ cup, softened) – Provides richness and moisture, ensuring soft cookies.
- Brown sugar (¾ cup) – Adds a deep, caramel-like sweetness and helps keep the cookies chewy.
- Unsweetened chocolate (2 ounces, melted) – The key to a bold, chocolate flavor without added sweetness.
- Large egg (1) – Acts as a binding agent, giving structure to the cookies.
- Vanilla extract (1 teaspoon) – Enhances the chocolate flavor with warm, aromatic notes.
- Milk (¼ cup) – Adds moisture and helps create a tender texture.
- All-purpose flour (2 cups) – Provides structure and stability to the cookie dough.
- Baking powder (1 teaspoon) & Baking soda (¼ teaspoon) – These leavening agents ensure the cookies rise just enough for a soft bite.
- Salt (½ teaspoon) – Balances the sweetness and enhances all the flavors.
- Granulated sugar (½ cup) – Used for rolling the cookies, creating a slight crispness on the outside.
Ingredient Substitutions
- Butter Substitute: If you’re out of butter, you can use margarine, but the texture may differ slightly.
- Chocolate Swap: If you don’t have unsweetened chocolate, use cocoa powder mixed with a bit of oil or melted butter.
- Dairy-Free Option: Replace milk with almond milk, oat milk, or coconut milk.
Step-by-Step Instructions
Step 1: Cream the Butter and Sugar
- In a large bowl, use a hand mixer or stand mixer to cream together the softened butter and brown sugar until light and fluffy. This step is crucial because it incorporates air, making the cookies soft.
- Stir in the melted unsweetened chocolate and mix until well combined.
Step 2: Incorporate the Wet Ingredients
- Add the egg, milk, and vanilla extract to the mixture. Beat until smooth and fully incorporated.
Step 3: Prepare the Dry Ingredients
- In a separate bowl, whisk together the flour, baking powder, baking soda, and salt. This ensures even distribution of the leavening agents, preventing clumps.
Step 4: Combine Wet and Dry Ingredients
- Gradually add the dry ingredients into the wet mixture, stirring slowly. The dough will become thick, but make sure not to overmix, as that can lead to tough cookies.
Step 5: Chill the Dough
- Cover the dough with plastic wrap and refrigerate for at least 4 hours (or overnight if possible). Chilling allows the flavors to develop and ensures the cookies don’t spread too much while baking.
Step 6: Preheat the Oven
- Once the dough is chilled, preheat your oven to 350°F (175°C). Line a baking sheet with parchment paper or a silicone mat.
Step 7: Shape and Coat the Cookies
- Scoop out about 1 ½ tablespoons of dough and roll them into balls with your hands.
- Roll each dough ball in granulated sugar to create a slightly crisp outer layer.
- Place them on the prepared baking sheet, leaving 2 inches of space between each cookie for spreading.
Step 8: Bake to Perfection
- Bake for 8-10 minutes. The cookies will look soft and slightly underbaked in the center, but don’t worry—they will firm up as they cool.
- Avoid overbaking, as this will make them dry instead of soft and chewy.
Step 9: Cool and Enjoy
- Allow the cookies to cool on the baking sheet for 10 minutes before transferring them to a wire rack. This step is crucial since the cookies are very delicate when warm.
- Once completely cooled, they are ready to be enjoyed!
Beginner Tips and Notes
Avoiding Common Mistakes
- Why Chill the Dough? Chilling solidifies the butter, preventing the cookies from spreading too much. It also deepens the chocolate flavor.
- Soft or Crispy? If you like slightly crispier cookies, bake them closer to 10 minutes. For extra softness, remove them at the 8-minute mark.
- Melting Chocolate the Right Way: To avoid burning the chocolate, melt it using a double boiler or in short 15-second bursts in the microwave, stirring between intervals.
- Storage Tips: Keep cookies in an airtight container at room temperature for up to 4 days or freeze for up to 2 months.
Kitchen Hacks for Efficiency
- Prep Ahead: Mix the dough the night before and bake fresh cookies the next day.
- Even Cookies: Use a cookie scoop to ensure uniform sizes, which helps with even baking.
- No Mixer? A wooden spoon and some elbow grease will work just fine—just mix thoroughly!
Serving Suggestions
Classic Pairings
- Milk and Cookies: Nothing beats dunking a warm cookie into a glass of cold milk.
- With Ice Cream: Sandwich vanilla ice cream between two cookies for an easy dessert.
- Hot Chocolate Companion: These cookies are perfect alongside a cozy mug of hot cocoa.
Creative Twists
- Drizzle with Chocolate: Melt some chocolate and drizzle over cooled cookies for extra decadence.
- Add Nuts: Mix in ½ cup chopped walnuts or pecans for extra texture.
- Dust with Powdered Sugar: A light dusting before serving adds a bakery-style touch.
Conclusion
Old-fashioned chocolate cookies are a timeless classic, and now you have the perfect recipe to make them at home with confidence. Whether you’re a beginner or just looking for an easy, foolproof cookie recipe, these treats deliver on taste and texture every time. The key is to follow the steps carefully, chill the dough, and avoid overbaking.
Now it’s your turn! Try this recipe and share your experience—did you add any personal twists? What did your family think? Leave a comment below and let’s talk all things cookies! Happy baking!