There’s nothing quite like the warm, gooey comfort of a freshly baked chocolate chip cookie. Whether it’s a nostalgic treat from childhood or a go-to dessert for a cozy night in, this classic recipe is one that every beginner baker should master.
Print
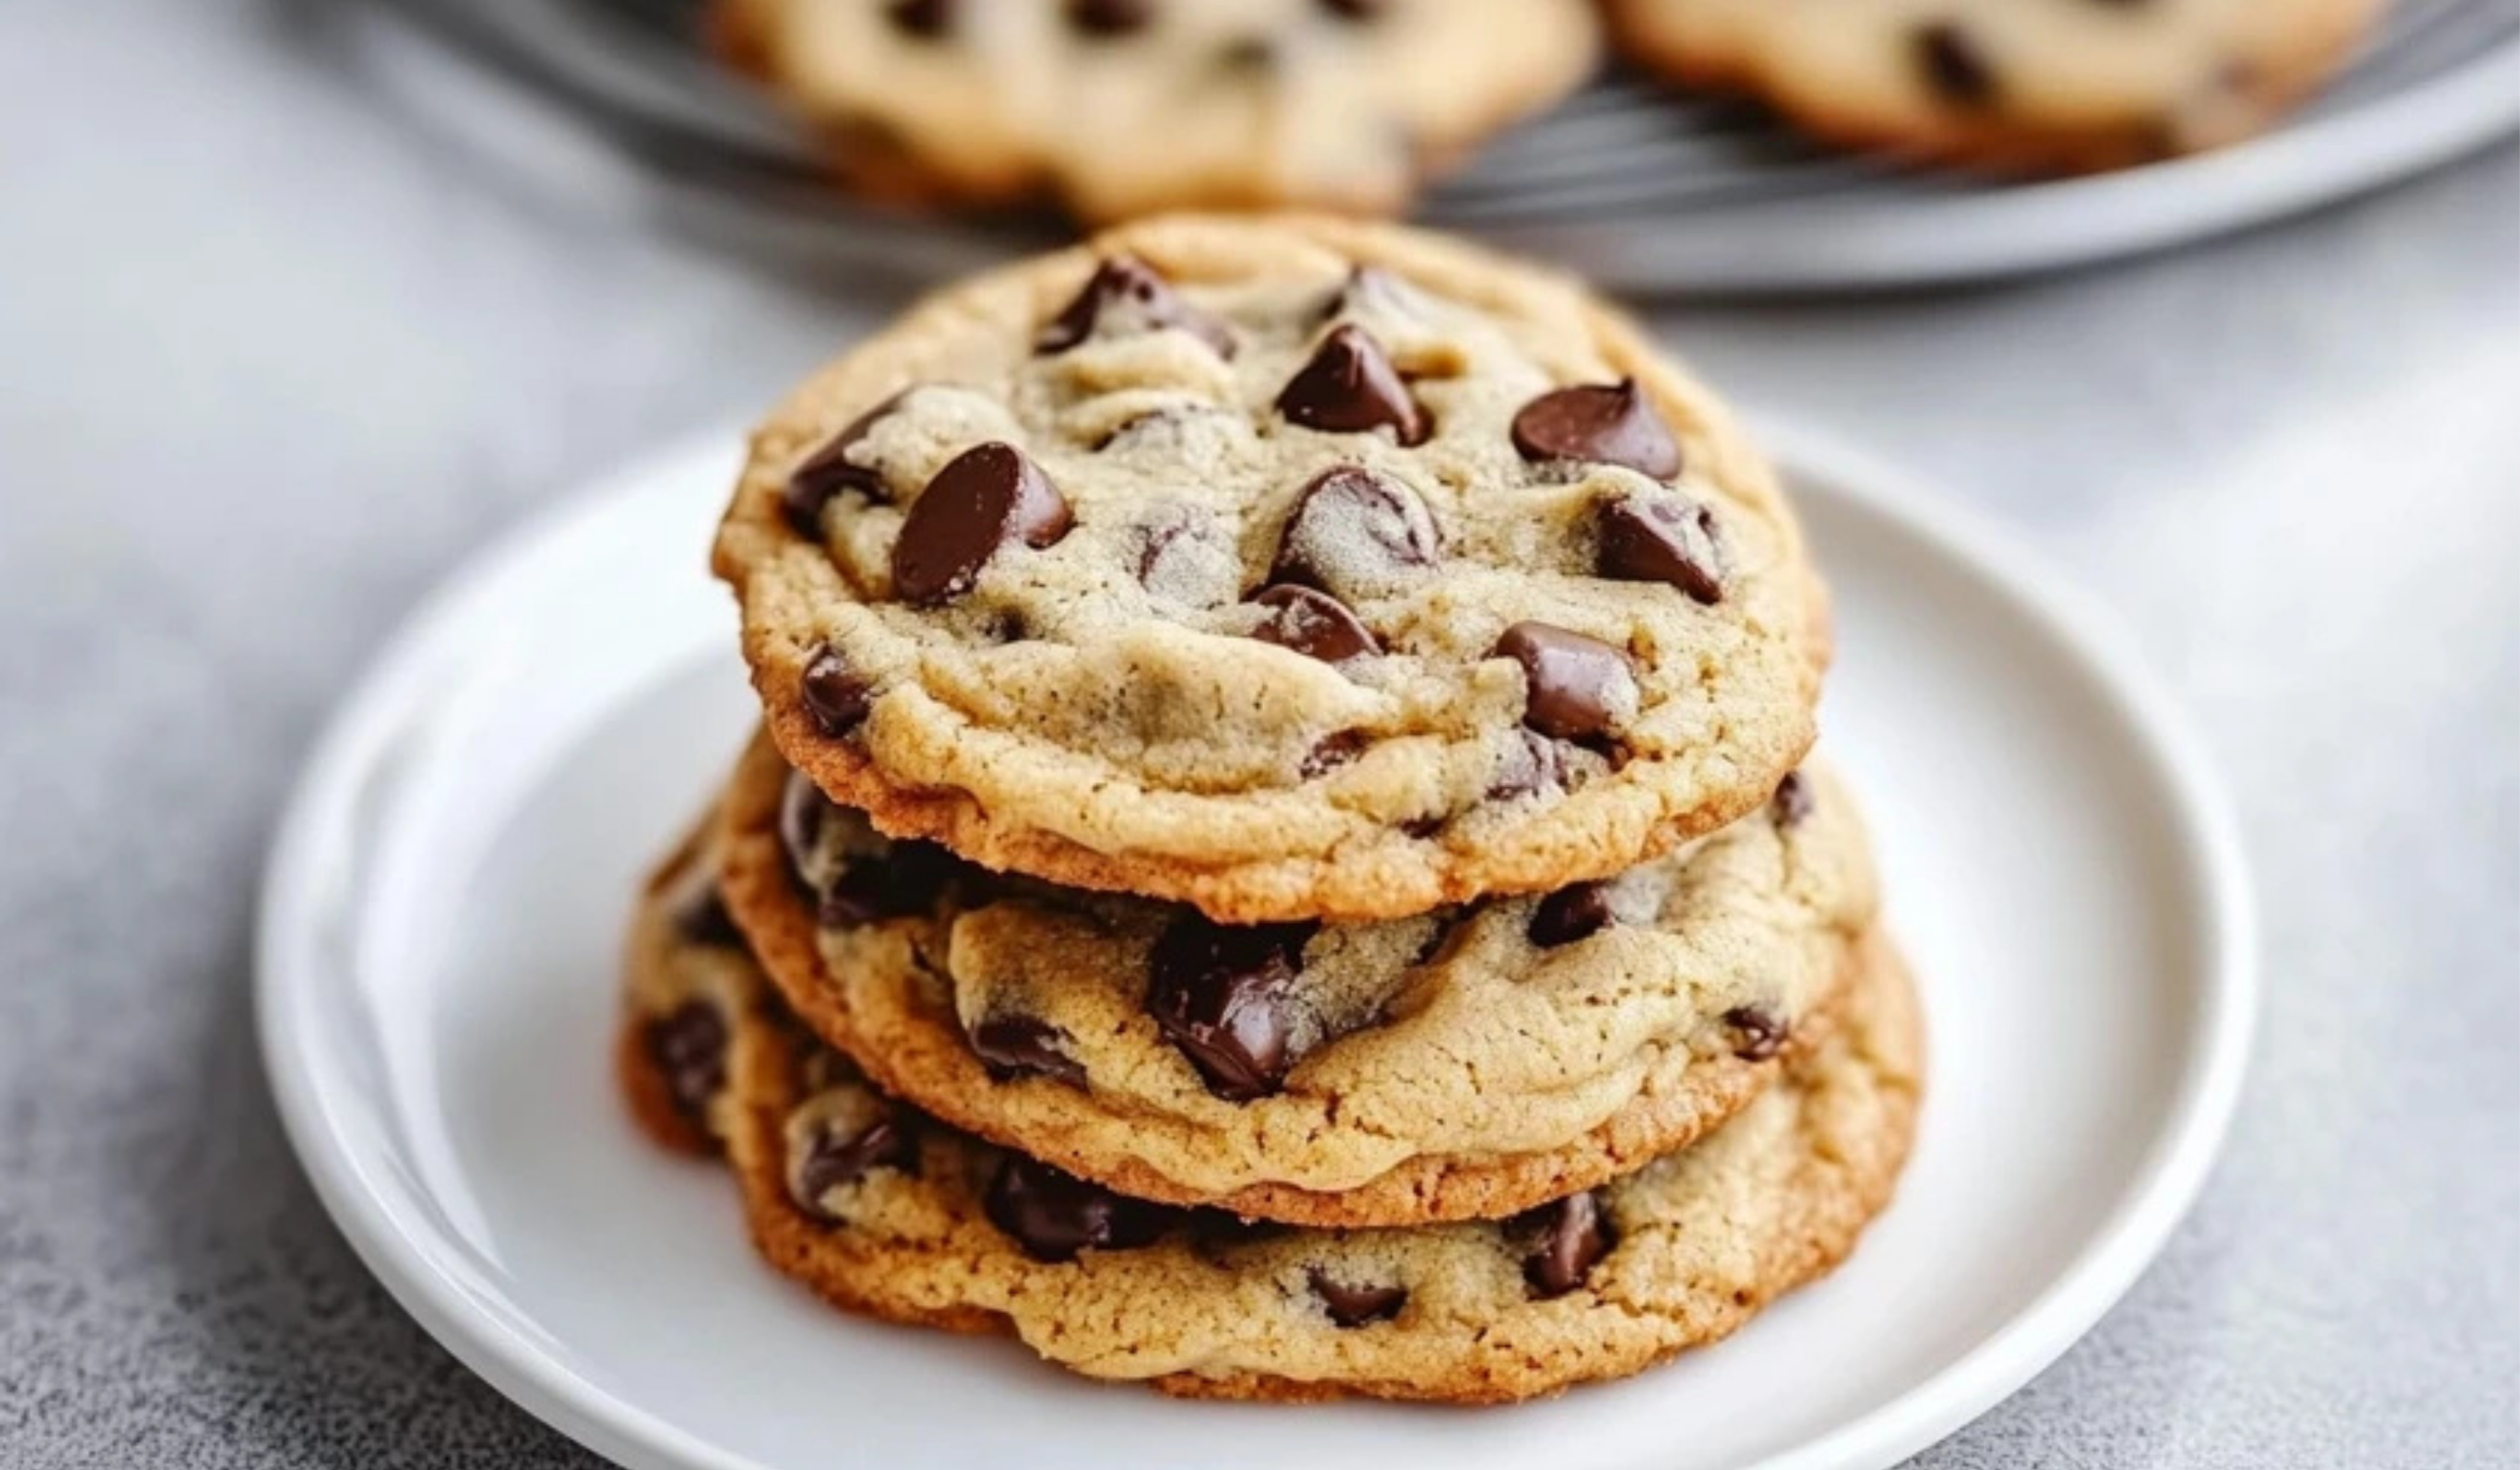
The Ultimate Beginner’s Guide to Baking the Best Chocolate Chip Cookies
Crispy edges, soft centers, and gooey chocolate in every bite! 🍪✨ This Beginner’s Guide to Chocolate Chip Cookies walks you through foolproof tips and tricks to bake the perfect batch every time. Whether you love them chewy or crispy, this guide has you covered! 🍫🔥
- Total Time: 15 minutes
- Yield: 36 cookies 1x
Ingredients
- 1 cup unsalted butter, softened (or ½ cup butter plus ½ cup vegetable oil)
- 1 cup packed light brown sugar
- 1 cup granulated sugar
- 2 eggs
- 3 cups all-purpose flour
- 1 teaspoon baking soda
- 1 teaspoon baking powder
- 1 teaspoon salt
- 1 teaspoon vanilla extract
- 2 cups chocolate chips (semisweet, milk, dark, or a mix)
Instructions
Step 1: Preheat the Oven and Prepare the Baking Sheet
Set your oven to 350°F (175°C). Lightly grease a baking sheet or line it with parchment paper. This prevents the cookies from sticking and makes cleanup easier.
Step 2: Cream the Butter and Sugars
In a stand mixer or a large mixing bowl, combine the butter, granulated sugar, and brown sugar. Beat the mixture for about 2–3 minutes until it becomes light and fluffy. This step is crucial because it incorporates air into the dough, ensuring soft and chewy cookies.
Step 3: Add the Eggs and Vanilla Extract
Crack in the eggs, one at a time, and beat until well combined. Then add the vanilla extract and mix again. This enhances the flavor and helps bind the ingredients together.
Step 4: Mix the Dry Ingredients
In a separate medium-sized bowl, whisk together the flour, baking soda, baking powder, and salt. Gradually add this dry mixture to the wet ingredients, mixing just until combined. Overmixing at this stage can lead to tough cookies, so mix only until you no longer see dry flour.
Step 5: Fold in the Chocolate Chips
Gently fold in the chocolate chips using a spatula or wooden spoon. For extra chocolatey cookies, reserve a few chocolate chips to press on top before baking.
Step 6: Scoop and Shape the Cookies
Using a medium cookie scoop or a spoon, scoop out portions of dough and roll them into balls. Place them on the prepared baking sheet, spacing them about 2 inches apart to allow for spreading.
Step 7: Bake to Perfection
Place the baking sheet in the preheated oven and bake for 9–11 minutes. The cookies should look slightly golden on the edges but still soft in the center. They will continue to cook as they cool, so avoid overbaking.
Step 8: Final Touches and Cooling
While the cookies are still warm, use the back of a metal spatula to gently shape them into perfect rounds. If desired, press additional chocolate chips on top for a bakery-style look. Let the cookies sit on the baking sheet for a few minutes before transferring them to a wire rack to cool completely.
Notes
Common Baking Mistakes and How to Fix Them
- Dry or Crumbly Cookies: This happens if too much flour is used. To avoid this, spoon the flour into the measuring cup instead of scooping directly from the bag.
- Cookies Spreading Too Much: This could be due to warm dough or too much butter. If your dough is too soft, chill it in the refrigerator for 15–20 minutes before baking.
- Overbaking: Cookies continue cooking after being removed from the oven. If they look slightly underbaked, that is perfect—they will set as they cool.
- Unevenly Baked Cookies: Rotate the baking sheet halfway through the baking time to ensure even cooking.
Helpful Kitchen Tips
- Prep Efficiently: Measure and prepare all ingredients before starting. This makes the process smoother and prevents mistakes.
- Use a Cookie Scoop: This ensures all cookies are the same size, leading to even baking.
- Chill the Dough for Thicker Cookies: If you prefer thicker cookies, chill the dough for 30 minutes before baking.
- Prep Time: 5 minutes
- Cook Time: 10 minutes
I still remember the first time I attempted to bake cookies. I was excited but also nervous, unsure if I would end up with crispy, burnt discs or raw doughy lumps. However, as I mixed the ingredients and watched the dough take shape, I realized how simple and rewarding the process was. The aroma of vanilla and melting chocolate filled my kitchen, and when I took the first bite of a perfectly soft and chewy cookie, I knew I had found a recipe I would use forever.
This recipe is perfect for beginners because it requires no special skills, uses simple ingredients, and takes only 15 minutes from start to finish. The steps are easy to follow, and the result is a batch of soft, chewy cookies that taste just like the ones from a bakery.
If you have ever wanted to bake homemade cookies but felt intimidated by the process, this is the perfect place to start. With clear instructions, practical tips, and step-by-step guidance, you will be able to create the best chocolate chip cookies with confidence.
Ingredients and Preparation
Ingredients
- 1 cup unsalted butter, softened (or ½ cup butter plus ½ cup vegetable oil)
- 1 cup packed light brown sugar
- 1 cup granulated sugar
- 2 eggs
- 3 cups all-purpose flour
- 1 teaspoon baking soda
- 1 teaspoon baking powder
- 1 teaspoon salt
- 1 teaspoon vanilla extract
- 2 cups chocolate chips (semisweet, milk, dark, or a mix)
Ingredient Alternatives for Flexibility
- Butter Substitute: If you do not have unsalted butter, you can use salted butter and reduce the added salt in the recipe by half.
- Sugar Variations: You can swap light brown sugar for dark brown sugar for a richer, caramel-like flavor. If you prefer a slightly healthier option, coconut sugar can replace brown sugar.
- Flour Alternatives: All-purpose flour can be replaced with whole wheat flour for a denser cookie, or a gluten-free flour blend for those with dietary restrictions.
- Chocolate Choices: While semisweet chocolate chips are a classic choice, you can use white chocolate, dark chocolate, or even a combination of different chocolates for variety.
- Vanilla Extract Substitute: If you do not have vanilla extract, almond extract or maple syrup can be used for a slightly different but delicious flavor.
Step-by-Step Instructions
Step 1: Preheat the Oven and Prepare the Baking Sheet
Set your oven to 350°F (175°C). Lightly grease a baking sheet or line it with parchment paper. This prevents the cookies from sticking and makes cleanup easier.
Step 2: Cream the Butter and Sugars
In a stand mixer or a large mixing bowl, combine the butter, granulated sugar, and brown sugar. Beat the mixture for about 2–3 minutes until it becomes light and fluffy. This step is crucial because it incorporates air into the dough, ensuring soft and chewy cookies.
Step 3: Add the Eggs and Vanilla Extract
Crack in the eggs, one at a time, and beat until well combined. Then add the vanilla extract and mix again. This enhances the flavor and helps bind the ingredients together.
Step 4: Mix the Dry Ingredients
In a separate medium-sized bowl, whisk together the flour, baking soda, baking powder, and salt. Gradually add this dry mixture to the wet ingredients, mixing just until combined. Overmixing at this stage can lead to tough cookies, so mix only until you no longer see dry flour.
Step 5: Fold in the Chocolate Chips
Gently fold in the chocolate chips using a spatula or wooden spoon. For extra chocolatey cookies, reserve a few chocolate chips to press on top before baking.
Step 6: Scoop and Shape the Cookies
Using a medium cookie scoop or a spoon, scoop out portions of dough and roll them into balls. Place them on the prepared baking sheet, spacing them about 2 inches apart to allow for spreading.
Step 7: Bake to Perfection
Place the baking sheet in the preheated oven and bake for 9–11 minutes. The cookies should look slightly golden on the edges but still soft in the center. They will continue to cook as they cool, so avoid overbaking.
Step 8: Final Touches and Cooling
While the cookies are still warm, use the back of a metal spatula to gently shape them into perfect rounds. If desired, press additional chocolate chips on top for a bakery-style look. Let the cookies sit on the baking sheet for a few minutes before transferring them to a wire rack to cool completely.
Beginner Tips and Notes
Common Baking Mistakes and How to Fix Them
- Dry or Crumbly Cookies: This happens if too much flour is used. To avoid this, spoon the flour into the measuring cup instead of scooping directly from the bag.
- Cookies Spreading Too Much: This could be due to warm dough or too much butter. If your dough is too soft, chill it in the refrigerator for 15–20 minutes before baking.
- Overbaking: Cookies continue cooking after being removed from the oven. If they look slightly underbaked, that is perfect—they will set as they cool.
- Unevenly Baked Cookies: Rotate the baking sheet halfway through the baking time to ensure even cooking.
Helpful Kitchen Tips
- Prep Efficiently: Measure and prepare all ingredients before starting. This makes the process smoother and prevents mistakes.
- Use a Cookie Scoop: This ensures all cookies are the same size, leading to even baking.
- Chill the Dough for Thicker Cookies: If you prefer thicker cookies, chill the dough for 30 minutes before baking.

Serving Suggestions
Best Ways to Enjoy These Cookies
- With a Glass of Milk: A classic pairing that enhances the cookie’s rich, chocolatey flavor.
- Ice Cream Sandwich: Place a scoop of vanilla or chocolate ice cream between two cookies for a decadent treat.
- Dipped in Coffee or Hot Chocolate: Perfect for a cozy, comforting snack.
- Topped with Caramel or Chocolate Drizzle: Adds an extra layer of sweetness and elegance.
Storage Tips
- Room Temperature: Store cookies in an airtight container for up to 5 days to keep them soft.
- Refrigeration: If you want them to last longer, refrigerate them for up to 2 weeks and reheat in the microwave for a few seconds before eating.
- Freezing: Cookie dough can be frozen for up to 3 months. Scoop the dough into balls, freeze on a baking sheet, then transfer to a freezer bag. Bake straight from frozen, adding 1–2 extra minutes to the baking time.
Conclusion
Baking homemade chocolate chip cookies is one of the simplest and most rewarding experiences in the kitchen. With this beginner-friendly recipe, you can create delicious, bakery-quality cookies with minimal effort. Whether you are making them for yourself, sharing with friends, or baking for a special occasion, these cookies are guaranteed to impress.
The best part about this recipe is its flexibility. You can customize it with different chocolates, nuts, or even a sprinkle of sea salt for a gourmet touch. Once you master this basic recipe, you will feel confident experimenting with new variations.
I encourage you to give this recipe a try and experience the joy of baking from scratch. Let me know how it turns out in the comments—whether you followed the recipe exactly or added your own twist. Happy baking!