If you’re looking for a simple yet impressive dessert that brings out the best of fresh summer berries, look no further than Mini Berry Galettes with Lemon Whipped Cream. This dessert is not only delicious but incredibly easy to make, even for beginner bakers. Whether you’re hosting a casual dinner with friends or just craving a light treat to enjoy with your family, these individual galettes will quickly become a favorite.
Print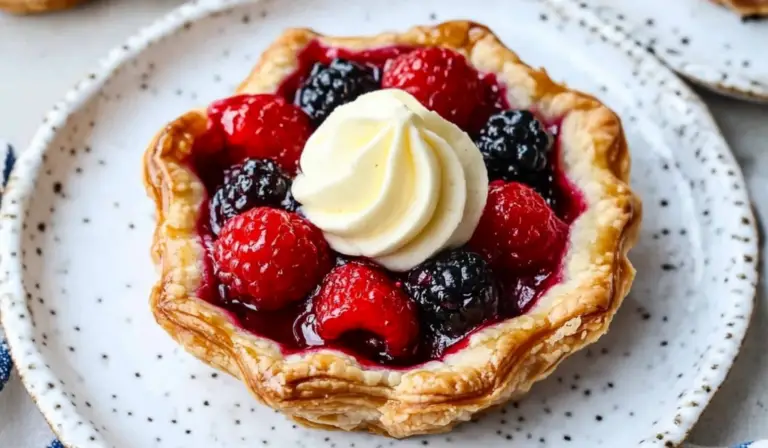
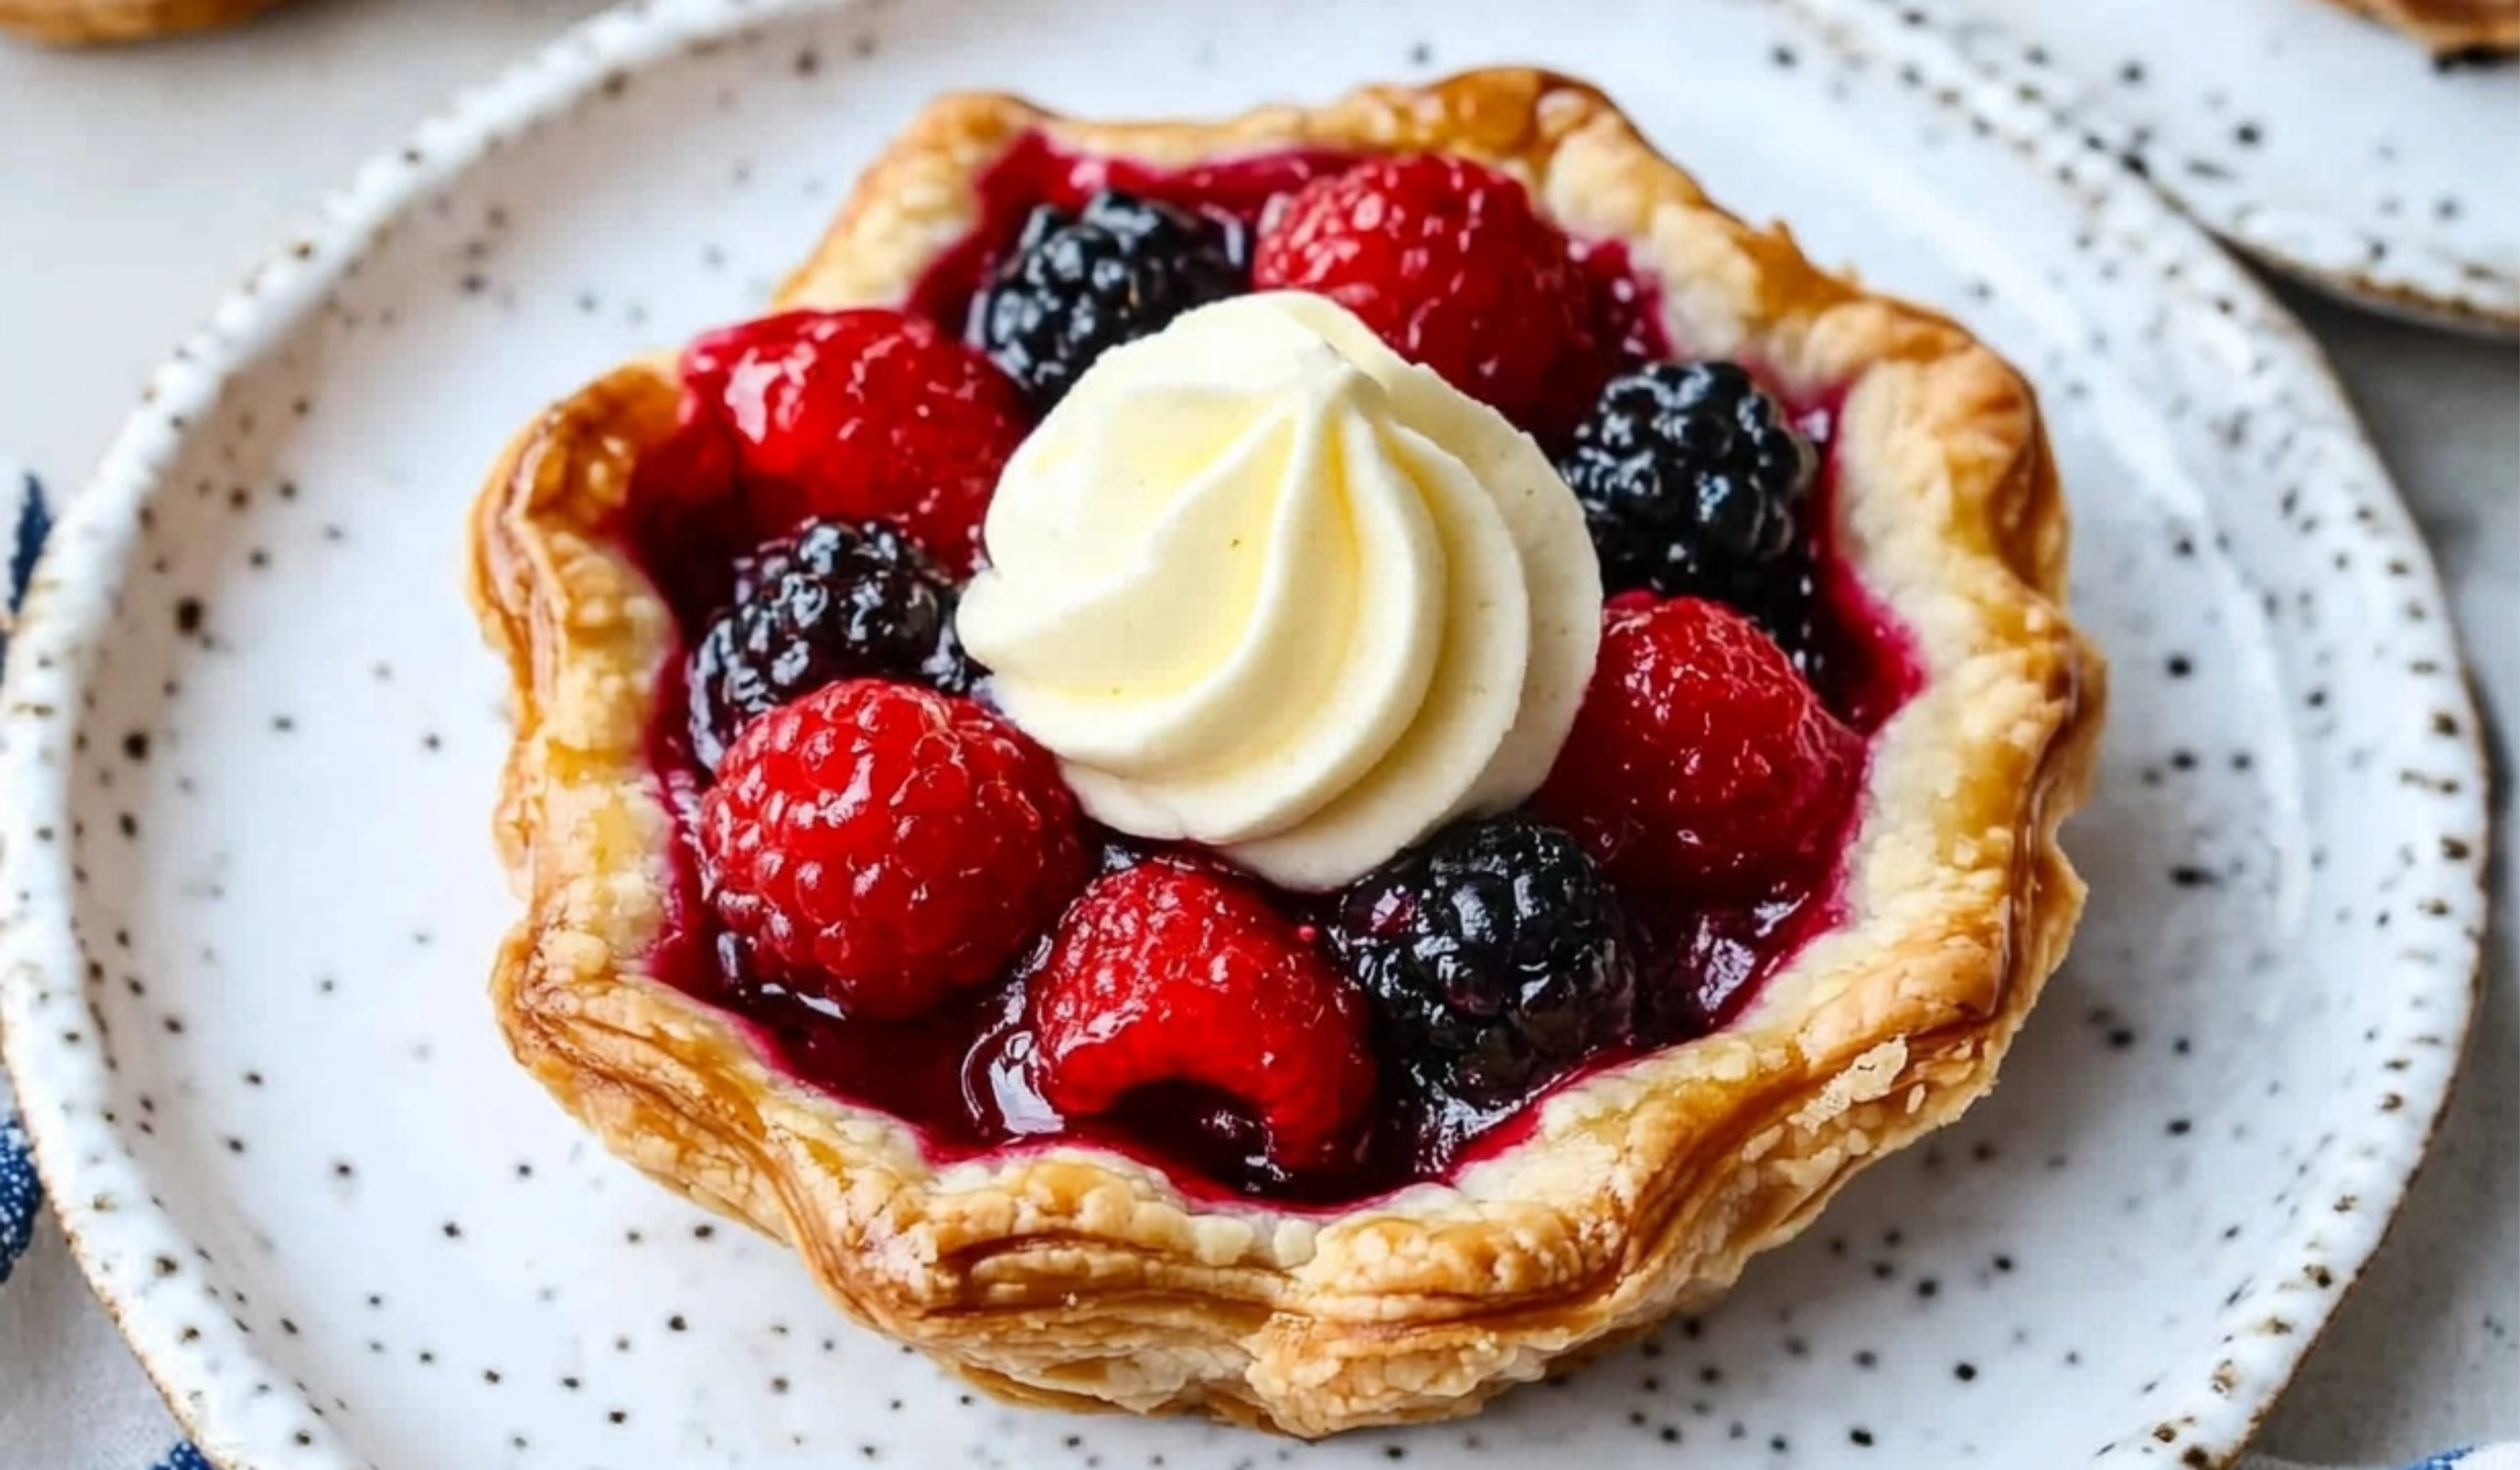
Mini Berry Galettes with Lemon Whipped Cream
Delight your taste buds with these Mini Berry Galettes topped with a dollop of Lemon Whipped Cream! 🍇🍓 The crispy, golden crust pairs perfectly with the juicy berries and the zesty lemon whipped cream adds the perfect finishing touch! 🍋✨ These galettes are a must-try for anyone who loves sweet, fruity desserts with a refreshing twist. 😍🍴 Perfect for summer picnics or casual gatherings, they’re a bite-sized burst of joy! 🌞💖
#MiniBerryGalettes #SweetAndTart #BerryDelicious #LemonWhippedCream #EasyBakes #BerryDesserts #FreshFruitTreats #PastryPerfection #SummerSweets #DessertLovers 🍓🍋
- Total Time: 45 minutes
- Yield: 8 mini galettes 1x
Ingredients
Ingredients
- 1 package (2 crusts) refrigerated pie crusts: The shortcut to a flaky, buttery crust! You can find these pre-made pie crusts in the refrigerated section of most grocery stores. For beginners, using store-bought crust is an excellent time-saver.
- 2 cups fresh mixed berries: A combination of your favorite summer berries—strawberries, blueberries, raspberries, and blackberries. If you can’t find fresh berries, frozen berries will work as well.
- 5 tablespoons granulated sugar (divided): Sugar is needed both to sweeten the berries and to give the crust a golden, crispy texture.
- ½ tablespoon cornstarch: This will help thicken the berry juices as they cook, preventing the galettes from becoming soggy.
- Pinch kosher salt: A small amount of salt helps balance the sweetness and enhance the flavors of the fruit.
- 1 egg: The egg wash will give the crust a beautiful golden-brown color once baked.
Lemon Whipped Cream
- 1 cup very cold heavy cream: The colder the cream, the better it will whip up into a smooth, airy texture. Make sure to use full-fat heavy cream for the best results.
- ⅓ cup powdered sugar: Powdered sugar is the key to sweetening the whipped cream without making it too gritty.
- 1 lemon (zested): The zest will give the whipped cream a bright, citrusy flavor that complements the berries.
- 1 teaspoon pure vanilla extract: Vanilla enhances the flavor of the whipped cream and pairs beautifully with the tartness of the lemon.
Instructions
1. Preheat the Oven
Start by preheating your oven to 350°F (175°C). This will ensure your galettes bake evenly and turn out perfectly golden and crisp. While the oven heats up, line two baking sheets with parchment paper to prevent the galettes from sticking to the pan.
2. Prepare the Pie Crusts
Unroll your refrigerated pie crusts onto a lightly floured surface. Let them soften at room temperature for about 15 minutes so they’re easier to work with. Use a 4 ½” round cookie cutter to cut out circles of dough. Each pie crust will give you 4 circles, so you’ll have 8 mini galettes in total. If you don’t have a cookie cutter, a small bowl or glass can work too—just ensure they are roughly the same size.
3. Mix the Berry Filling
In a small mixing bowl, combine 2 cups of mixed fresh berries, 2 tablespoons of granulated sugar, ½ tablespoon of cornstarch, and a pinch of kosher salt. Gently toss everything together until the berries are evenly coated. This mixture will create a delicious, slightly thickened berry filling that holds its shape during baking.
4. Assemble the Galettes
Place your dough circles onto the prepared baking sheets. In the center of each dough circle, add about ¼ cup of the berry mixture, leaving about 1-inch of dough around the edges. Then, fold the edges of the dough towards the center, creating a rustic, free-form shape. Gently overlap the dough and press it lightly to keep the shape intact. The galettes should look like little pockets of fruit!
5. Brush with Egg Wash
In a small bowl, whisk together 1 egg and 1 teaspoon of water to create an egg wash. Using a pastry brush, gently brush the egg wash over the entire galette, including the crust and the top of the fruit. This will give your galettes that beautiful, golden-brown color. Sprinkle the remaining 3 tablespoons of sugar over the top to add some extra sweetness and shine.
6. Bake the Galettes
Place the baking sheets into your preheated oven and bake for 25-30 minutes, or until the crust is golden brown and the berries are bubbling slightly. Check the galettes around the 20-minute mark to make sure they’re not overbaking.
7. Make the Lemon Whipped Cream
While the galettes are baking, it’s time to prepare the Lemon Whipped Cream. In the bowl of a stand mixer (or using a hand mixer), combine 1 cup of very cold heavy cream, ⅓ cup of powdered sugar, the zest of 1 lemon, and 1 teaspoon of vanilla extract. Beat the mixture on medium to medium-high speed until stiff peaks form. This should take about 3-4 minutes. The whipped cream should be thick and airy—perfect for topping your galettes!
8. Serve and Enjoy
Once the galettes are done baking, remove them from the oven and let them cool slightly. Serve the warm galettes with a generous dollop of your homemade lemon whipped cream. The contrast between the buttery, flaky crust, sweet-tart berries, and the creamy lemon whipped topping is simply irresistible.
Notes
- Chop Large Fruit: If you’re using large berries, like strawberries, chop them into smaller, bite-sized pieces. This will help the fruit cook evenly and fit better into the galette.
- Don’t Overfill: It’s easy to want to load the galettes with as much fruit as possible, but overfilling can lead to messy spills during baking. Stick to about ¼ cup of filling per galette.
- Avoid Overbaking: Keep an eye on your galettes in the last 5 minutes of baking to prevent them from burning. The edges should be golden brown, and the fruit should be bubbling gently.
- Cold Whipping Cream: For the best whipped cream, make sure your heavy cream is very cold. If your whipped cream doesn’t thicken, you can put the bowl and beaters in the fridge for a few minutes before whipping.
- Prep Time: 15 minutes
- Cook Time: 30 minutes
In this article, we’ll break down the steps of making these beautiful, flaky galettes with a refreshing lemon whipped cream. You’ll also find some helpful tips and tricks for troubleshooting, ingredient substitutions, and serving suggestions to elevate your baking game. By the end of this guide, you’ll feel confident in your ability to make these scrumptious mini galettes every time.
Why Mini Berry Galettes Are Perfect for Beginners
When it comes to baking, the process can sometimes feel overwhelming for beginners. From precision measurements to complicated techniques, it’s easy to get intimidated. However, Mini Berry Galettes are a great introduction to baking for a few key reasons:
- Simplicity: Galettes are rustic, free-form pies. This means no complicated pie crust crimping or worrying about perfect edges. You simply fold the dough around the filling, which makes it forgiving and less intimidating.
- Time Efficiency: These mini galettes are quick to prepare, taking just 45 minutes from start to finish. You don’t need to worry about chilling dough for hours or waiting for it to rise. It’s a great recipe for beginners who want to get baking without investing too much time.
- Healthier Options: While the recipe includes sugar and butter, it uses fresh mixed berries that are naturally packed with vitamins and antioxidants. You can feel good about indulging in this dessert.
Ingredients and Preparation
Before you get started, let’s take a look at the ingredients you’ll need to make your Mini Berry Galettes with Lemon Whipped Cream. This recipe is simple, with ingredients that you might already have on hand, or that are easy to find at your local grocery store.
Ingredients
- 1 package (2 crusts) refrigerated pie crusts: The shortcut to a flaky, buttery crust! You can find these pre-made pie crusts in the refrigerated section of most grocery stores. For beginners, using store-bought crust is an excellent time-saver.
- 2 cups fresh mixed berries: A combination of your favorite summer berries—strawberries, blueberries, raspberries, and blackberries. If you can’t find fresh berries, frozen berries will work as well.
- 5 tablespoons granulated sugar (divided): Sugar is needed both to sweeten the berries and to give the crust a golden, crispy texture.
- ½ tablespoon cornstarch: This will help thicken the berry juices as they cook, preventing the galettes from becoming soggy.
- Pinch kosher salt: A small amount of salt helps balance the sweetness and enhance the flavors of the fruit.
- 1 egg: The egg wash will give the crust a beautiful golden-brown color once baked.
Lemon Whipped Cream
- 1 cup very cold heavy cream: The colder the cream, the better it will whip up into a smooth, airy texture. Make sure to use full-fat heavy cream for the best results.
- ⅓ cup powdered sugar: Powdered sugar is the key to sweetening the whipped cream without making it too gritty.
- 1 lemon (zested): The zest will give the whipped cream a bright, citrusy flavor that complements the berries.
- 1 teaspoon pure vanilla extract: Vanilla enhances the flavor of the whipped cream and pairs beautifully with the tartness of the lemon.
Step-by-Step Instructions
Now that we have everything ready, it’s time to get baking! Follow these easy, beginner-friendly steps to create your Mini Berry Galettes with Lemon Whipped Cream. Don’t worry if things aren’t perfect—remember, galettes are meant to be rustic and charming!
1. Preheat the Oven
Start by preheating your oven to 350°F (175°C). This will ensure your galettes bake evenly and turn out perfectly golden and crisp. While the oven heats up, line two baking sheets with parchment paper to prevent the galettes from sticking to the pan.
2. Prepare the Pie Crusts
Unroll your refrigerated pie crusts onto a lightly floured surface. Let them soften at room temperature for about 15 minutes so they’re easier to work with. Use a 4 ½” round cookie cutter to cut out circles of dough. Each pie crust will give you 4 circles, so you’ll have 8 mini galettes in total. If you don’t have a cookie cutter, a small bowl or glass can work too—just ensure they are roughly the same size.
3. Mix the Berry Filling
In a small mixing bowl, combine 2 cups of mixed fresh berries, 2 tablespoons of granulated sugar, ½ tablespoon of cornstarch, and a pinch of kosher salt. Gently toss everything together until the berries are evenly coated. This mixture will create a delicious, slightly thickened berry filling that holds its shape during baking.
4. Assemble the Galettes
Place your dough circles onto the prepared baking sheets. In the center of each dough circle, add about ¼ cup of the berry mixture, leaving about 1-inch of dough around the edges. Then, fold the edges of the dough towards the center, creating a rustic, free-form shape. Gently overlap the dough and press it lightly to keep the shape intact. The galettes should look like little pockets of fruit!
5. Brush with Egg Wash
In a small bowl, whisk together 1 egg and 1 teaspoon of water to create an egg wash. Using a pastry brush, gently brush the egg wash over the entire galette, including the crust and the top of the fruit. This will give your galettes that beautiful, golden-brown color. Sprinkle the remaining 3 tablespoons of sugar over the top to add some extra sweetness and shine.
6. Bake the Galettes
Place the baking sheets into your preheated oven and bake for 25-30 minutes, or until the crust is golden brown and the berries are bubbling slightly. Check the galettes around the 20-minute mark to make sure they’re not overbaking.
7. Make the Lemon Whipped Cream
While the galettes are baking, it’s time to prepare the Lemon Whipped Cream. In the bowl of a stand mixer (or using a hand mixer), combine 1 cup of very cold heavy cream, ⅓ cup of powdered sugar, the zest of 1 lemon, and 1 teaspoon of vanilla extract. Beat the mixture on medium to medium-high speed until stiff peaks form. This should take about 3-4 minutes. The whipped cream should be thick and airy—perfect for topping your galettes!
8. Serve and Enjoy
Once the galettes are done baking, remove them from the oven and let them cool slightly. Serve the warm galettes with a generous dollop of your homemade lemon whipped cream. The contrast between the buttery, flaky crust, sweet-tart berries, and the creamy lemon whipped topping is simply irresistible.
Beginner Tips and Notes
Making these galettes is simple, but like any recipe, a few tips can help ensure success.
- Chop Large Fruit: If you’re using large berries, like strawberries, chop them into smaller, bite-sized pieces. This will help the fruit cook evenly and fit better into the galette.
- Don’t Overfill: It’s easy to want to load the galettes with as much fruit as possible, but overfilling can lead to messy spills during baking. Stick to about ¼ cup of filling per galette.
- Avoid Overbaking: Keep an eye on your galettes in the last 5 minutes of baking to prevent them from burning. The edges should be golden brown, and the fruit should be bubbling gently.
- Cold Whipping Cream: For the best whipped cream, make sure your heavy cream is very cold. If your whipped cream doesn’t thicken, you can put the bowl and beaters in the fridge for a few minutes before whipping.
Serving Suggestions
To make your dessert even more special, here are a few ideas for serving your Mini Berry Galettes with Lemon Whipped Cream:
- Add a scoop of vanilla ice cream: A scoop of vanilla ice cream can complement the tartness of the berries and add a creamy touch.
- Top with fresh mint leaves: For an extra pop of color and flavor, garnish the galettes with a few fresh mint leaves.
- Serve with a berry sauce: If you love berries, drizzle some extra berry sauce over the top to intensify the fruity flavor.
- Pair with a refreshing drink: A light glass of iced tea or lemonade pairs beautifully with these galettes on a warm summer day.

Conclusion: A Recipe You’ll Love to Make Again
Mini Berry Galettes with Lemon Whipped Cream are the perfect balance of simplicity, flavor, and versatility. This recipe is easy to follow, making it an ideal choice for beginner bakers. With a few basic ingredients and easy-to-follow steps, you can create a delicious dessert that’s sure to impress your family and friends.
So, why not give it a try? These galettes are not only perfect for summer but also adaptable for any time of year. Whether you’re entertaining guests or treating yourself to a sweet, homemade snack, these mini galettes will quickly become a go-to recipe in your baking repertoire.
Let us know how it goes—share your results in the comments below! Happy baking!