The holiday season is the perfect time to get creative in the kitchen, and cake pops are a delightful way to celebrate. These bite-sized desserts are delicious, easy to customize, and bring a festive touch to any Christmas gathering. Whether you’re looking for a fun baking activity with family, a unique gift idea, or a show-stopping addition to your dessert table, cake pops are the perfect solution.
In this article, we’ll guide you through making cake pops step by step, provide decorating ideas, and share tips to ensure your holiday treats are a hit. By the end, you’ll have all the tools and inspiration you need to create cake pops that are as beautiful as they are tasty.
Print
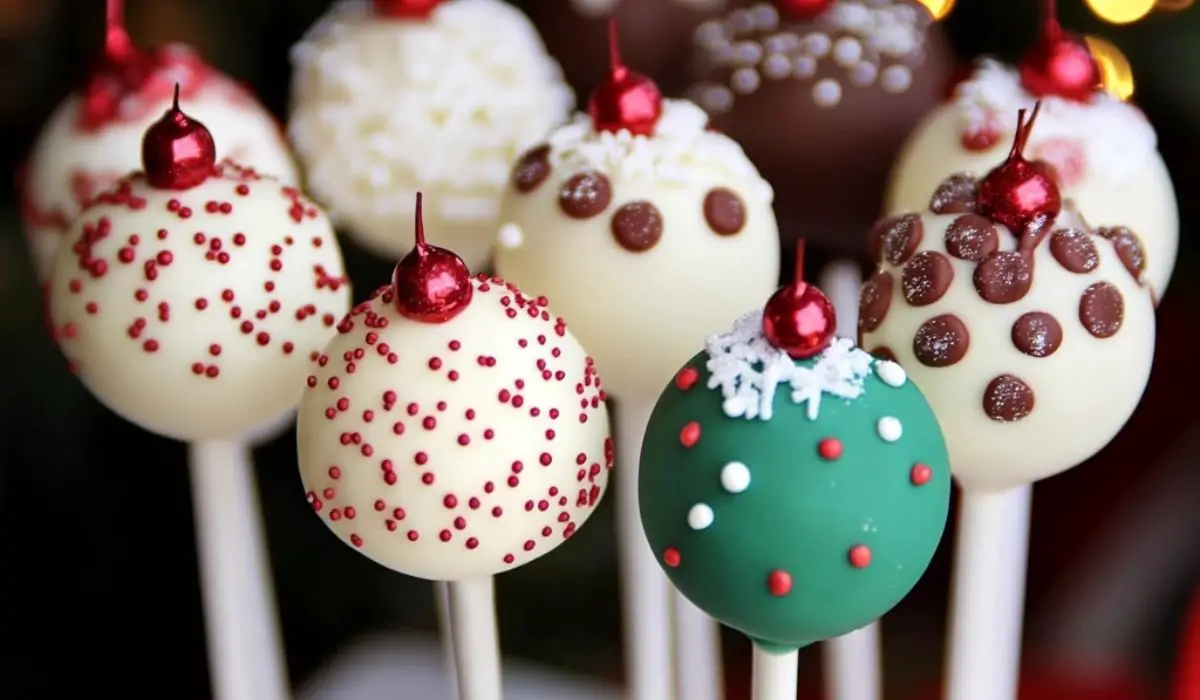
Make Cake Pops This Holiday! Perfect for Christmas
Celebrate the holidays with these festive and fun Christmas Cake Pops! Made with your favorite cake, creamy frosting, and coated in colorful candy melts, these bite-sized treats are perfect for parties, gifting, or family activities. Decorate as snowmen, Christmas trees, or sparkling ornaments to spread holiday cheer. Easy to customize and irresistibly delicious, they’re a must-have for your holiday dessert table! 🎄🍭✨
- Total Time: 2 hours (includes cooling and decorating)
- Yield: 24 cake pops 1x
Ingredients
Essential Ingredients
For the Cake:
- Cake Mix or Homemade Cake: 1 standard-size baked cake (any flavor).
- Frosting: ½ cup, to bind the cake crumbs. Vanilla or cream cheese frosting works well.
For Decoration:
- Candy Melts: Red, green, white, or any festive colors.
- Sprinkles: Christmas-themed shapes or classic red and green nonpareils.
- Edible Glitter: For a magical holiday sparkle.
- Lollipop Sticks: To hold the cake pops.
Instructions
1. Bake and Crumble the Cake
- Bake your favorite cake recipe or use a store-bought mix according to the instructions. Let it cool completely.
- Crumble the cake into fine crumbs using your hands or a food processor.
2. Mix with Frosting
- Add ½ cup of frosting to the cake crumbs and mix until the texture resembles cookie dough. Adjust the amount of frosting as needed to achieve a consistency that holds its shape.
3. Shape the Cake Balls
- Roll the mixture into small balls, about 1 inch in diameter. Place them on a parchment-lined baking sheet.
- Chill the cake balls in the refrigerator for at least 30 minutes or in the freezer for 15 minutes.
4. Prepare the Candy Coating
- Melt the candy melts in a microwave-safe bowl, stirring every 20 seconds to ensure smoothness.
- Add a small amount of vegetable shortening or coconut oil if the coating is too thick.
5. Assemble the Cake Pops
- Dip the tip of each lollipop stick into the melted candy, then insert it halfway into a cake ball.
- Chill the pops for a few minutes to secure the sticks.
6. Dip and Decorate
- Dip each cake pop into the melted candy, ensuring it’s fully coated. Let the excess drip off.
- Decorate with sprinkles, edible glitter, or other holiday-themed toppings while the coating is still wet.
- Place the cake pops in a styrofoam block or stand to dry completely.
Creative Decorating Ideas for Christmas Cake Pops
- Santa Hats: Use red candy melts and a mini marshmallow for the hat’s pom-pom. Add a white frosting trim for a realistic touch.
- Snowmen: Dip the cake pops in white candy melts and use mini chocolate chips for eyes and an orange candy for the nose.
- Christmas Trees: Shape the cake balls into cones before dipping them in green candy melts. Decorate with colorful sprinkles as ornaments.
- Holiday Sparkle: Cover the cake pops in edible glitter for a magical, snow-like effect.
- Candy Cane Swirls: Use red and white candy melts to create a swirled effect, mimicking the classic Christmas treat
- Prep Time: 30 minutes
- Cook Time: 25 minutes
Why Make Cake Pops for Christmas?
- Festive Fun: Cake pops can be decorated in endless holiday-themed designs, from snowflakes to Christmas trees.
- Portable Treats: Their bite-sized nature makes them ideal for holiday parties, school events, or gifting.
- Easy Customization: Use your favorite cake flavors, colors, and decorations to match your holiday theme.
- Family Activity: Making and decorating cake pops is a great way to bond with loved ones during the holidays.
Ingredients and Tools for Christmas Cake Pops
Essential Ingredients
For the Cake:
- Cake Mix or Homemade Cake: 1 standard-size baked cake (any flavor).
- Frosting: ½ cup, to bind the cake crumbs. Vanilla or cream cheese frosting works well.
For Decoration:
- Candy Melts: Red, green, white, or any festive colors.
- Sprinkles: Christmas-themed shapes or classic red and green nonpareils.
- Edible Glitter: For a magical holiday sparkle.
- Lollipop Sticks: To hold the cake pops.
Tools Required
- Mixing bowls
- Baking sheet
- Parchment paper
- Microwave-safe bowls for melting candy
- Styrofoam block or cake pop stand for drying
- Toothpicks for fine decorating
Step-by-Step Guide to Making Christmas Cake Pops
1. Bake and Crumble the Cake
- Bake your favorite cake recipe or use a store-bought mix according to the instructions. Let it cool completely.
- Crumble the cake into fine crumbs using your hands or a food processor.
2. Mix with Frosting
- Add ½ cup of frosting to the cake crumbs and mix until the texture resembles cookie dough. Adjust the amount of frosting as needed to achieve a consistency that holds its shape.
3. Shape the Cake Balls
- Roll the mixture into small balls, about 1 inch in diameter. Place them on a parchment-lined baking sheet.
- Chill the cake balls in the refrigerator for at least 30 minutes or in the freezer for 15 minutes.
4. Prepare the Candy Coating
- Melt the candy melts in a microwave-safe bowl, stirring every 20 seconds to ensure smoothness.
- Add a small amount of vegetable shortening or coconut oil if the coating is too thick.
5. Assemble the Cake Pops
- Dip the tip of each lollipop stick into the melted candy, then insert it halfway into a cake ball.
- Chill the pops for a few minutes to secure the sticks.
6. Dip and Decorate
- Dip each cake pop into the melted candy, ensuring it’s fully coated. Let the excess drip off.
- Decorate with sprinkles, edible glitter, or other holiday-themed toppings while the coating is still wet.
- Place the cake pops in a styrofoam block or stand to dry completely.
Creative Decorating Ideas for Christmas Cake Pops
- Santa Hats: Use red candy melts and a mini marshmallow for the hat’s pom-pom. Add a white frosting trim for a realistic touch.
- Snowmen: Dip the cake pops in white candy melts and use mini chocolate chips for eyes and an orange candy for the nose.
- Christmas Trees: Shape the cake balls into cones before dipping them in green candy melts. Decorate with colorful sprinkles as ornaments.
- Holiday Sparkle: Cover the cake pops in edible glitter for a magical, snow-like effect.
- Candy Cane Swirls: Use red and white candy melts to create a swirled effect, mimicking the classic Christmas treat.
Tips for Perfect Cake Pops
Preparation Tips
- Chill Thoroughly: Ensure the cake balls are firm before dipping to prevent them from falling apart.
- Smooth Texture: Crumble the cake as finely as possible for a smooth, even texture.
Dipping Tips
- Thin the Coating: Add a small amount of vegetable shortening to melted candy for a smoother finish.
- Tap Gently: Tap the stick gently against the bowl to remove excess coating without damaging the cake pop.
Decorating Tips
- Work Quickly: Add decorations before the coating sets to ensure they stick.
- Use Toothpicks: For intricate designs, use toothpicks dipped in melted candy or frosting.
Serving and Storing Christmas Cake Pops
Serving Ideas
- Arrange cake pops in a decorative vase or jar to mimic a holiday bouquet.
- Use personalized tags or ribbons for individual cake pops when gifting.
- Pair them with hot chocolate or eggnog for a festive dessert pairing.
Storage Tips
- Room Temperature: Store cake pops in an airtight container at room temperature for up to 3 days.
- Refrigeration: Refrigerate for up to 1 week. Bring to room temperature before serving.
- Freezing: Freeze undecorated cake pops for up to 2 months. Thaw and decorate as desired.
Hosting a Christmas Cake Pop Decorating Party
Making Christmas cake pops is even more fun when shared with others. Here’s how to host a successful cake pop decorating party:
- Set Up Stations: Provide pre-made cake balls, melted candy, and various decorations at each station.
- Offer Guidance: Demonstrate basic techniques for dipping and decorating.
- Encourage Creativity: Let guests design their own unique cake pops.
- Provide Take-Home Packaging: Supply festive boxes or bags for guests to take their creations home.
Frequently Asked Questions
Can I Use Store-Bought Cake and Frosting?
Yes! Store-bought cake and frosting are convenient options that save time without compromising flavor.
What If My Cake Pops Keep Falling Off the Stick?
Ensure the cake balls are chilled and the lollipop stick is secured with melted candy before dipping.
Can I Use Chocolate Instead of Candy Melts?
Yes! Use tempered chocolate for dipping, but note that candy melts are easier to work with for beginners.
Why Christmas Cake Pops Are a Holiday Favorite
Christmas cake pops bring together the joy of baking, decorating, and sharing in one festive package. Their versatility and visual appeal make them a favorite for bakers of all skill levels, while their delicious flavor ensures they’re a hit with everyone who tries them.
Final Thoughts
This holiday season, make your celebrations extra special with Christmas Cake Pops. Their charming designs, delicious taste, and easy portability make them the ultimate holiday treat. Whether you’re creating them for a party, a gift, or just for fun, these bite-sized desserts are sure to spread joy and cheer.
So roll up your sleeves, gather your favorite decorations, and let your creativity shine. With these tips and ideas, you’ll have a batch of cake pops that’s perfect for Christmas and beyond. Happy baking and Merry Christmas! 🎄🍭✨
4o