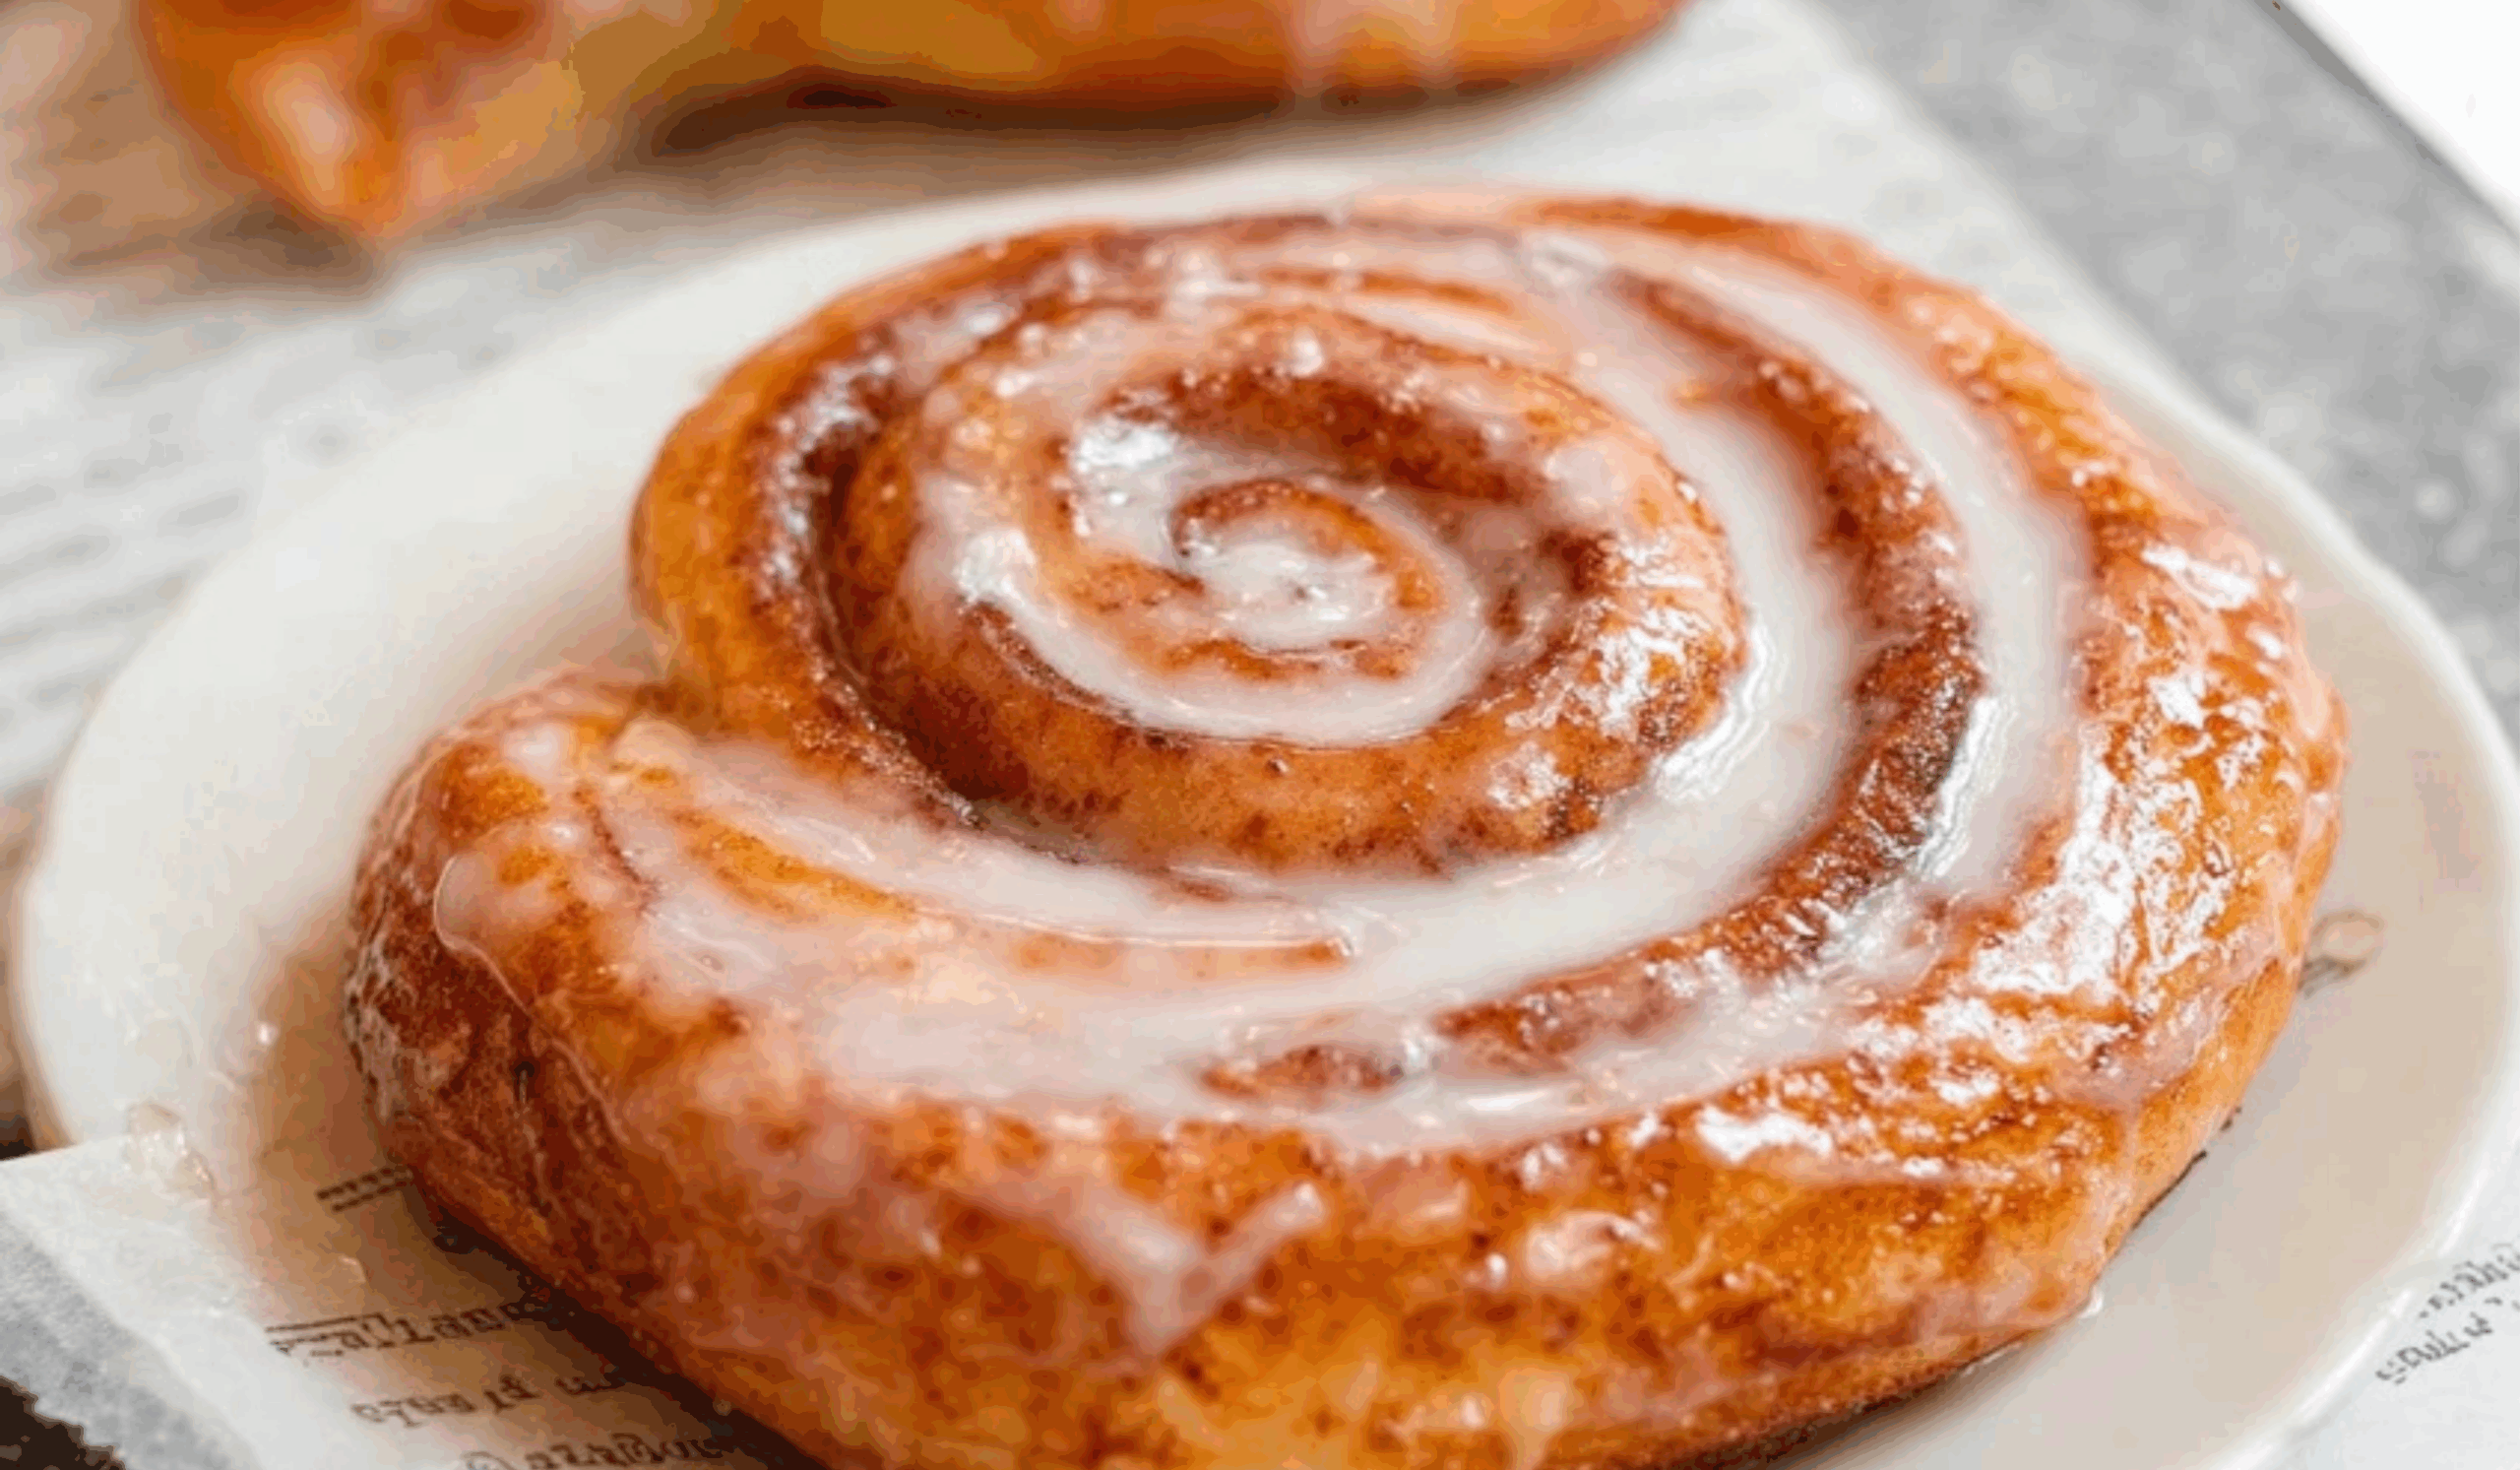
Soft, sticky, sweet, and full of cinnamon goodness—honey buns are a nostalgic treat that takes many of us back to lunchboxes, gas station snacks, and childhood breakfasts. But when made at home, honey buns become so much more: fluffy, rich, and warm, with a golden swirl of cinnamon sugar inside and a glossy honey glaze on top.

This homemade honey buns recipe is beginner-friendly and worth every step. These aren’t your typical store-bought snacks; they’re full-size, bakery-style buns that you can bake or fry depending on your preference. Whether you enjoy them warm out of the oven or cooled with a thick glaze, these buns are sure to impress. There’s no pork, no ham, and no bacon in this version—just pure cinnamon-honey sweetness.
Ingredients and Preparation
For the Dough:
- 3 ¾ cups all-purpose flour (plus more for dusting)
- ½ teaspoon salt
- 2 ¼ teaspoons (1 packet) active dry or instant yeast
- 1 cup warm milk (around 110°F)
- ¼ cup granulated sugar
- 1 large egg
- ¼ cup unsalted butter, softened
For the Filling:
- ⅓ cup light brown sugar
- 2 teaspoons ground cinnamon
- 2 tablespoons unsalted butter, melted
For the Honey Glaze:
- 2 cups powdered sugar
- 2 tablespoons honey
- 3 tablespoons milk (adjust for consistency)
- 1 teaspoon vanilla extract
Step-by-Step Instructions
1. Make the Dough
- In a small bowl, combine the warm milk and sugar. Sprinkle the yeast on top and let it sit for about 5–10 minutes until it becomes frothy.
- In a large mixing bowl or stand mixer, add flour and salt.
- Mix in the yeast mixture, egg, and softened butter.
- Knead the dough on a lightly floured surface (or using the dough hook of a stand mixer) for about 8–10 minutes until the dough is smooth and elastic.
- Place the dough in a greased bowl, cover with a damp cloth or plastic wrap, and let it rise in a warm place for 1 hour or until doubled in size.
2. Prepare the Filling
- In a small bowl, mix the brown sugar and cinnamon together.
- Set aside the melted butter separately for brushing.
3. Roll and Fill the Dough
- Once the dough has risen, punch it down and roll it out on a floured surface into a large rectangle—approximately 12×16 inches.
- Brush the surface of the dough with melted butter.
- Sprinkle the cinnamon-sugar mixture evenly across the top.
4. Shape the Buns
- Starting with the long edge, roll the dough tightly into a log.
- Slice into 12 even buns using a sharp knife or dental floss.
- For baking: Place the buns on a greased or parchment-lined baking sheet, leaving some space between each.
- For frying: Flatten each bun slightly and place them on a floured tray. Cover loosely and let them rise again for 20–30 minutes.
5. Bake or Fry the Buns
- To bake: Preheat your oven to 350°F (175°C). Bake the buns for 15–18 minutes or until lightly golden brown.
- To fry: Heat 2–3 inches of oil in a deep skillet to 350°F (175°C). Fry the buns one or two at a time, flipping halfway through, until golden brown on both sides (about 1–2 minutes per side). Drain on paper towels.
6. Make the Honey Glaze
- In a medium bowl, whisk together the powdered sugar, honey, milk, and vanilla extract until smooth. Add more milk for a thinner glaze or more powdered sugar for a thicker consistency.
7. Glaze the Buns
- While the buns are still warm (but not hot), dip or spoon glaze generously over the tops.
- Allow glaze to set for 5–10 minutes before serving.
Beginner Tips and Notes
- Yeast matters: Be sure your milk isn’t too hot or it will kill the yeast. Aim for just warm to the touch (about 110°F).
- Flour control: Don’t add too much flour while kneading or the dough will become stiff. The dough should be slightly tacky but not sticky.
- Resting is key: If your kitchen is cool, place your dough in an oven with the light on or near a warm window to help it rise.
- Even slices: Use unflavored dental floss or a serrated knife for clean, even cuts.
- Frying tips: If you choose to fry, test the oil with a scrap piece first—if it sizzles and floats, you’re ready. Don’t overcrowd the pan.
- Storing buns: These are best the same day, but you can store them in an airtight container for up to 2 days. Reheat in the microwave for 10–15 seconds to soften.
- Freezing option: Freeze unglazed buns after baking or frying. Thaw and warm, then add glaze fresh.

Homemade Honey Buns: A Soft, Sweet Bakery Classic You Can Make at Home
🍯✨ Soft, sticky, and swirled with love—Homemade Honey Buns bring that classic bakery flavor straight to your kitchen! These golden, fluffy rolls are glazed in sweet honey goodness and melt in your mouth with every bite. 🍞💛 Perfect for breakfast, dessert, or an anytime treat, they’re comforting, nostalgic, and easier to make than you think. Why buy store-bought when homemade tastes this good? 😍👩🍳
- Total Time: 1 hour 35 minutes
- Yield: 12 buns 1x
Ingredients
For the Dough:
- 3 ¾ cups all-purpose flour (plus more for dusting)
- ½ teaspoon salt
- 2 ¼ teaspoons (1 packet) active dry or instant yeast
- 1 cup warm milk (around 110°F)
- ¼ cup granulated sugar
- 1 large egg
- ¼ cup unsalted butter, softened
For the Filling:
- ⅓ cup light brown sugar
- 2 teaspoons ground cinnamon
- 2 tablespoons unsalted butter, melted
For the Honey Glaze:
- 2 cups powdered sugar
- 2 tablespoons honey
- 3 tablespoons milk (adjust for consistency)
- 1 teaspoon vanilla extract
Instructions
1. Make the Dough
- In a small bowl, combine the warm milk and sugar. Sprinkle the yeast on top and let it sit for about 5–10 minutes until it becomes frothy.
- In a large mixing bowl or stand mixer, add flour and salt.
- Mix in the yeast mixture, egg, and softened butter.
- Knead the dough on a lightly floured surface (or using the dough hook of a stand mixer) for about 8–10 minutes until the dough is smooth and elastic.
- Place the dough in a greased bowl, cover with a damp cloth or plastic wrap, and let it rise in a warm place for 1 hour or until doubled in size.
2. Prepare the Filling
- In a small bowl, mix the brown sugar and cinnamon together.
- Set aside the melted butter separately for brushing.
3. Roll and Fill the Dough
- Once the dough has risen, punch it down and roll it out on a floured surface into a large rectangle—approximately 12×16 inches.
- Brush the surface of the dough with melted butter.
- Sprinkle the cinnamon-sugar mixture evenly across the top.
4. Shape the Buns
- Starting with the long edge, roll the dough tightly into a log.
- Slice into 12 even buns using a sharp knife or dental floss.
- For baking: Place the buns on a greased or parchment-lined baking sheet, leaving some space between each.
- For frying: Flatten each bun slightly and place them on a floured tray. Cover loosely and let them rise again for 20–30 minutes.
5. Bake or Fry the Buns
- To bake: Preheat your oven to 350°F (175°C). Bake the buns for 15–18 minutes or until lightly golden brown.
- To fry: Heat 2–3 inches of oil in a deep skillet to 350°F (175°C). Fry the buns one or two at a time, flipping halfway through, until golden brown on both sides (about 1–2 minutes per side). Drain on paper towels.
6. Make the Honey Glaze
- In a medium bowl, whisk together the powdered sugar, honey, milk, and vanilla extract until smooth. Add more milk for a thinner glaze or more powdered sugar for a thicker consistency.
7. Glaze the Buns
- While the buns are still warm (but not hot), dip or spoon glaze generously over the tops.
- Allow glaze to set for 5–10 minutes before serving.
Notes
- Yeast matters: Be sure your milk isn’t too hot or it will kill the yeast. Aim for just warm to the touch (about 110°F).
- Flour control: Don’t add too much flour while kneading or the dough will become stiff. The dough should be slightly tacky but not sticky.
- Resting is key: If your kitchen is cool, place your dough in an oven with the light on or near a warm window to help it rise.
- Even slices: Use unflavored dental floss or a serrated knife for clean, even cuts.
- Frying tips: If you choose to fry, test the oil with a scrap piece first—if it sizzles and floats, you’re ready. Don’t overcrowd the pan.
- Storing buns: These are best the same day, but you can store them in an airtight container for up to 2 days. Reheat in the microwave for 10–15 seconds to soften.
- Freezing option: Freeze unglazed buns after baking or frying. Thaw and warm, then add glaze fresh.
- Prep Time: 20 minutes (plus 1 hour rising)
- Cook Time: 15 minutes
Serving Suggestions
- Breakfast treat: Serve warm with coffee or a glass of cold milk for a sweet breakfast indulgence.
- Snack time: These buns make great midday snacks for kids or adults alike.
- Brunch table: Add to a brunch spread with fresh fruits, scrambled eggs, and baked chicken strips for a balanced touch.
- Party platter: Cut the buns in halves or quarters and serve them glazed on a party tray.
- Drizzle options: Try a maple glaze instead of honey, or add a bit of citrus zest to the glaze for a bright twist.
Final Thought
Making homemade honey buns is a rewarding experience that turns a simple cinnamon roll into something uniquely sweet, soft, and golden. Whether you bake them for a weekend breakfast or fry them for a nostalgic snack, these honey buns are sure to become a favorite in your kitchen.
By sticking to basic ingredients, easy-to-follow steps, and a classic glaze, you can achieve that tender texture and sticky finish without needing any specialty tools or store-bought shortcuts. Most importantly, this version keeps the focus on sweet flavor—without using pork or bacon—making it perfect for a wider range of dietary preferences.
Once you try one warm out of the oven, you’ll understand why homemade always wins. Enjoy the process, savor the result, and feel free to make them your own by experimenting with glaze flavors or adding raisins or nuts. Every bite is worth the effort.