There’s something undeniably charming about the first time you bake a dessert that turns out both delicious and beautiful. For me, it was a fruit-custard tart. I’d seen them in pastry shop windows—flaky crusts filled with smooth, creamy custard, topped with vibrant slices of fresh fruit and finished with a glassy sheen. I assumed they were reserved for trained chefs or weekend warriors with years of kitchen experience. But one quiet afternoon, I decided to try. What emerged from my oven wasn’t just a tart—it was confidence, it was joy, and it was the beginning of many more baking adventures.
Print
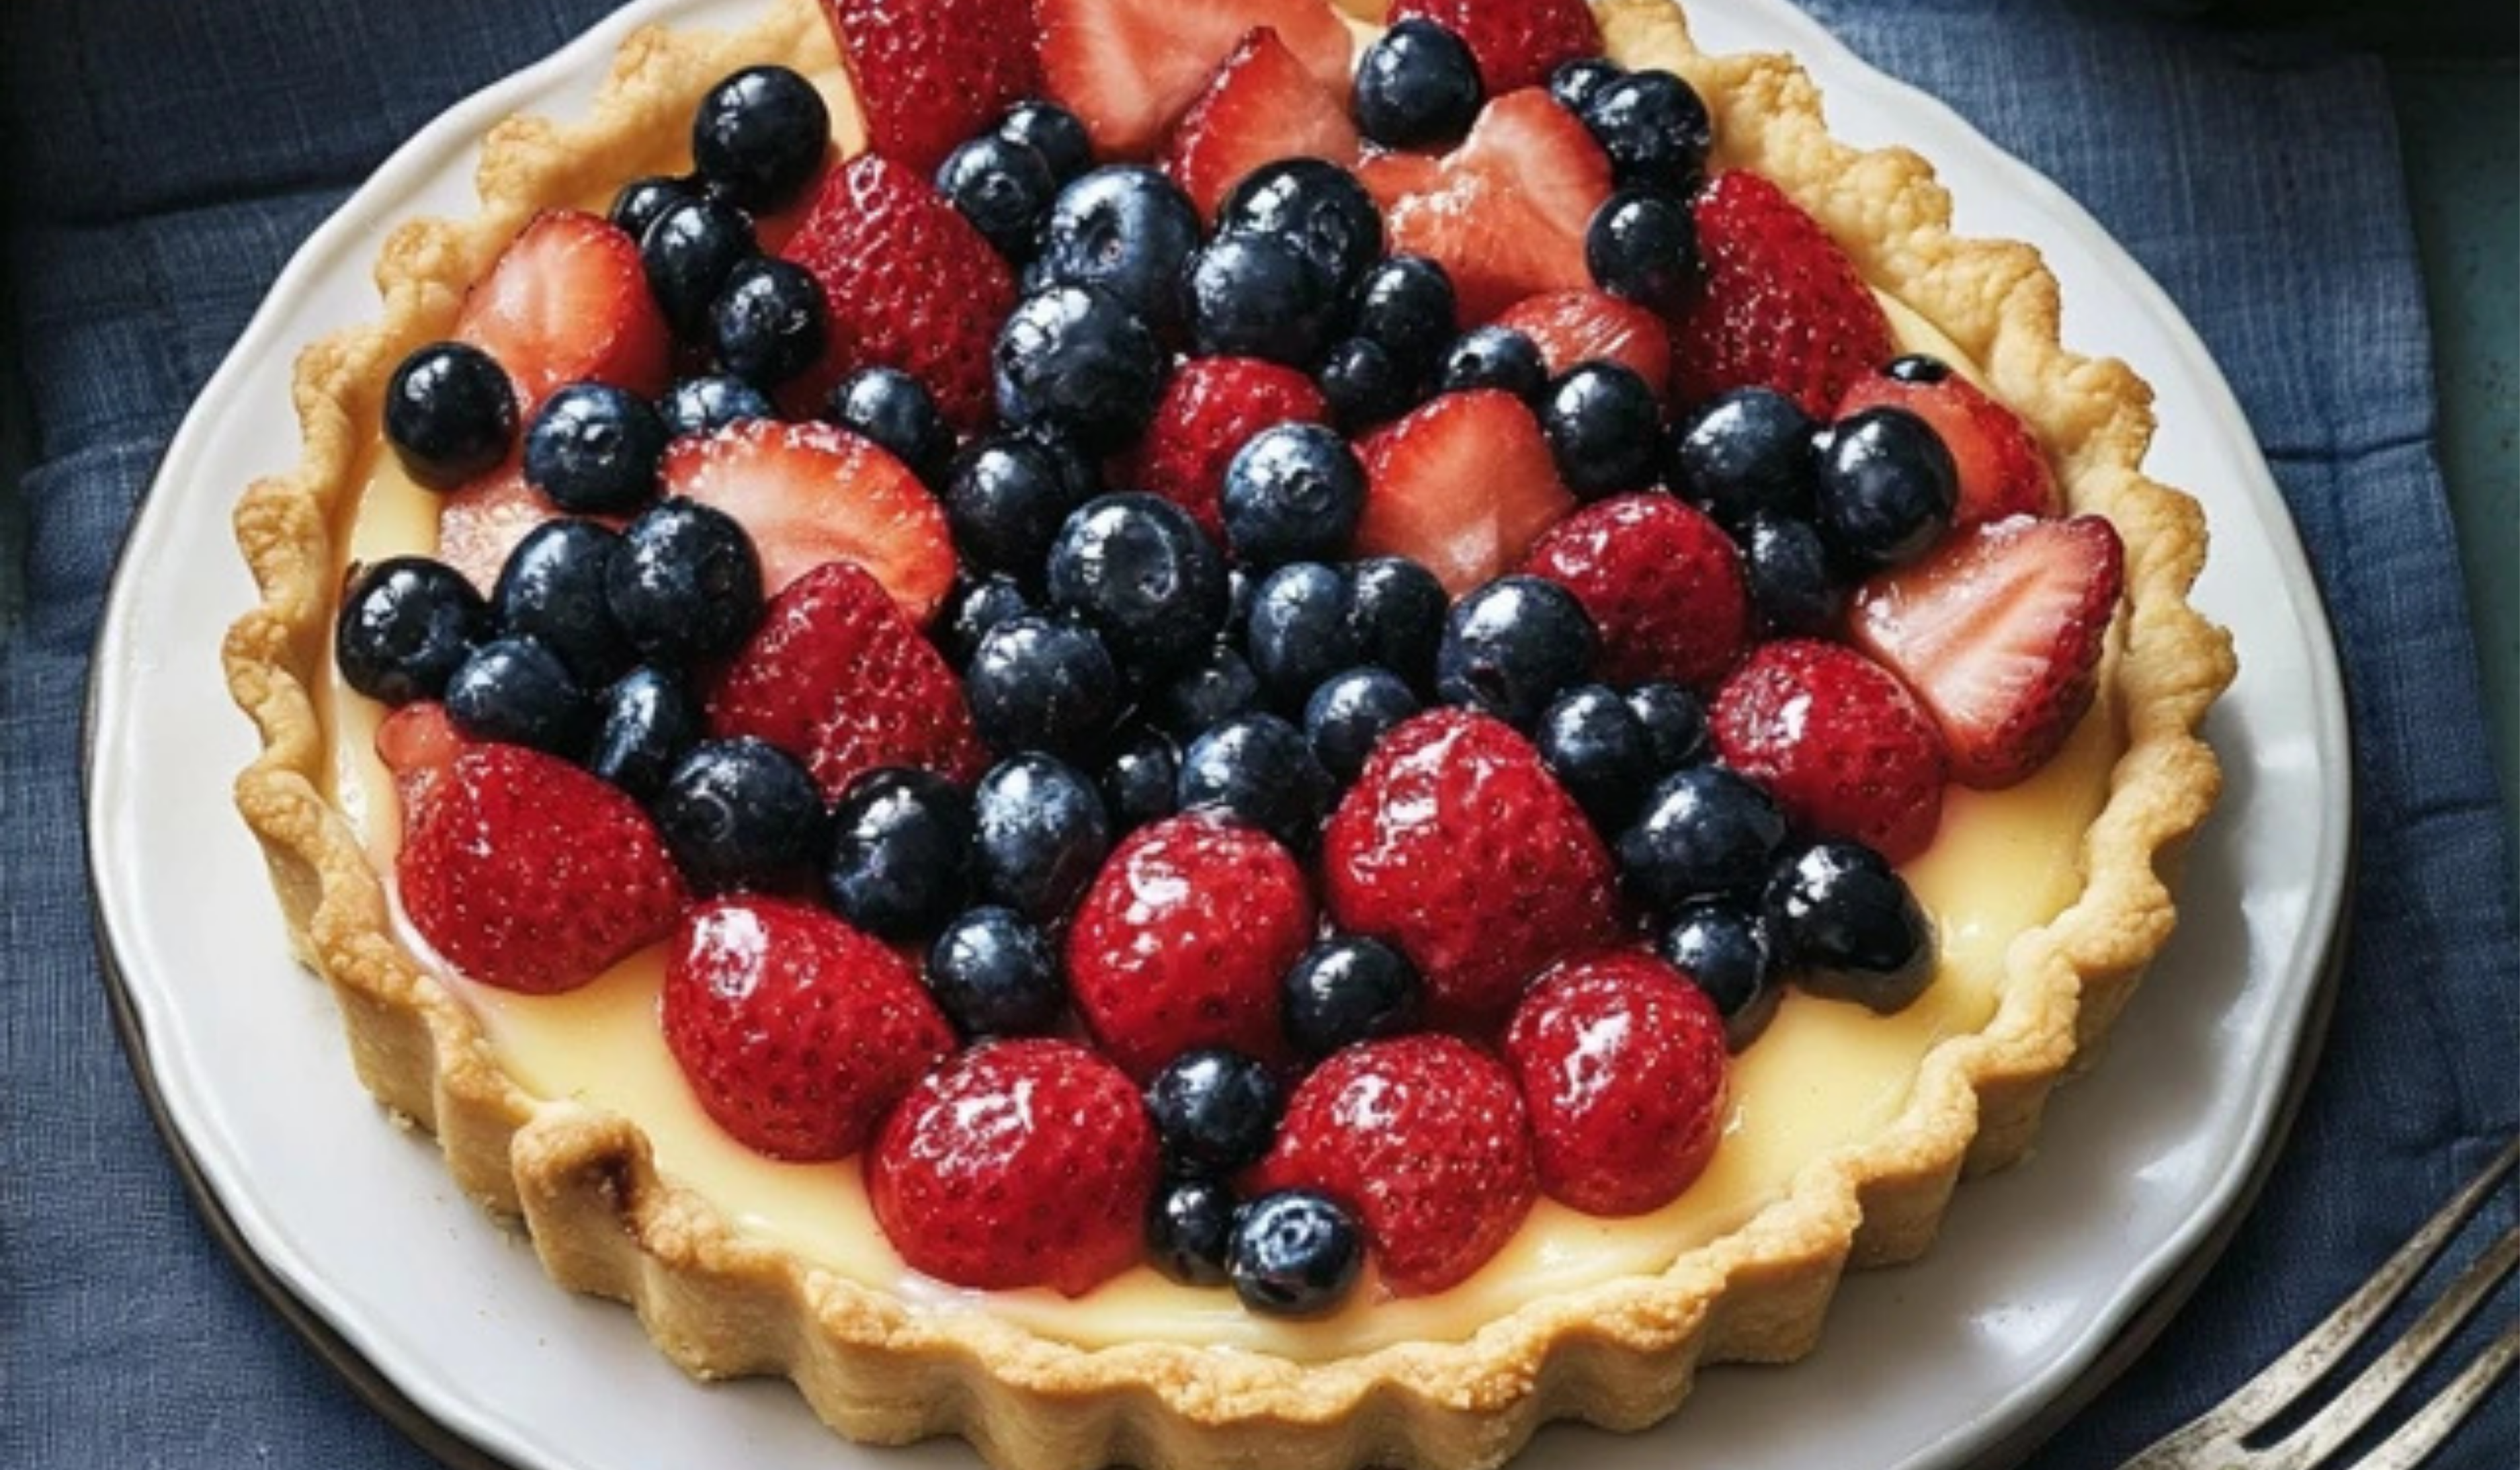
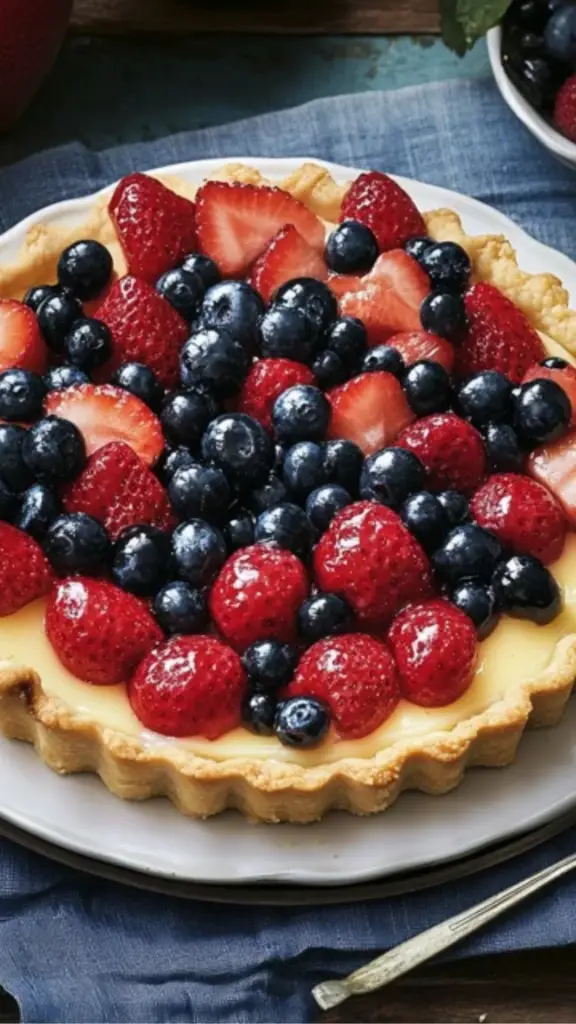
Fresh Fruit-Custard Tart: A Beautiful Beginning for Beginner Bakers
A crisp tart shell, silky custard, and vibrant fresh fruits make this dessert a showstopper! Beautiful, light, and perfect for beginner bakers with a sweet tooth! 🍓🥝
- Total Time: 1 hour (active) + 3 hours cooling = 4 hours
- Yield: 9 servings 1x
Ingredients
Crust
- 1 1/4 cups all-purpose flour (Gold Medal™ or any quality brand)
- 1/2 cup butter, softened
- 2 tablespoons packed brown sugar
- 1 egg, slightly beaten
Filling
- 3/4 cup granulated sugar
- 2 tablespoons all-purpose flour
- 1/4 teaspoon salt
- 3/4 cup whipping cream
- 2 tablespoons orange-flavored liqueur (or substitute with orange juice for a non-alcoholic version)
- 3 eggs, slightly beaten
Topping
- 1 cup fresh strawberries, sliced
- 1 cup fresh blueberries
- 1 cup fresh raspberries
- 2 tablespoons apple jelly (or apricot jam, thinned)
Optional Substitutions and Additions
- For a dairy-free crust, substitute plant-based butter and use full-fat coconut cream in place of whipping cream in the custard.
- You can use seasonal fruits such as sliced kiwi, mango, or peaches instead of berries.
- The orange liqueur adds flavor complexity, but orange extract or juice works well too.
Instructions
Step 1: Make the Crust
Preheat your oven to 450°F. In a medium mixing bowl, combine the flour, softened butter, brown sugar, and the lightly beaten egg. Stir until a soft dough forms. This dough will feel slightly sticky but workable.
Transfer the dough to an ungreased 9-inch tart pan. Using lightly floured fingers, press the dough firmly and evenly into the bottom and up the sides of the pan. Make sure it’s an even layer to avoid uneven baking.
Bake the crust for 8 to 10 minutes, or until it is set and lightly golden at the edges. Keep an eye on it, as every oven heats a little differently. Once baked, remove from the oven and allow to cool for 15 minutes. Reduce the oven temperature to 325°F.
Step 2: Prepare the Custard Filling
In a medium bowl, whisk together the granulated sugar, flour, and salt. Add the whipping cream, orange liqueur or juice, and eggs. Whisk until the mixture is smooth and fully combined.
Carefully pour the custard into the cooled tart crust. The filling will be liquid, so transfer the pan to the oven gently to avoid spills.
Bake at 325°F for about 30 minutes. The custard should be set but still slightly wobbly in the center. It will puff slightly as it bakes and then settle as it cools. Avoid overbaking, as this can cause the custard to crack or become rubbery.
Once baked, remove the tart from the oven and let it cool completely on a wire rack. This will take approximately three hours. The tart must be fully cooled before you add the fruit topping.
Step 3: Assemble the Topping
Once the tart has cooled, arrange the berries over the custard. You can place them in rows, circles, or a random pattern—whatever feels fun and manageable. Make sure the fruit is dry before adding it to avoid excess moisture on the custard.
Place the apple jelly in a small microwavable bowl and heat on high for 30 seconds, or until fully melted. Stir well. Using a pastry brush, gently coat the fruit with the jelly to give it a glossy finish. This step adds sweetness and enhances the tart’s visual appeal.
Refrigerate the finished tart until you’re ready to serve.
Notes
Making pastry for the first time can feel daunting, but this dough is forgiving. If the crust sticks to your fingers as you press it in, dust them with a little flour. You don’t need a rolling pin—just press and shape.
If your custard seems slightly jiggly in the center after baking, don’t panic. That’s normal. It will continue to set as it cools.
When arranging fruit, consider color contrast and size. You can trim larger berries to fit better. Always use fresh, firm fruit. Overripe fruit will become mushy and lose its shape.
If your fruit topping releases too much moisture, dab gently with a paper towel before glazing. If your glaze starts to clump, reheat for 10 seconds and stir before continuing.
For a smoother prep, measure all your ingredients before beginning. This reduces stress and keeps you organized, especially when working with steps that require attention to timing.
- Prep Time: 20 minutes (plus 3 hours cooling)
- Cook Time: 40 minutes
This recipe is a perfect entry point for new bakers. The steps are clear, the ingredients are simple, and the result is a tart that looks elegant and tastes fresh. It’s a great choice for anyone who wants to build their skills without feeling overwhelmed. With a buttery homemade crust, a soft custard center, and a topping of juicy berries, this tart is the kind of dessert that impresses without being intimidating. It’s also light and adaptable, making it ideal for celebrations, casual dinners, or just an afternoon treat.
By following this step-by-step guide, even first-time bakers can create a dessert that looks professional and tastes just as good as it looks.
Ingredients and Preparation
Let’s start with the ingredients. Every component of the tart is made from scratch using simple, familiar pantry staples. We’ll walk through each element—the crust, the custard filling, and the fresh fruit topping.
Crust
- 1 1/4 cups all-purpose flour (Gold Medal™ or any quality brand)
- 1/2 cup butter, softened
- 2 tablespoons packed brown sugar
- 1 egg, slightly beaten
Filling
- 3/4 cup granulated sugar
- 2 tablespoons all-purpose flour
- 1/4 teaspoon salt
- 3/4 cup whipping cream
- 2 tablespoons orange-flavored liqueur (or substitute with orange juice for a non-alcoholic version)
- 3 eggs, slightly beaten
Topping
- 1 cup fresh strawberries, sliced
- 1 cup fresh blueberries
- 1 cup fresh raspberries
- 2 tablespoons apple jelly (or apricot jam, thinned)
Optional Substitutions and Additions
- For a dairy-free crust, substitute plant-based butter and use full-fat coconut cream in place of whipping cream in the custard.
- You can use seasonal fruits such as sliced kiwi, mango, or peaches instead of berries.
- The orange liqueur adds flavor complexity, but orange extract or juice works well too.
The total preparation time includes chilling and cooling, so plan ahead if serving for a specific occasion.
Step-by-Step Instructions
Step 1: Make the Crust
Preheat your oven to 450°F. In a medium mixing bowl, combine the flour, softened butter, brown sugar, and the lightly beaten egg. Stir until a soft dough forms. This dough will feel slightly sticky but workable.
Transfer the dough to an ungreased 9-inch tart pan. Using lightly floured fingers, press the dough firmly and evenly into the bottom and up the sides of the pan. Make sure it’s an even layer to avoid uneven baking.
Bake the crust for 8 to 10 minutes, or until it is set and lightly golden at the edges. Keep an eye on it, as every oven heats a little differently. Once baked, remove from the oven and allow to cool for 15 minutes. Reduce the oven temperature to 325°F.
Step 2: Prepare the Custard Filling
In a medium bowl, whisk together the granulated sugar, flour, and salt. Add the whipping cream, orange liqueur or juice, and eggs. Whisk until the mixture is smooth and fully combined.
Carefully pour the custard into the cooled tart crust. The filling will be liquid, so transfer the pan to the oven gently to avoid spills.
Bake at 325°F for about 30 minutes. The custard should be set but still slightly wobbly in the center. It will puff slightly as it bakes and then settle as it cools. Avoid overbaking, as this can cause the custard to crack or become rubbery.
Once baked, remove the tart from the oven and let it cool completely on a wire rack. This will take approximately three hours. The tart must be fully cooled before you add the fruit topping.
Step 3: Assemble the Topping
Once the tart has cooled, arrange the berries over the custard. You can place them in rows, circles, or a random pattern—whatever feels fun and manageable. Make sure the fruit is dry before adding it to avoid excess moisture on the custard.
Place the apple jelly in a small microwavable bowl and heat on high for 30 seconds, or until fully melted. Stir well. Using a pastry brush, gently coat the fruit with the jelly to give it a glossy finish. This step adds sweetness and enhances the tart’s visual appeal.
Refrigerate the finished tart until you’re ready to serve.
Beginner Tips and Notes
Making pastry for the first time can feel daunting, but this dough is forgiving. If the crust sticks to your fingers as you press it in, dust them with a little flour. You don’t need a rolling pin—just press and shape.
If your custard seems slightly jiggly in the center after baking, don’t panic. That’s normal. It will continue to set as it cools.
When arranging fruit, consider color contrast and size. You can trim larger berries to fit better. Always use fresh, firm fruit. Overripe fruit will become mushy and lose its shape.
If your fruit topping releases too much moisture, dab gently with a paper towel before glazing. If your glaze starts to clump, reheat for 10 seconds and stir before continuing.
For a smoother prep, measure all your ingredients before beginning. This reduces stress and keeps you organized, especially when working with steps that require attention to timing.
Serving Suggestions
This tart is light yet satisfying, making it a versatile dessert. It works beautifully as the finishing touch for a dinner party, a refreshing treat for a summer lunch, or a centerpiece at a weekend brunch.
You can serve it as-is or elevate it further with a few simple additions:
- A spoonful of whipped cream on the side
- A sprinkle of finely chopped fresh mint
- A dusting of powdered sugar before serving (just before presentation, as moisture from the fruit may dissolve it)
Pair it with a glass of sparkling water with a citrus twist or a light dessert wine. For a more casual experience, serve with coffee or hot tea.
Leftovers can be stored in the refrigerator for up to three days. The crust may soften slightly over time, but the tart will still taste fresh. Cover it loosely with plastic wrap to protect the fruit and custard.
Engagement Features
Trying a new recipe can be a leap of faith, especially when you’re just starting out in the kitchen. This tart is a great way to challenge yourself while staying within the comfort zone of a clear, achievable recipe. You don’t need specialized tools or techniques—just a willingness to follow each step and enjoy the process.
If you try this recipe, I’d love to hear how it turned out for you. Did you add a twist with different fruits? Did you swap in a dairy-free alternative or experiment with flavors in the custard? Your experiences might inspire others to try something new as well.
The kitchen is a space to learn, experiment, and enjoy. This tart is more than just a dessert—it’s a project that offers immediate, delicious results and a boost of confidence for the next recipe. Whether this is your first homemade crust or your first custard, it won’t be your last.
Cooking and baking should feel approachable and rewarding, especially for those just starting out. With this fruit-custard tart, you get both. Try it for yourself, share it with friends, and keep building your kitchen confidence—one dish at a time.