Imagine the taste of your favorite chocolate sandwich cookies transformed into a light, creamy, and indulgent dessert—with just three simple ingredients. If you are new to cooking or baking, this is the perfect recipe to start with. No complicated techniques, no long list of ingredients, and no need for an oven. Whether you are looking for a quick treat to satisfy your sweet tooth or an easy dessert to impress guests, this cookies and cream mousse is the answer.
Print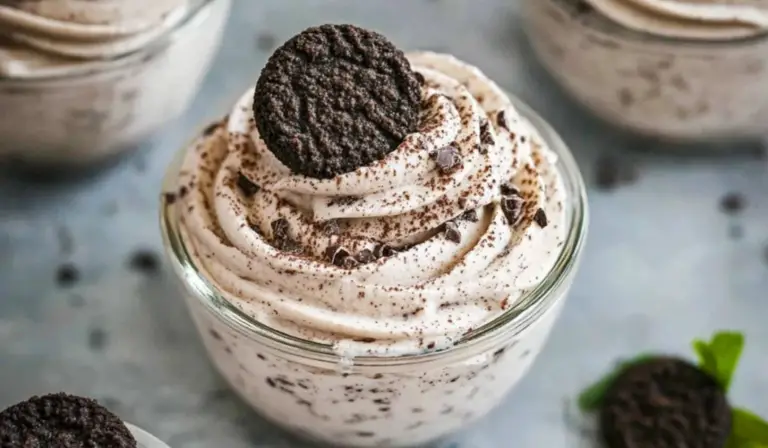
Easy Cookies and Cream Mousse: A Perfect 3-Ingredient Dessert for Beginners
This Cookies and Cream Mousse is pure dessert bliss—just 3 ingredients and 5 minutes for a rich, velvety treat! 🍪✨ No baking, no fuss, just smooth, chocolatey goodness in every bite!
- Total Time: 7 minutes
- Yield: 4 servings 1x
Ingredients
- 16 chocolate sandwich cookies (such as Oreos), plus more for garnish – These cookies provide the rich chocolate flavor and slight crunch that make this dessert so delicious. If you prefer a different type of cookie, you can experiment with chocolate graham crackers or vanilla sandwich cookies.
- 3 cups heavy whipping cream – This is the key ingredient that gives the mousse its light and fluffy texture. If you want a dairy-free alternative, you can use coconut cream, but keep in mind that it will slightly alter the flavor.
- 1 cup powdered sugar – This adds sweetness and helps stabilize the whipped cream. You can reduce the amount if you prefer a less sweet dessert or substitute with a sugar alternative like monk fruit sweetener or powdered erythritol.
Instructions
1. Prepare the Cookies
Start by separating the cream filling from the chocolate sandwich cookies. Place the cookie wafers in a plastic bag and crush them using a rolling pin or process them in a food processor until they form fine crumbs. Set aside a small portion of these crumbs to use as a topping later.
2. Heat the Cream Filling
Transfer the cream filling to a microwave-safe bowl and heat it in the microwave for about 2 minutes, stirring occasionally until it is fully melted. This step helps incorporate the filling more smoothly into the mousse.
3. Whip the Heavy Cream
Using a hand mixer or a stand mixer, beat the heavy whipping cream until it begins to thicken and form soft peaks. This usually takes about 2-3 minutes on medium speed. Soft peaks are when the cream holds its shape but still has a slight droop at the tip when the beaters are lifted.
4. Add the Sweetness
Slowly add the powdered sugar to the whipped cream while continuing to beat on low speed. Then, pour in the melted cookie filling and mix until fully combined. Increase the speed and beat until stiff peaks form. Stiff peaks mean the cream stands up straight without falling over when the beaters are lifted.
5. Fold in the Cookie Crumbs
Gently fold in most of the crushed cookies using a spatula. Be careful not to overmix, as this can deflate the whipped cream and make the mousse less airy. The goal is to distribute the cookie crumbs evenly while keeping the texture light and fluffy.
6. Pipe or Spoon into Serving Dishes
Transfer the mousse into a piping bag or a plastic bag with a piping tip. If you do not have a piping bag, you can simply spoon the mixture into serving glasses or bowls.
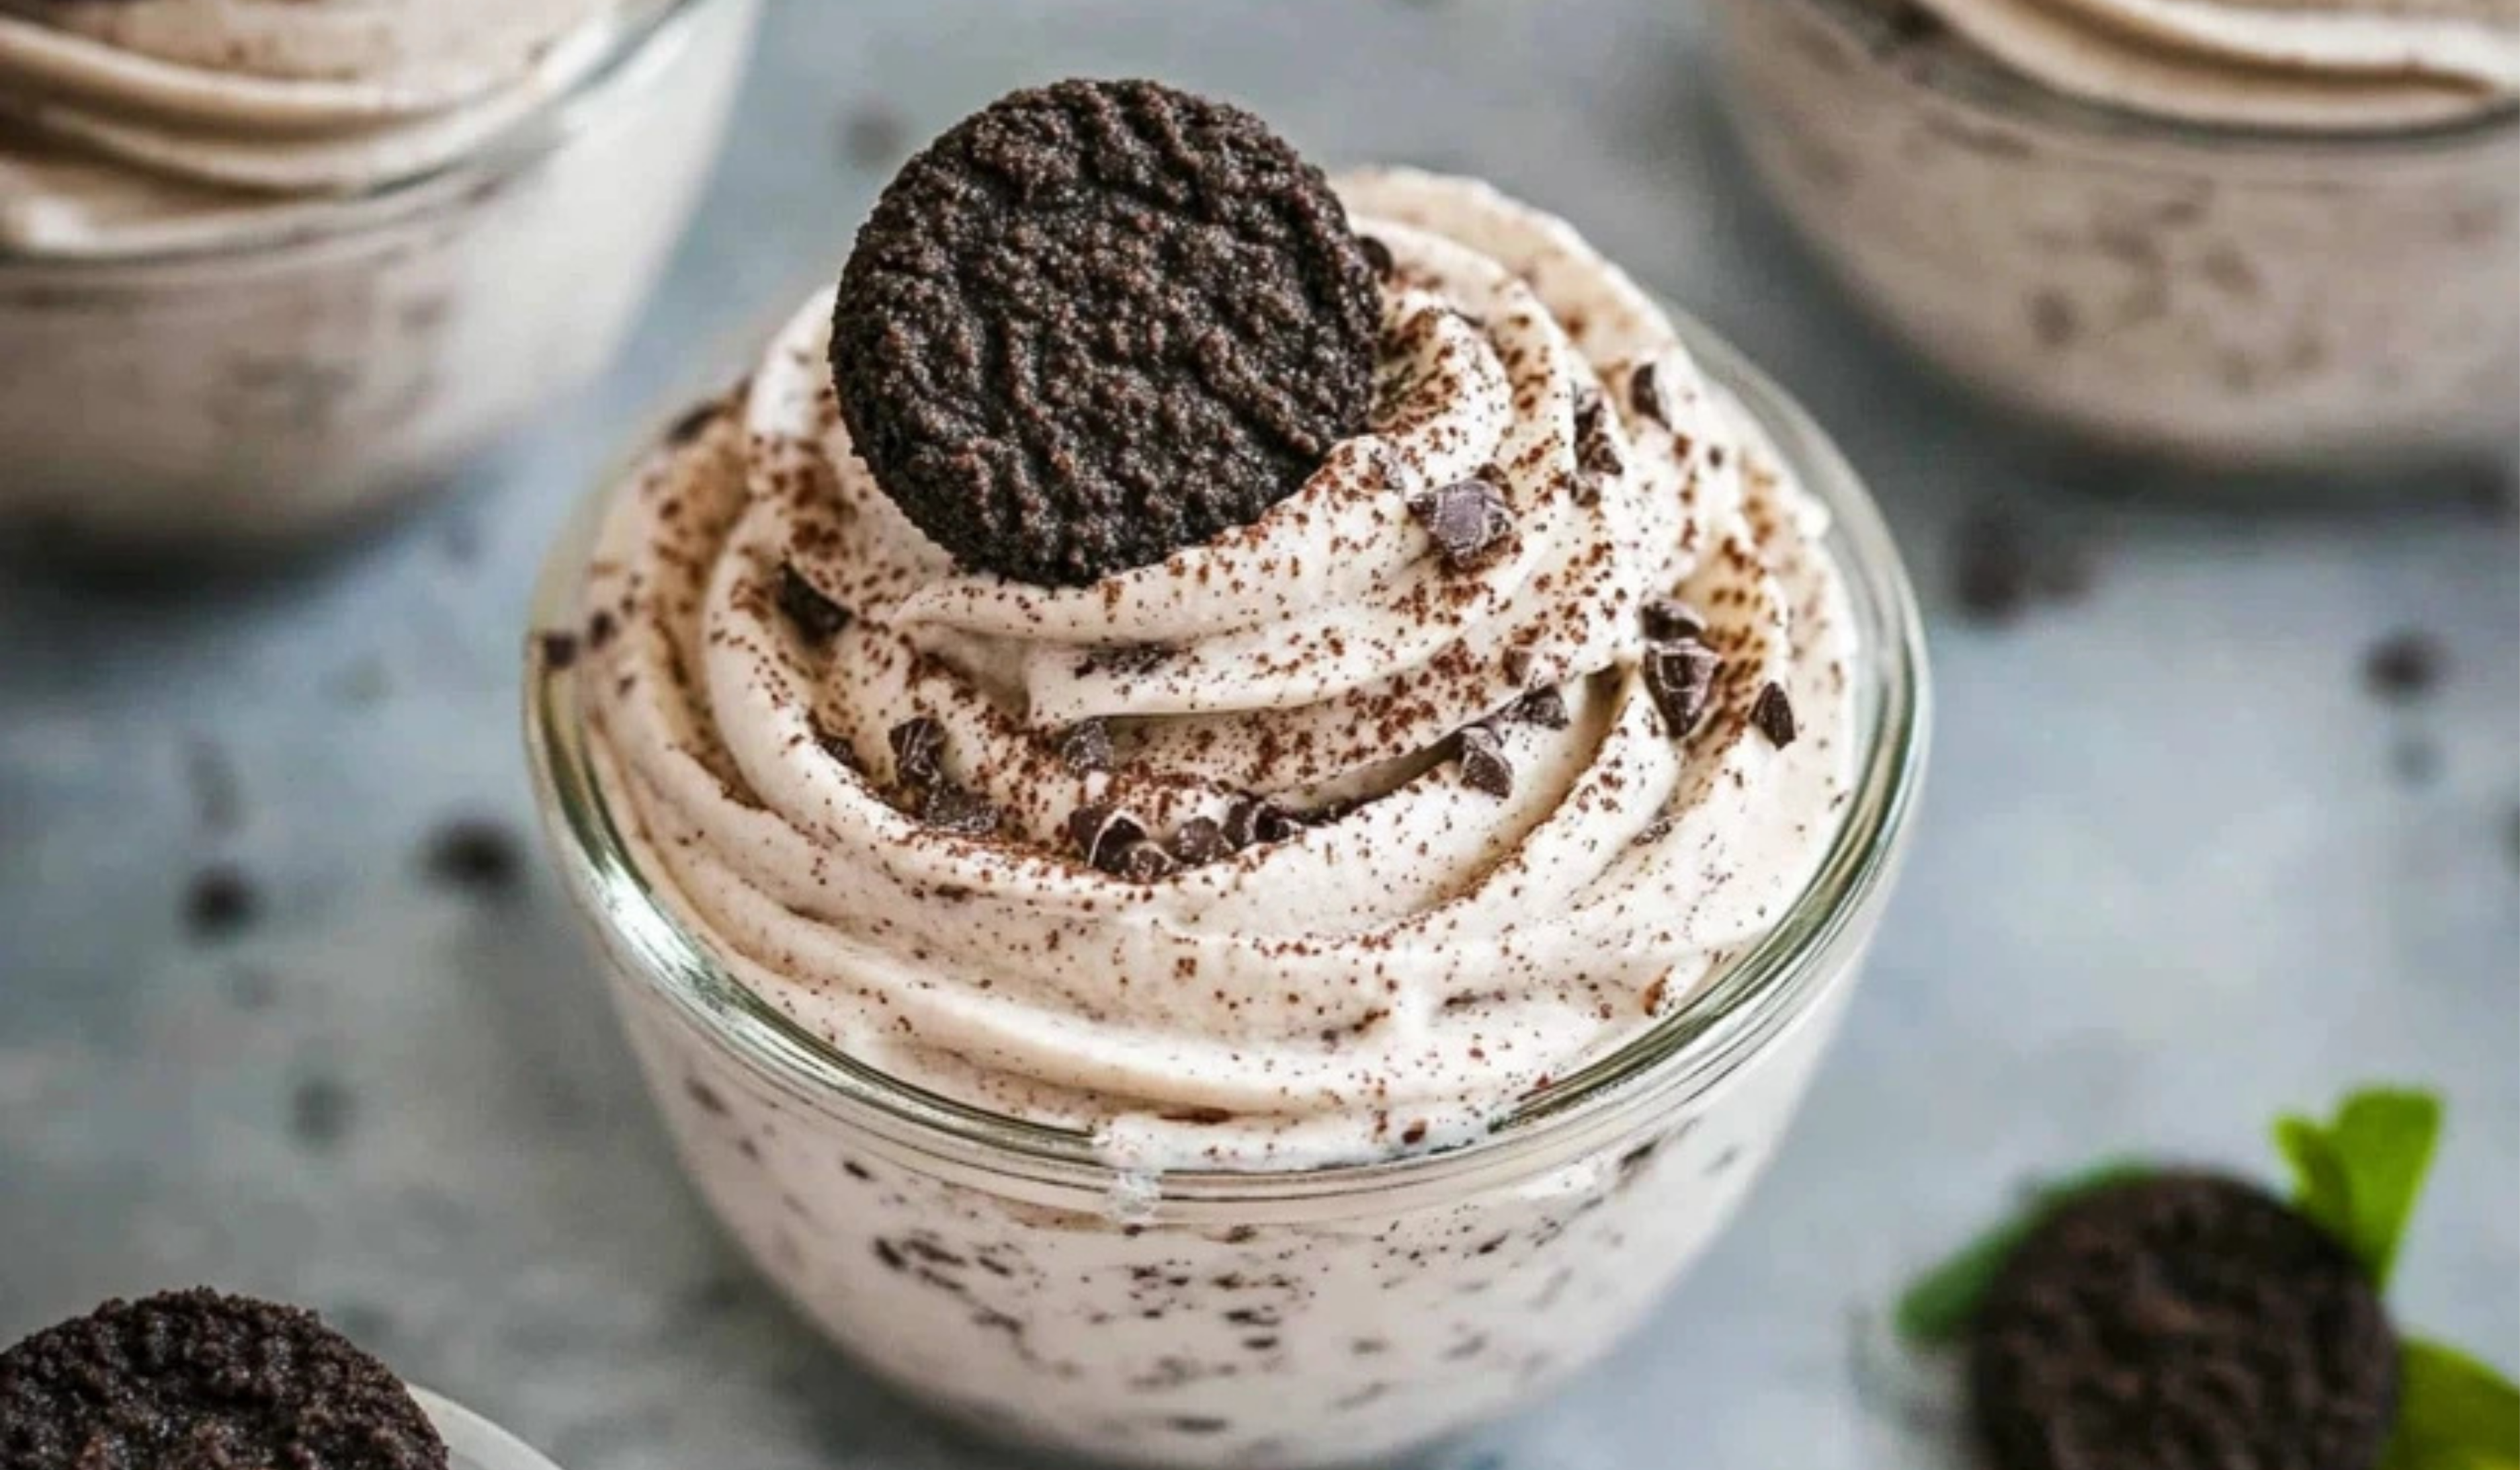
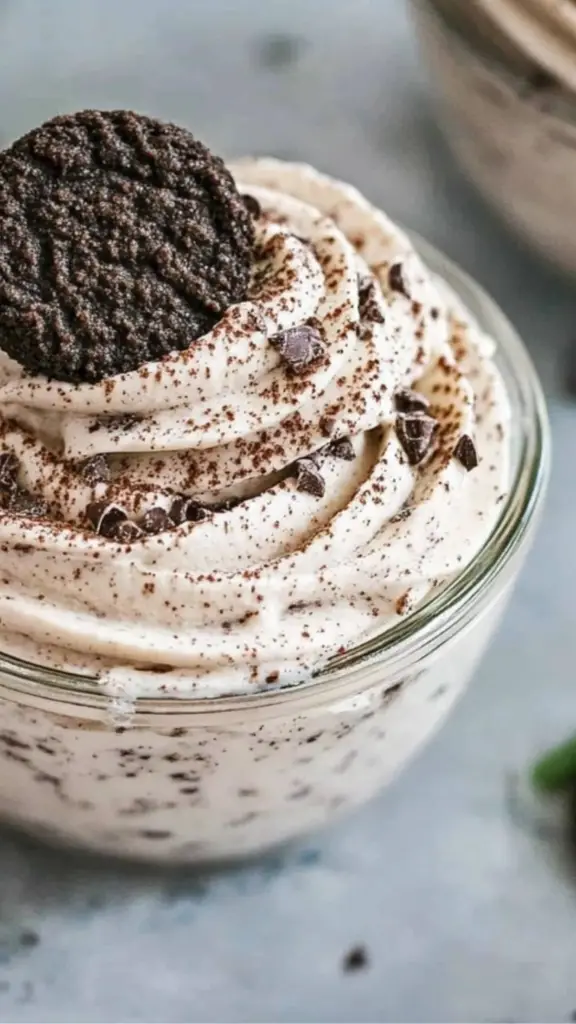
7. Add the Final Touches
Sprinkle the reserved crushed cookies on top for a decorative finish. For an elegant presentation, you can place a whole cookie on top of each serving.
8. Chill and Serve
You can serve the mousse immediately, but chilling it in the refrigerator for at least 30 minutes will enhance the texture and allow the flavors to meld together.
Notes
How to Tell If You Have Stiff Peaks
If you are unsure whether your whipped cream has reached stiff peaks, try this simple test: Lift the beaters out of the cream and check if the peaks remain upright without collapsing. If they fall over, continue whipping for a few more seconds.
What to Do If the Mousse Becomes Too Runny
If your mousse is not holding its shape, it may be due to overmixing or underwhipping the cream. To fix this, place the mixture in the refrigerator for 10-15 minutes and then beat it again for a few seconds to help stabilize it.
Avoid Overmixing
When folding in the cookie crumbs, use slow, gentle motions to prevent deflating the whipped cream. Overmixing can result in a denser texture instead of a light and fluffy mousse.
Make-Ahead Tips
This dessert can be prepared a day in advance and stored in the refrigerator. If you want to serve it later, keep it in an airtight container to prevent it from absorbing other flavors from the fridge.
- Prep Time: 5 minutes
- Cook Time: 2 minutes
This recipe is ideal for beginner cooks because it is incredibly simple and requires minimal effort. It takes just a few minutes to prepare and involves basic kitchen tools. The beauty of this mousse lies in its versatility. You can customize it by adjusting the sweetness, playing with textures, or even adding extra flavors. Plus, it is a no-bake dessert, meaning there is no need to worry about ovens or precise baking temperatures.
Aside from being easy, this dessert is also an excellent way to introduce yourself to key cooking techniques like whipping cream and folding ingredients together to create a light and airy texture. The process is not only simple but also rewarding, as you get to enjoy a rich, creamy, and decadent mousse in the end.
Ingredients and Preparation
For this easy cookies and cream mousse, you only need three ingredients:
- 16 chocolate sandwich cookies (such as Oreos), plus more for garnish – These cookies provide the rich chocolate flavor and slight crunch that make this dessert so delicious. If you prefer a different type of cookie, you can experiment with chocolate graham crackers or vanilla sandwich cookies.
- 3 cups heavy whipping cream – This is the key ingredient that gives the mousse its light and fluffy texture. If you want a dairy-free alternative, you can use coconut cream, but keep in mind that it will slightly alter the flavor.
- 1 cup powdered sugar – This adds sweetness and helps stabilize the whipped cream. You can reduce the amount if you prefer a less sweet dessert or substitute with a sugar alternative like monk fruit sweetener or powdered erythritol.
Alternative Ingredient Suggestions
If you want to make this recipe even more exciting, here are some variations:
- Add a teaspoon of vanilla extract for a hint of warmth and depth.
- Stir in mini chocolate chips or chocolate shavings for extra texture.
- Use chocolate or caramel drizzle on top for added decadence.
- Replace regular chocolate sandwich cookies with double chocolate or golden Oreos for a fun twist.
Step-by-Step Instructions
1. Prepare the Cookies
Start by separating the cream filling from the chocolate sandwich cookies. Place the cookie wafers in a plastic bag and crush them using a rolling pin or process them in a food processor until they form fine crumbs. Set aside a small portion of these crumbs to use as a topping later.
2. Heat the Cream Filling
Transfer the cream filling to a microwave-safe bowl and heat it in the microwave for about 2 minutes, stirring occasionally until it is fully melted. This step helps incorporate the filling more smoothly into the mousse.
3. Whip the Heavy Cream
Using a hand mixer or a stand mixer, beat the heavy whipping cream until it begins to thicken and form soft peaks. This usually takes about 2-3 minutes on medium speed. Soft peaks are when the cream holds its shape but still has a slight droop at the tip when the beaters are lifted.
4. Add the Sweetness
Slowly add the powdered sugar to the whipped cream while continuing to beat on low speed. Then, pour in the melted cookie filling and mix until fully combined. Increase the speed and beat until stiff peaks form. Stiff peaks mean the cream stands up straight without falling over when the beaters are lifted.
5. Fold in the Cookie Crumbs
Gently fold in most of the crushed cookies using a spatula. Be careful not to overmix, as this can deflate the whipped cream and make the mousse less airy. The goal is to distribute the cookie crumbs evenly while keeping the texture light and fluffy.
6. Pipe or Spoon into Serving Dishes
Transfer the mousse into a piping bag or a plastic bag with a piping tip. If you do not have a piping bag, you can simply spoon the mixture into serving glasses or bowls.
7. Add the Final Touches
Sprinkle the reserved crushed cookies on top for a decorative finish. For an elegant presentation, you can place a whole cookie on top of each serving.
8. Chill and Serve
You can serve the mousse immediately, but chilling it in the refrigerator for at least 30 minutes will enhance the texture and allow the flavors to meld together.
Beginner Tips and Notes
How to Tell If You Have Stiff Peaks
If you are unsure whether your whipped cream has reached stiff peaks, try this simple test: Lift the beaters out of the cream and check if the peaks remain upright without collapsing. If they fall over, continue whipping for a few more seconds.
What to Do If the Mousse Becomes Too Runny
If your mousse is not holding its shape, it may be due to overmixing or underwhipping the cream. To fix this, place the mixture in the refrigerator for 10-15 minutes and then beat it again for a few seconds to help stabilize it.
Avoid Overmixing
When folding in the cookie crumbs, use slow, gentle motions to prevent deflating the whipped cream. Overmixing can result in a denser texture instead of a light and fluffy mousse.
Make-Ahead Tips
This dessert can be prepared a day in advance and stored in the refrigerator. If you want to serve it later, keep it in an airtight container to prevent it from absorbing other flavors from the fridge.
Serving Suggestions
Pairing with Other Desserts
To make this mousse even more indulgent, consider serving it with additional sweet treats:
- Fresh fruit: Sliced strawberries, raspberries, or bananas add a refreshing contrast to the rich mousse.
- Chocolate drizzle: A drizzle of melted chocolate or chocolate syrup enhances the cookies and cream flavor.
- Whipped cream topping: Add an extra dollop of whipped cream for a beautiful presentation.
Storage Tips
This mousse is best enjoyed fresh, but it can be stored in the refrigerator for up to 2 days. Keep it covered to maintain its texture. Avoid freezing, as the whipped cream may separate and become grainy when thawed.
Why You Should Try This Recipe
This easy cookies and cream mousse is the ultimate beginner-friendly dessert. It requires minimal effort yet delivers a rich, satisfying flavor that feels gourmet. The no-bake method makes it foolproof, and the short preparation time means you can whip it up whenever you need a quick dessert.
This recipe is also highly customizable. Whether you want to add a personal touch with different toppings or experiment with alternative ingredients, you can make it your own while still keeping it simple. Plus, learning how to whip cream and fold in ingredients are valuable kitchen skills that will help you in many other recipes.
If you are just starting out in the kitchen, this dessert is a great confidence booster. You do not need any special equipment or advanced techniques—just a few minutes and a love for sweets.
Final Thoughts
Now that you have an easy and delicious cookies and cream mousse recipe, it is time to give it a try. Whether you make it for yourself, share it with family, or bring it to a gathering, it is sure to be a hit. Feel free to get creative with toppings and flavors, and most importantly, have fun in the kitchen.
If you try this recipe, let me know how it turned out. Share your experience, any variations you tried, or any questions you have in the comments. Cooking is all about experimenting and enjoying the process, so embrace it and enjoy your homemade mousse.