There is something deeply satisfying about preparing a dish that looks and tastes gourmet while requiring minimal effort. Air frying has revolutionized home cooking, making it possible to achieve crispy, flavorful results with little oil and less hassle. This Vermouth Air-Fried Shrimp recipe is a perfect example of how simple ingredients can come together to create something extraordinary.
Print
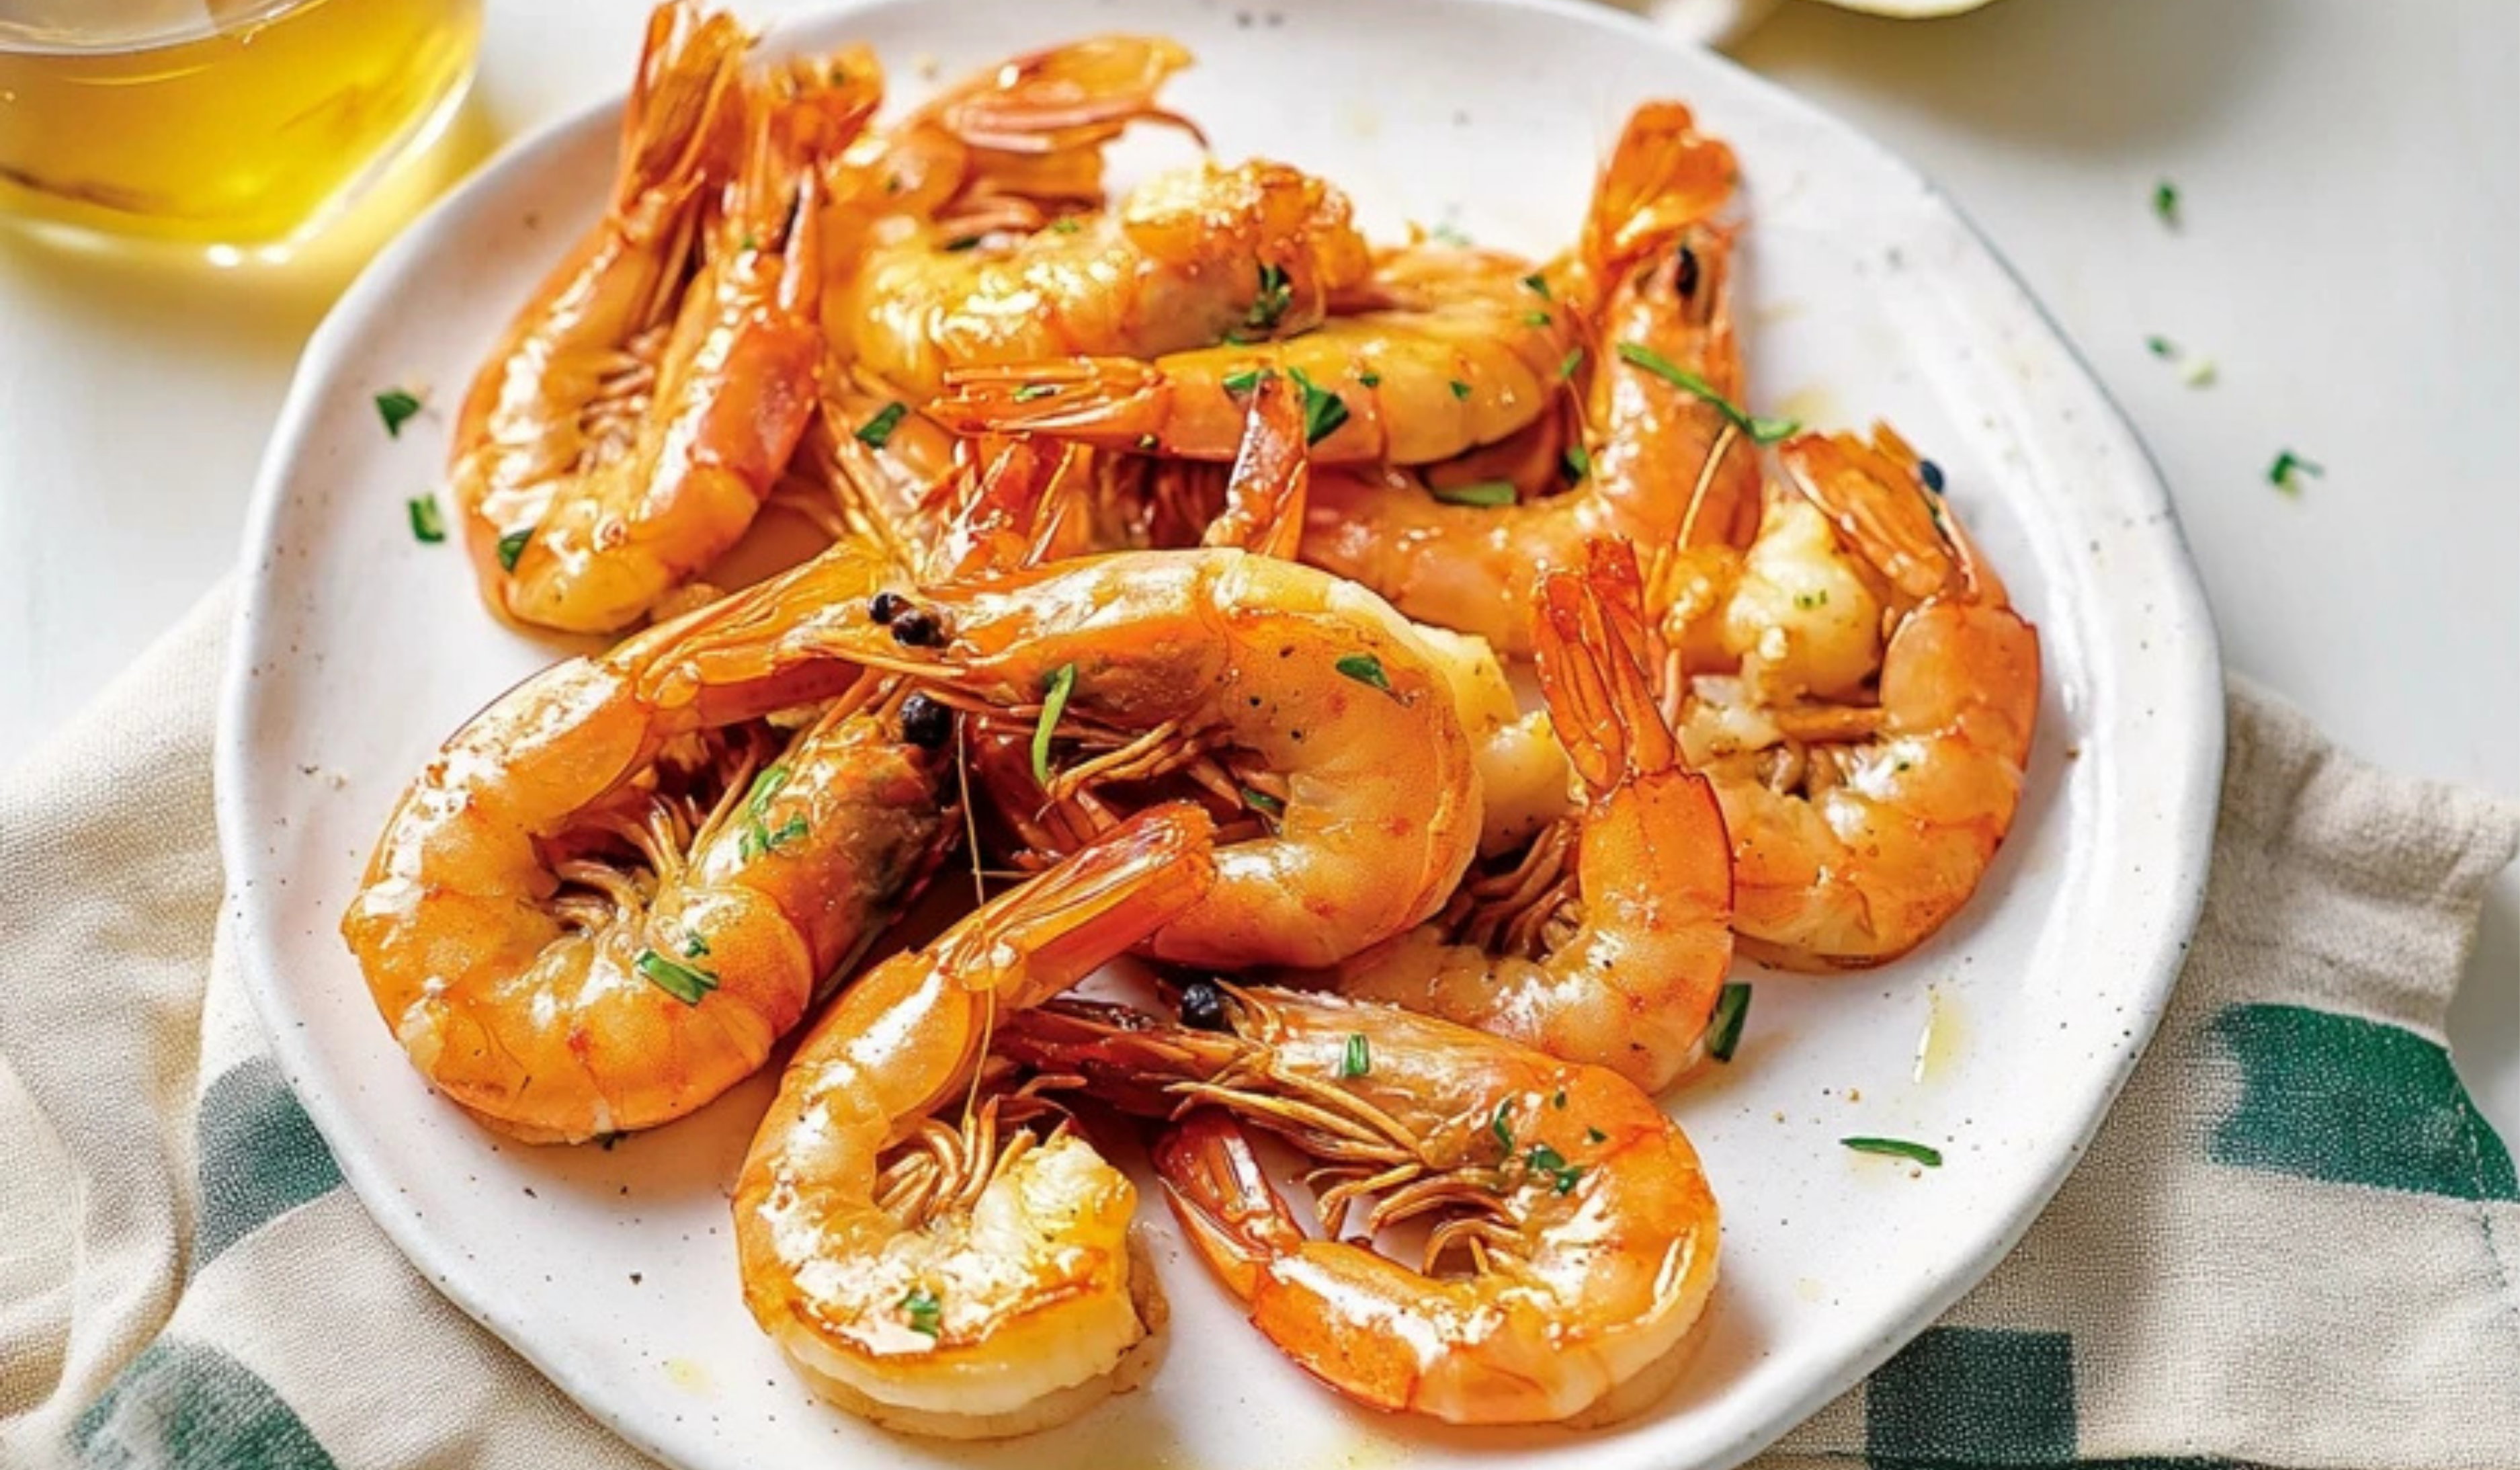
Easy and Flavorful: Vermouth Air-Fried Shrimp for Beginners
These Vermouth Air-Fried Shrimp are perfectly golden and packed with rich, aromatic flavor. With a light, crispy texture and a touch of vermouth’s smooth, herbal notes, this quick and easy recipe is perfect for beginners looking to impress!
- Total Time: 18 minutes
- Yield: 4 servings 1x
Ingredients
- 1/3 cup dry vermouth (adds depth and enhances the shrimp’s natural flavor)
- 2 1/2 tablespoons soy sauce (provides a savory, umami taste)
- 2 1/2 tablespoons fresh ginger, grated or minced
- 1 small clove garlic, grated or minced
- 24 large shrimp (about 2/3 pound), thawed (leave the shells on for best results)
- 1 1/2 tablespoons olive oil
- Chopped fresh chives for garnish
Instructions
Step 1: Marinate the Shrimp for Maximum Flavor
In a medium bowl, mix the vermouth, soy sauce, ginger, and garlic. Add the shrimp and toss them in the marinade, ensuring they are well coated. Let them sit for at least 20 minutes, but no longer than an hour, in the refrigerator.
Why Marinate?
Marinating allows the shrimp to absorb the flavors, making each bite more delicious. However, seafood should not be marinated for too long, as the acid in the vermouth can start breaking down the texture of the shrimp.
Step 2: Preheat the Air Fryer
While the shrimp are marinating, preheat your air fryer to 400°F (200°C). This step ensures even cooking and a crispy exterior.
Step 3: Prepare the Shrimp for Cooking
Remove the shrimp from the marinade and discard the liquid. Toss the shrimp in olive oil to help them cook evenly and achieve a slight crisp on the shell. Arrange them in a single layer in the air fryer basket. Overcrowding the basket can cause uneven cooking, so cook in batches if necessary.
Step 4: Air Fry the Shrimp
Cook the shrimp for 6 to 8 minutes, shaking the basket halfway through to ensure even cooking.
How to Tell When Shrimp Are Done:
- The shrimp will turn pink and opaque, with a slight curl.
- The shells will become crispy, while the inside remains juicy.
- Be careful not to overcook them, as shrimp can quickly become rubbery.
Step 5: Garnish and Serve
Transfer the shrimp to a serving plate and sprinkle with freshly chopped chives. The chives add a fresh, mild onion flavor that complements the marinade.
Notes
Why Cook Shrimp with Shells On?
- Moisture Retention – The shell acts as a barrier, preventing the shrimp from drying out during cooking.
- More Flavor – The marinade seeps into the shell, infusing the shrimp with extra taste.
- Better Texture – Cooking shrimp in their shells allows them to remain tender while still getting a slight crisp on the outside.
If you prefer peeled shrimp, they can still be used, but reduce the cooking time by about one minute to prevent overcooking.
What If My Shrimp Are Overcooking?
- Lower the air fryer temperature to 375°F (190°C) and cook for a shorter time.
- Check the shrimp at the 5-minute mark to ensure they are not becoming too firm.
Can You Marinate the Shrimp Ahead of Time?
Yes, but for best results, do not marinate them for more than one hour. If you want to prep ahead, mix the marinade and keep it in the refrigerator until you are ready to use it.
- Prep Time: 10 minutes
- Cook Time: 8 minutes
The first time I tried cooking shrimp in an air fryer, I was unsure whether it would turn out as well as traditional pan-fried or grilled shrimp. To my surprise, the results were outstanding. The shrimp were juicy, full of flavor, and perfectly cooked with almost no effort. What made this recipe even more special was the use of vermouth, an ingredient often overlooked in home kitchens. The dry, slightly herbal flavor of vermouth combined with the umami depth of soy sauce and the warmth of fresh ginger creates a marinade that enhances the natural sweetness of shrimp.
This recipe is designed for beginners. It is quick, requires no complicated techniques, and delivers impressive results. Cooking shrimp with their shells on helps retain moisture, ensuring that they remain tender and flavorful. If you have ever been intimidated by cooking seafood, this dish will boost your confidence and introduce you to the ease of air frying.
Ingredients and Preparation
What You Will Need
- 1/3 cup dry vermouth (adds depth and enhances the shrimp’s natural flavor)
- 2 1/2 tablespoons soy sauce (provides a savory, umami taste)
- 2 1/2 tablespoons fresh ginger, grated or minced
- 1 small clove garlic, grated or minced
- 24 large shrimp (about 2/3 pound), thawed (leave the shells on for best results)
- 1 1/2 tablespoons olive oil
- Chopped fresh chives for garnish
Ingredient Swaps and Alternatives
- No vermouth? Substitute with dry white wine or chicken broth for a milder, less herbal taste.
- Want a touch of sweetness? Add one teaspoon of honey or brown sugar to balance the flavors.
- Prefer more heat? A dash of red pepper flakes or a teaspoon of chili paste will add some spice.
- No fresh ginger? Use one teaspoon of ground ginger as a substitute, though fresh ginger provides a brighter, more aromatic flavor.
- Soy-free option? Replace soy sauce with coconut aminos or a mix of tamari and a pinch of salt.
Step-by-Step Instructions
Step 1: Marinate the Shrimp for Maximum Flavor
In a medium bowl, mix the vermouth, soy sauce, ginger, and garlic. Add the shrimp and toss them in the marinade, ensuring they are well coated. Let them sit for at least 20 minutes, but no longer than an hour, in the refrigerator.
Why Marinate?
Marinating allows the shrimp to absorb the flavors, making each bite more delicious. However, seafood should not be marinated for too long, as the acid in the vermouth can start breaking down the texture of the shrimp.
Step 2: Preheat the Air Fryer
While the shrimp are marinating, preheat your air fryer to 400°F (200°C). This step ensures even cooking and a crispy exterior.
Step 3: Prepare the Shrimp for Cooking
Remove the shrimp from the marinade and discard the liquid. Toss the shrimp in olive oil to help them cook evenly and achieve a slight crisp on the shell. Arrange them in a single layer in the air fryer basket. Overcrowding the basket can cause uneven cooking, so cook in batches if necessary.
Step 4: Air Fry the Shrimp
Cook the shrimp for 6 to 8 minutes, shaking the basket halfway through to ensure even cooking.
How to Tell When Shrimp Are Done:
- The shrimp will turn pink and opaque, with a slight curl.
- The shells will become crispy, while the inside remains juicy.
- Be careful not to overcook them, as shrimp can quickly become rubbery.
Step 5: Garnish and Serve
Transfer the shrimp to a serving plate and sprinkle with freshly chopped chives. The chives add a fresh, mild onion flavor that complements the marinade.
Beginner Tips and Cooking Notes
Why Cook Shrimp with Shells On?
- Moisture Retention – The shell acts as a barrier, preventing the shrimp from drying out during cooking.
- More Flavor – The marinade seeps into the shell, infusing the shrimp with extra taste.
- Better Texture – Cooking shrimp in their shells allows them to remain tender while still getting a slight crisp on the outside.
If you prefer peeled shrimp, they can still be used, but reduce the cooking time by about one minute to prevent overcooking.
What If My Shrimp Are Overcooking?
- Lower the air fryer temperature to 375°F (190°C) and cook for a shorter time.
- Check the shrimp at the 5-minute mark to ensure they are not becoming too firm.
Can You Marinate the Shrimp Ahead of Time?
Yes, but for best results, do not marinate them for more than one hour. If you want to prep ahead, mix the marinade and keep it in the refrigerator until you are ready to use it.

Serving Suggestions
This air-fried shrimp is versatile and pairs well with a variety of side dishes. Here are a few ideas:
Dipping Sauces
- Garlic Butter Sauce – Melt butter with minced garlic and a splash of lemon juice.
- Spicy Mayo – Mix mayonnaise with a teaspoon of sriracha for a creamy and slightly spicy dip.
- Soy-Lime Sauce – Combine soy sauce, fresh lime juice, and a drizzle of honey for a tangy, savory dip.
Side Dishes
- Steamed Jasmine Rice – The light, fluffy texture of jasmine rice balances the bold flavors of the shrimp.
- Grilled Vegetables – Bell peppers, zucchini, and asparagus complement the dish well.
- Quinoa Salad – A light and nutritious option that absorbs the marinade flavors beautifully.
Storage and Leftovers
- Refrigeration: Store leftover shrimp in an airtight container for up to two days.
- Reheating: Reheat in the air fryer at 350°F (175°C) for 2–3 minutes to restore crispiness.
- Avoid microwaving, as it can make the shrimp rubbery.
Final Thoughts
Cooking shrimp in an air fryer is one of the easiest ways to achieve perfectly cooked seafood with minimal effort. The combination of vermouth, soy sauce, ginger, and garlic creates a depth of flavor that makes this dish stand out.
For beginners, this recipe offers the opportunity to experiment with bold flavors while using a simple cooking method. The air fryer does most of the work, making it nearly impossible to overcomplicate the process. If you are new to cooking seafood, this is a great place to start.
If you try this recipe, share your experience. Did you experiment with different flavors or add your own twist? Cooking should be fun, approachable, and rewarding, and this dish is a great way to build confidence in the kitchen.