Few things in the kitchen offer the same satisfaction as a warm, cheesy, garlic-infused bread fresh out of the oven. This Cheesy Garlic Pull-Apart Bread is one of those recipes that is not only incredibly easy to make but also delivers an irresistible combination of flavors and textures. With a golden, crispy crust, gooey melted cheese, and the rich aroma of garlic and butter, this bread is a guaranteed crowd-pleaser.
Print
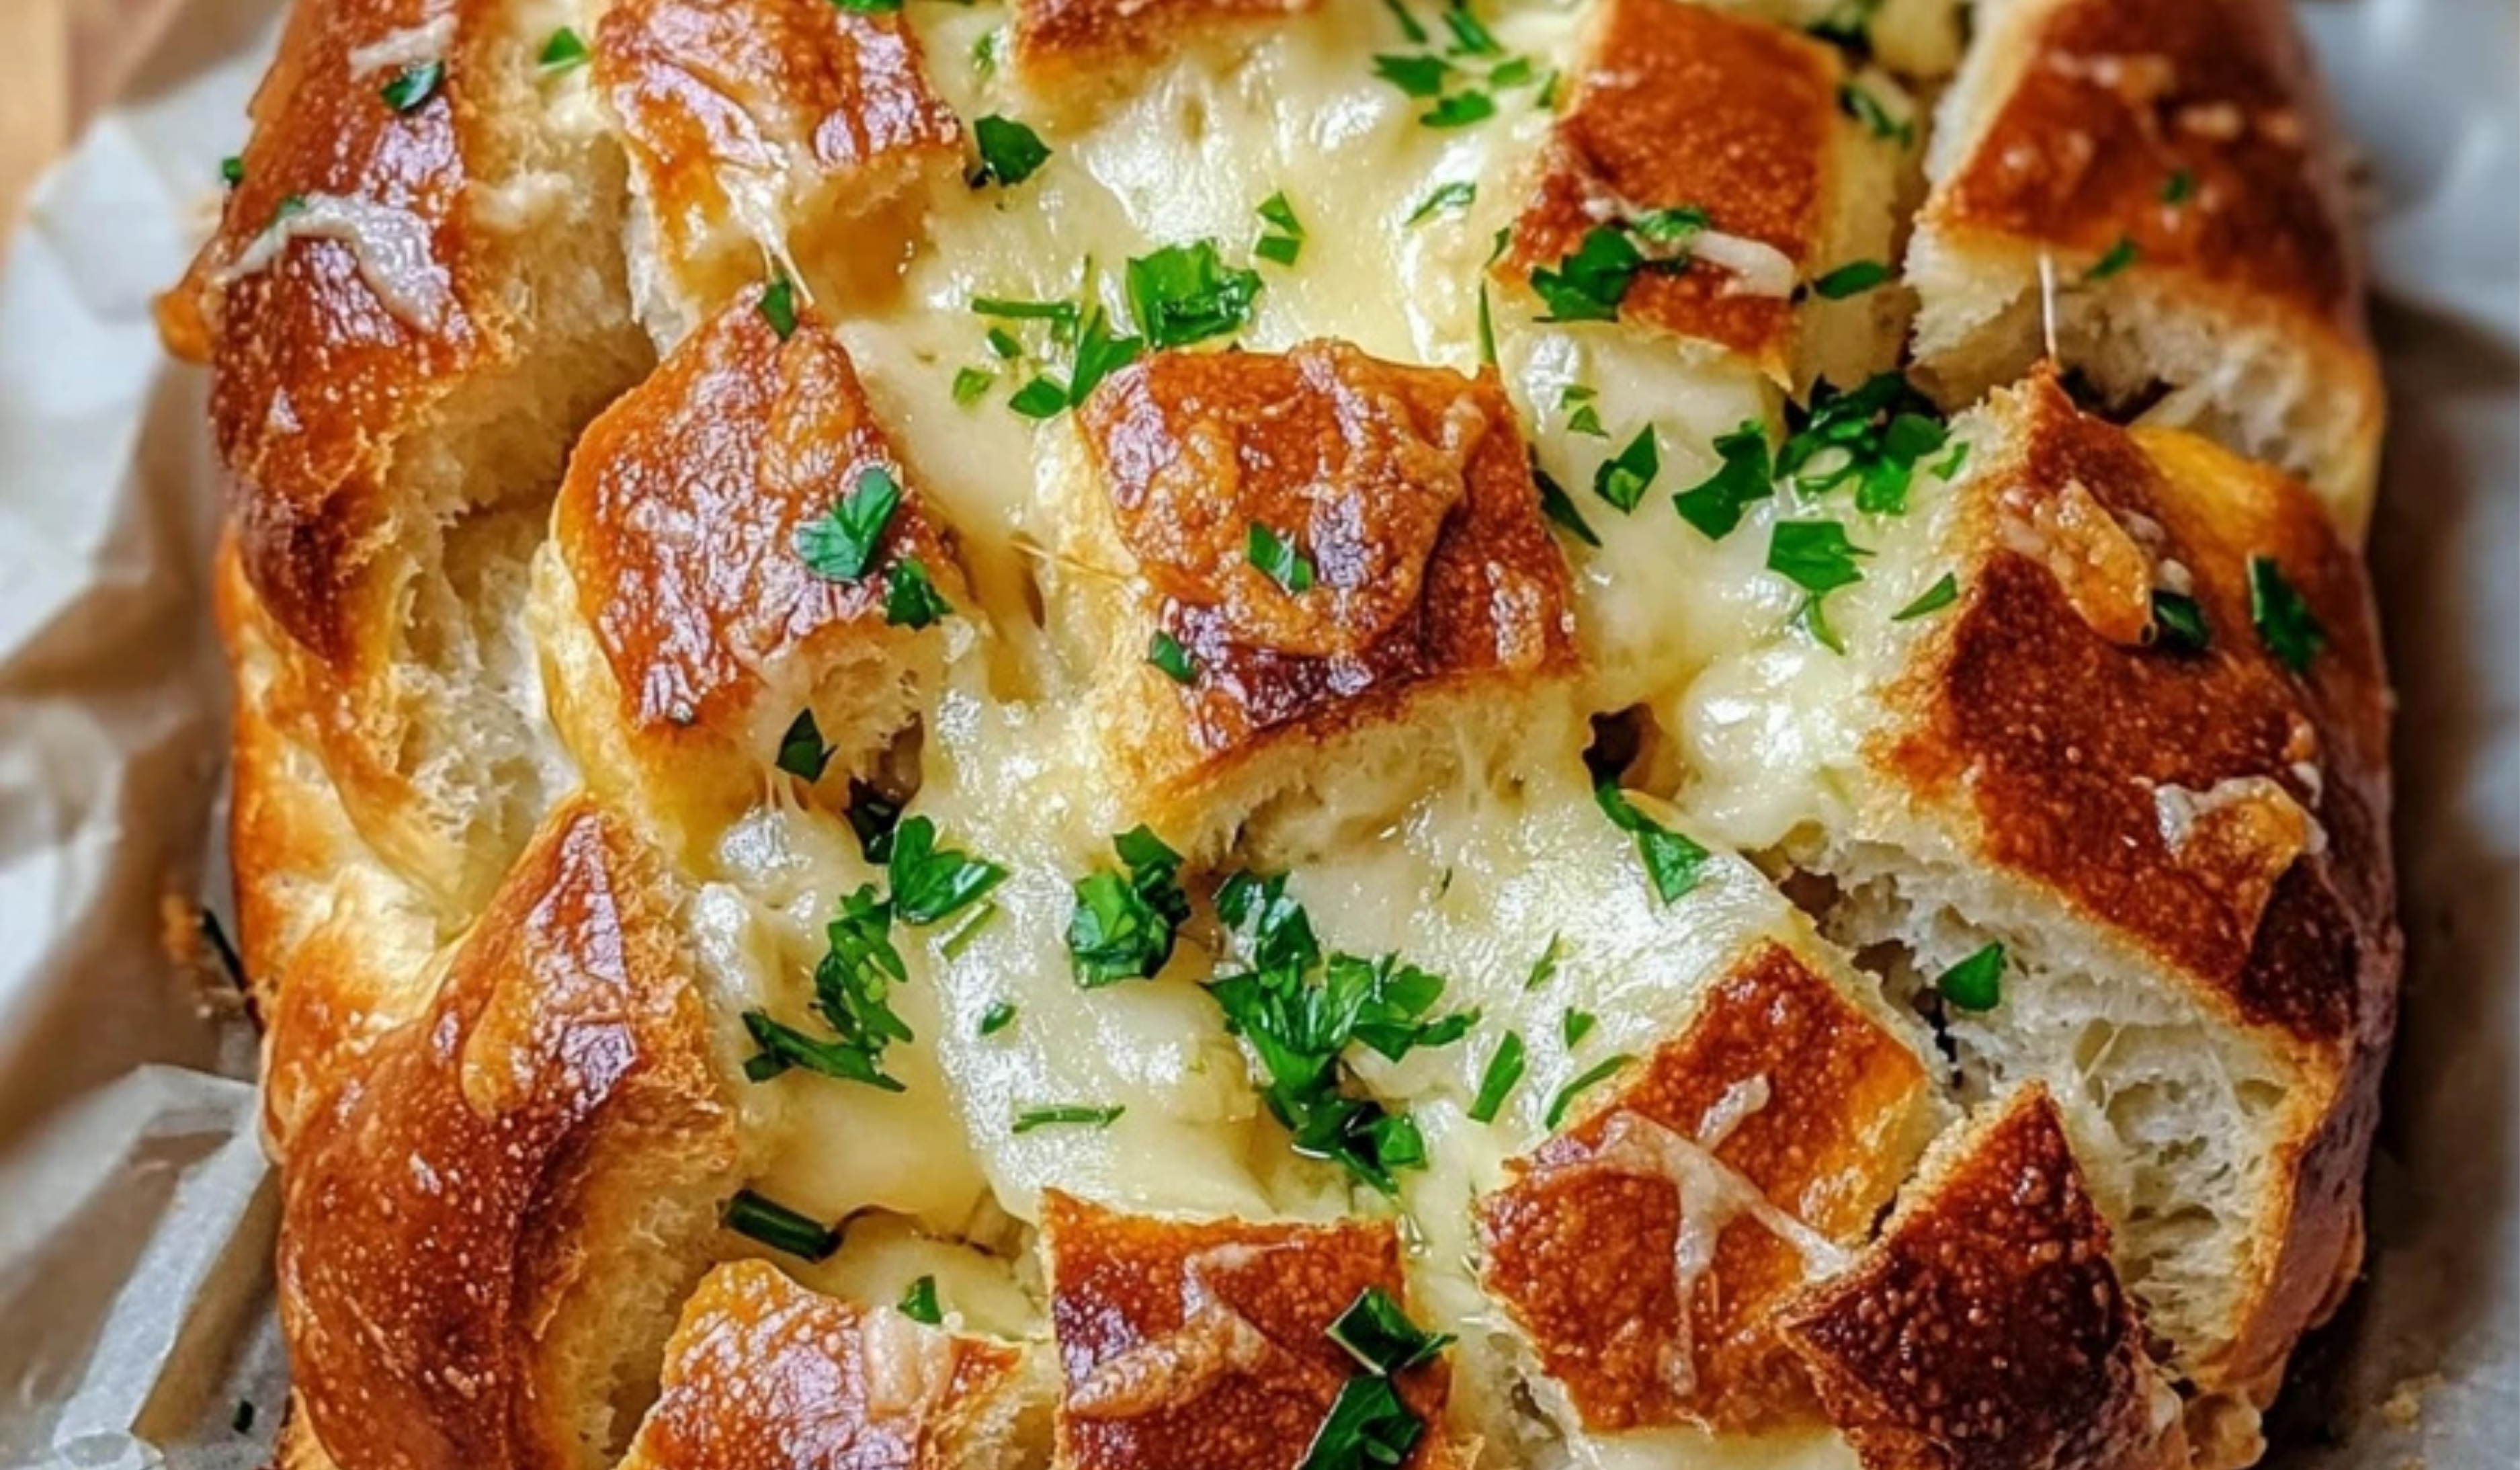
Cheesy Garlic Pull-Apart Bread: A Beginner’s Guide to the Ultimate Comfort Food
This Cheesy Garlic Pull-Apart Bread is everything you crave—golden, crispy edges, gooey melted cheese, and an irresistible garlic butter flavor! Perfect for sharing (or not!), this easy-to-make comfort food is a guaranteed crowd-pleaser for any occasion.
- Total Time: 40 minutes
- Yield: 6 servings 1x
Ingredients
- 1 large loaf of bread (Italian or French bread works best for its sturdy crust and soft interior)
- ½ cup unsalted butter, melted (real butter adds richness and depth)
- 4 cloves garlic, minced (fresh garlic enhances the flavor)
- 1 tablespoon fresh parsley, finely chopped (adds color and freshness)
- ½ teaspoon onion powder (boosts the savory taste)
- ½ teaspoon Italian seasoning (a blend of herbs for added depth)
- ¼ teaspoon salt (enhances the flavors)
- ¼ teaspoon black pepper (freshly ground for a slight kick)
- 2 cups shredded cheese (a mix of mozzarella and cheddar for the perfect melt)
- ½ cup cooked, shredded chicken or beef (optional but adds a heartier touch)
- Extra parsley or grated Parmesan cheese for garnish (optional for added flair)
Instructions
Step 1: Preheat the Oven
Set your oven to 375°F (190°C). This ensures an even bake and allows the cheese to melt beautifully while crisping up the bread’s crust.
Step 2: Prepare the Garlic Butter Mixture
In a small bowl, mix together the melted butter, minced garlic, chopped parsley, onion powder, Italian seasoning, salt, and black pepper. Stir well until the seasonings are evenly distributed.
Step 3: Slice the Bread
Place the loaf of bread on a large piece of aluminum foil. Using a sharp knife, make deep cuts in a crisscross pattern across the top, being careful not to slice all the way through. The goal is to create deep pockets that will hold the garlic butter and cheese.
Step 4: Apply the Garlic Butter
Using a pastry brush (or a spoon), generously coat the garlic butter mixture inside the cuts. Be sure to spread it evenly so that every bite is infused with flavor.
Step 5: Add the Cheese and Protein
Take the shredded cheese and stuff it into the cuts of the bread, making sure to pack it in well. If using cooked chicken or beef, add small pieces into the pockets as well for extra heartiness.
Step 6: Wrap and Bake
Loosely wrap the loaf in aluminum foil and place it on a baking sheet. Bake for 15–20 minutes, allowing the cheese to begin melting.
Step 7: Unwrap and Finish Baking
After 20 minutes, carefully remove the foil and return the bread to the oven for another 10–15 minutes. This step ensures the cheese turns bubbly and slightly golden while the crust crisps up.
Step 8: Garnish and Serve
Once out of the oven, let the bread cool slightly before serving. Sprinkle with extra parsley or grated Parmesan for an extra burst of flavor. Serve warm and enjoy pulling apart each cheesy, garlicky piece.
Notes
- Use the right bread: A firm loaf holds up best to the stuffing process. Avoid very soft bread like sandwich loaves, as they may fall apart.
- Cut carefully: Make deep enough cuts to allow the cheese and garlic butter to seep in but don’t slice through the bottom.
- Maximize flavor: Let the garlic butter sit for a few minutes before using it to enhance the infusion of flavors.
- Prevent over-browning: If the top of your bread is browning too quickly, loosely tent it with foil during the final minutes of baking.
- Make ahead: Assemble the bread in advance and store it wrapped in foil in the fridge. When ready to bake, pop it straight into the oven.
- Prep Time: 10 minutes
- Cook Time: 30 minutes
The first time I made this dish, I was hosting a casual movie night with friends. I wanted something that was simple to prepare but still had that “wow” factor. As soon as the bread came out of the oven, the smell alone had everyone eagerly gathering around the table. Within minutes, it was gone—every last cheesy, garlicky bite.
This recipe is perfect for beginners because it requires no advanced cooking skills or special equipment. The steps are straightforward, the ingredients are easily accessible, and the final result is practically foolproof. Whether you are making it as an appetizer for a gathering, a side dish for a cozy dinner, or a snack to enjoy on its own, this pull-apart bread is bound to become a staple in your kitchen.
Why You’ll Love This Recipe
- Beginner-friendly: Simple steps, basic ingredients, and no complicated techniques.
- Irresistible texture: Crispy on the outside, soft and cheesy on the inside.
- Packed with flavor: A rich garlic-butter base with Italian herbs and a perfect blend of cheeses.
- Quick preparation: Ready in just 30–45 minutes from start to finish.
- Customizable: Easily swap out ingredients to match your preferences.
- Perfect for sharing: A fun, interactive dish that everyone can pull apart and enjoy.
If you have never baked bread before, don’t worry—this recipe uses a store-bought loaf, so you can skip the complicated dough-making process and go straight to the delicious part.
Ingredients and Preparation
What You’ll Need:
- 1 large loaf of bread (Italian or French bread works best for its sturdy crust and soft interior)
- ½ cup unsalted butter, melted (real butter adds richness and depth)
- 4 cloves garlic, minced (fresh garlic enhances the flavor)
- 1 tablespoon fresh parsley, finely chopped (adds color and freshness)
- ½ teaspoon onion powder (boosts the savory taste)
- ½ teaspoon Italian seasoning (a blend of herbs for added depth)
- ¼ teaspoon salt (enhances the flavors)
- ¼ teaspoon black pepper (freshly ground for a slight kick)
- 2 cups shredded cheese (a mix of mozzarella and cheddar for the perfect melt)
- ½ cup cooked, shredded chicken or beef (optional but adds a heartier touch)
- Extra parsley or grated Parmesan cheese for garnish (optional for added flair)
Ingredient Substitutions:
- Bread: Instead of Italian or French bread, try sourdough or ciabatta for a different texture.
- Butter: Swap with olive oil for a lighter version.
- Cheese: Experiment with different cheeses like Monterey Jack, Gouda, or pepper jack for a spicy kick.
- Protein: Instead of chicken or beef, add sautéed mushrooms or bell peppers for a vegetarian version.
Step-by-Step Instructions
Step 1: Preheat the Oven
Set your oven to 375°F (190°C). This ensures an even bake and allows the cheese to melt beautifully while crisping up the bread’s crust.
Step 2: Prepare the Garlic Butter Mixture
In a small bowl, mix together the melted butter, minced garlic, chopped parsley, onion powder, Italian seasoning, salt, and black pepper. Stir well until the seasonings are evenly distributed.
Step 3: Slice the Bread
Place the loaf of bread on a large piece of aluminum foil. Using a sharp knife, make deep cuts in a crisscross pattern across the top, being careful not to slice all the way through. The goal is to create deep pockets that will hold the garlic butter and cheese.
Step 4: Apply the Garlic Butter
Using a pastry brush (or a spoon), generously coat the garlic butter mixture inside the cuts. Be sure to spread it evenly so that every bite is infused with flavor.
Step 5: Add the Cheese and Protein
Take the shredded cheese and stuff it into the cuts of the bread, making sure to pack it in well. If using cooked chicken or beef, add small pieces into the pockets as well for extra heartiness.
Step 6: Wrap and Bake
Loosely wrap the loaf in aluminum foil and place it on a baking sheet. Bake for 15–20 minutes, allowing the cheese to begin melting.
Step 7: Unwrap and Finish Baking
After 20 minutes, carefully remove the foil and return the bread to the oven for another 10–15 minutes. This step ensures the cheese turns bubbly and slightly golden while the crust crisps up.
Step 8: Garnish and Serve
Once out of the oven, let the bread cool slightly before serving. Sprinkle with extra parsley or grated Parmesan for an extra burst of flavor. Serve warm and enjoy pulling apart each cheesy, garlicky piece.
Beginner Tips and Notes
- Use the right bread: A firm loaf holds up best to the stuffing process. Avoid very soft bread like sandwich loaves, as they may fall apart.
- Cut carefully: Make deep enough cuts to allow the cheese and garlic butter to seep in but don’t slice through the bottom.
- Maximize flavor: Let the garlic butter sit for a few minutes before using it to enhance the infusion of flavors.
- Prevent over-browning: If the top of your bread is browning too quickly, loosely tent it with foil during the final minutes of baking.
- Make ahead: Assemble the bread in advance and store it wrapped in foil in the fridge. When ready to bake, pop it straight into the oven.
Serving Suggestions
This Cheesy Garlic Pull-Apart Bread pairs well with a variety of dishes. Here are a few ways to serve it:
- As an appetizer: Serve with a side of marinara sauce, ranch dressing, or garlic aioli for dipping.
- With soups and salads: A perfect complement to tomato soup, creamy mushroom soup, or a fresh Caesar salad.
- As a side dish: Goes great with grilled meats, roasted vegetables, or pasta dishes.
- For a snack or party platter: Serve alongside other finger foods like buffalo wings, nachos, or stuffed mushrooms.
Storage Tips
- Refrigerate leftovers: Wrap the bread in foil and store it in an airtight container for up to 3 days.
- Reheat: Warm in a 350°F (175°C) oven for 10–15 minutes or until heated through. Avoid microwaving, as it can make the bread soggy.
- Freeze for later: Wrap the fully baked bread in plastic wrap and foil, then freeze for up to 2 months. Reheat directly from frozen.
Conclusion
This Cheesy Garlic Pull-Apart Bread is proof that delicious, homemade comfort food doesn’t have to be complicated. With its simple preparation, bold flavors, and fun presentation, it’s an excellent recipe for beginners looking to impress their family and friends.
Whether you serve it at a party, alongside dinner, or enjoy it as a cozy snack, this bread is sure to become a go-to favorite. Give it a try, experiment with different cheeses and seasonings, and don’t forget to share your experience. What variations did you try? Let us know in the comments!