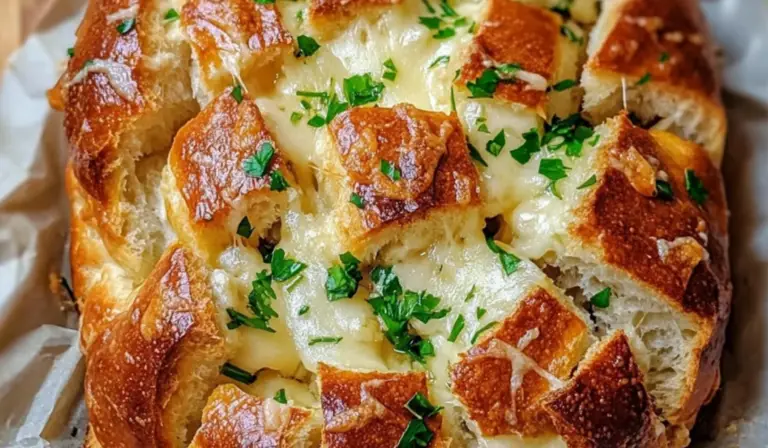
Ingredients
- 1 large loaf of bread (Italian or French bread works best for its sturdy crust and soft interior)
- ½ cup unsalted butter, melted (real butter adds richness and depth)
- 4 cloves garlic, minced (fresh garlic enhances the flavor)
- 1 tablespoon fresh parsley, finely chopped (adds color and freshness)
- ½ teaspoon onion powder (boosts the savory taste)
- ½ teaspoon Italian seasoning (a blend of herbs for added depth)
- ¼ teaspoon salt (enhances the flavors)
- ¼ teaspoon black pepper (freshly ground for a slight kick)
- 2 cups shredded cheese (a mix of mozzarella and cheddar for the perfect melt)
- ½ cup cooked, shredded chicken or beef (optional but adds a heartier touch)
- Extra parsley or grated Parmesan cheese for garnish (optional for added flair)
Instructions
Step 1: Preheat the Oven
Set your oven to 375°F (190°C). This ensures an even bake and allows the cheese to melt beautifully while crisping up the bread’s crust.
Step 2: Prepare the Garlic Butter Mixture
In a small bowl, mix together the melted butter, minced garlic, chopped parsley, onion powder, Italian seasoning, salt, and black pepper. Stir well until the seasonings are evenly distributed.
Step 3: Slice the Bread
Place the loaf of bread on a large piece of aluminum foil. Using a sharp knife, make deep cuts in a crisscross pattern across the top, being careful not to slice all the way through. The goal is to create deep pockets that will hold the garlic butter and cheese.
Step 4: Apply the Garlic Butter
Using a pastry brush (or a spoon), generously coat the garlic butter mixture inside the cuts. Be sure to spread it evenly so that every bite is infused with flavor.
Step 5: Add the Cheese and Protein
Take the shredded cheese and stuff it into the cuts of the bread, making sure to pack it in well. If using cooked chicken or beef, add small pieces into the pockets as well for extra heartiness.
Step 6: Wrap and Bake
Loosely wrap the loaf in aluminum foil and place it on a baking sheet. Bake for 15–20 minutes, allowing the cheese to begin melting.
Step 7: Unwrap and Finish Baking
After 20 minutes, carefully remove the foil and return the bread to the oven for another 10–15 minutes. This step ensures the cheese turns bubbly and slightly golden while the crust crisps up.
Step 8: Garnish and Serve
Once out of the oven, let the bread cool slightly before serving. Sprinkle with extra parsley or grated Parmesan for an extra burst of flavor. Serve warm and enjoy pulling apart each cheesy, garlicky piece.
Notes
- Use the right bread: A firm loaf holds up best to the stuffing process. Avoid very soft bread like sandwich loaves, as they may fall apart.
- Cut carefully: Make deep enough cuts to allow the cheese and garlic butter to seep in but don’t slice through the bottom.
- Maximize flavor: Let the garlic butter sit for a few minutes before using it to enhance the infusion of flavors.
- Prevent over-browning: If the top of your bread is browning too quickly, loosely tent it with foil during the final minutes of baking.
- Make ahead: Assemble the bread in advance and store it wrapped in foil in the fridge. When ready to bake, pop it straight into the oven.
- Prep Time: 10 minutes
- Cook Time: 30 minutes