Baking a cake can feel like an intimidating task for a beginner, but it doesn’t have to be! When I first tried making an Atta Chocolate Cake, I was amazed by how simple yet delicious it turned out. There’s something incredibly satisfying about watching a homemade cake rise beautifully, especially when it’s so easy to make. The best part? This recipe is perfect for anyone, no matter how much experience they have in the kitchen. It requires only a few ingredients, and you don’t even need an oven – just a pan!
Print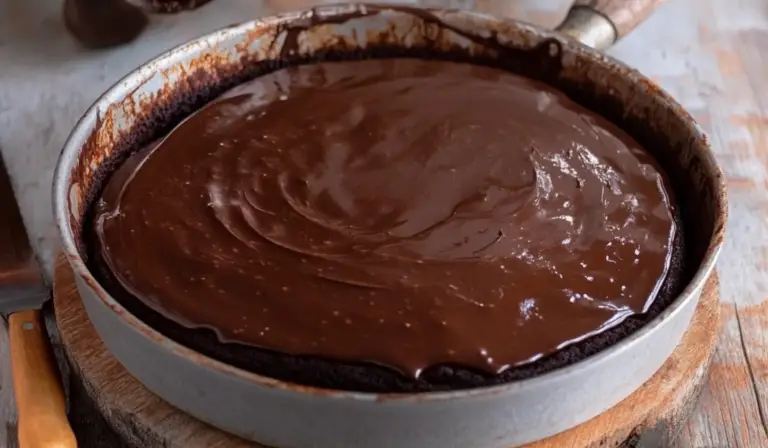
Atta Chocolate Cake in a Pan: A Beginner-Friendly Delight
🍫🍰 Get ready to fall in love with Atta Chocolate Cake—baked right in a pan for ultimate simplicity! 💛✨ This beginner-friendly recipe uses atta flour to create a soft, moist cake that’s full of rich chocolate flavor. 😋🍴 Perfect for satisfying your sweet tooth without all the fuss, it’s the ultimate go-to dessert! Ready to enjoy a homemade slice of heaven? 🎉
#AttaCake #ChocolateDesserts #EasyBakes #SimpleAndDelicious #BeginnerFriendlyRecipe #HealthyChocolateCake #HomemadeGoodness #MoistAndDelicious #BakingMadeEasy #ChocolateLoversUnite 🍫🍰
- Total Time: 1 hour 5 minutes
- Yield: 1 cake (7-inch pan) 1x
Ingredients
For the Cake:
- 1 cup yogurt/dahi
- ½ tsp baking soda
- ¾ cup castor sugar
- ½ cup sunflower oil
- ⅓ cup milk
- 1¼ cups whole wheat flour
- ¼ cup cocoa powder
- 1 tsp baking powder
For the Ganache:
- ½ cup (87g) dark chocolate, chopped
- ¾ cup fresh cream
Instructions
1. Prepare the Wet Ingredients
- In a mixing bowl, combine 1 cup of yogurt and ½ tsp of baking soda. Let the mixture rest for about 1 minute. You’ll notice that the yogurt will begin to puff up and become voluminous. This is a natural reaction when baking soda is added to yogurt.
- After the mixture has rested, add the castor sugar, sunflower oil, and milk. Whisk everything together until it’s well combined. You should end up with a smooth, slightly thick mixture.
2. Sift the Dry Ingredients
- Sift the whole wheat flour, cocoa powder, and baking powder into the wet mixture. Sifting helps eliminate any lumps and ensures that the dry ingredients are evenly distributed.
- Mix everything together gently to form a lump-free batter. Be careful not to overmix, as this can cause the cake to become dense. Stir until just combined.
3. Grease the Pan and Prepare the Steaming Setup
- Grease a 7-inch heavy-bottom nonstick pan with oil on all sides and line the bottom with parchment paper. This will make it easier to remove the cake after it’s baked.
- Set up a larger saucepan or wok that can fit the smaller pan inside. Fill the larger pan halfway with water. You’ll be using this setup to steam the cake, and the water will help create an even, gentle heat.
- Place the smaller pan with the cake batter inside the larger pan. Cover the larger pan with a lid to keep the heat contained.
4. Steam the Cake
- Set the heat to medium and let the cake cook for about 50 minutes. After 50 minutes, check for doneness by inserting a skewer into the center of the cake. If it comes out clean, the cake is ready.
- If you find that the water has evaporated during the cooking process, don’t worry. Just add more water to the larger pan as needed to keep the steaming process going.
5. Prepare the Ganache
- While the cake is steaming, you can prepare the chocolate ganache. Heat ¾ cup of fresh cream in a saucepan over low heat until it’s just about to boil.
- Once the cream is heated, pour it over ½ cup of chopped dark chocolate in a heatproof bowl. Let it sit for a minute to allow the chocolate to melt.
- After a minute, stir the cream and chocolate mixture together until it’s smooth and glossy. This is your ganache!
6. Assemble the Cake
- After the cake has finished cooking, remove it from the pan and let it cool down. Once it’s completely cool, carefully demould the cake and place it on a serving plate.
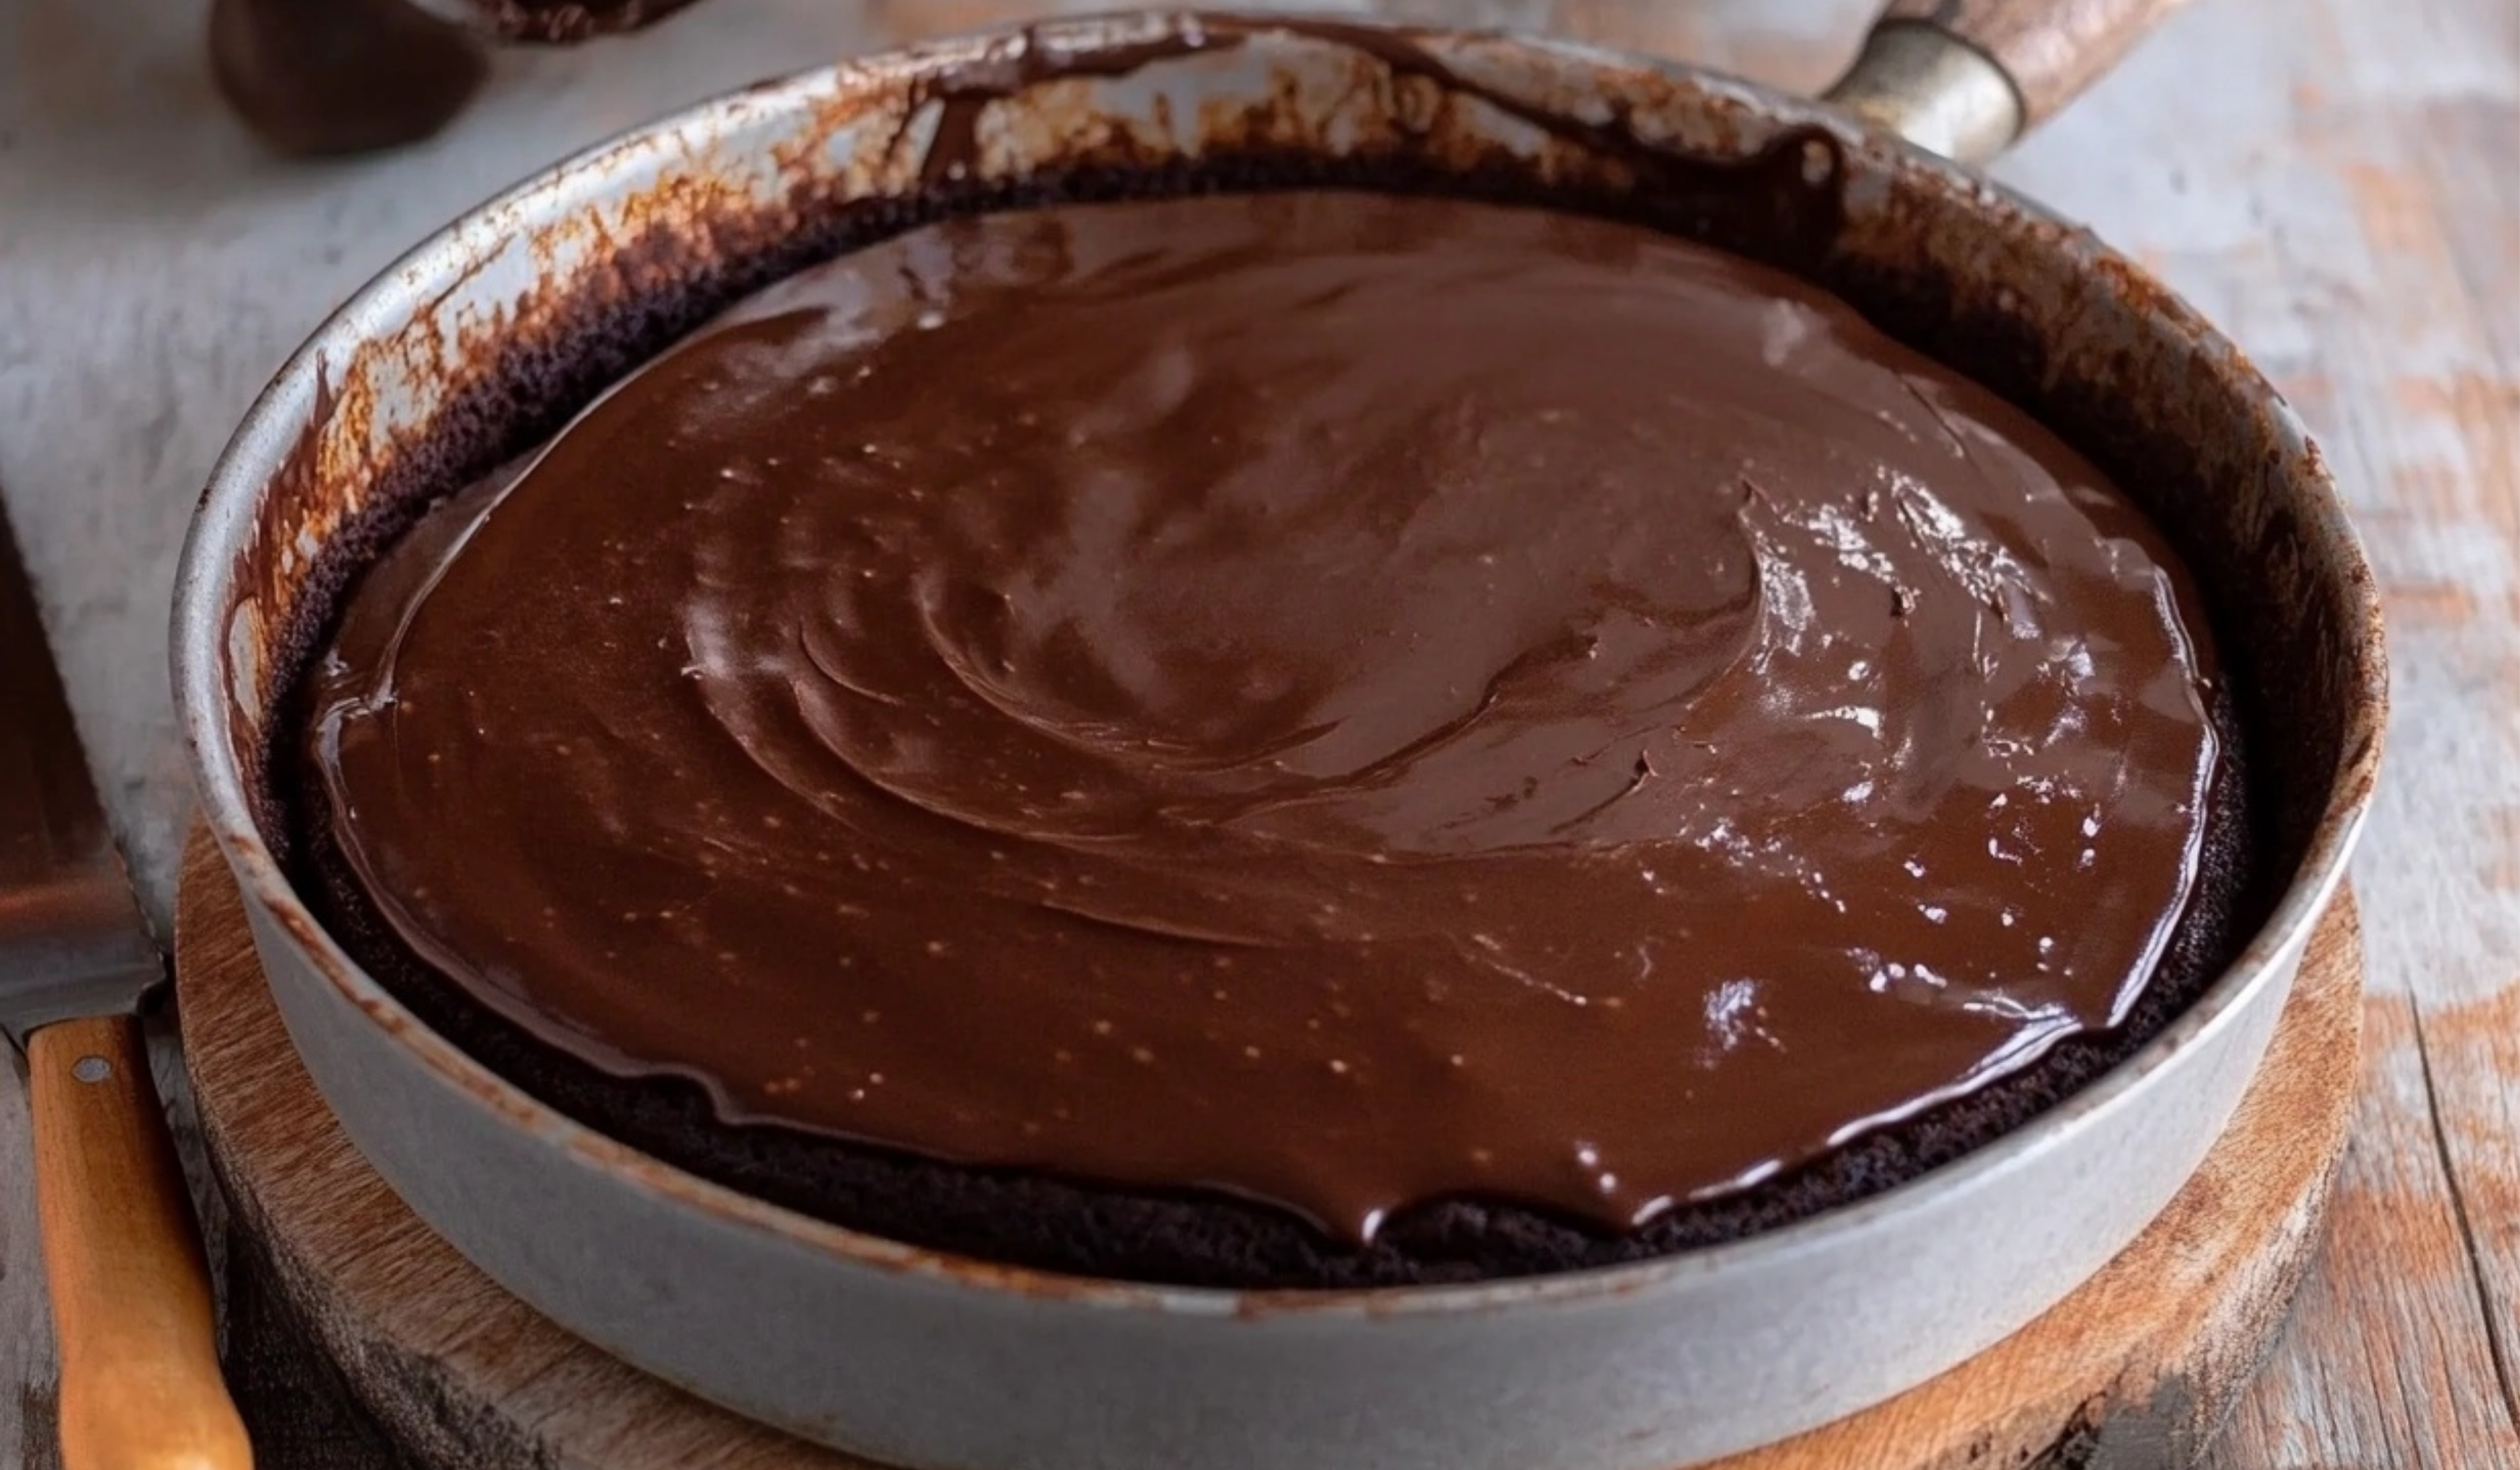
- Pour the smooth ganache over the cooled cake, spreading it evenly with a spatula. You can let the ganache set for a few minutes before serving.
Notes
- How to Tell If Your Cake Is Cooked: To check if your cake is done, always use a skewer or toothpick. Insert it into the center of the cake, and if it comes out clean or with just a few crumbs, it’s ready.
- What to Do If Your Cake Is Too Dense: If your cake turns out too dense, it might be due to overmixing the batter. Always mix the ingredients until just combined, and avoid overworking the batter.
- How to Prevent Overcooking Your Cake: Steaming a cake can be tricky, especially with varying stovetop temperatures. If you find that the cake is browning too quickly, reduce the heat to low and continue steaming.
- Substitute for Kitchen Tools: If you don’t have a nonstick pan, you can use a regular pan, but be sure to grease it well with oil and line it with parchment paper to prevent sticking. If you don’t have a steamer, you can create your own setup with two pots as described in the recipe.
- Prep Time: 15 minutes
- Cook Time: 50 minutes
This Atta Chocolate Cake is made with whole wheat flour (atta), which makes it a healthier option compared to traditional cakes. It’s rich in fiber and is perfect for those who want to enjoy a slice of chocolate cake without feeling guilty. Plus, the recipe is customizable to suit your preferences or dietary needs. Whether you’re a beginner looking to make your first cake or a seasoned baker in search of something simple and wholesome, this recipe will not disappoint.
Why This Cake Is Perfect for Beginners
- No Oven Required: One of the biggest barriers for beginner bakers is not having the right equipment. This recipe doesn’t require an oven; instead, it uses a stovetop technique that’s easy to master.
- Simple Ingredients: With just a handful of basic ingredients like yogurt, flour, cocoa powder, and sugar, this cake comes together quickly without any need for special tools or fancy ingredients.
- Healthier Option: Whole wheat flour replaces all-purpose flour, making this cake a slightly healthier version of a traditional chocolate cake. It’s high in fiber and full of natural goodness.
- Foolproof Process: The step-by-step process is designed with beginners in mind, with clear instructions and helpful tips along the way to ensure a perfect cake every time.
Ingredients and Preparation
To make this Atta Chocolate Cake, you’ll need the following ingredients:
For the Cake:
- 1 cup yogurt/dahi
- ½ tsp baking soda
- ¾ cup castor sugar
- ½ cup sunflower oil
- ⅓ cup milk
- 1¼ cups whole wheat flour
- ¼ cup cocoa powder
- 1 tsp baking powder
For the Ganache:
- ½ cup (87g) dark chocolate, chopped
- ¾ cup fresh cream
Alternative Ingredient Suggestions:
- Yogurt/Dahi: If you don’t have yogurt or dahi, you can substitute it with buttermilk or milk. This will give the cake a different texture, but it still works well.
- Sunflower Oil: Any neutral oil, such as vegetable or canola oil, can be used as a substitute.
- Whole Wheat Flour: If you prefer a lighter texture, you can use all-purpose flour instead of whole wheat flour.
- Cocoa Powder: You can experiment with different types of cocoa powder, depending on how rich you want the chocolate flavor. Unsweetened cocoa powder is recommended for the best results.
- Fresh Cream: If you want to reduce the fat content, you can use a lower-fat cream or even milk to make the ganache.
Step-by-Step Instructions
1. Prepare the Wet Ingredients
- In a mixing bowl, combine 1 cup of yogurt and ½ tsp of baking soda. Let the mixture rest for about 1 minute. You’ll notice that the yogurt will begin to puff up and become voluminous. This is a natural reaction when baking soda is added to yogurt.
- After the mixture has rested, add the castor sugar, sunflower oil, and milk. Whisk everything together until it’s well combined. You should end up with a smooth, slightly thick mixture.
2. Sift the Dry Ingredients
- Sift the whole wheat flour, cocoa powder, and baking powder into the wet mixture. Sifting helps eliminate any lumps and ensures that the dry ingredients are evenly distributed.
- Mix everything together gently to form a lump-free batter. Be careful not to overmix, as this can cause the cake to become dense. Stir until just combined.
3. Grease the Pan and Prepare the Steaming Setup
- Grease a 7-inch heavy-bottom nonstick pan with oil on all sides and line the bottom with parchment paper. This will make it easier to remove the cake after it’s baked.
- Set up a larger saucepan or wok that can fit the smaller pan inside. Fill the larger pan halfway with water. You’ll be using this setup to steam the cake, and the water will help create an even, gentle heat.
- Place the smaller pan with the cake batter inside the larger pan. Cover the larger pan with a lid to keep the heat contained.
4. Steam the Cake
- Set the heat to medium and let the cake cook for about 50 minutes. After 50 minutes, check for doneness by inserting a skewer into the center of the cake. If it comes out clean, the cake is ready.
- If you find that the water has evaporated during the cooking process, don’t worry. Just add more water to the larger pan as needed to keep the steaming process going.
5. Prepare the Ganache
- While the cake is steaming, you can prepare the chocolate ganache. Heat ¾ cup of fresh cream in a saucepan over low heat until it’s just about to boil.
- Once the cream is heated, pour it over ½ cup of chopped dark chocolate in a heatproof bowl. Let it sit for a minute to allow the chocolate to melt.
- After a minute, stir the cream and chocolate mixture together until it’s smooth and glossy. This is your ganache!
6. Assemble the Cake
- After the cake has finished cooking, remove it from the pan and let it cool down. Once it’s completely cool, carefully demould the cake and place it on a serving plate.
- Pour the smooth ganache over the cooled cake, spreading it evenly with a spatula. You can let the ganache set for a few minutes before serving.
Beginner Tips and Notes
- How to Tell If Your Cake Is Cooked: To check if your cake is done, always use a skewer or toothpick. Insert it into the center of the cake, and if it comes out clean or with just a few crumbs, it’s ready.
- What to Do If Your Cake Is Too Dense: If your cake turns out too dense, it might be due to overmixing the batter. Always mix the ingredients until just combined, and avoid overworking the batter.
- How to Prevent Overcooking Your Cake: Steaming a cake can be tricky, especially with varying stovetop temperatures. If you find that the cake is browning too quickly, reduce the heat to low and continue steaming.
- Substitute for Kitchen Tools: If you don’t have a nonstick pan, you can use a regular pan, but be sure to grease it well with oil and line it with parchment paper to prevent sticking. If you don’t have a steamer, you can create your own setup with two pots as described in the recipe.
Serving Suggestions
- With a Cup of Tea or Coffee: This Atta Chocolate Cake pairs beautifully with a hot cup of tea or coffee. The richness of the cake and the smooth ganache make it the perfect afternoon treat.
- Add Some Fruit: For a lighter touch, serve the cake with fresh berries or a dollop of whipped cream. The tartness of the fruit complements the sweetness of the cake perfectly.
- As a Celebration Cake: This cake is simple enough for a weeknight dessert but fancy enough to serve at a special occasion. You can even decorate it with sprinkles or chocolate shavings for an added touch.
Storage Tips for Leftovers
- Store in an Airtight Container: If you have leftovers, make sure to store the cake in an airtight container to keep it fresh for up to 3 days at room temperature.
- Refrigeration: If you want to store the cake for longer, you can refrigerate it for up to 5 days. Just be sure to cover the cake with plastic wrap to prevent it from drying out.
- Freezing the Cake: This cake freezes well! You can wrap it tightly in plastic wrap and store it in the freezer for up to 3 months. To thaw, simply leave it at room temperature for a few hours before serving.

Conclusion
Baking an Atta Chocolate Cake in a Pan is an incredibly satisfying and simple process, perfect for beginners looking to explore the world of baking. With just a few ingredients and a straightforward method, you can create a delicious, healthier cake that’s perfect for any occasion. Whether you’re enjoying it with a cup of tea, serving it at a family gathering, or just indulging in a sweet treat after a long day, this cake will surely become a go-to recipe in your kitchen.
Don’t be afraid to experiment with different flavors, toppings, or variations of this cake. Baking is all about creativity, and the best part is that you can adjust this recipe to suit your tastes. So, gather your ingredients, follow the simple steps, and enjoy the satisfaction of making a cake from scratch! Happy baking!