There’s something undeniably satisfying about biting into a perfectly crispy, saucy chicken wing. Whether it’s game day, a family gathering, or just a craving for something delicious, chicken wings are a crowd-pleaser. But many home cooks hesitate to make them from scratch, thinking that achieving restaurant-quality wings at home requires deep frying or advanced culinary skills.
Print
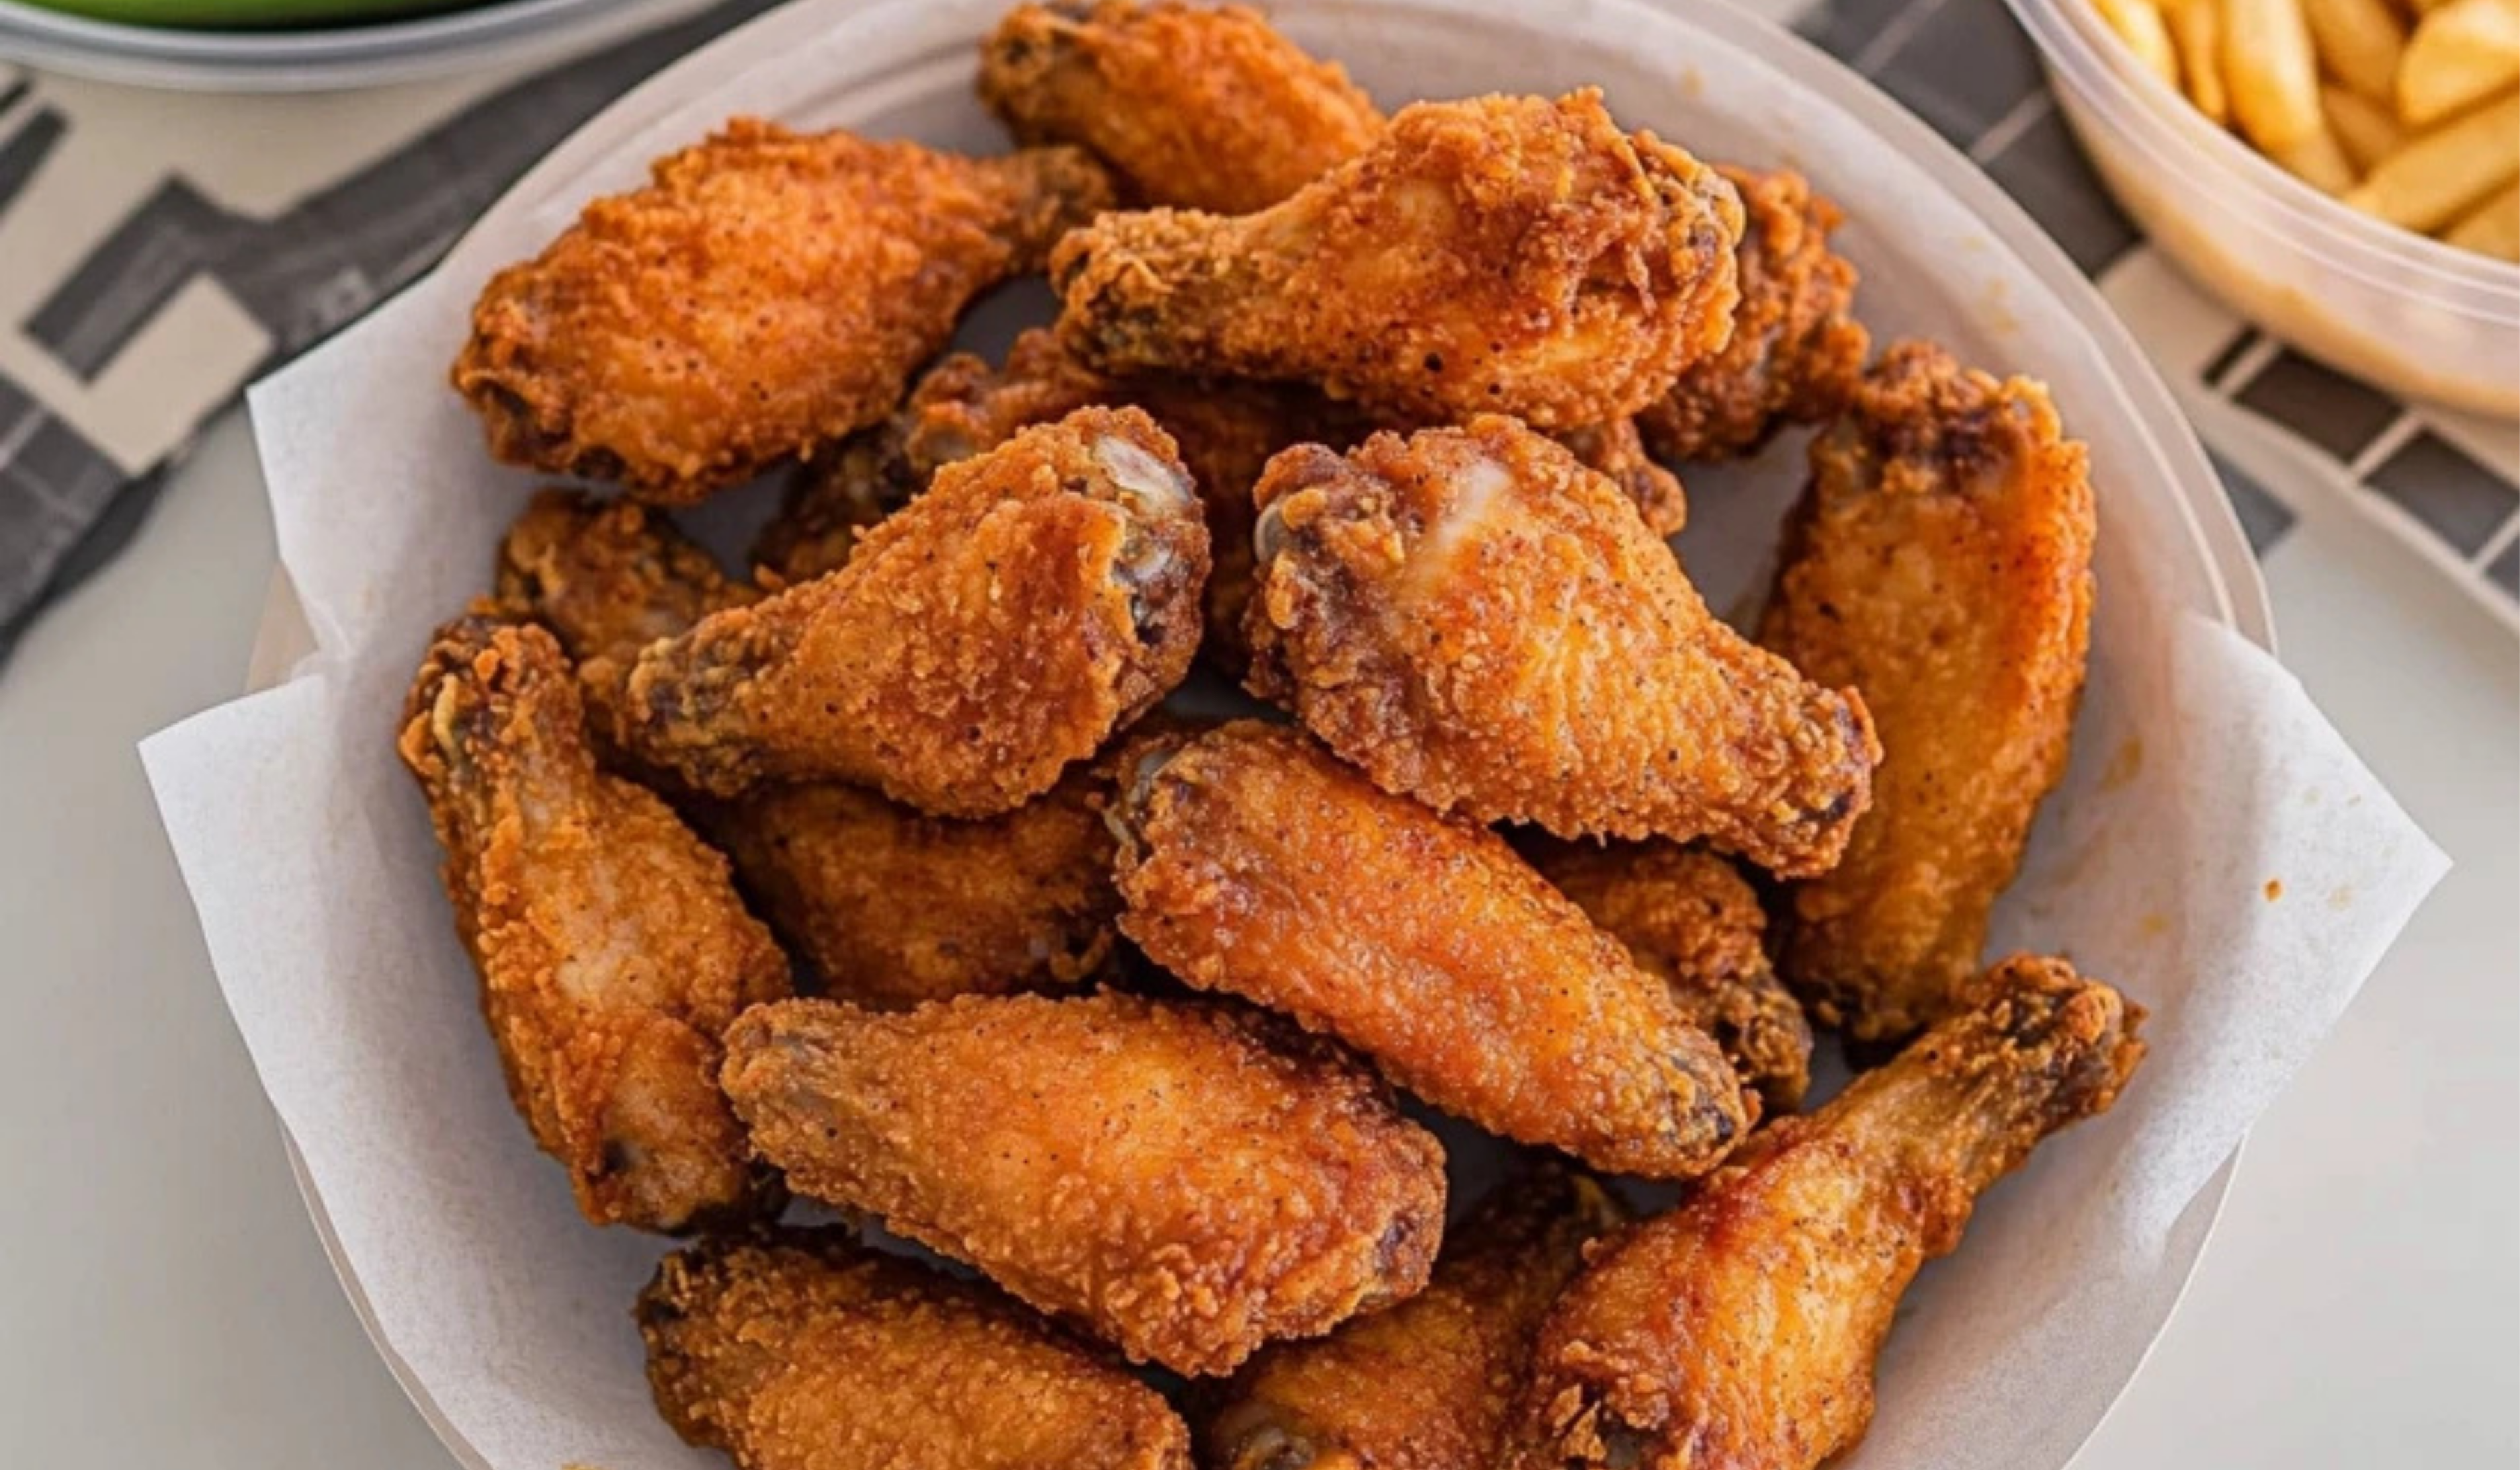
Ultimate Crispy Baked Chicken Wings: A Foolproof Recipe for Beginners
Who needs frying when you can get golden, ultra-crispy chicken wings straight from the oven? 🍗🔥 These baked wings are beginner-friendly, irresistibly crunchy, and perfect for game nights, parties, or a satisfying snack!
- Total Time: 55 minutes
- Yield: Serves 8 as an appetizer 1x
Ingredients
- 1 tablespoon kosher salt
- 2 teaspoons garlic powder
- 2 teaspoons ground cumin
- 2 teaspoons paprika
- 2 teaspoons onion powder
- 1 teaspoon ground black pepper
- 4 pounds chicken wings and/or drumettes
- 2 egg whites, beaten until frothy
- ½ cup hot wing sauce (choose your favorite brand or make your own)
Instructions
1. Preheat the Oven and Prepare the Baking Sheet
Preheat the oven to 425°F. Line a large rimmed baking sheet with aluminum foil for easy cleanup. Place a metal cooling rack on top and spray it with non-stick spray. The rack allows air to circulate around the wings, ensuring even cooking and crispiness. If you don’t have a cooling rack, you can place the wings directly on the foil-lined baking sheet, but you will need to flip them halfway through cooking.
2. Dry the Chicken Wings
Using paper towels, thoroughly pat the chicken wings dry. Removing excess moisture is crucial to achieving crispy skin. If using frozen wings, make sure they are completely thawed and patted dry to avoid steaming during baking.
3. Season the Wings
In a large bowl, mix the salt, garlic powder, cumin, paprika, onion powder, and black pepper. Add the chicken wings and toss to coat them evenly with the seasoning mixture.
4. Coat the Wings with Egg Whites
Beat the egg whites until frothy, then pour them over the seasoned wings. Use tongs or clean hands to mix thoroughly, ensuring that each wing is coated. The egg whites help create a crispy exterior by forming a thin layer that hardens in the oven.
5. Arrange the Wings on the Baking Rack
Place the wings skin-side up on the prepared baking sheet with the wire rack. Make sure they are evenly spaced and not touching, as this allows air to circulate and promotes even crisping.
6. Bake Until Crispy
Transfer the baking sheet to the preheated oven and bake for 45-60 minutes. The exact cooking time depends on the size of the wings and the efficiency of your oven. You’ll know the wings are done when they are golden brown, crispy, and reach an internal temperature of 165°F.
7. Toss in Wing Sauce
Remove the wings from the oven and transfer them to a large bowl. Pour your preferred wing sauce over them and gently toss until evenly coated.
8. Serve Immediately
Serve the wings hot with ranch or blue cheese dressing on the side. Accompany them with celery and carrot sticks for a classic presentation.
Notes
1. How to Ensure Maximum Crispiness
- Pat the Chicken Dry – Any moisture on the wings will prevent crisping, so make sure they are completely dry before seasoning.
- Use a Wire Rack – This allows heat to circulate evenly around the wings, reducing the need for flipping.
- Do Not Overcrowd the Pan – Giving the wings enough space ensures that they crisp up instead of steaming.
- Bake at a High Temperature – Cooking at 425°F helps render the fat and create a crispy skin.
2. Troubleshooting Common Issues
- If Wings Are Not Crispy Enough – Let them bake for an additional 5-10 minutes. Keep an eye on them to prevent burning.
- If Chicken Browns Too Quickly – Lower the oven temperature slightly and extend the cooking time.
- If Using a Baking Sheet Without a Rack – Flip the wings every 20 minutes to ensure even browning.
3. Efficient Meal Prep Tips
- Prep Ahead – Season the wings and store them in the fridge for up to 24 hours before baking.
- Batch Cooking – Double the recipe and store leftover wings for easy reheating.
- Thawing Frozen Wings – Allow frozen wings to thaw in the refrigerator for 1-2 days. Pat them dry before seasoning.
- Prep Time: 10 minutes
- Cook Time: 45 minutes
The good news is that with the right technique, you can achieve ultra-crispy baked chicken wings with minimal effort. This recipe is designed for beginner cooks who want to make flavorful, crunchy wings without frying. The secret lies in the combination of proper seasoning, egg whites, and a wire rack, which allows hot air to circulate and crisp up the wings evenly.
Baked chicken wings offer a healthier alternative to fried wings while still delivering on taste and texture. They are lower in fat yet remain incredibly crispy and satisfying. Whether tossed in a classic buffalo sauce, served with a mild barbecue glaze, or eaten plain, these wings are versatile and easy to customize. This recipe will walk you through every step, ensuring that even a novice cook can create a batch of wings that will impress family and friends.
Why This Recipe Is Perfect for Beginners
- Easy Preparation – The recipe requires just a few simple steps: seasoning the wings, coating them with egg whites, and baking them until crispy.
- Minimal Ingredients – No complicated or hard-to-find ingredients. Everything can be found at any grocery store.
- No Frying Required – Baking eliminates the mess and hassle of deep frying while still delivering crispy wings.
- Customizable Flavor – Use your favorite store-bought wing sauce or experiment with different seasonings and marinades.
- Foolproof Method – The use of a wire rack ensures even cooking and crispiness without constant flipping.
Ingredients and Preparation
Ingredients
- 1 tablespoon kosher salt
- 2 teaspoons garlic powder
- 2 teaspoons ground cumin
- 2 teaspoons paprika
- 2 teaspoons onion powder
- 1 teaspoon ground black pepper
- 4 pounds chicken wings and/or drumettes
- 2 egg whites, beaten until frothy
- ½ cup hot wing sauce (choose your favorite brand or make your own)
Alternative Ingredient Suggestions
- For Extra Heat – Add a teaspoon of cayenne pepper to the seasoning mix.
- For a Smoky Flavor – Substitute smoked paprika for regular paprika.
- For a Mild Option – Use a mild barbecue sauce instead of hot wing sauce.
- For a Low-Sodium Option – Reduce the salt and opt for a low-sodium wing sauce.
Step-by-Step Instructions
1. Preheat the Oven and Prepare the Baking Sheet
Preheat the oven to 425°F. Line a large rimmed baking sheet with aluminum foil for easy cleanup. Place a metal cooling rack on top and spray it with non-stick spray. The rack allows air to circulate around the wings, ensuring even cooking and crispiness. If you don’t have a cooling rack, you can place the wings directly on the foil-lined baking sheet, but you will need to flip them halfway through cooking.
2. Dry the Chicken Wings
Using paper towels, thoroughly pat the chicken wings dry. Removing excess moisture is crucial to achieving crispy skin. If using frozen wings, make sure they are completely thawed and patted dry to avoid steaming during baking.
3. Season the Wings
In a large bowl, mix the salt, garlic powder, cumin, paprika, onion powder, and black pepper. Add the chicken wings and toss to coat them evenly with the seasoning mixture.
4. Coat the Wings with Egg Whites
Beat the egg whites until frothy, then pour them over the seasoned wings. Use tongs or clean hands to mix thoroughly, ensuring that each wing is coated. The egg whites help create a crispy exterior by forming a thin layer that hardens in the oven.
5. Arrange the Wings on the Baking Rack
Place the wings skin-side up on the prepared baking sheet with the wire rack. Make sure they are evenly spaced and not touching, as this allows air to circulate and promotes even crisping.
6. Bake Until Crispy
Transfer the baking sheet to the preheated oven and bake for 45-60 minutes. The exact cooking time depends on the size of the wings and the efficiency of your oven. You’ll know the wings are done when they are golden brown, crispy, and reach an internal temperature of 165°F.
7. Toss in Wing Sauce
Remove the wings from the oven and transfer them to a large bowl. Pour your preferred wing sauce over them and gently toss until evenly coated.
8. Serve Immediately
Serve the wings hot with ranch or blue cheese dressing on the side. Accompany them with celery and carrot sticks for a classic presentation.
Beginner Tips and Notes
1. How to Ensure Maximum Crispiness
- Pat the Chicken Dry – Any moisture on the wings will prevent crisping, so make sure they are completely dry before seasoning.
- Use a Wire Rack – This allows heat to circulate evenly around the wings, reducing the need for flipping.
- Do Not Overcrowd the Pan – Giving the wings enough space ensures that they crisp up instead of steaming.
- Bake at a High Temperature – Cooking at 425°F helps render the fat and create a crispy skin.
2. Troubleshooting Common Issues
- If Wings Are Not Crispy Enough – Let them bake for an additional 5-10 minutes. Keep an eye on them to prevent burning.
- If Chicken Browns Too Quickly – Lower the oven temperature slightly and extend the cooking time.
- If Using a Baking Sheet Without a Rack – Flip the wings every 20 minutes to ensure even browning.
3. Efficient Meal Prep Tips
- Prep Ahead – Season the wings and store them in the fridge for up to 24 hours before baking.
- Batch Cooking – Double the recipe and store leftover wings for easy reheating.
- Thawing Frozen Wings – Allow frozen wings to thaw in the refrigerator for 1-2 days. Pat them dry before seasoning.

Serving Suggestions
Perfect Side Dishes
- Fresh Vegetable Sticks – Celery and carrot sticks complement the wings and add a refreshing crunch.
- Oven-Baked Fries – Serve with homemade or store-bought fries for a complete meal.
- Coleslaw – A tangy, creamy coleslaw balances the heat of the wings.
- Corn on the Cob – A buttery, slightly sweet side pairs well with the spiciness of the wings.
Storage and Reheating Tips
- Refrigerating Leftovers – Store leftover wings in an airtight container in the fridge for up to four days.
- Reheating in the Oven – Place wings on a baking sheet and reheat at 375°F for 10-15 minutes until heated through.
- Reheating in an Air Fryer – Heat at 375°F for 5-7 minutes for a quick and crispy reheat.
- Freezing for Later – Freeze cooked wings in a single layer, then transfer to a freezer bag. Reheat in the oven for best results.
Conclusion
Crispy baked chicken wings are proof that you don’t need deep frying to achieve restaurant-quality results. This recipe is ideal for beginners because it is simple, requires minimal ingredients, and delivers consistently delicious results. Whether hosting a party, preparing a family dinner, or just looking for a fun and tasty dish, these wings are a guaranteed success.
Experiment with different sauces, try new seasoning blends, and make this recipe your own. If you give it a try, share your experience and any creative variations. Cooking at home should be enjoyable and rewarding, and these wings are the perfect place to start.