There’s something undeniably satisfying about a plate of loaded nachos. Whether you’re settling in for a movie night, hosting a game-day party, or simply looking for a quick and delicious meal, nachos are the ultimate comfort food.
Print
The Ultimate Guide to Making the Best Loaded Nachos for Beginners
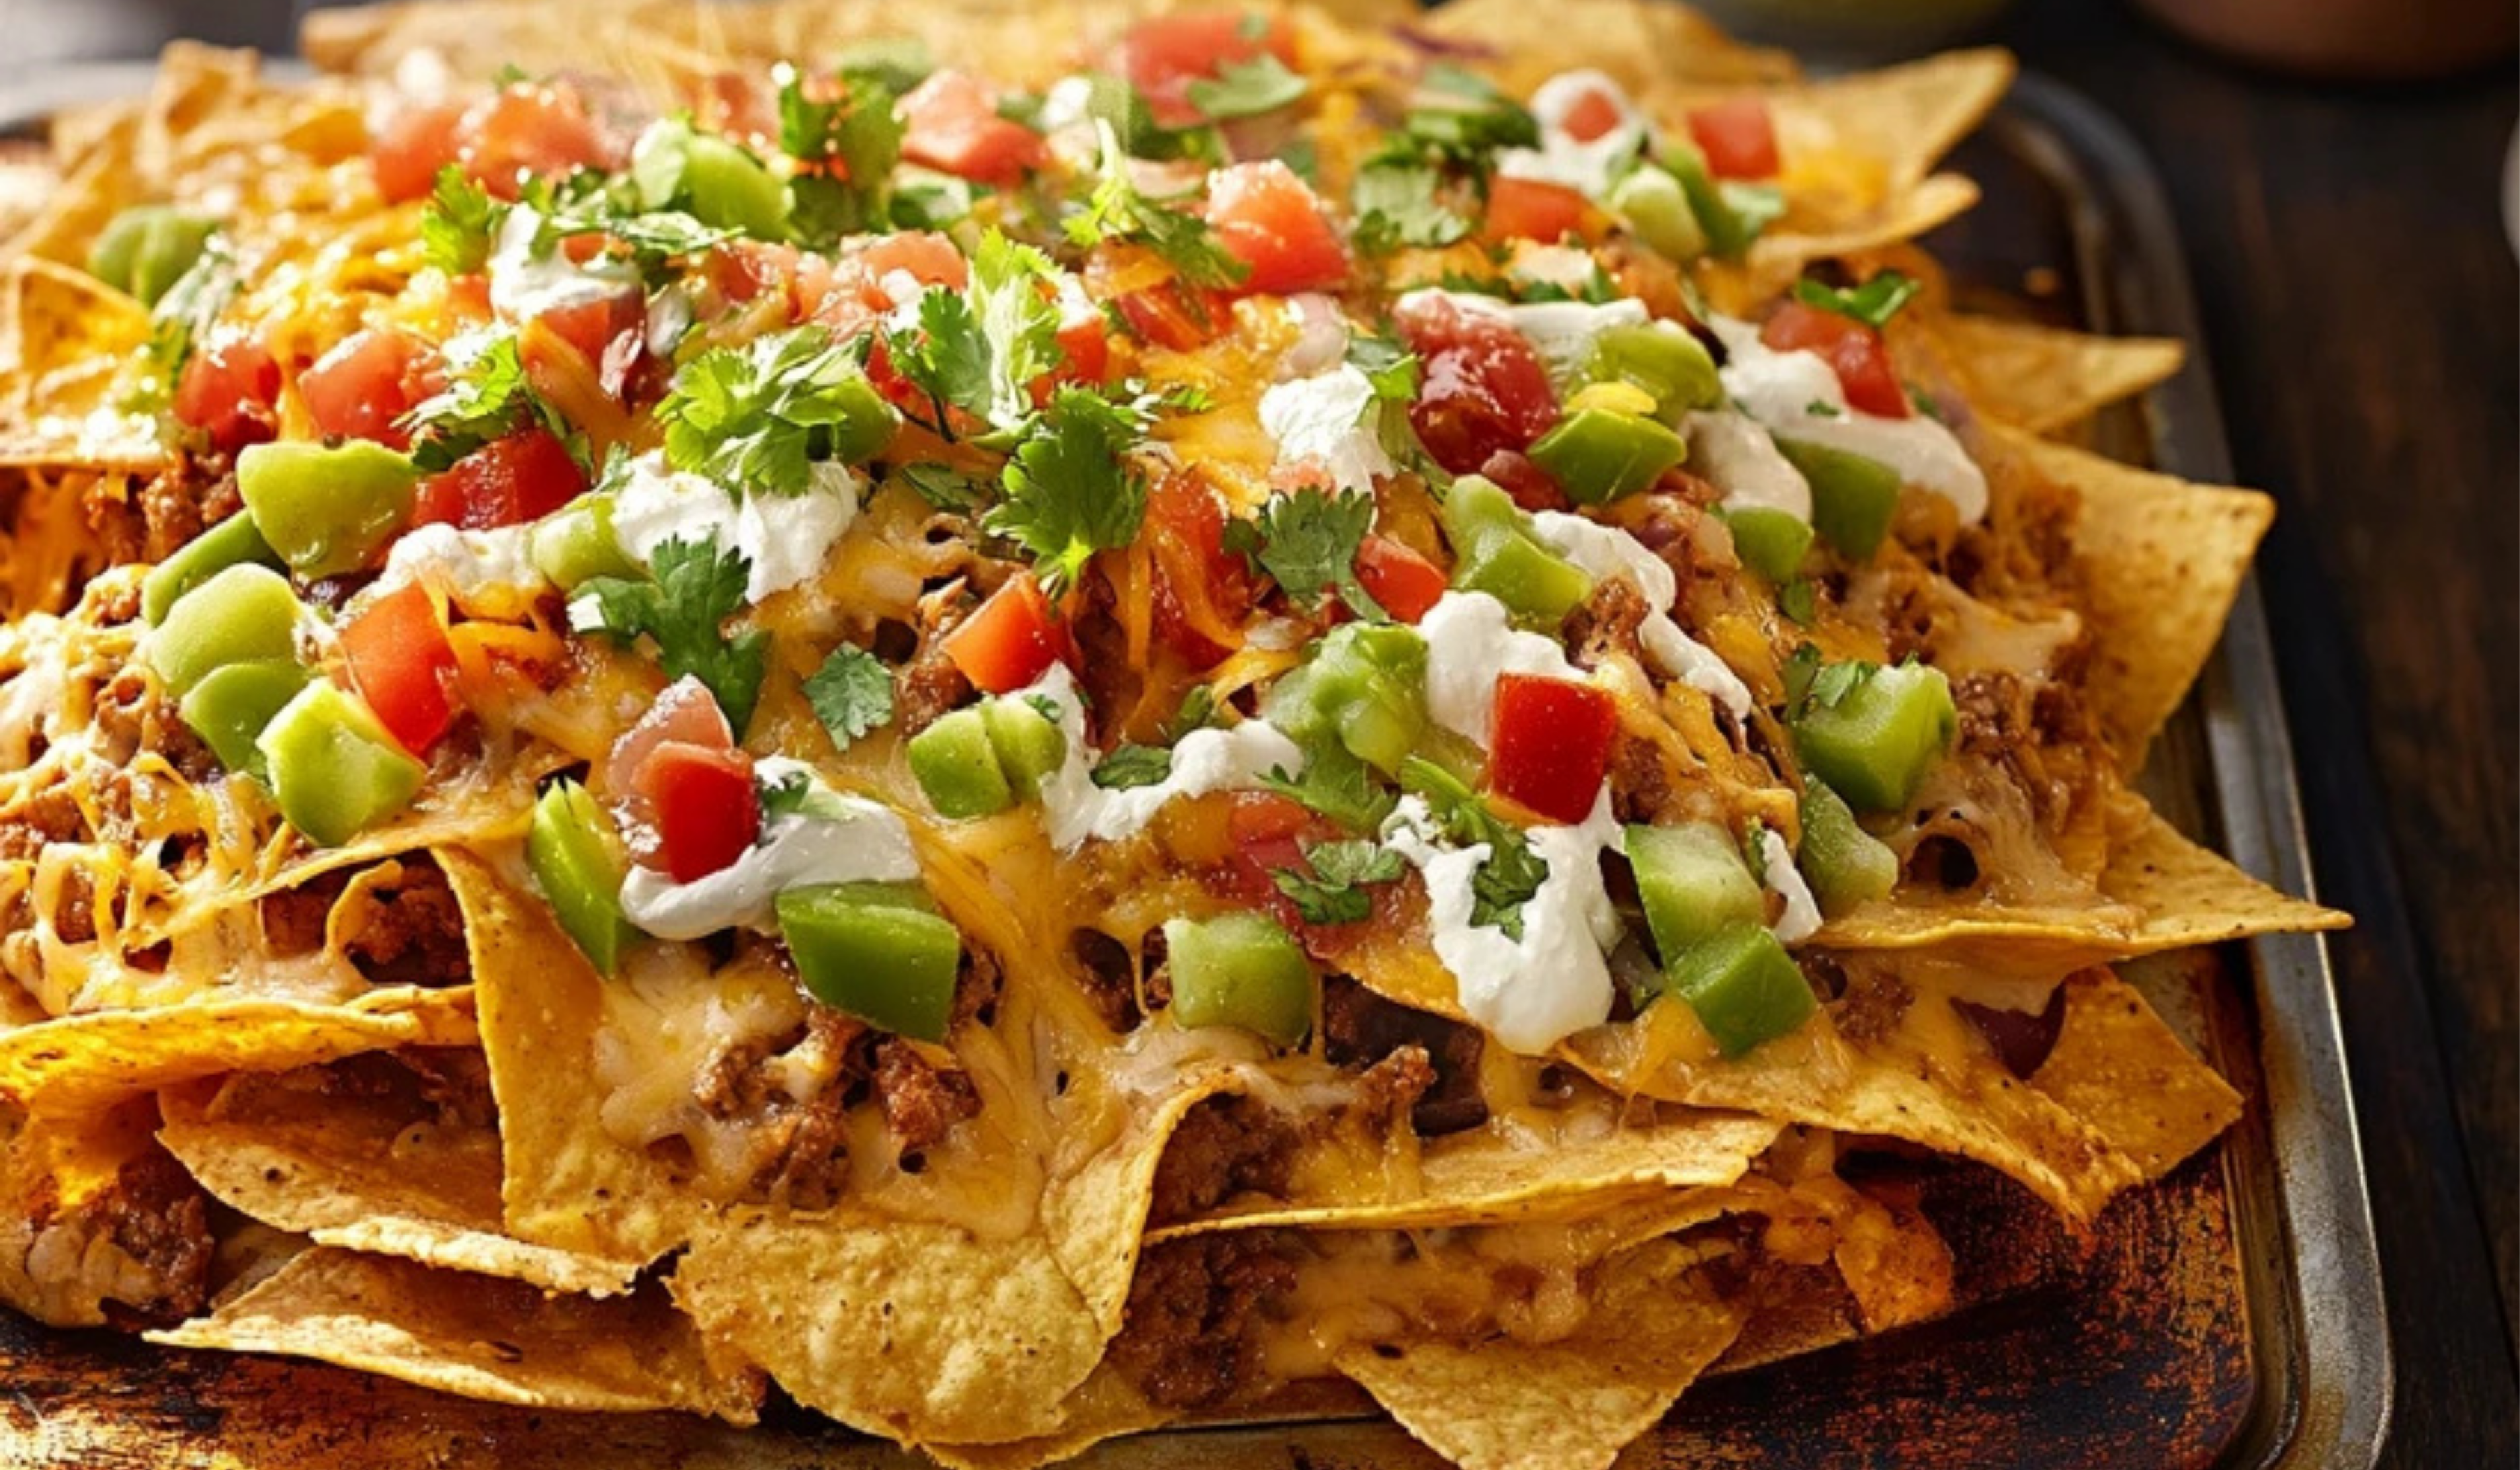
These Loaded Nachos are the ultimate crowd-pleaser! Crispy tortilla chips piled high with melty cheese, seasoned meat, fresh toppings, and a drizzle of your favorite sauces. Perfect for game nights, parties, or whenever you’re craving a fun and delicious snack!
- Total Time: 40 mins
- Yield: 4 servings 1x
Ingredients
- 2 teaspoons olive oil – Used to cook the meat and onion
- ¾ pound fresh ground beef or shredded cooked chicken – A flavorful base protein
- 1 small onion, chopped – Adds depth and sweetness
- 2 cloves garlic, chopped – Enhances the savory flavor
- 1 (15-ounce) can black beans, rinsed – Adds fiber and heartiness
- 8 ounces tortilla chips – The foundation of the dish; choose thick chips to prevent sogginess
- 10 ounces sharp Cheddar or Pepper Jack cheese, grated (about 2.5 cups) – Provides a rich, melty texture
- ½ small head iceberg lettuce, shredded – Adds crunch and freshness
- ¾ cup fresh salsa – Gives a bright, tangy contrast to the richness of the cheese
- 1 avocado, chopped – Contributes creaminess and mild flavor
- Fresh cilantro, pickled jalapeños, and sour cream for topping – Optional but recommended for added depth and texture
Instructions
Step 1: Preheat the Oven
Preheat your oven to 400°F. Line a large rimmed baking sheet with parchment paper to prevent sticking and make cleanup easier.
Step 2: Cook the Meat and Aromatics
- Heat olive oil in a large skillet over medium heat.
- Add the ground beef or shredded chicken and cook, stirring frequently.
- Once the meat is browned (about 6-8 minutes for beef or warmed through for chicken), add the chopped onion and garlic.
- Cook for another 3-4 minutes until the onion is soft and fragrant.
- Stir in the black beans and cook for 2-4 minutes until heated through.
Beginner Tip: If using chicken, you can season it with a little salt, cumin, and chili powder to enhance its flavor.
Step 3: Assemble the Nachos
- Spread the tortilla chips evenly on the prepared baking sheet.
- Spoon the beef or chicken mixture evenly over the chips.
- Sprinkle the grated cheese generously over the top.
Step 4: Bake Until Perfectly Melted
- Place the tray in the preheated oven.
- Bake for 10-12 minutes, or until the cheese is fully melted and the chips are slightly toasted.
- Keep an eye on the nachos to prevent burning.
Beginner Tip: If the cheese melts too quickly but the chips aren’t toasted yet, lower the oven temperature to 375°F and let them bake for a couple of extra minutes.
Step 5: Add Fresh Toppings and Serve
- Remove the tray from the oven and let it cool for 2 minutes.
- Sprinkle shredded lettuce, fresh salsa, chopped avocado, cilantro, pickled jalapeños, and sour cream over the top.
Beginner Tip: Serve the nachos immediately to enjoy the perfect combination of hot, cheesy goodness and cool, fresh toppings.
Notes
1. Prevent Soggy Nachos
- Use thick, sturdy chips that can handle the toppings without getting soft.
- Avoid overloading with wet ingredients like salsa before baking. Instead, add fresh toppings after the nachos come out of the oven.
2. How to Tell if Your Nachos Are Ready
- The cheese should be fully melted and slightly bubbling.
- The chips should look slightly golden around the edges.
3. Quick Fixes for Common Problems
- Nachos are too dry: Add more cheese or a drizzle of sour cream before serving.
- Too spicy: Balance the heat with extra sour cream or avocado.
- Not enough flavor: Sprinkle extra chili powder, cumin, or smoked paprika onto the meat mixture.
- Prep Time: 15 mins
- Cook Time: 25 mins
For beginner cooks, this recipe is a fantastic introduction to the art of layering flavors and textures. It’s easy to make, highly customizable, and doesn’t require advanced kitchen skills. Plus, it’s a great way to experiment with different toppings and seasonings, allowing you to create a dish that perfectly suits your tastes.
One of the best things about nachos is their versatility. While the classic version often includes chorizo or bacon, this recipe focuses on chicken or beef to keep it pork-free while maintaining all the delicious, hearty flavors. Whether you prefer spicy, cheesy, or fresh and tangy toppings, there are plenty of ways to make these nachos your own.
If you’re new to cooking, don’t worry. This guide will walk you through every step with clear instructions, practical tips, and easy ingredient swaps to ensure you get perfect nachos every time.
Why This Recipe is Perfect for Beginners
1. Simple and Quick Preparation
This dish requires only 15 minutes of prep time and 40 minutes total, making it ideal for anyone who wants to make a delicious meal without spending hours in the kitchen.
2. Customizable and Flexible
If you don’t have a certain ingredient on hand, there are plenty of substitutions available. This allows you to make nachos based on what’s already in your pantry and refrigerator.
3. No Complicated Techniques
There’s no need for advanced cooking methods. If you can sauté, layer ingredients, and use an oven, you can make these nachos effortlessly.
4. A Great Introduction to Balancing Flavors
This recipe includes elements of spice, saltiness, crunch, and freshness, helping new cooks understand how to create a well-balanced dish.
Ingredients and Alternatives
Main Ingredients:
- 2 teaspoons olive oil – Used to cook the meat and onion
- ¾ pound fresh ground beef or shredded cooked chicken – A flavorful base protein
- 1 small onion, chopped – Adds depth and sweetness
- 2 cloves garlic, chopped – Enhances the savory flavor
- 1 (15-ounce) can black beans, rinsed – Adds fiber and heartiness
- 8 ounces tortilla chips – The foundation of the dish; choose thick chips to prevent sogginess
- 10 ounces sharp Cheddar or Pepper Jack cheese, grated (about 2.5 cups) – Provides a rich, melty texture
- ½ small head iceberg lettuce, shredded – Adds crunch and freshness
- ¾ cup fresh salsa – Gives a bright, tangy contrast to the richness of the cheese
- 1 avocado, chopped – Contributes creaminess and mild flavor
- Fresh cilantro, pickled jalapeños, and sour cream for topping – Optional but recommended for added depth and texture
Alternative Ingredients for Flexibility:
- Protein: Instead of ground beef, try shredded rotisserie chicken, grilled steak, or even seasoned tofu for a vegetarian option.
- Beans: Black beans can be replaced with pinto beans, kidney beans, or even refried beans for a different texture.
- Cheese: If you don’t have cheddar or pepper jack, try Monterey Jack, mozzarella, or even crumbled feta for a unique twist.
- Chips: Traditional tortilla chips work best, but you can also use pita chips, kettle-style potato chips, or even crispy baked sweet potato slices.
Step-by-Step Instructions
Step 1: Preheat the Oven
Preheat your oven to 400°F. Line a large rimmed baking sheet with parchment paper to prevent sticking and make cleanup easier.
Step 2: Cook the Meat and Aromatics
- Heat olive oil in a large skillet over medium heat.
- Add the ground beef or shredded chicken and cook, stirring frequently.
- Once the meat is browned (about 6-8 minutes for beef or warmed through for chicken), add the chopped onion and garlic.
- Cook for another 3-4 minutes until the onion is soft and fragrant.
- Stir in the black beans and cook for 2-4 minutes until heated through.
Beginner Tip: If using chicken, you can season it with a little salt, cumin, and chili powder to enhance its flavor.
Step 3: Assemble the Nachos
- Spread the tortilla chips evenly on the prepared baking sheet.
- Spoon the beef or chicken mixture evenly over the chips.
- Sprinkle the grated cheese generously over the top.
Step 4: Bake Until Perfectly Melted
- Place the tray in the preheated oven.
- Bake for 10-12 minutes, or until the cheese is fully melted and the chips are slightly toasted.
- Keep an eye on the nachos to prevent burning.
Beginner Tip: If the cheese melts too quickly but the chips aren’t toasted yet, lower the oven temperature to 375°F and let them bake for a couple of extra minutes.
Step 5: Add Fresh Toppings and Serve
- Remove the tray from the oven and let it cool for 2 minutes.
- Sprinkle shredded lettuce, fresh salsa, chopped avocado, cilantro, pickled jalapeños, and sour cream over the top.
Beginner Tip: Serve the nachos immediately to enjoy the perfect combination of hot, cheesy goodness and cool, fresh toppings.
Beginner Tips and Troubleshooting
1. Prevent Soggy Nachos
- Use thick, sturdy chips that can handle the toppings without getting soft.
- Avoid overloading with wet ingredients like salsa before baking. Instead, add fresh toppings after the nachos come out of the oven.
2. How to Tell if Your Nachos Are Ready
- The cheese should be fully melted and slightly bubbling.
- The chips should look slightly golden around the edges.
3. Quick Fixes for Common Problems
- Nachos are too dry: Add more cheese or a drizzle of sour cream before serving.
- Too spicy: Balance the heat with extra sour cream or avocado.
- Not enough flavor: Sprinkle extra chili powder, cumin, or smoked paprika onto the meat mixture.

Serving Suggestions
Perfect Pairings for Loaded Nachos:
- Mexican Rice: A simple side dish that complements the nachos.
- Guacamole: A creamy dip to enhance the richness of the cheese.
- Corn Salad: Adds freshness and a slightly sweet contrast.
- Lime Wedges: A squeeze of lime brightens the flavors.
Storage Tips for Leftovers:
- Refrigerate: Store leftover nachos in an airtight container for up to 2 days.
- Reheat: Place in an oven at 375°F for about 5-7 minutes to crisp them up. Avoid microwaving, as it can make the chips soggy.
- Repurpose Leftovers: Turn them into a breakfast scramble by mixing them with scrambled eggs and extra cheese.
Conclusion: Enjoy and Experiment
Loaded nachos are one of the easiest and most satisfying meals a beginner cook can master. They require minimal effort, offer endless customization options, and bring together an incredible mix of flavors and textures. Whether you stick to the classic beef and cheese combination or experiment with different proteins and toppings, this recipe is sure to be a hit.