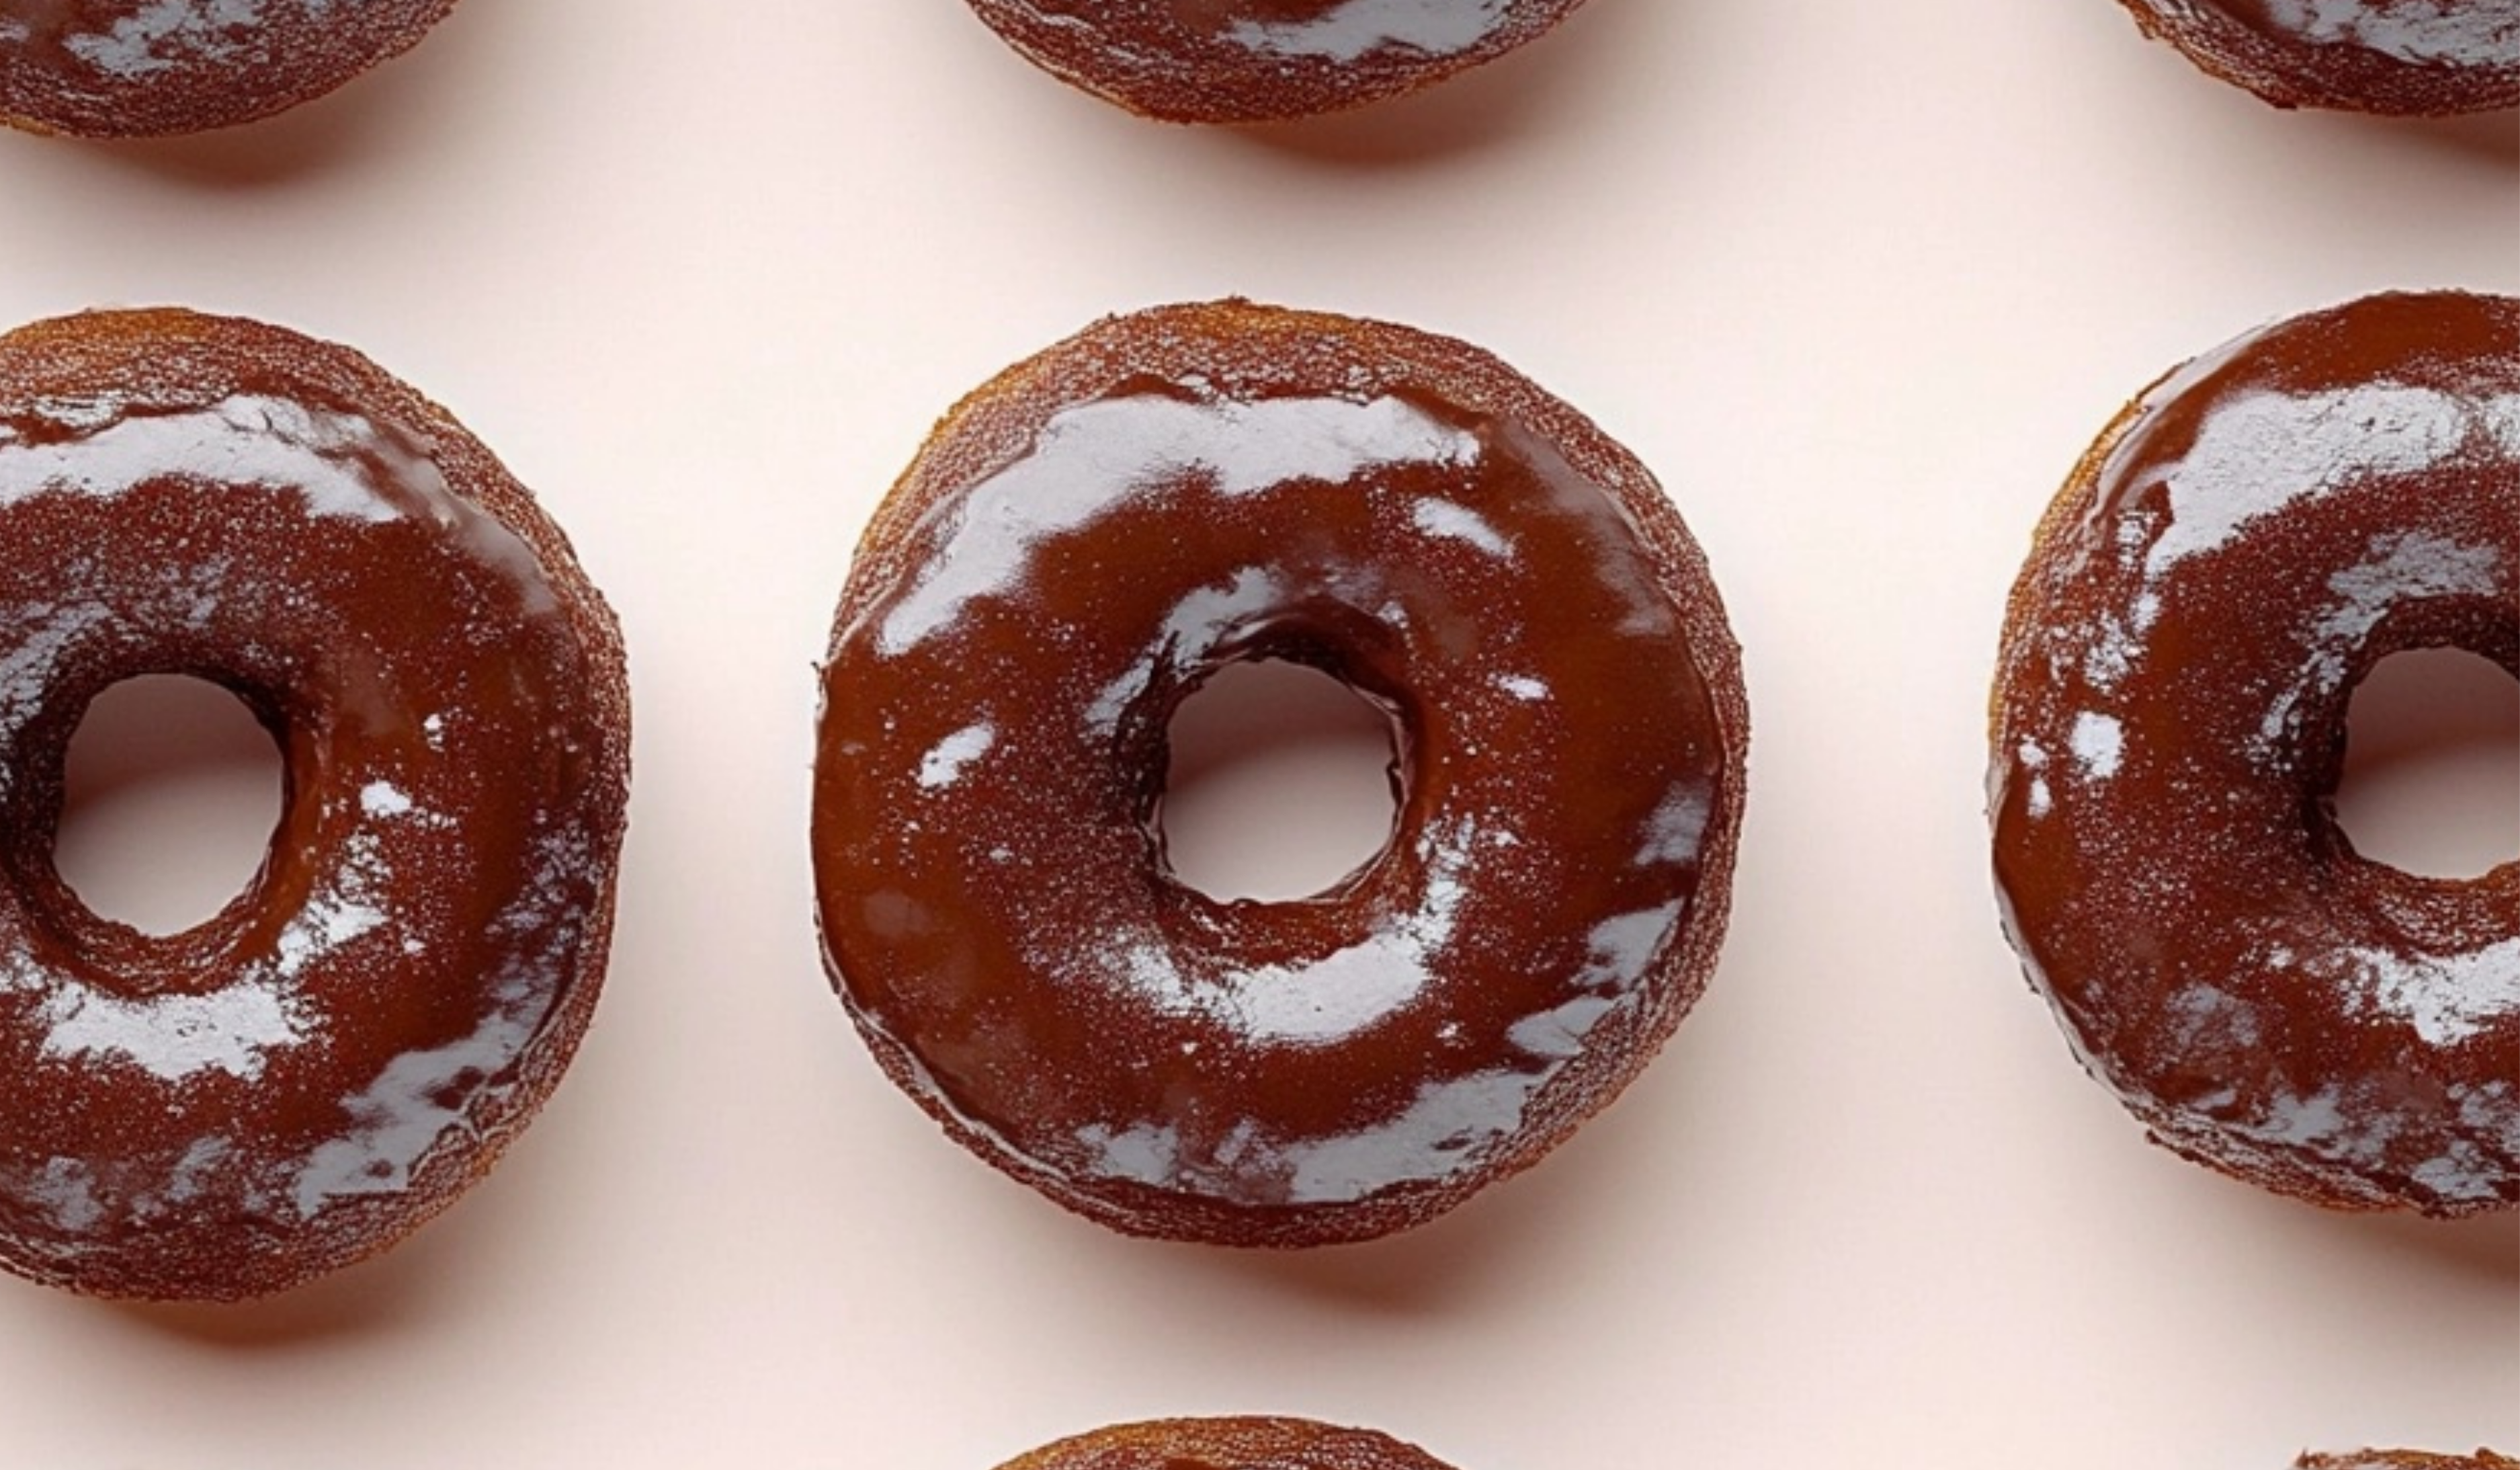
Imagine waking up to the aroma of freshly baked chocolate mini donuts filling your kitchen. These soft, fluffy treats, dipped in a rich chocolate glaze, are the perfect way to start your day or satisfy your sweet cravings. Unlike traditional deep-fried donuts, this recipe is baked, making it a healthier alternative without compromising flavor or texture.
Print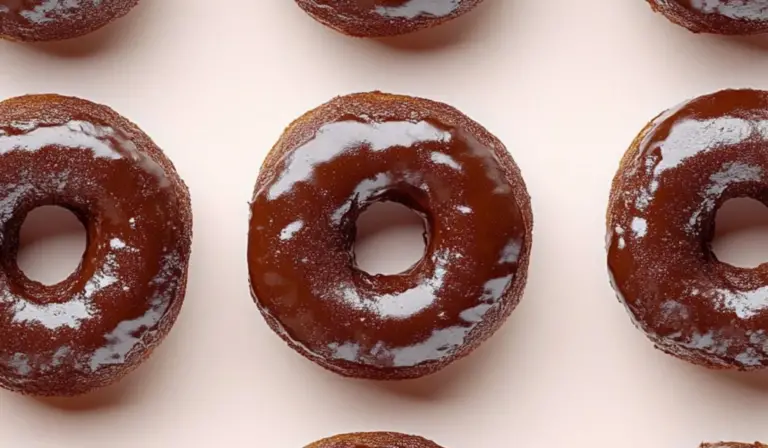
The Ultimate Guide to Making Chocolate Mini Donuts for Beginners
Soft, chocolatey, and absolutely irresistible—these mini chocolate donuts are a dream for home bakers! Baked, not fried, they’re light, fluffy, and coated in a rich chocolate glaze for the ultimate indulgence. Perfect for beginners, this recipe is simple, fun, and guaranteed to satisfy your sweet tooth. Whether for breakfast, dessert, or a snack, these bite-sized treats are pure chocolate bliss!
#ChocolateMiniDonuts #BiteSizedBliss #EasyBaking #HomemadeGoodness #BeginnerFriendlyTreats #ChocolateLovers #FluffyAndDelicious #BakedNotFried #SweetIndulgence #SimpleAndIrresistible
- Total Time: 17 minutes
- Yield: 16 mini donuts 1x
Ingredients
For the Chocolate Mini Donuts:
- ¼ cup light brown sugar
- ⅓ cup white sugar
- 4 tablespoons sunflower oil (or any neutral oil; melted butter can also be used)
- 1 teaspoon vanilla extract
- 1 egg
- ½ cup milk (regular or dairy-free)
- 1 cup all-purpose flour
- ⅓ cup cocoa powder
- ⅛ teaspoon salt
- ½ teaspoon baking soda
- ½ teaspoon baking powder
For the Chocolate Glaze:
- 6 tablespoons chocolate chips (regular or dairy-free)
- 1 ½ tablespoons melted butter (regular or dairy-free)
- 3 tablespoons milk (regular or dairy-free)
- ¾ cup powdered sugar
Instructions
Step 1: Preheat the Oven and Prepare the Pan
Set your oven to 350°F (175°C). Lightly grease a mini donut pan with cooking spray to prevent sticking. If you don’t have a mini donut pan, you can use a mini muffin pan instead.
Step 2: Mix the Wet Ingredients
In a mixing bowl, whisk together the white sugar, brown sugar, and oil until well combined. Add the egg and vanilla extract, mixing until smooth. Stir in the milk.
Step 3: Combine the Dry Ingredients
In the same bowl, add the flour, cocoa powder, salt, baking powder, and baking soda. Gently mix until the batter is just combined—be careful not to overmix, as this can make the donuts dense instead of light and fluffy.
Step 4: Fill the Donut Pan
Fill each donut cavity about halfway with batter. The easiest way to do this is by transferring the batter into a ziplock bag, snipping off a corner, and piping it into the pan. This method ensures even distribution and minimizes mess.
Step 5: Bake the Donuts
Bake for 7–10 minutes, or until the donuts spring back when lightly pressed. If you’re unsure whether they’re done, insert a toothpick into one donut—if it comes out clean, they’re ready.
Step 6: Cool the Donuts
Allow the donuts to cool in the pan for a few minutes before transferring them to a wire rack. Place a sheet of parchment paper or a baking tray underneath the rack to catch excess glaze.
Step 7: Prepare the Chocolate Glaze
In a small pan over low-medium heat, melt the chocolate chips, butter, and milk while stirring continuously. Once melted, remove from heat and whisk in the powdered sugar until smooth.
Step 8: Dip and Glaze
Dip each donut upside down into the chocolate glaze, allowing the excess to drip off. Place them back on the wire rack to set. The glaze will firm up as it cools.
Notes
Troubleshooting Common Issues
- Donuts Turn Out Too Dry: This can happen if you overmix the batter or overbake them. Be sure to mix just until the ingredients are combined and check for doneness at the 7-minute mark.
- Glaze is Too Runny: If your glaze is too thin, add more powdered sugar a tablespoon at a time until it reaches the desired consistency. If it’s too thick, add a splash of milk.
- No Donut Pan? No problem! You can use a mini muffin pan instead, and the result will be similar to donut holes.
Kitchen Efficiency Tips
- Measure Ingredients Accurately: Use the scoop-and-level method for flour and cocoa powder to avoid adding too much, which can make the donuts dense.
- Speed Up Cooling: If you’re in a rush, pop the donuts into the fridge for a few minutes to cool them faster before glazing.
- Easy Cleanup: Line your counter with parchment paper before glazing to make cleanup effortless.
- Prep Time: 10 minutes
- Cook Time: 7 minutes
This recipe is ideal for beginners because it requires simple ingredients, minimal preparation time, and no frying—just mix, bake, and glaze. Whether you’re new to baking or looking for a quick and delicious homemade treat, these chocolate mini donuts are an excellent choice.
Ingredients and Preparation
Before diving into the baking process, let’s go over the ingredients you’ll need. This recipe yields approximately 16 mini donuts.
For the Chocolate Mini Donuts:
- ¼ cup light brown sugar
- ⅓ cup white sugar
- 4 tablespoons sunflower oil (or any neutral oil; melted butter can also be used)
- 1 teaspoon vanilla extract
- 1 egg
- ½ cup milk (regular or dairy-free)
- 1 cup all-purpose flour
- ⅓ cup cocoa powder
- ⅛ teaspoon salt
- ½ teaspoon baking soda
- ½ teaspoon baking powder
For the Chocolate Glaze:
- 6 tablespoons chocolate chips (regular or dairy-free)
- 1 ½ tablespoons melted butter (regular or dairy-free)
- 3 tablespoons milk (regular or dairy-free)
- ¾ cup powdered sugar
Ingredient Substitutes and Variations
- Oil vs. Butter: Using oil results in a softer and more moist texture, while butter adds a richer flavor but can make the donuts dry out faster.
- Milk Options: Any dairy-free milk, such as almond or oat milk, works just as well as regular milk.
- Flour Alternatives: While all-purpose flour works best, you can experiment with whole wheat flour for added fiber or a gluten-free blend if needed.
Step-by-Step Instructions
Follow these easy steps to ensure perfect results every time.
Step 1: Preheat the Oven and Prepare the Pan
Set your oven to 350°F (175°C). Lightly grease a mini donut pan with cooking spray to prevent sticking. If you don’t have a mini donut pan, you can use a mini muffin pan instead.
Step 2: Mix the Wet Ingredients
In a mixing bowl, whisk together the white sugar, brown sugar, and oil until well combined. Add the egg and vanilla extract, mixing until smooth. Stir in the milk.
Step 3: Combine the Dry Ingredients
In the same bowl, add the flour, cocoa powder, salt, baking powder, and baking soda. Gently mix until the batter is just combined—be careful not to overmix, as this can make the donuts dense instead of light and fluffy.
Step 4: Fill the Donut Pan
Fill each donut cavity about halfway with batter. The easiest way to do this is by transferring the batter into a ziplock bag, snipping off a corner, and piping it into the pan. This method ensures even distribution and minimizes mess.
Step 5: Bake the Donuts
Bake for 7–10 minutes, or until the donuts spring back when lightly pressed. If you’re unsure whether they’re done, insert a toothpick into one donut—if it comes out clean, they’re ready.
Step 6: Cool the Donuts
Allow the donuts to cool in the pan for a few minutes before transferring them to a wire rack. Place a sheet of parchment paper or a baking tray underneath the rack to catch excess glaze.
Step 7: Prepare the Chocolate Glaze
In a small pan over low-medium heat, melt the chocolate chips, butter, and milk while stirring continuously. Once melted, remove from heat and whisk in the powdered sugar until smooth.
Step 8: Dip and Glaze
Dip each donut upside down into the chocolate glaze, allowing the excess to drip off. Place them back on the wire rack to set. The glaze will firm up as it cools.
Beginner Tips and Notes
Troubleshooting Common Issues
- Donuts Turn Out Too Dry: This can happen if you overmix the batter or overbake them. Be sure to mix just until the ingredients are combined and check for doneness at the 7-minute mark.
- Glaze is Too Runny: If your glaze is too thin, add more powdered sugar a tablespoon at a time until it reaches the desired consistency. If it’s too thick, add a splash of milk.
- No Donut Pan? No problem! You can use a mini muffin pan instead, and the result will be similar to donut holes.
Kitchen Efficiency Tips
- Measure Ingredients Accurately: Use the scoop-and-level method for flour and cocoa powder to avoid adding too much, which can make the donuts dense.
- Speed Up Cooling: If you’re in a rush, pop the donuts into the fridge for a few minutes to cool them faster before glazing.
- Easy Cleanup: Line your counter with parchment paper before glazing to make cleanup effortless.

Serving Suggestions
These chocolate mini donuts are versatile and can be enjoyed in several ways.
Pairing Ideas
- Serve with a glass of cold milk or a hot cup of coffee for a delightful breakfast or snack.
- Sprinkle crushed nuts, shredded coconut, or colorful sprinkles over the glaze for extra texture and fun.
- Drizzle with caramel or peanut butter sauce for an added flavor boost.
Storing and Reheating Leftovers
- Best When Fresh: These donuts taste best on the day they’re made, but if needed, store them in an airtight container at room temperature for up to two days.
- Reheating: If they start to dry out, microwave them for 5–10 seconds to restore their soft texture.
- Freezing Option: If you want to store them longer, freeze unglazed donuts in an airtight container for up to a month. When ready to eat, thaw at room temperature and glaze before serving.
Conclusion
Baking homemade chocolate mini donuts is an easy and rewarding experience, especially for beginners. With simple ingredients, a foolproof method, and helpful tips, you’ll be able to enjoy bakery-quality donuts right from your kitchen.
Now it’s your turn! Try this recipe and let us know how it went. Did you make any fun variations? Share your experience in the comments, and happy baking!