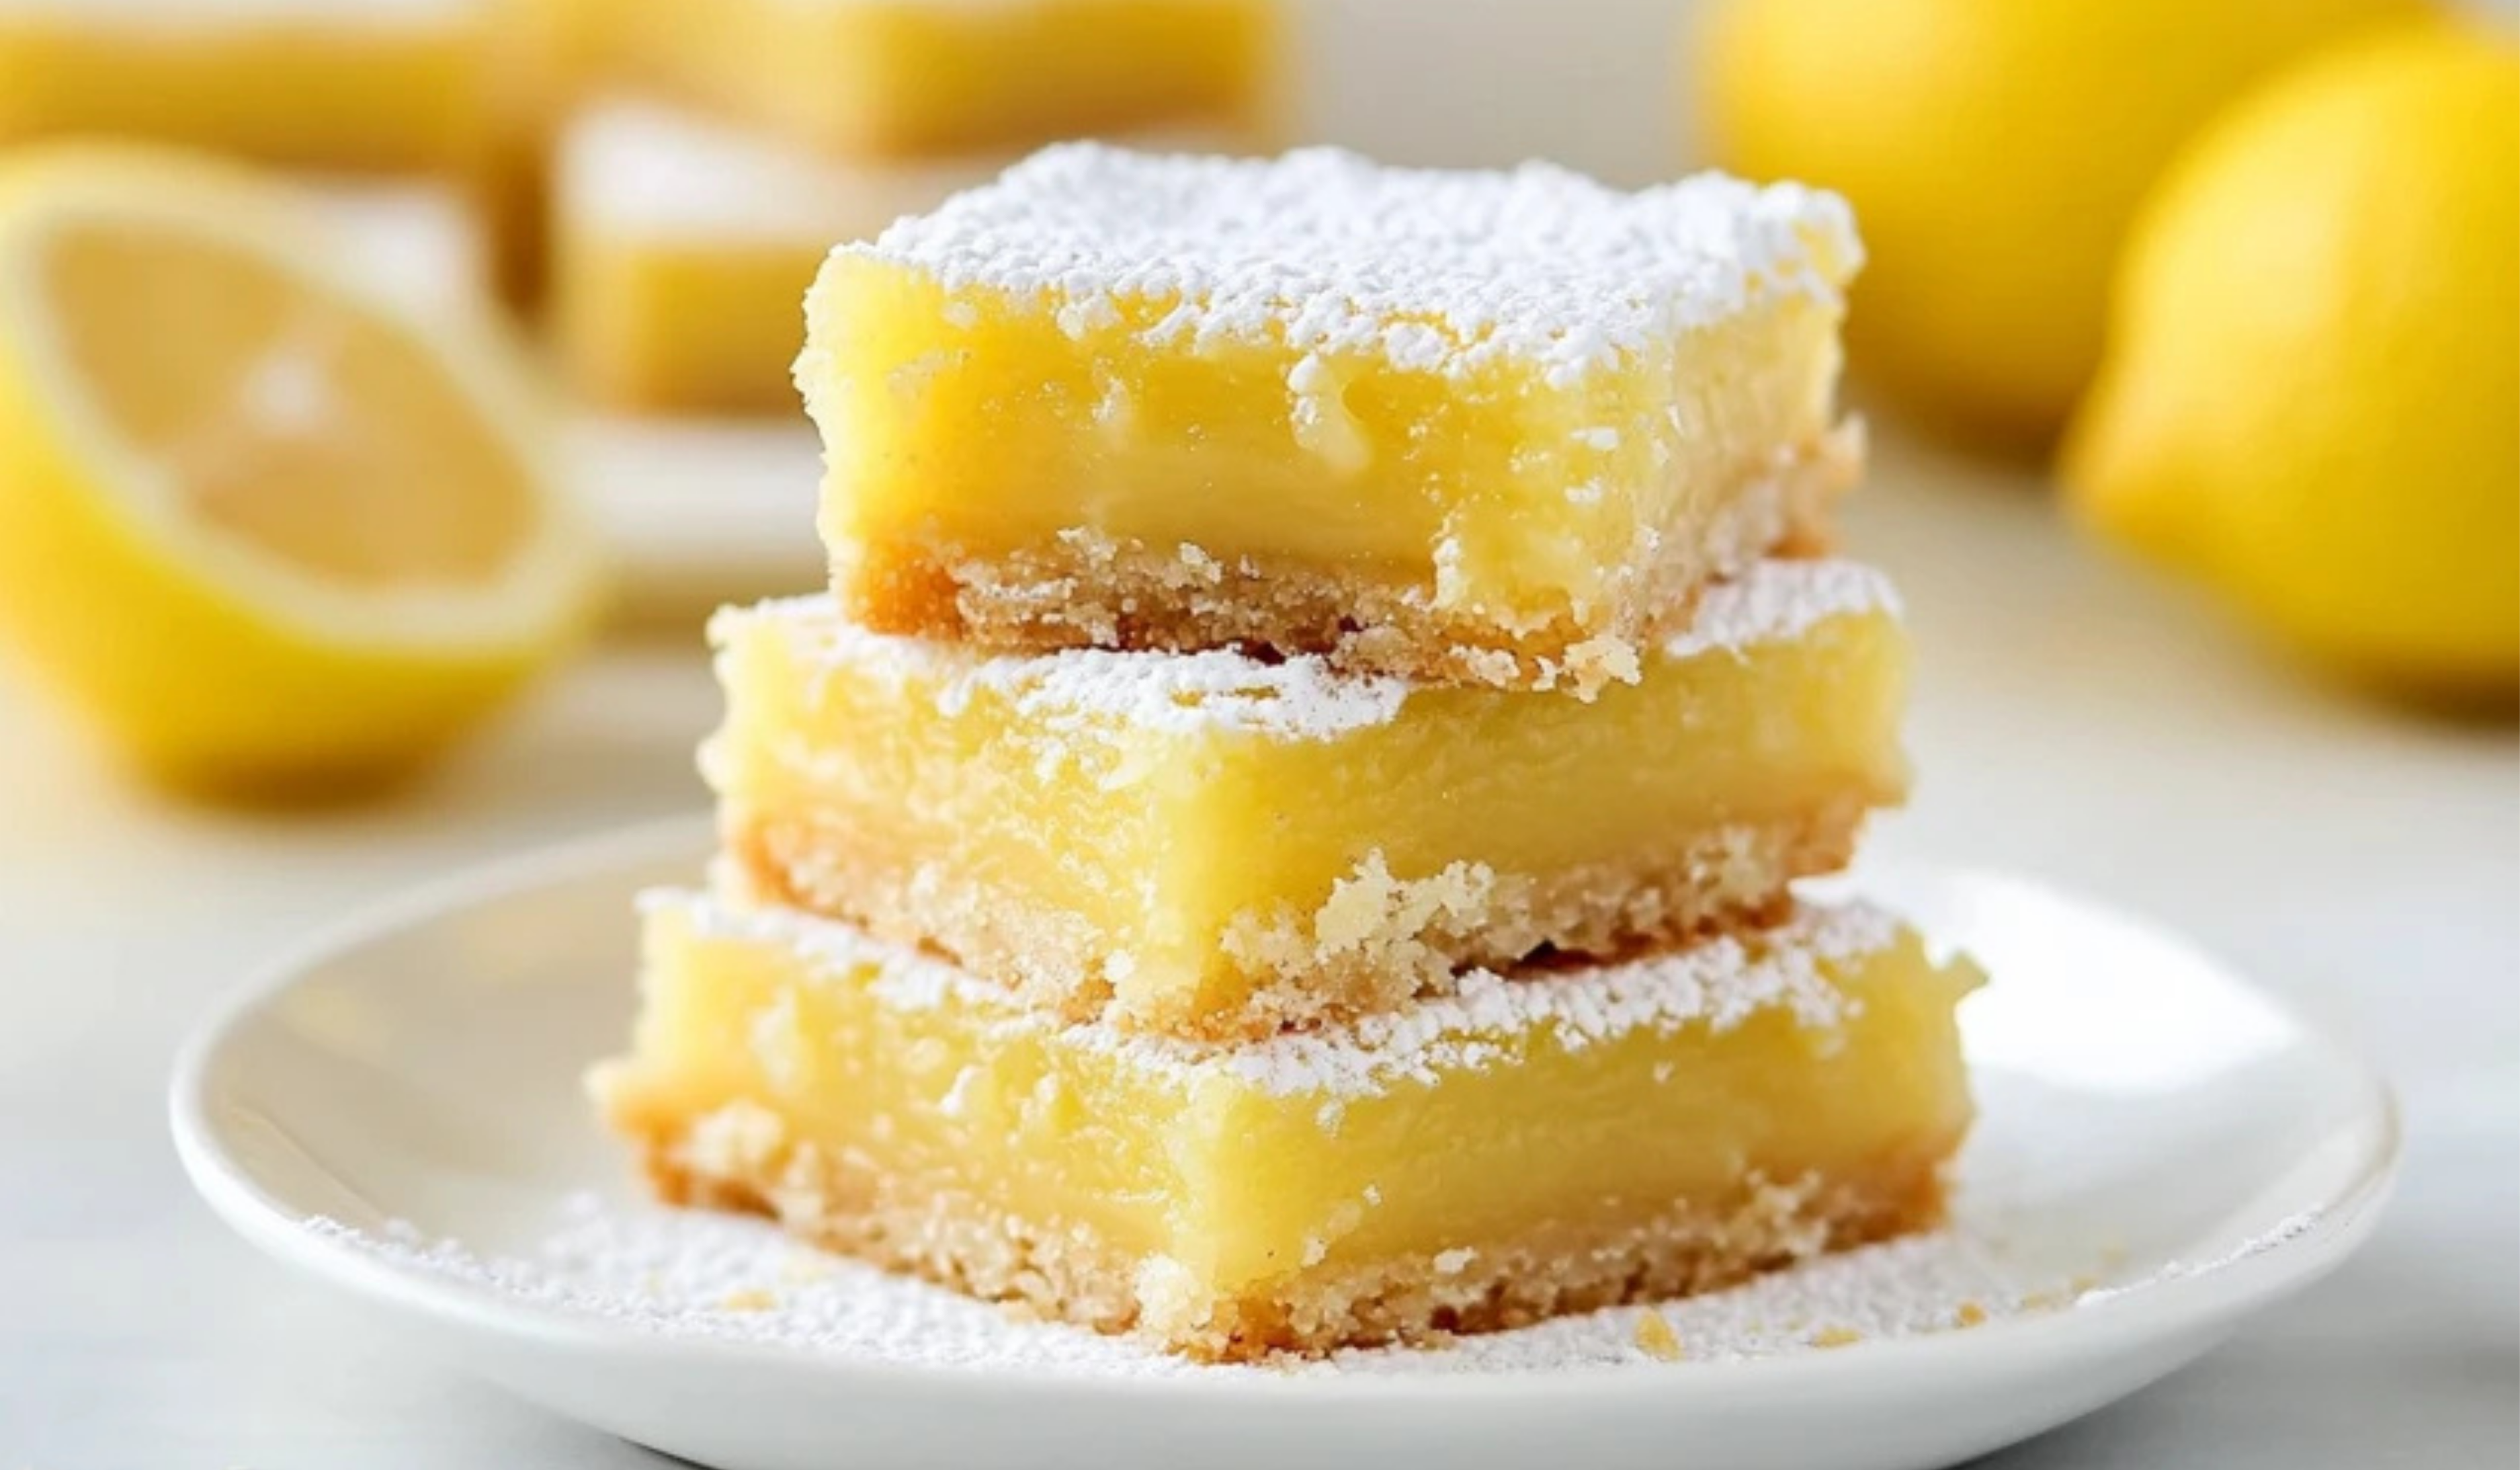
There’s something truly magical about lemon bars. With their buttery crust and bright, citrusy filling, they strike the perfect balance between sweet and tart. They are a classic treat that feels both elegant and comforting, yet they are surprisingly easy to make.
Print
The Ultimate Beginner’s Guide to Making Irresistible Lemon Bars
Layers of creamy, fruity, and crunchy goodness! 🍓🥄 This Deliciously Simple Dessert Parfait is light, refreshing, and incredibly easy to make. Perfect for beginners, this no-bake treat is ready in minutes and guaranteed to impress! ✨🍨
- Total Time: 50 minutes
- Yield: 15 bars 1x
Ingredients
Crust
- 1 cup unsalted butter, at room temperature
- 2 cups all-purpose flour
- ½ cup powdered sugar
- ½ teaspoon salt
Lemon Layer
- 4 eggs
- 5–6 tablespoons lemon juice (freshly squeezed for best flavor)
- 1¾ cups granulated sugar
- ⅓ cup all-purpose flour
- Powdered sugar for topping
Instructions
Step 1: Preheat and Prepare
Preheat your oven to 375°F (190°C). Grease a 9×13-inch glass baking dish with butter or cooking spray and set it aside. Using a glass dish ensures even baking and prevents the bars from becoming too crisp on the edges.
Step 2: Make the Crust
In a medium-sized mixing bowl, combine the butter, flour, powdered sugar, and salt. Use a pastry cutter or a spatula to mix the ingredients until they form a crumbly, dough-like texture. If you don’t have a pastry cutter, a fork or your hands will work just as well.
Press the mixture evenly into the prepared baking dish, making sure it covers the bottom completely. Try to create an even layer so the crust bakes uniformly.
Step 3: Bake the Crust
Place the baking dish in the preheated oven and bake for 20 minutes. The crust should be set but not browned. Overbaking at this stage can cause the crust to become too crisp, so watch it carefully.
Step 4: Prepare the Lemon Filling
While the crust is baking, prepare the lemon layer. In a medium-sized bowl, beat the eggs, lemon juice, granulated sugar, and flour together using a hand mixer or whisk. Mix until the ingredients are well combined and slightly frothy. This aeration helps create a light and smooth texture in the filling.
Step 5: Assemble and Bake
Once the crust has finished baking, remove it from the oven and immediately pour the lemon mixture over the warm crust. This helps the filling adhere properly and prevents separation between layers.
Return the dish to the oven and bake for an additional 22-24 minutes. The lemon bars are done when the edges are slightly golden and the center is set. If you gently shake the pan, the filling should not wobble. Overbaking can cause the bars to become rubbery, so check frequently as the baking time nears completion.
Step 6: Cool and Serve
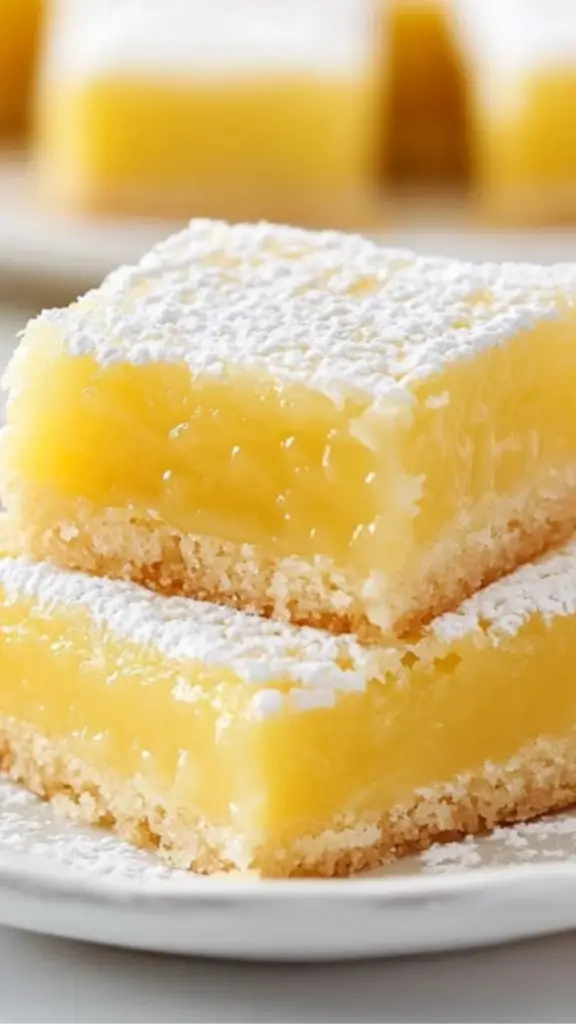
Allow the lemon bars to cool completely in the pan. This step is crucial for setting the filling. Once cooled, sift powdered sugar over the top for a classic finishing touch. Use a sharp knife to cut them into squares or rectangles. For cleaner slices, wipe the knife with a damp cloth between cuts.
Notes
Common Mistakes and How to Avoid Them
- Overbaking the Crust: The crust should be set but not browned before adding the filling. If it’s too brown, it may become overly crunchy.
- Lumpy Filling: Always whisk the filling thoroughly to avoid lumps. If needed, strain the mixture through a fine-mesh sieve before pouring it over the crust.
- Soggy Bars: Make sure the lemon bars cool completely before cutting to prevent them from becoming too soft. Chilling them in the refrigerator can help firm them up.
- Too Tart or Too Sweet: The amount of lemon juice can be adjusted to taste. If you prefer a more tart flavor, use 6 tablespoons of lemon juice. For a milder taste, use 5 tablespoons.
Helpful Kitchen Tips
- Prepping Efficiently: Measure and prepare all ingredients before you begin. This will make the process smoother and prevent mistakes.
- Cutting Clean Slices: To get neat, professional-looking lemon bars, chill them in the refrigerator for an hour before slicing.
- Enhancing Flavor: A pinch of salt in the lemon filling can bring out the citrus notes and balance the sweetness.
- Prep Time: 10 minutes
- Cook Time: 40 minutes
I remember the first time I attempted lemon bars. I was just starting out in the kitchen, unsure of my skills and nervous about getting everything right. To my surprise, they turned out beautifully. The simple ingredients, clear steps, and forgiving nature of the recipe made it an ideal choice for a beginner like me. That experience taught me that baking doesn’t have to be intimidating—it can be a fun and rewarding process.
Lemon bars are a fantastic dessert for beginners because they require minimal equipment, use common pantry ingredients, and follow a straightforward method. They are quick to prepare, taking under an hour from start to finish. Plus, they are an excellent choice for sharing at gatherings or enjoying with a cup of tea.
In this guide, I will walk you through a step-by-step process for making delicious lemon bars. Along the way, I’ll provide helpful tips to ensure your success, troubleshooting advice for common issues, and creative ways to serve and store your treats.
Ingredients and Preparation
Crust
- 1 cup unsalted butter, at room temperature
- 2 cups all-purpose flour
- ½ cup powdered sugar
- ½ teaspoon salt
Lemon Layer
- 4 eggs
- 5-6 tablespoons lemon juice (freshly squeezed for best flavor)
- 1¾ cups granulated sugar
- ⅓ cup all-purpose flour
- Powdered sugar for topping
Ingredient Substitutions and Variations
- Butter Alternative: If you prefer, you can use plant-based butter for a dairy-free version.
- Flour Options: While all-purpose flour works best, a 1:1 gluten-free flour substitute can be used.
- Lemon Juice: Fresh lemon juice is recommended for its bright, fresh flavor, but bottled lemon juice will work in a pinch.
- Sugar: If you want a slightly healthier option, coconut sugar can replace granulated sugar, though it will alter the color and flavor slightly.
- Additional Flavors: A teaspoon of vanilla extract or a pinch of zest from the lemon peel can enhance the citrus notes in the filling.
Step-by-Step Instructions
Step 1: Preheat and Prepare
Preheat your oven to 375°F (190°C). Grease a 9×13-inch glass baking dish with butter or cooking spray and set it aside. Using a glass dish ensures even baking and prevents the bars from becoming too crisp on the edges.
Step 2: Make the Crust
In a medium-sized mixing bowl, combine the butter, flour, powdered sugar, and salt. Use a pastry cutter or a spatula to mix the ingredients until they form a crumbly, dough-like texture. If you don’t have a pastry cutter, a fork or your hands will work just as well.
Press the mixture evenly into the prepared baking dish, making sure it covers the bottom completely. Try to create an even layer so the crust bakes uniformly.
Step 3: Bake the Crust
Place the baking dish in the preheated oven and bake for 20 minutes. The crust should be set but not browned. Overbaking at this stage can cause the crust to become too crisp, so watch it carefully.
Step 4: Prepare the Lemon Filling
While the crust is baking, prepare the lemon layer. In a medium-sized bowl, beat the eggs, lemon juice, granulated sugar, and flour together using a hand mixer or whisk. Mix until the ingredients are well combined and slightly frothy. This aeration helps create a light and smooth texture in the filling.
Step 5: Assemble and Bake
Once the crust has finished baking, remove it from the oven and immediately pour the lemon mixture over the warm crust. This helps the filling adhere properly and prevents separation between layers.
Return the dish to the oven and bake for an additional 22-24 minutes. The lemon bars are done when the edges are slightly golden and the center is set. If you gently shake the pan, the filling should not wobble. Overbaking can cause the bars to become rubbery, so check frequently as the baking time nears completion.
Step 6: Cool and Serve
Allow the lemon bars to cool completely in the pan. This step is crucial for setting the filling. Once cooled, sift powdered sugar over the top for a classic finishing touch. Use a sharp knife to cut them into squares or rectangles. For cleaner slices, wipe the knife with a damp cloth between cuts.
Beginner Tips and Notes
Common Mistakes and How to Avoid Them
- Overbaking the Crust: The crust should be set but not browned before adding the filling. If it’s too brown, it may become overly crunchy.
- Lumpy Filling: Always whisk the filling thoroughly to avoid lumps. If needed, strain the mixture through a fine-mesh sieve before pouring it over the crust.
- Soggy Bars: Make sure the lemon bars cool completely before cutting to prevent them from becoming too soft. Chilling them in the refrigerator can help firm them up.
- Too Tart or Too Sweet: The amount of lemon juice can be adjusted to taste. If you prefer a more tart flavor, use 6 tablespoons of lemon juice. For a milder taste, use 5 tablespoons.
Helpful Kitchen Tips
- Prepping Efficiently: Measure and prepare all ingredients before you begin. This will make the process smoother and prevent mistakes.
- Cutting Clean Slices: To get neat, professional-looking lemon bars, chill them in the refrigerator for an hour before slicing.
- Enhancing Flavor: A pinch of salt in the lemon filling can bring out the citrus notes and balance the sweetness.
Serving Suggestions
Lemon bars are delicious on their own, but they can be elevated with simple additions:
- Paired with Fresh Fruit: Serve with fresh berries like strawberries, raspberries, or blueberries for a colorful contrast.
- With Whipped Cream: A dollop of whipped cream adds a rich, creamy texture that balances the tartness of the lemon.
- Drizzled with White Chocolate: Melted white chocolate drizzled over the bars creates an extra layer of sweetness.
- Alongside Tea or Coffee: Lemon bars pair beautifully with black tea, green tea, or a cup of freshly brewed coffee.
Storage Tips for Leftovers
Lemon bars store well and can be enjoyed for several days if kept properly.
- Room Temperature: If you plan to eat them within a day, keep them in an airtight container at room temperature.
- Refrigeration: For longer storage, keep them in an airtight container in the refrigerator for up to a week.
- Freezing: Lemon bars can be frozen for up to three months. Wrap individual bars in plastic wrap, then place them in a freezer-safe bag. Thaw them in the refrigerator overnight before serving.
Conclusion
Baking doesn’t have to be complicated, and these easy lemon bars are proof of that. With a simple crust, a vibrant lemon filling, and a dusting of powdered sugar, they are a classic treat that is both elegant and easy to make.
If you’re new to baking, this recipe is an excellent place to start. It requires minimal ingredients, follows a straightforward process, and delivers delicious results. Plus, the bright citrus flavor makes it a refreshing dessert for any occasion.
Give this recipe a try and see how easy it is to create bakery-quality lemon bars right in your own kitchen. I’d love to hear how they turn out—share your experience and any creative variations you try. Happy baking!