Crème brûlée is often associated with fine dining, an elegant dessert that seems like it requires years of pastry training to master. The contrast between the smooth, vanilla-infused custard and the crisp, caramelized sugar topping is a sensory delight that feels indulgent. However, what many people don’t realize is that this classic French dessert is surprisingly simple to make at home.
Print
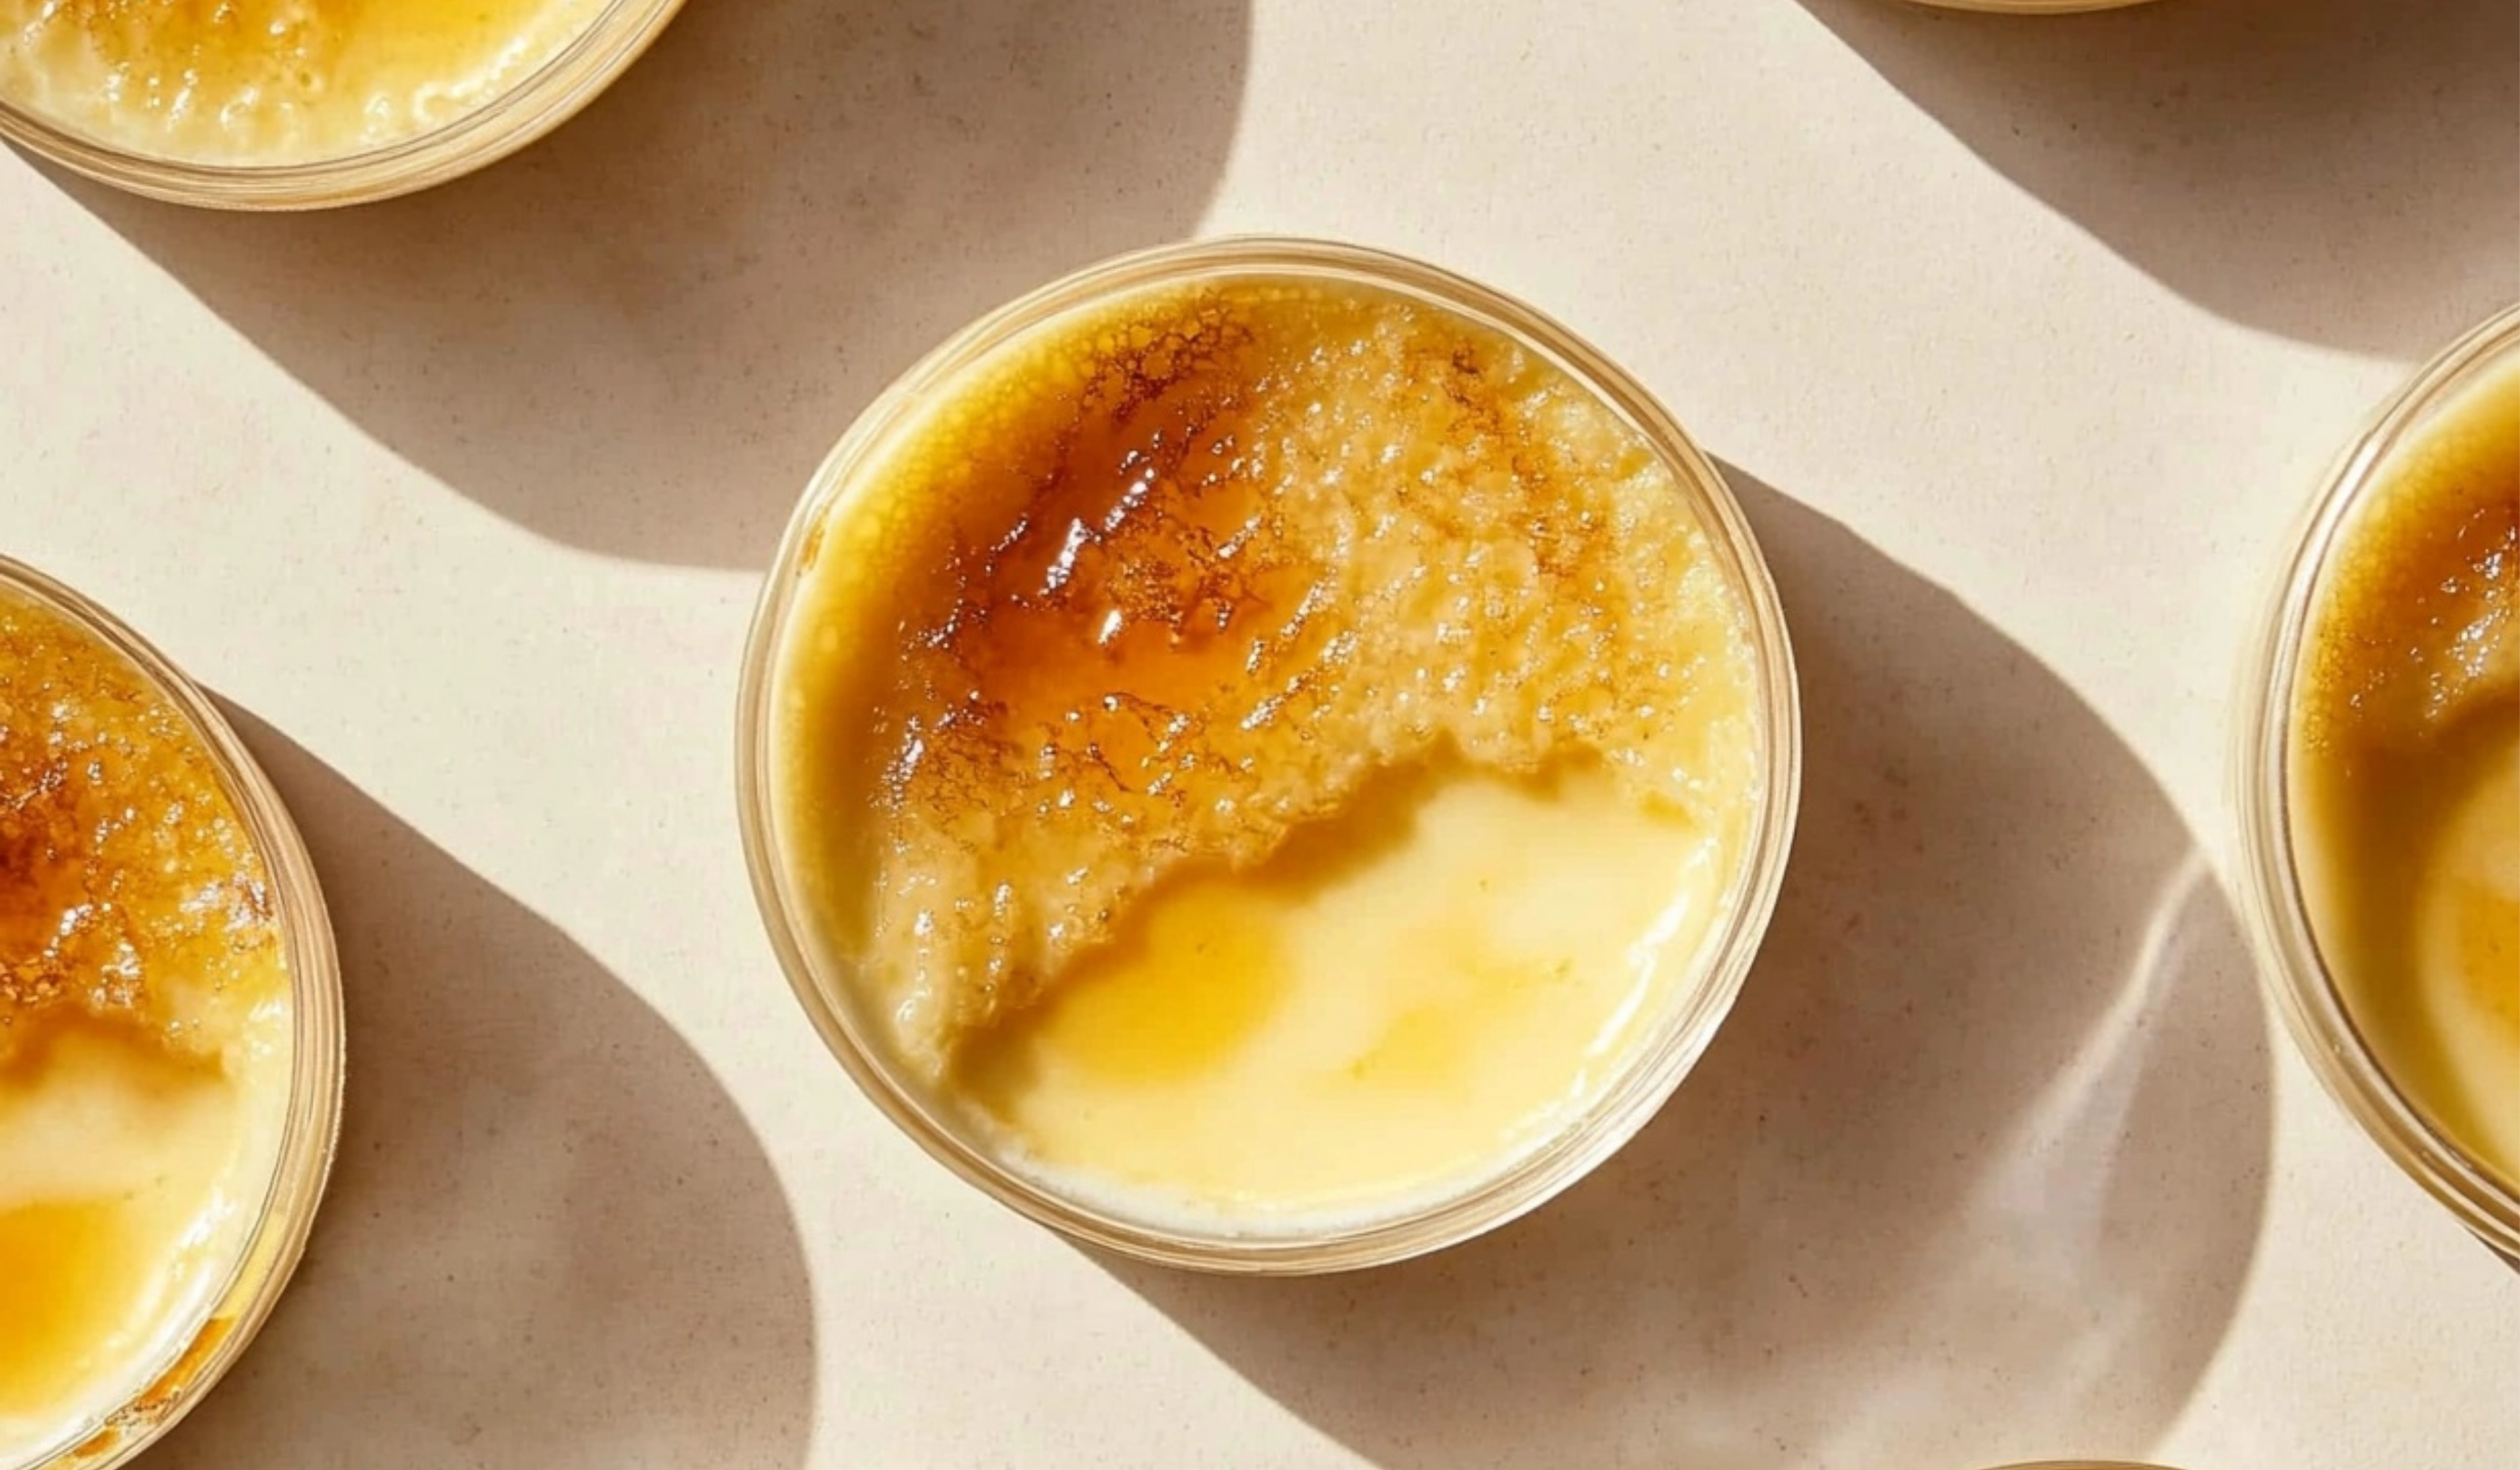
The Beginner’s Guide to Making Classic Vanilla Bean Crème Brûlée
Craving a fancy dessert that’s surprisingly easy to make? Classic Vanilla Bean Crème Brûlée is the perfect choice! With a luxuriously creamy custard base and a crisp caramelized sugar top, this timeless treat is both simple and sophisticated. No stress—just mix, bake, and torch for a golden, crackly finish. Perfect for special occasions or an indulgent night in, this recipe will make you feel like a pro in the kitchen!
#ClassicCremeBrulee #ElegantDesserts #VanillaBeanLove #EasyGourmet #SilkySmoothCustard #BakingMadeSimple #RestaurantQuality #CaramelizedGoodness #HomemadeDelights #DessertLover
- Total Time: 4 hours 50 minutes
- Yield: 4 servings 1x
Ingredients
For the Custard:
- 2 cups heavy cream (or 1 cup heavy cream + 1 cup whole milk for a lighter version)
- ¼ cup granulated sugar
- 1 pinch kosher salt
- 5 large egg yolks (room temperature for easier mixing)
- 1 vanilla bean (or 2 teaspoons pure vanilla extract, or 1 teaspoon vanilla bean paste)
For the Caramelized Sugar Topping:
- ¼ cup granulated sugar (for creating the signature crackly top)
Instructions
1. Preheat and Prepare
- Preheat the oven to 300°F (150°C).
- Arrange 4 ramekins inside a 9×9-inch baking dish.
- Boil water for the water bath, which ensures gentle and even cooking.
2. Warm the Cream
- In a saucepan, combine heavy cream, sugar, and salt over medium heat.
- Stir gently until the sugar dissolves, but do not let the mixture come to a boil.
- Remove from heat.
3. Temper the Eggs
- In a mixing bowl, whisk 5 egg yolks until smooth.
- Slowly add the warm cream to the yolks in small increments, whisking constantly. This prevents the eggs from scrambling.
- Strain the mixture through a fine mesh sieve to remove any cooked bits.
4. Incorporate Vanilla
- Split the vanilla bean lengthwise and scrape out the seeds with a knife.
- Stir the seeds (or vanilla extract) into the custard mixture.
5. Fill the Ramekins and Bake
- Evenly distribute the custard mixture into the ramekins.
- Pour the boiling water into the baking dish, filling it halfway up the sides of the ramekins.
- Bake for 25–35 minutes, until the centers jiggle slightly when shaken but are not liquid.
The custard should not be fully firm when removed from the oven—it will continue to set as it cools.
6. Cool and Chill
- Remove the ramekins from the water bath and let them cool at room temperature for about 30 minutes.
- Refrigerate for at least 4 hours or preferably overnight for the best texture.
Notes
1. Add Sugar
- Sprinkle a thin, even layer of sugar over each chilled custard.
2. Caramelize the Sugar
- Using a kitchen torch: Move the flame in a circular motion until the sugar melts and turns deep amber.
- Using a broiler: Place ramekins under a broiler for 1-2 minutes, watching closely to prevent burning.
- Prep Time: 15 minutes
- Cook Time: 35 minutes
The first time I made crème brûlée, I was intimidated. It seemed like one of those desserts that could go wrong in so many ways. Would the custard set properly? Would the sugar caramelize without burning? Would I end up with scrambled eggs instead of a silky texture? Despite my initial concerns, I discovered that with a few basic techniques and a little patience, homemade crème brûlée is not only achievable but also one of the most rewarding desserts to create.
This guide will break down the process step by step, ensuring that even beginner cooks can confidently prepare this restaurant-quality treat in their own kitchens.
Why This Recipe is Perfect for Beginners
- Minimal Ingredients – Uses only a few simple ingredients, many of which are pantry staples.
- Easy Technique – No special equipment is required beyond a baking dish and some ramekins.
- Customizable – Can be made with vanilla extract instead of vanilla beans, or adjusted to incorporate other flavors.
- Time-Efficient – Most of the process is hands-off while the custard bakes and chills.
- Gluten-Free – Naturally flourless, making it accessible for those with dietary restrictions.
Ingredients and Preparation
What You’ll Need
For the Custard:
- 2 cups heavy cream (or 1 cup heavy cream + 1 cup whole milk for a lighter version)
- ¼ cup granulated sugar
- 1 pinch kosher salt
- 5 large egg yolks (room temperature for easier mixing)
- 1 vanilla bean (or 2 teaspoons pure vanilla extract, or 1 teaspoon vanilla bean paste)
For the Caramelized Sugar Topping:
- ¼ cup granulated sugar (for creating the signature crackly top)
Ingredient Substitutions and Notes
- Vanilla Bean: If a whole vanilla bean is unavailable, vanilla extract or vanilla bean paste will work well.
- Heavy Cream Alternative: A mix of heavy cream and whole milk can be used for a slightly lighter custard.
- Kosher Salt: A pinch of salt enhances the flavor and balances the sweetness.
Step-by-Step Instructions
1. Preheat and Prepare
- Preheat the oven to 300°F (150°C).
- Arrange 4 ramekins inside a 9×9-inch baking dish.
- Boil water for the water bath, which ensures gentle and even cooking.
2. Warm the Cream
- In a saucepan, combine heavy cream, sugar, and salt over medium heat.
- Stir gently until the sugar dissolves, but do not let the mixture come to a boil.
- Remove from heat.
3. Temper the Eggs
- In a mixing bowl, whisk 5 egg yolks until smooth.
- Slowly add the warm cream to the yolks in small increments, whisking constantly. This prevents the eggs from scrambling.
- Strain the mixture through a fine mesh sieve to remove any cooked bits.
4. Incorporate Vanilla
- Split the vanilla bean lengthwise and scrape out the seeds with a knife.
- Stir the seeds (or vanilla extract) into the custard mixture.
5. Fill the Ramekins and Bake
- Evenly distribute the custard mixture into the ramekins.
- Pour the boiling water into the baking dish, filling it halfway up the sides of the ramekins.
- Bake for 25–35 minutes, until the centers jiggle slightly when shaken but are not liquid.
The custard should not be fully firm when removed from the oven—it will continue to set as it cools.
6. Cool and Chill
- Remove the ramekins from the water bath and let them cool at room temperature for about 30 minutes.
- Refrigerate for at least 4 hours or preferably overnight for the best texture.
Creating the Crackly Sugar Topping
1. Add Sugar
- Sprinkle a thin, even layer of sugar over each chilled custard.
2. Caramelize the Sugar
- Using a kitchen torch: Move the flame in a circular motion until the sugar melts and turns deep amber.
- Using a broiler: Place ramekins under a broiler for 1-2 minutes, watching closely to prevent burning.
Beginner Tips and Troubleshooting
How to Tell if the Custard is Cooked Correctly
- The center should wobble slightly but not be liquid when removed from the oven.
- Overbaking will cause the custard to become dense rather than silky.
Preventing Common Mistakes
- Avoid curdled eggs by whisking constantly while slowly adding warm cream.
- Do not skip straining the custard to ensure smooth texture.
- Refrigerate long enough for the custard to set properly before caramelizing the sugar.
No Kitchen Torch?
A broiler works, but keep a close eye on the sugar topping to avoid burning. Placing the ramekins on the top oven rack ensures even caramelization.
Crème Brûlée Not Setting?
If the custard is too soft, ensure it has chilled for at least 4 hours. If it still seems too loose, it may have been underbaked.
Serving Suggestions
While crème brûlée is perfect on its own, it pairs beautifully with:
- Fresh berries such as raspberries or strawberries for added freshness.
- A drizzle of chocolate sauce for a richer dessert.
- Espresso or coffee to complement the creamy texture.
Storage Tips
- Refrigerate: Cover and store for up to 3 days.
- Avoid Freezing: Freezing alters the texture of the custard.
- Caramelize Sugar Just Before Serving: The crisp topping softens in the refrigerator.
Why You Should Try This Recipe Today
Making crème brûlée at home is easier than it looks, and the results are well worth the effort. The combination of creamy, vanilla-infused custard and the crisp, caramelized sugar creates a dessert that feels luxurious yet is surprisingly simple to prepare. With a few key techniques, anyone can achieve a flawless result on their first try.
The best part about making crème brûlée yourself is the ability to customize it. Once you master the classic version, it is easy to experiment with other flavors such as coffee, chocolate, or citrus-infused variations. The process remains the same, making it an excellent foundation for learning fundamental custard-making skills.
Whether serving it at a dinner party or simply treating yourself to something special, crème brûlée never fails to impress. There is something deeply satisfying about cracking into the sugar crust and discovering the silky custard beneath.
Join the Conversation
If you try this recipe, share your experience. Did you use vanilla bean or extract? Did you torch the sugar or broil it? Let me know how it turned out. Cooking is all about learning and experimenting, and I would love to hear your thoughts.