Banana pudding is a dessert that brings back warm childhood memories for many people. It is a comforting, creamy treat that has been a staple at family gatherings, potlucks, and special occasions. The combination of smooth banana pudding, fresh fruit, and a crunchy topping creates a perfect balance of textures and flavors.
Print
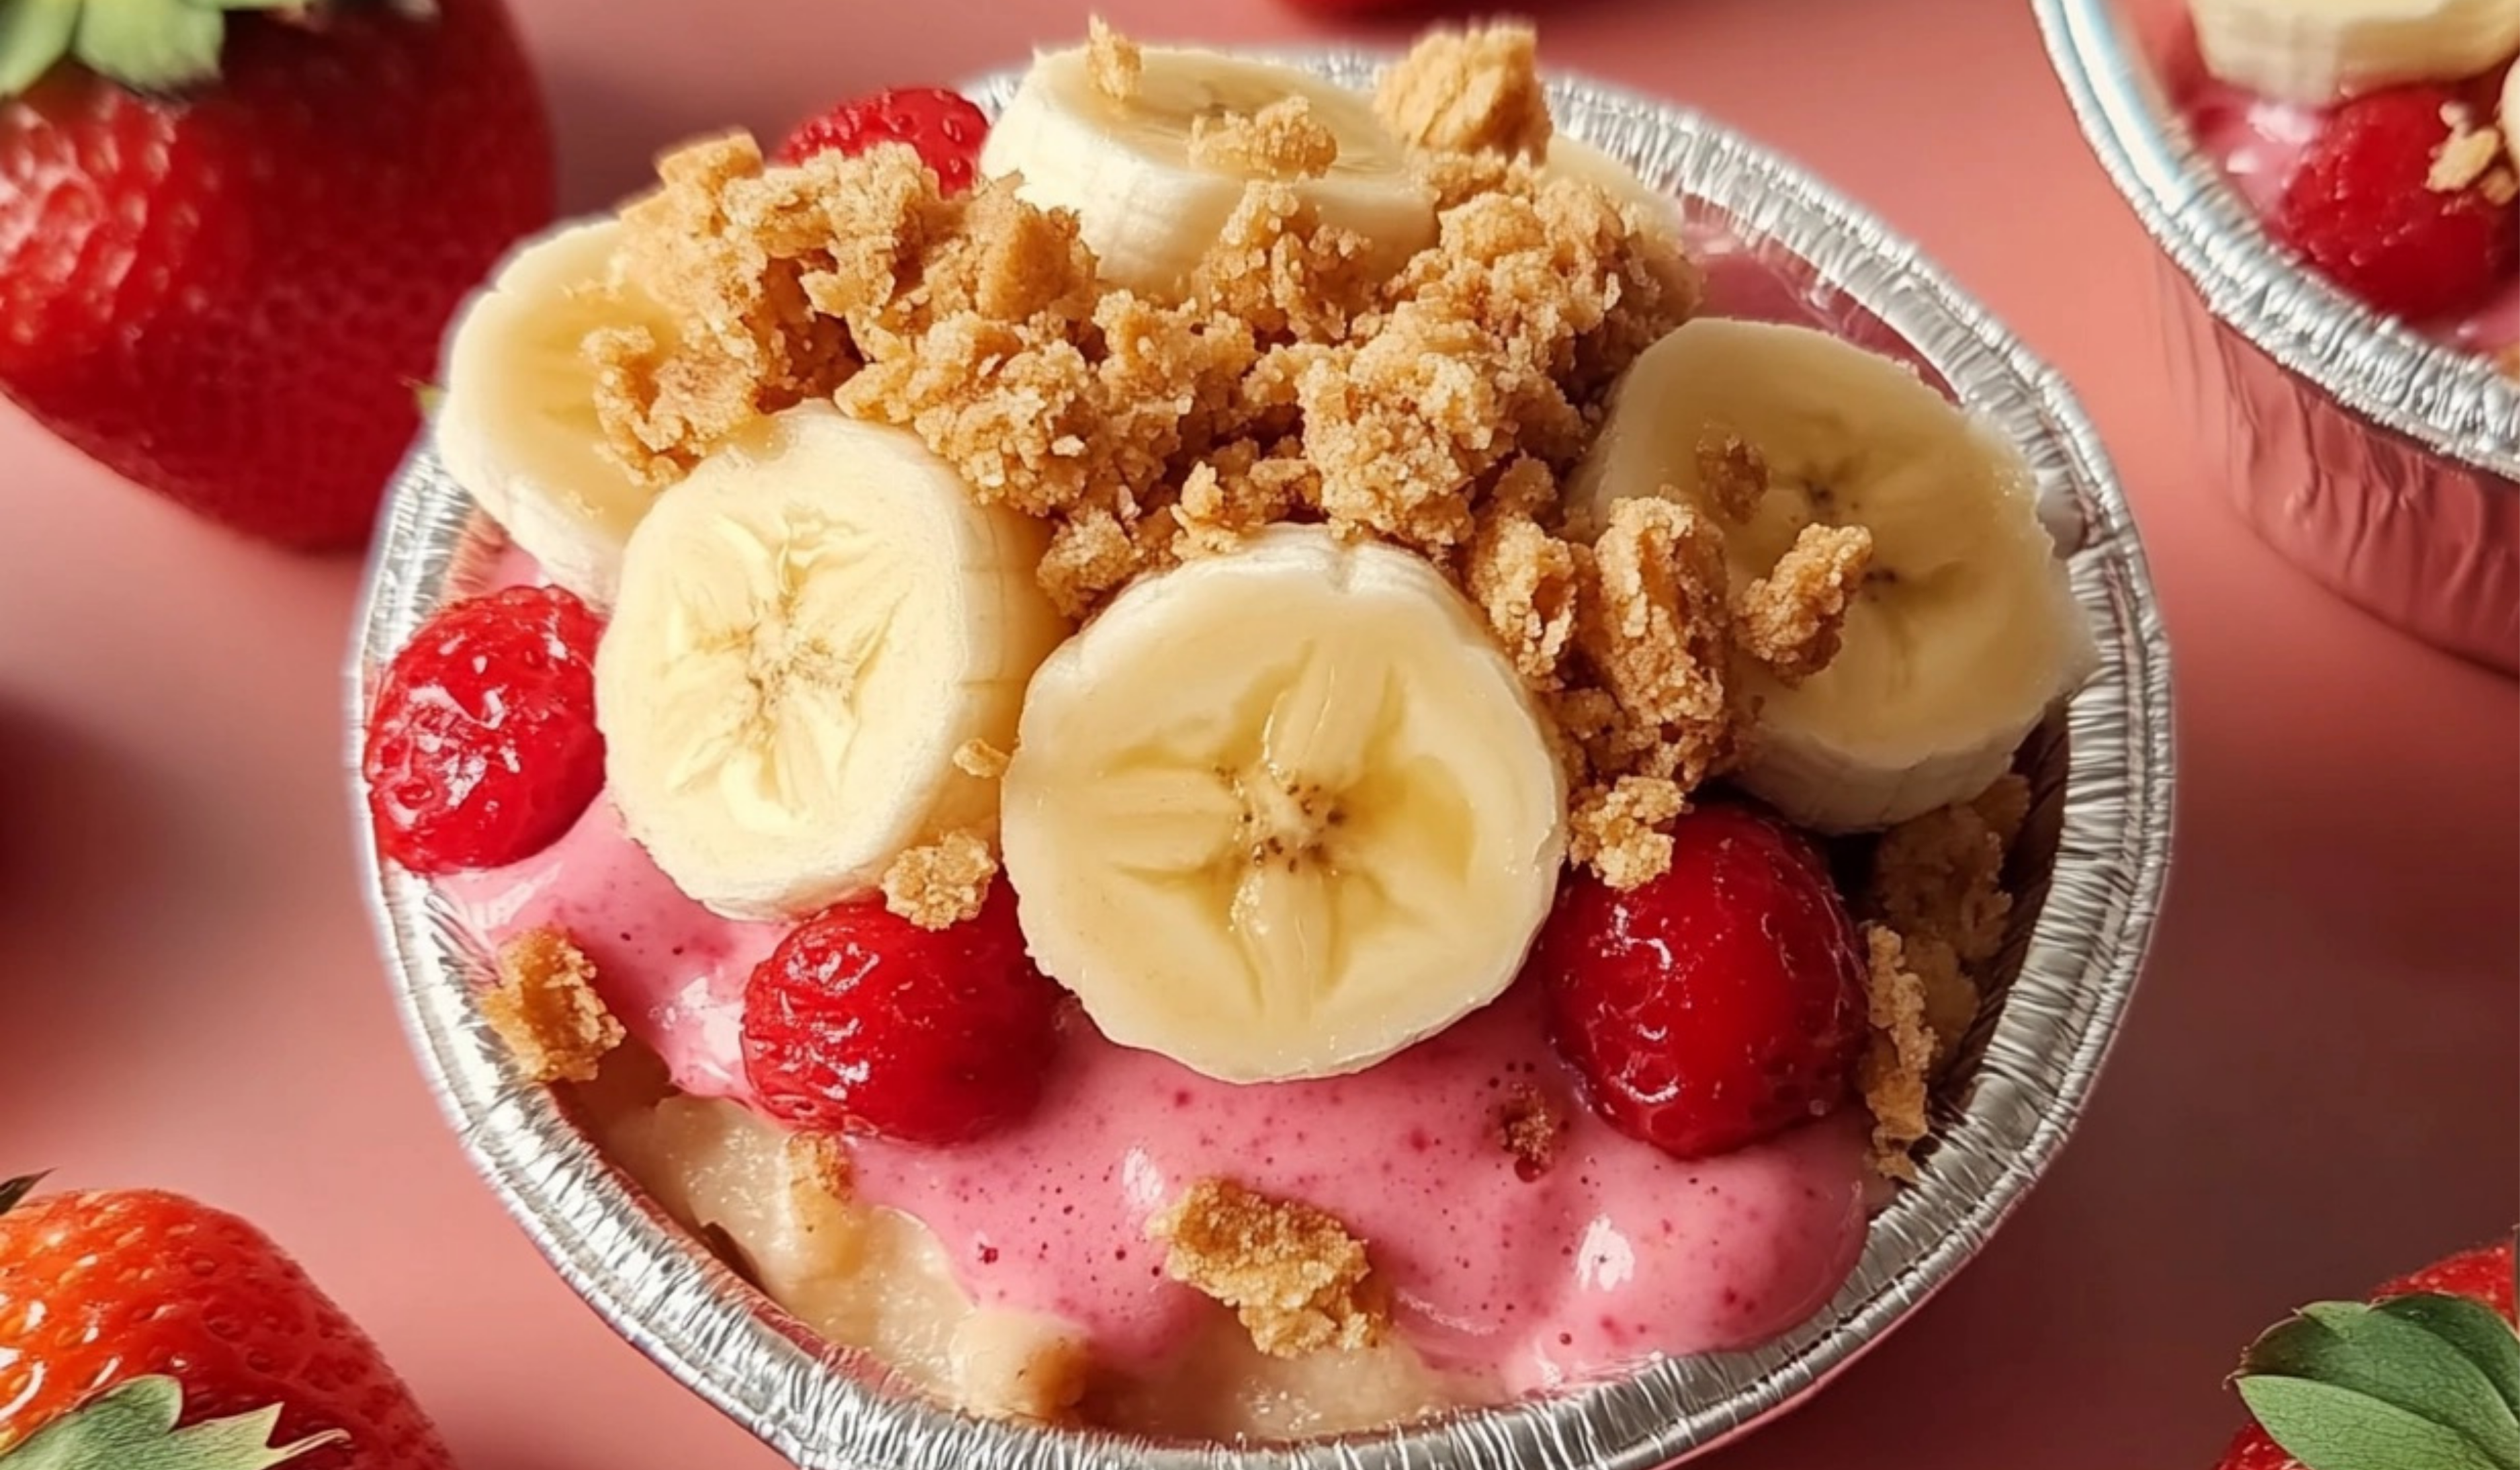
Strawberry Crunch Banana Pudding: A Sweet and Simple Treat for Beginners
This Strawberry Crunch Banana Pudding is the perfect mix of sweet bananas, velvety pudding, and a crispy strawberry crunch topping! Every bite is a delicious blend of creamy and crunchy textures, making it an easy yet irresistible dessert for beginners to master!
- Total Time: 30 minutes
- Yield: 8 servings 1x
Ingredients
For the Banana Pudding:
- 2 cups whole milk
- ½ cup granulated sugar
- ⅓ cup cornstarch
- ¼ teaspoon salt
- 1 teaspoon vanilla extract
- 3 large bananas, sliced
- 1 cup whipped topping (such as Cool Whip)
For the Strawberry Sauce:
- 1 cup fresh or frozen strawberries, chopped
- ¼ cup granulated sugar
- 1 tablespoon lemon juice
For the Crunch Topping:
- 1 cup crushed vanilla wafers or graham crackers
- ¼ cup unsalted butter, melted
- ¼ cup brown sugar
- ½ cup crushed strawberries (optional, for added flavor)
Instructions
Step 1: Prepare the Banana Pudding
- In a medium saucepan, whisk together the milk, granulated sugar, cornstarch, and salt.
- Place the saucepan over medium heat and cook while stirring constantly. The mixture will gradually thicken. This should take about 5-7 minutes.
- Once the mixture thickens and starts to bubble, remove it from the heat. Stir in the vanilla extract.
- Allow the pudding to cool for about 15 minutes. It will continue to thicken as it cools.
- Once cooled, gently fold in the sliced bananas.
- Finally, fold in the whipped topping until everything is well combined. Set aside.
Step 2: Prepare the Strawberry Sauce
- In a small saucepan, combine the chopped strawberries, granulated sugar, and lemon juice.
- Cook over medium heat, stirring frequently, for about 5-7 minutes. The strawberries should break down, and the sauce should slightly thicken.
- Remove from heat and allow to cool. If a smoother consistency is desired, the sauce can be blended or mashed.
Step 3: Prepare the Crunch Topping
- In a small bowl, mix together the crushed vanilla wafers or graham crackers, melted butter, brown sugar, and crushed strawberries (if using).
- Stir until the ingredients are well combined and have a crumbly texture.
- Set aside until ready to assemble the dessert.
Step 4: Assemble the Dessert
- In a trifle dish, glass bowl, or individual serving cups, begin by layering half of the banana pudding mixture at the bottom.
- Spoon a layer of strawberry sauce over the pudding.
- Repeat with another layer of banana pudding, followed by another layer of strawberry sauce.
- Generously sprinkle the crunch topping over the top.
- Cover and refrigerate the dessert for at least 1-2 hours before serving. This allows the flavors to meld together and enhances the overall texture.
Notes
How to Tell if the Pudding is Ready
- The pudding should coat the back of a spoon and not run off immediately.
- If the pudding looks lumpy, continue whisking until smooth. If necessary, strain it through a fine-mesh sieve.
Preventing Soggy Crunch Topping
- The crunch topping is best added just before serving to maintain its crispness.
- If preparing ahead of time, store the topping separately in an airtight container and sprinkle it on when ready to serve.
Storage and Leftovers
- This dessert can be stored in the refrigerator for up to three days. Keep it covered to prevent the flavors from absorbing any other food odors.
- If making ahead, wait to add the crunch topping until just before serving.
- Freezing is not recommended as the texture of the pudding and bananas will change.
- Prep Time: 15 minutes
- Cook Time: 15 minutes
This recipe takes traditional banana pudding to the next level by incorporating a homemade strawberry sauce and a crisp, buttery crunch topping. The result is a dessert that is both visually appealing and deliciously satisfying. If you are new to cooking or baking, this recipe is an excellent place to start. It requires only a few basic techniques, and the steps are easy to follow.
One of the great advantages of this recipe is its versatility. It can be prepared ahead of time, making it a convenient option for entertaining guests. It also allows for ingredient substitutions based on personal preferences or dietary needs. Whether you are making this for a family dessert, a celebration, or simply to treat yourself, this Strawberry Crunch Banana Pudding is sure to impress.
Why This Recipe is Perfect for Beginners
For those new to the kitchen, desserts can sometimes feel intimidating. However, this recipe is designed to be approachable and foolproof. Here are a few reasons why this is a great choice for beginner cooks:
- Simple Ingredients – Most of the ingredients are pantry staples or easy to find at any grocery store.
- Basic Cooking Techniques – The pudding and strawberry sauce require only gentle heating and stirring.
- No Baking Required – Unlike traditional baked desserts, this pudding comes together on the stovetop and in the refrigerator.
- Make-Ahead Convenience – The pudding tastes even better after sitting in the refrigerator, making it perfect for preparing in advance.
- Customizable – Ingredient swaps and adjustments are easy to make based on personal preference.
This dessert also provides a great introduction to essential cooking skills, such as making a simple custard, preparing a fruit sauce, and assembling a layered dish.
Ingredients and Preparation
For the Banana Pudding:
- 2 cups whole milk
- ½ cup granulated sugar
- ⅓ cup cornstarch
- ¼ teaspoon salt
- 1 teaspoon vanilla extract
- 3 large bananas, sliced
- 1 cup whipped topping (such as Cool Whip)
For the Strawberry Sauce:
- 1 cup fresh or frozen strawberries, chopped
- ¼ cup granulated sugar
- 1 tablespoon lemon juice
For the Crunch Topping:
- 1 cup crushed vanilla wafers or graham crackers
- ¼ cup unsalted butter, melted
- ¼ cup brown sugar
- ½ cup crushed strawberries (optional, for added flavor)
Ingredient Substitutions and Variations:
- Dairy-Free Option: Substitute whole milk with almond milk, oat milk, or coconut milk. Use a dairy-free whipped topping.
- Lower Sugar Option: Reduce the sugar or use a natural sweetener such as honey or maple syrup.
- Alternative Fruits: If strawberries are not available, raspberries, blueberries, or a mix of berries can be used.
- Crunch Topping Variations: Instead of vanilla wafers or graham crackers, try using crushed granola, cornflakes, or toasted nuts for a different texture.
Step-by-Step Instructions
Step 1: Prepare the Banana Pudding
- In a medium saucepan, whisk together the milk, granulated sugar, cornstarch, and salt.
- Place the saucepan over medium heat and cook while stirring constantly. The mixture will gradually thicken. This should take about 5-7 minutes.
- Once the mixture thickens and starts to bubble, remove it from the heat. Stir in the vanilla extract.
- Allow the pudding to cool for about 15 minutes. It will continue to thicken as it cools.
- Once cooled, gently fold in the sliced bananas.
- Finally, fold in the whipped topping until everything is well combined. Set aside.
Step 2: Prepare the Strawberry Sauce
- In a small saucepan, combine the chopped strawberries, granulated sugar, and lemon juice.
- Cook over medium heat, stirring frequently, for about 5-7 minutes. The strawberries should break down, and the sauce should slightly thicken.
- Remove from heat and allow to cool. If a smoother consistency is desired, the sauce can be blended or mashed.
Step 3: Prepare the Crunch Topping
- In a small bowl, mix together the crushed vanilla wafers or graham crackers, melted butter, brown sugar, and crushed strawberries (if using).
- Stir until the ingredients are well combined and have a crumbly texture.
- Set aside until ready to assemble the dessert.
Step 4: Assemble the Dessert
- In a trifle dish, glass bowl, or individual serving cups, begin by layering half of the banana pudding mixture at the bottom.
- Spoon a layer of strawberry sauce over the pudding.
- Repeat with another layer of banana pudding, followed by another layer of strawberry sauce.
- Generously sprinkle the crunch topping over the top.
- Cover and refrigerate the dessert for at least 1-2 hours before serving. This allows the flavors to meld together and enhances the overall texture.
Beginner Tips and Notes
How to Tell if the Pudding is Ready
- The pudding should coat the back of a spoon and not run off immediately.
- If the pudding looks lumpy, continue whisking until smooth. If necessary, strain it through a fine-mesh sieve.
Preventing Soggy Crunch Topping
- The crunch topping is best added just before serving to maintain its crispness.
- If preparing ahead of time, store the topping separately in an airtight container and sprinkle it on when ready to serve.
Storage and Leftovers
- This dessert can be stored in the refrigerator for up to three days. Keep it covered to prevent the flavors from absorbing any other food odors.
- If making ahead, wait to add the crunch topping until just before serving.
- Freezing is not recommended as the texture of the pudding and bananas will change.

Serving Suggestions
This Strawberry Crunch Banana Pudding is a complete dessert on its own, but it can be paired with other treats for an even more delightful experience:
- With Whipped Cream: Add a dollop of freshly whipped cream on top for extra richness.
- With Ice Cream: Serve with a scoop of vanilla or strawberry ice cream for a cool contrast.
- With Fresh Berries: Garnish with extra sliced strawberries or mixed berries for a fresh finish.
For an elegant presentation, serve the pudding in clear dessert cups or glasses to showcase the beautiful layers. This makes it perfect for parties, celebrations, or special occasions.
Conclusion
This Strawberry Crunch Banana Pudding is a simple yet impressive dessert that anyone can make. The combination of creamy banana pudding, sweet and tangy strawberry sauce, and crunchy topping creates a delicious harmony of flavors and textures. It is the perfect dessert for beginner cooks, requiring only a few basic cooking techniques and no complicated steps.
If you are looking for a crowd-pleasing dessert that is easy to prepare, this recipe is a great choice. It can be customized based on available ingredients, made ahead of time for convenience, and served in various ways to suit any occasion.
Now it’s your turn to try this recipe. Have fun experimenting with different variations, and do not hesitate to share your experience. What was your favorite part? Did you make any unique adjustments? Let us know in the comments. Happy cooking!