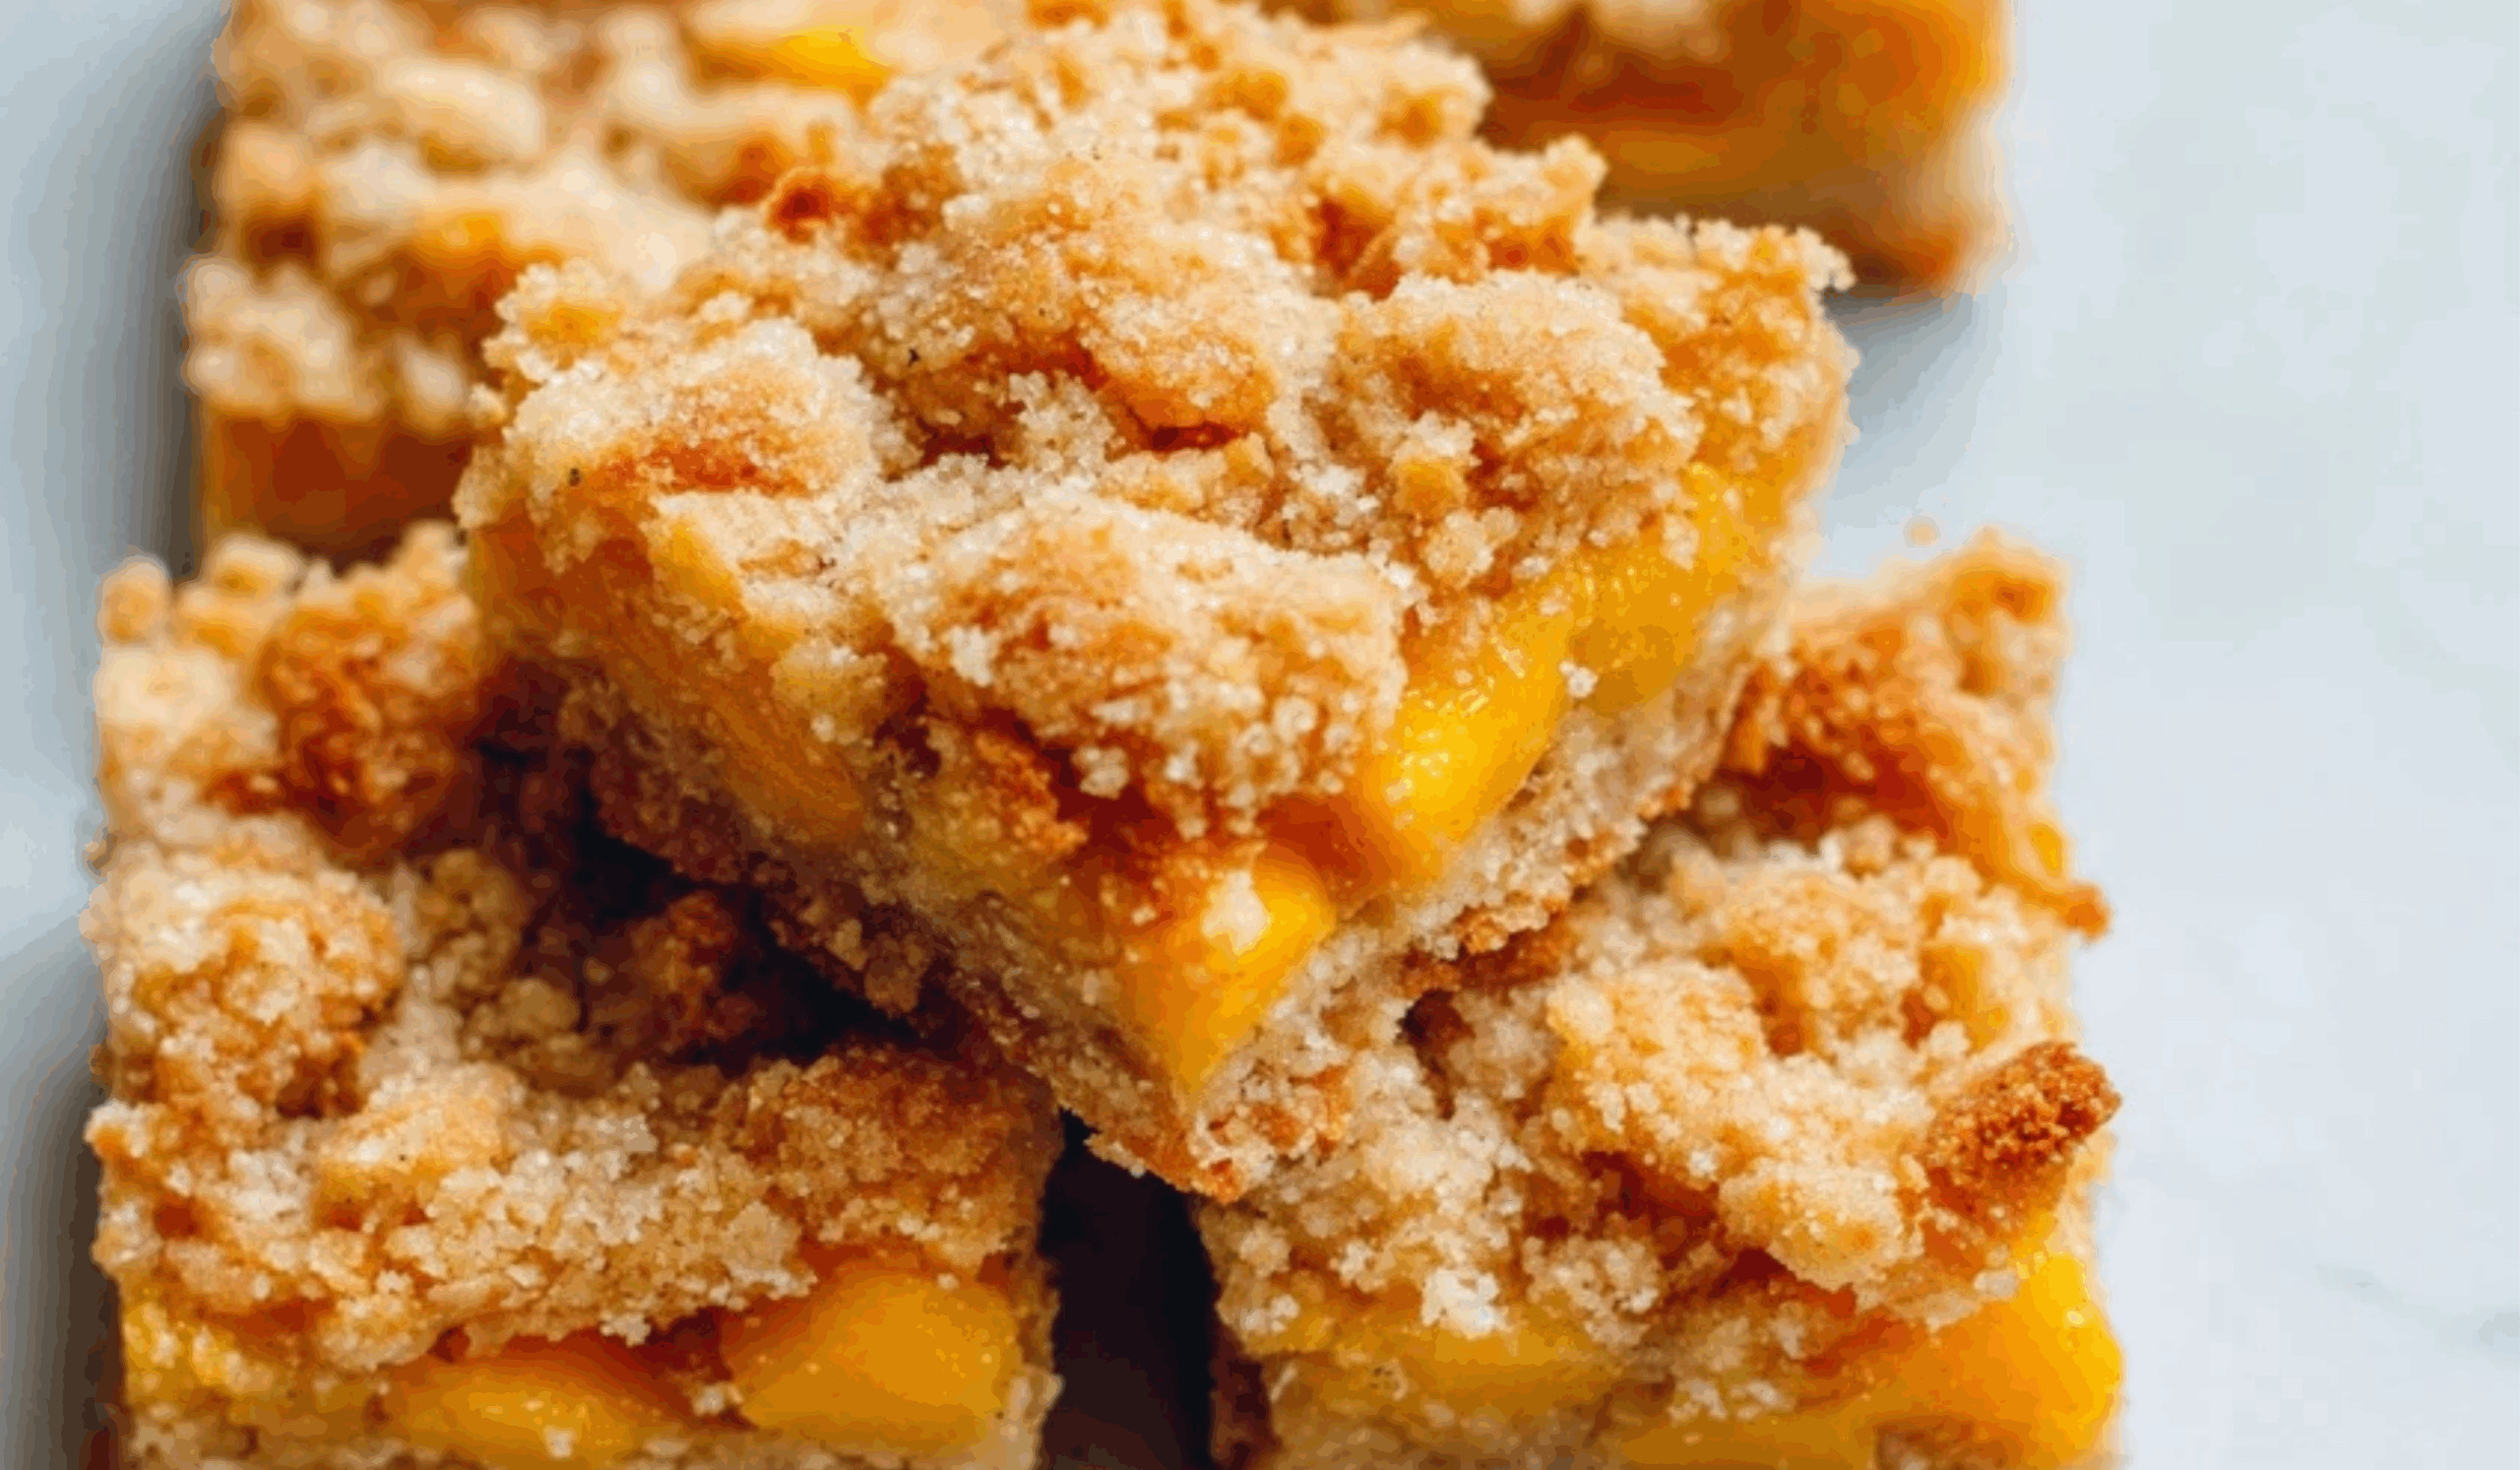
Mango Oatmeal Crumble Bars are the kind of dessert that offers both comfort and brightness in every bite. With a chewy oat base and a juicy mango filling, these bars bring a tropical flair to traditional fruit bars. The best part? You only need basic pantry ingredients, one bowl, and a simple mixing spoon—no mixer required.
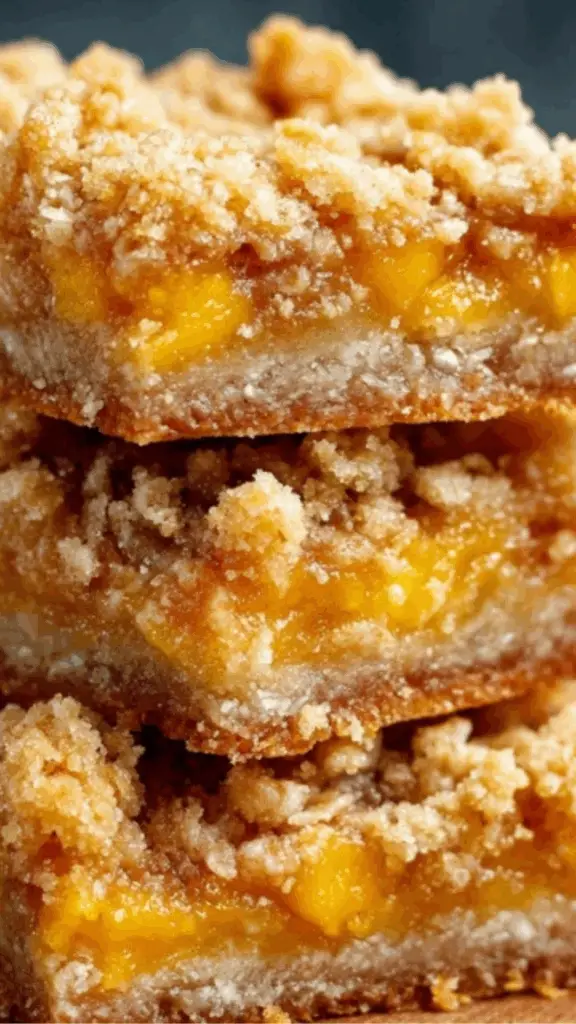
Whether you’re new to baking or just want a quick dessert to bring to a potluck or serve at brunch, these bars deliver a satisfying blend of textures and flavors. The crust doubles as the crumble topping, which simplifies the process and keeps everything buttery and cohesive. If you’re someone who enjoys a dessert that’s sweet but not overly rich, this one’s for you.
These bars also make a great make-ahead option, as they firm up even more overnight. With their golden oat topping and soft mango center, they’re the perfect combination of hearty and fruity. From casual gatherings to morning coffee pairings, these crumble bars are versatile enough for any occasion.
Ingredients and Preparation
Dry Crumble and Crust Base
- ½ cup (113g) unsalted butter, melted
- 1 cup (125g) all-purpose flour
- ¾ cup (60g) old-fashioned rolled oats
- ½ cup (100g) granulated sugar
- ¼ cup (55g) light brown sugar, packed
- ½ teaspoon salt
Mango Filling
- 2 cups chopped fresh ripe mango (or thawed frozen mango, drained well)
- ⅓ cup (67g) granulated sugar
- 2 tablespoons freshly squeezed lemon juice
- 2 teaspoons cornstarch
Preparation Tips
- Use ripe mangoes that are sweet and fragrant. Ataulfo or Kent varieties work best.
- If using frozen mango, ensure it’s fully thawed and drained to avoid excess liquid.
- Always line your baking pan with parchment paper or foil to lift the bars easily after baking.
- Press the crust firmly to form a solid base before adding the filling.
Step-by-Step Instructions
1. Preheat the Oven and Prepare the Pan
- Preheat your oven to 350°F (175°C).
- Line an 8×8-inch baking pan with parchment paper or foil. Leave an overhang for easy lifting later.
- Lightly grease the lining with butter or cooking spray.
2. Make the Oatmeal Crust and Crumble
- In a large mixing bowl, combine the following:
- Melted butter
- All-purpose flour
- Rolled oats
- Granulated sugar
- Brown sugar
- Salt
- Mix with a spoon or spatula until the mixture becomes crumbly and resembles wet sand with some clumps.
- Set aside 1 cup of the mixture to use as the crumble topping later.
3. Press the Crust Layer
- Pour the remaining oat mixture into the prepared pan.
- Press it down evenly and firmly using your fingers or the flat bottom of a measuring cup.
- Make sure the crust reaches the edges and is well-compacted.
4. Prepare the Mango Filling
- In a medium bowl, toss together the chopped mango with:
- Granulated sugar
- Lemon juice
- Cornstarch
- Stir gently until the fruit is evenly coated and the cornstarch is dissolved.
- The lemon juice brightens the flavor and helps balance the sweetness.
5. Add the Mango Layer
- Spread the mango filling evenly over the crust layer.
- Make sure to distribute the chunks well so that each bite has mango flavor.
6. Add the Crumble Topping
- Sprinkle the reserved 1 cup of oat mixture over the mango layer.
- Distribute it evenly but don’t press it down—this layer should stay crumbly.
- Allow small gaps where the mango can peek through.
7. Bake the Bars
- Place the pan in the oven and bake for 28 to 32 minutes, or until:
- The top crumble is golden brown
- The mango filling is bubbling slightly at the edges
- Remove the pan from the oven and let it cool on a wire rack for at least 1 hour.
8. Cool and Slice
- For best results, refrigerate the pan for another 30–60 minutes before slicing.
- Use the parchment overhang to lift the bars out of the pan.
- Slice into 9 squares (or 12 smaller ones, depending on your preference).
Beginner Tips and Notes
- Mango Choice: Fresh mango is preferred for optimal flavor and texture, but high-quality frozen mango can also work when drained thoroughly.
- Crust Pressure: Pressing the crust tightly ensures it holds together after baking. Don’t skip this step.
- Cooling Time: Let the bars cool fully before slicing, or they may fall apart. They firm up more after chilling.
- Storage Tips:
- Store at room temperature in an airtight container for up to 2 days.
- Refrigerate for up to 5 days.
- Freeze for up to 2 months. Thaw in the fridge or at room temp.
- Texture Boost: Add ¼ cup chopped walnuts or almonds to the topping for added crunch.
Serving Suggestions
- As a Morning Snack: These bars pair perfectly with a cup of coffee or black tea.
- With Dessert: Serve slightly warm with a scoop of vanilla ice cream or whipped cream for an easy, satisfying dessert.
- On the Go: Wrap bars individually in parchment paper for picnics, school snacks, or packed lunches.
- For Brunch: Offer alongside yogurt, granola, and fresh fruit for a build-your-own parfait station.
- Tropical Plating: Add a drizzle of coconut cream or passionfruit syrup for a resort-style twist.
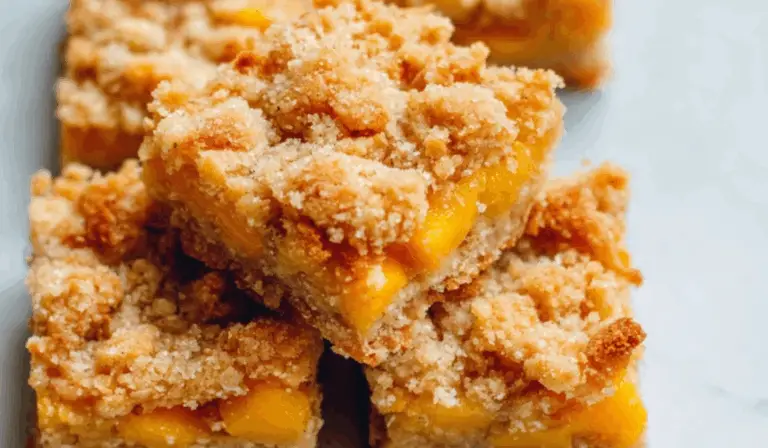
Soft Mango Oatmeal Crumble Bars: A Tropical Treat with a Buttery Twist
Buttery, fruity, and oh-so-tropical! 🥭🍪 These Soft Mango Oatmeal Crumble Bars are layered with sweet mango filling and a golden oat crumble that’s crisp on top and tender underneath. 🌞💛 Perfect for breakfast, dessert, or a sunny snack, they bring island vibes to every bite!
- Total Time: 45 minutes
- Yield: 9 bars 1x
Ingredients
Dry Crumble and Crust Base
- ½ cup (113g) unsalted butter, melted
- 1 cup (125g) all-purpose flour
- ¾ cup (60g) old-fashioned rolled oats
- ½ cup (100g) granulated sugar
- ¼ cup (55g) light brown sugar, packed
- ½ teaspoon salt
Mango Filling
- 2 cups chopped fresh ripe mango (or thawed frozen mango, drained well)
- ⅓ cup (67g) granulated sugar
- 2 tablespoons freshly squeezed lemon juice
- 2 teaspoons cornstarch
Preparation Tips
- Use ripe mangoes that are sweet and fragrant. Ataulfo or Kent varieties work best.
- If using frozen mango, ensure it’s fully thawed and drained to avoid excess liquid.
- Always line your baking pan with parchment paper or foil to lift the bars easily after baking.
- Press the crust firmly to form a solid base before adding the filling.
Instructions
1. Preheat the Oven and Prepare the Pan
- Preheat your oven to 350°F (175°C).
- Line an 8×8-inch baking pan with parchment paper or foil. Leave an overhang for easy lifting later.
- Lightly grease the lining with butter or cooking spray.
2. Make the Oatmeal Crust and Crumble
- In a large mixing bowl, combine the following:
- Melted butter
- All-purpose flour
- Rolled oats
- Granulated sugar
- Brown sugar
- Salt
- Mix with a spoon or spatula until the mixture becomes crumbly and resembles wet sand with some clumps.
- Set aside 1 cup of the mixture to use as the crumble topping later.
3. Press the Crust Layer
- Pour the remaining oat mixture into the prepared pan.
- Press it down evenly and firmly using your fingers or the flat bottom of a measuring cup.
- Make sure the crust reaches the edges and is well-compacted.
4. Prepare the Mango Filling
- In a medium bowl, toss together the chopped mango with:
- Granulated sugar
- Lemon juice
- Cornstarch
- Stir gently until the fruit is evenly coated and the cornstarch is dissolved.
- The lemon juice brightens the flavor and helps balance the sweetness.
5. Add the Mango Layer
- Spread the mango filling evenly over the crust layer.
- Make sure to distribute the chunks well so that each bite has mango flavor.
6. Add the Crumble Topping
- Sprinkle the reserved 1 cup of oat mixture over the mango layer.
- Distribute it evenly but don’t press it down—this layer should stay crumbly.
- Allow small gaps where the mango can peek through.
7. Bake the Bars
- Place the pan in the oven and bake for 28 to 32 minutes, or until:
- The top crumble is golden brown
- The mango filling is bubbling slightly at the edges
- Remove the pan from the oven and let it cool on a wire rack for at least 1 hour.
8. Cool and Slice
- For best results, refrigerate the pan for another 30–60 minutes before slicing.
- Use the parchment overhang to lift the bars out of the pan.
- Slice into 9 squares (or 12 smaller ones, depending on your preference).
Notes
- Mango Choice: Fresh mango is preferred for optimal flavor and texture, but high-quality frozen mango can also work when drained thoroughly.
- Crust Pressure: Pressing the crust tightly ensures it holds together after baking. Don’t skip this step.
- Cooling Time: Let the bars cool fully before slicing, or they may fall apart. They firm up more after chilling.
- Storage Tips:
- Store at room temperature in an airtight container for up to 2 days.
- Refrigerate for up to 5 days.
- Freeze for up to 2 months. Thaw in the fridge or at room temp.
- Texture Boost: Add ¼ cup chopped walnuts or almonds to the topping for added crunch.
- Prep Time: 15 minutes
- Cook Time: 30 minutes
Engagement Features
- Try This Twist: Swap the mango with a mix of berries or peaches for a seasonal variation.
- Your Flavor Upgrade: Add a pinch of cinnamon or ginger to the mango filling for extra warmth.
- Want More Crunch?: Mix shredded coconut or chopped pecans into the crumble topping.
- For a Crowd: Double the recipe and bake in a 9×13-inch pan. Add 5–10 extra minutes to the baking time.
- Get Involved: What other fruits would you try in this recipe? Pineapple, papaya, or maybe a tropical medley? Share your ideas or photos with friends and family.
- Prep Ahead: Make a batch and freeze individual bars for a ready-to-go treat anytime.