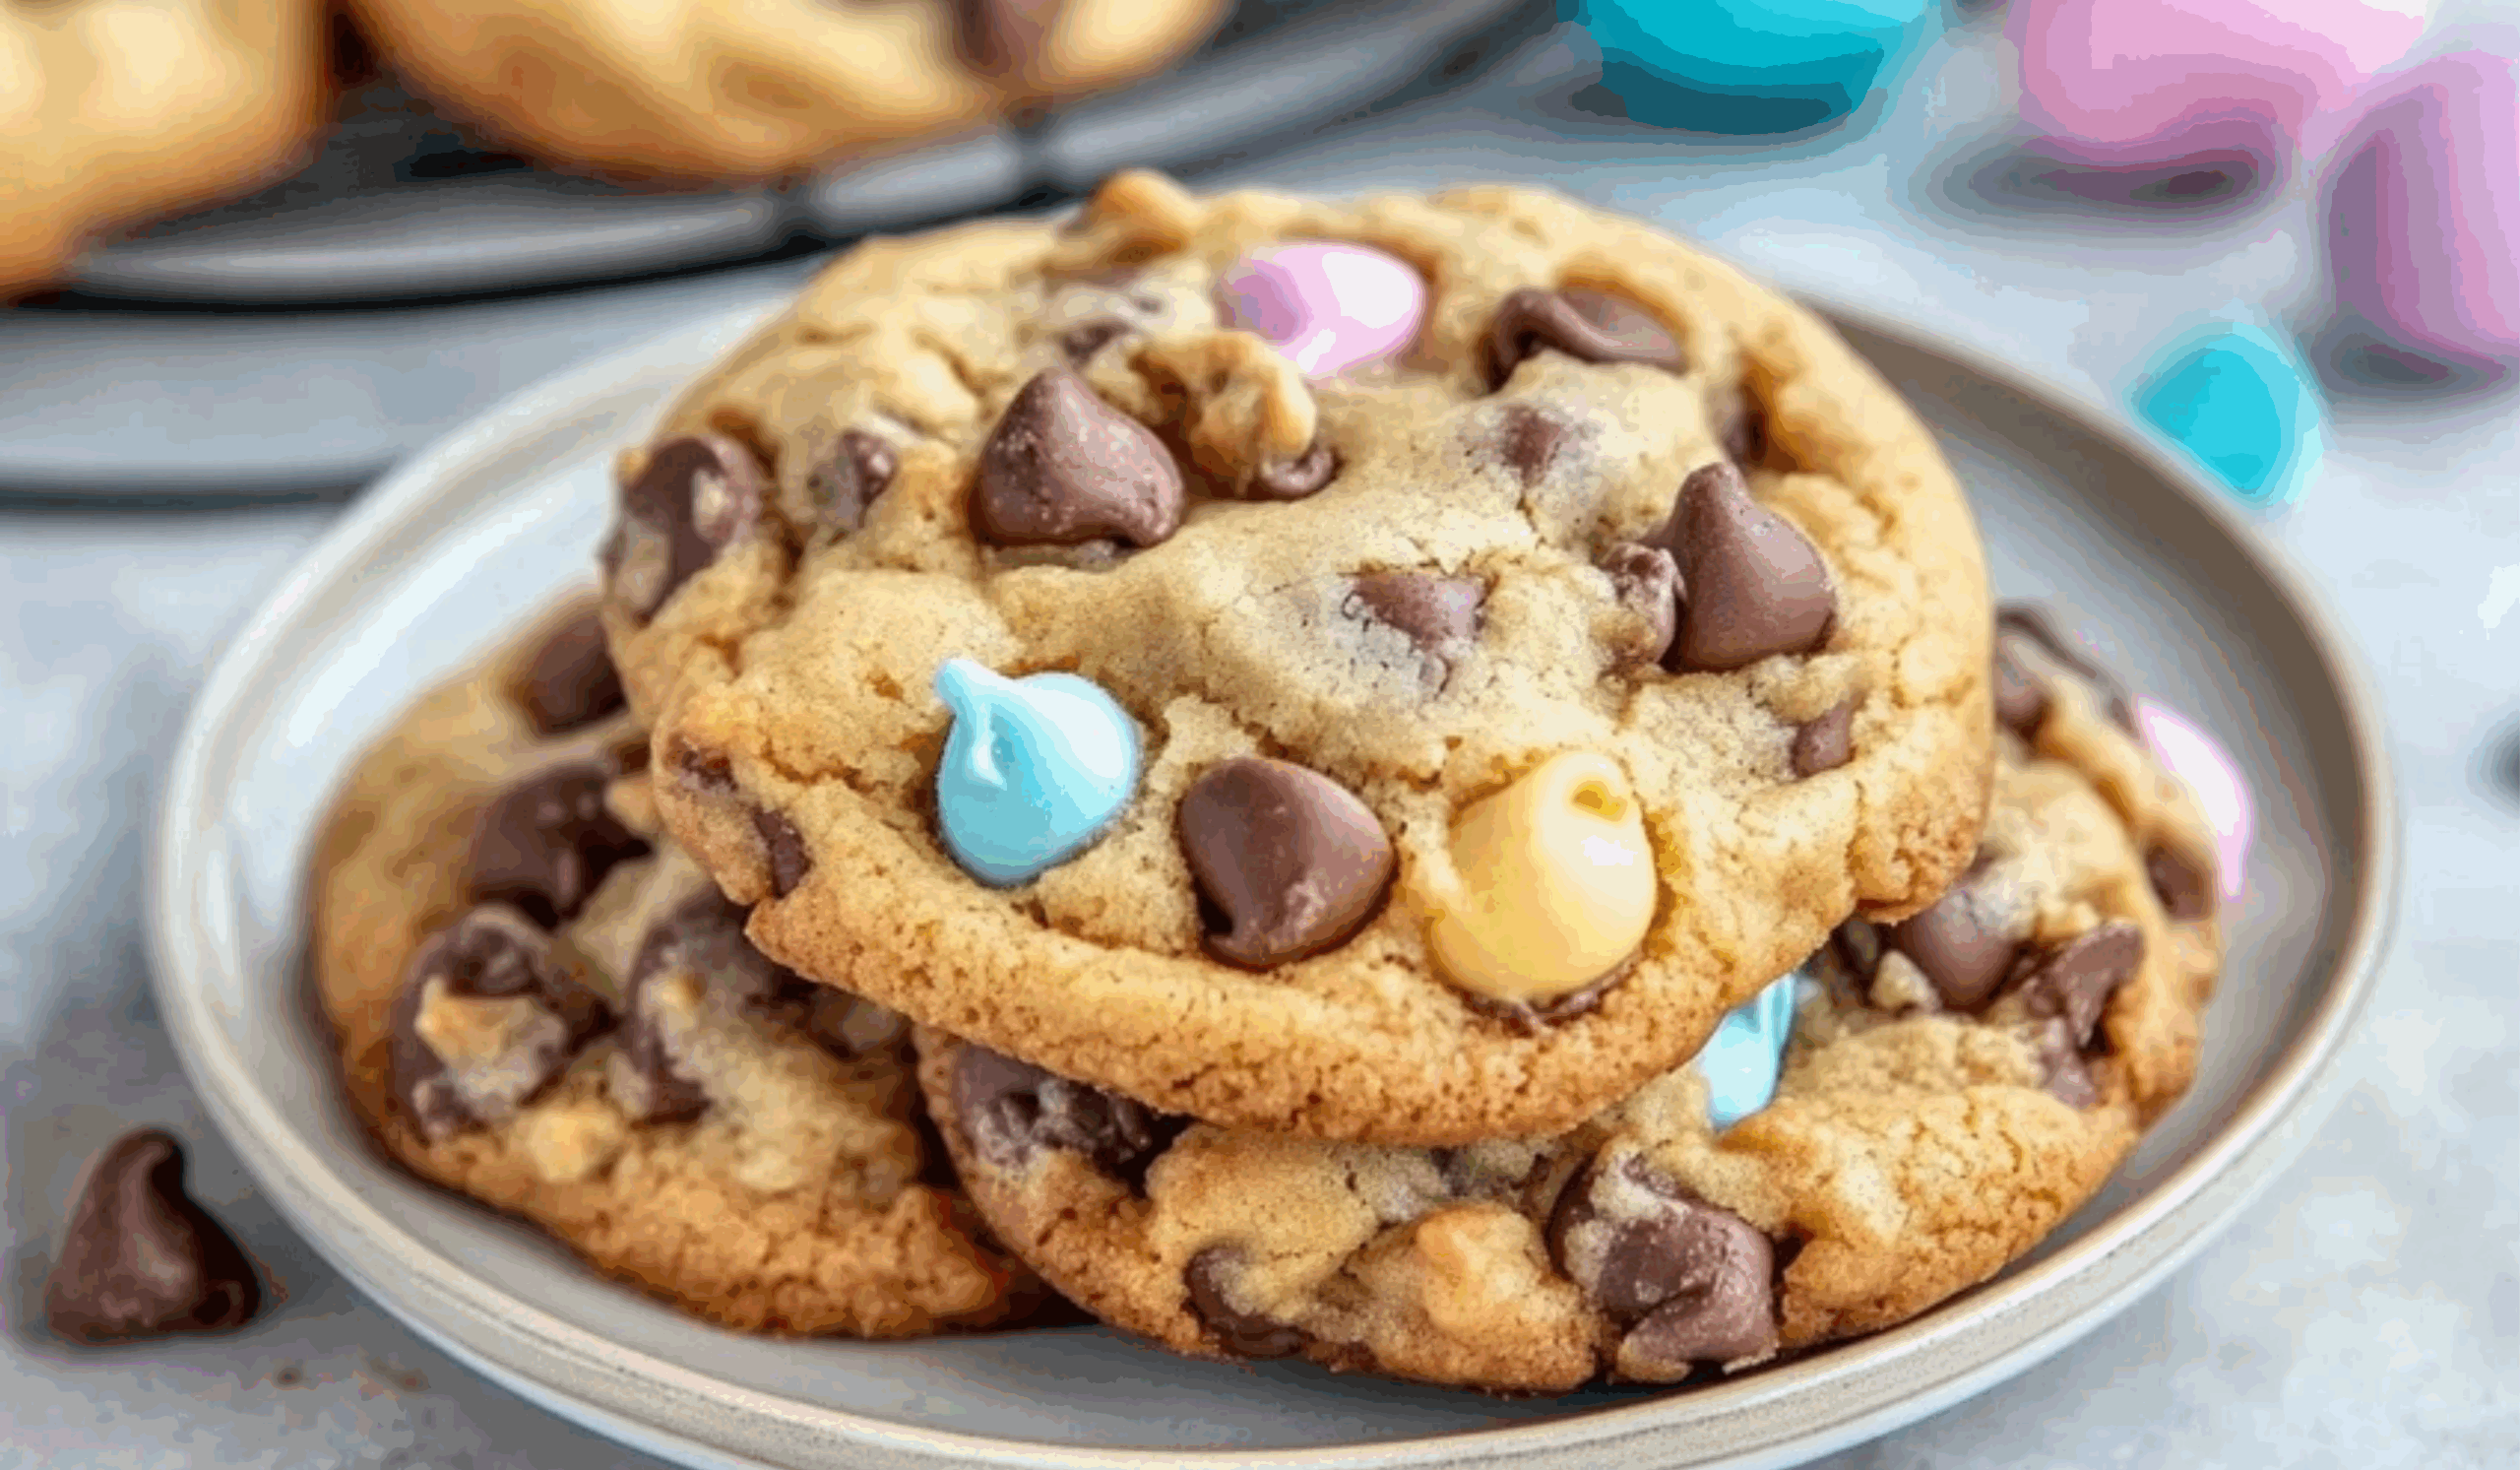
There’s nothing quite like the smell of fresh-baked cookies wafting through your home, especially when those cookies are golden, gooey, and packed with rich chocolate and colorful candy-coated pieces. These chewy chocolate chip cookies with festive candies are not just another dessert—they’re an all-season staple that can be tailored to any holiday or celebration with a simple swap of candy colors.
What makes this recipe stand out isn’t just its adaptability—it’s the balance between soft centers and lightly crisped edges. Thanks to the combination of butter, brown sugar, and a touch of cornstarch, the result is a bakery-style cookie with that melt-in-your-mouth chew people love.
Perfect for Easter baskets, holiday parties, or as a weekend baking project with kids, this cookie recipe checks all the boxes: simple ingredients, easy technique, and flawless results every time.
Ingredients and Preparation
Dry Ingredients
- 2½ cups all-purpose flour, spooned and leveled
- 2 teaspoons cornstarch (helps maintain softness)
- 1 teaspoon baking soda
- ½ teaspoon salt
Wet Ingredients
- ¾ cup unsalted butter, softened
- 1 cup packed light brown sugar
- ½ cup granulated sugar
- 1 large egg
- 1 tablespoon pure vanilla extract
Mix-ins
- 1 cup semi-sweet chocolate chips
- 1 cup colorful candy-coated chocolates (e.g., M&M’s)
Optional Flavor Variations
- ½ cup chopped pecans or walnuts for crunch
- ½ teaspoon almond extract for a nutty aroma
- ½ cup white chocolate chips for a color contrast
Note: Choose candy colors to suit the season—pastels for spring, red and green for Christmas, orange and black for Halloween, or team colors for special events.
Step-by-Step Instructions
1. Mix Dry Ingredients
- In a medium bowl, whisk together the flour, cornstarch, baking soda, and salt.
- Set aside while you prepare the wet ingredients.
2. Cream Butter and Sugars
- In a large mixing bowl, beat the softened butter on medium speed until smooth and creamy (about 1 minute).
- Add both sugars and beat for another 2–3 minutes, until light and fluffy.
3. Add Egg and Vanilla
- Crack in the egg and pour in the vanilla extract.
- Mix on low until fully incorporated. Scrape down the sides of the bowl to ensure even blending.
4. Combine Wet and Dry Mixtures
- Slowly add the dry ingredient mixture to the wet ingredients.
- Mix on low speed just until the dough comes together—do not overmix.
5. Fold in Mix-ins
- Using a rubber spatula, gently fold in the chocolate chips and candy pieces until evenly distributed.
- The dough should be thick and slightly sticky.
6. Chill the Dough
- Cover the bowl tightly with plastic wrap.
- Refrigerate for at least 1 hour, or up to overnight, for best texture.
Why chill the dough?
Chilling prevents spreading, intensifies flavor, and leads to thick, chewy cookies.
7. Preheat the Oven
- When ready to bake, preheat your oven to 350°F (175°C).
- Line two baking sheets with parchment paper or silicone mats.
8. Form Dough Balls
- Scoop out roughly 2 tablespoons of dough per cookie.
- Roll into balls and place 2 inches apart on the prepared baking sheets.
- For extra flair, press a few candy pieces on top of each ball.
9. Bake
- Bake for 10–12 minutes, or until the edges turn golden and the centers are just set.
- Do not overbake—the cookies will continue to cook on the baking sheet after removal.
10. Cool
- Let the cookies sit on the tray for 5 minutes before transferring to a cooling rack.
- Allow to cool fully for the best chewy texture.
Beginner Tips and Notes
- Use a Cookie Scoop
Ensures even-sized cookies for consistent baking. - Measure Flour Correctly
Too much flour can make cookies dry. Use the spoon-and-level method rather than scooping directly from the bag. - Use Room Temperature Ingredients
Room temperature butter and eggs blend better and create a smoother dough. - Don’t Skip the Chill
Chilling the dough is key to thickness and chewy texture. - Make Ahead Friendly
Dough balls can be frozen and baked directly from frozen—just add 1–2 minutes to baking time. - Use Silicone Mats or Parchment Paper
Prevents sticking and promotes even browning.
Serving Suggestions
- Holiday Dessert Boards
Include them with mini brownies, dipped pretzels, and seasonal candies for a festive platter. - Gift-Box Ready
Wrap cooled cookies in parchment paper or cellophane and tie with twine for a homemade edible gift. - Perfect with Coffee or Tea
These cookies pair beautifully with black coffee, milk, or a spiced chai. - Lunchbox Treats
Add one to a lunchbox for a sweet mid-day surprise. - Ice Cream Sandwiches
Place a scoop of vanilla or chocolate ice cream between two cookies for a homemade frozen treat.

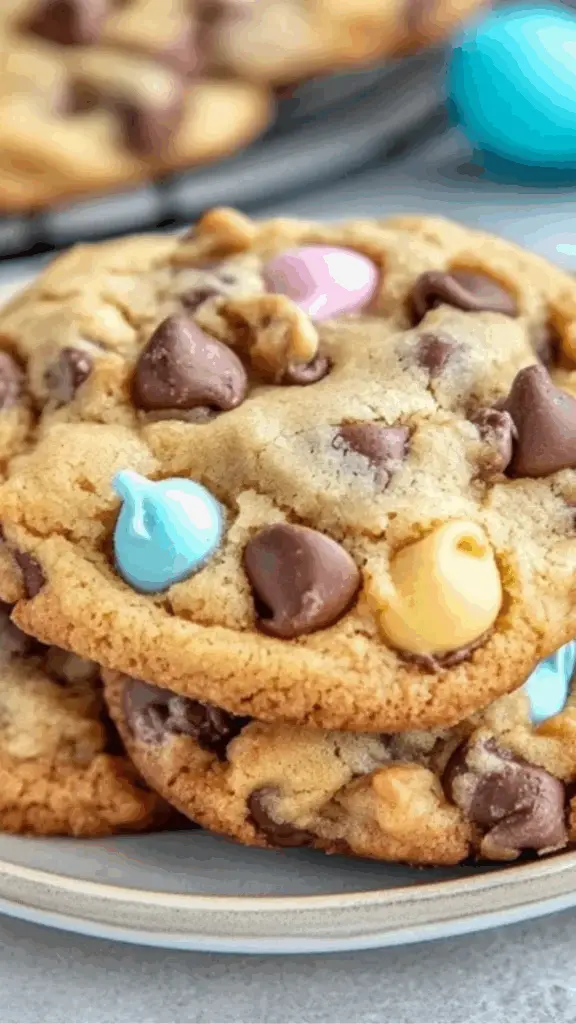
Soft and Chewy Chocolate Chip Candy Cookies: A Year-Round Treat
Get ready for holiday magic in every bite! 🎄🍪 These Chewy Chocolate Chip Cookies have all the classic gooey goodness you love—plus a festive surprise! Think peppermint chips, colorful sprinkles, or a dash of cinnamon spice. ❄️✨ Perfect for cookie swaps, gift boxes, or cozy nights in.
- Total Time: About 1 hour 30 minutes
- Yield: About 24 cookies 1x
Ingredients
Dry Ingredients
-
2½ cups all-purpose flour, spooned and leveled
-
2 teaspoons cornstarch (helps maintain softness)
-
1 teaspoon baking soda
-
½ teaspoon salt
Wet Ingredients
-
¾ cup unsalted butter, softened
-
1 cup packed light brown sugar
-
½ cup granulated sugar
-
1 large egg
-
1 tablespoon pure vanilla extract
Mix-ins
-
1 cup semi-sweet chocolate chips
-
1 cup colorful candy-coated chocolates (e.g., M&M’s)
Optional Flavor Variations
-
½ cup chopped pecans or walnuts for crunch
-
½ teaspoon almond extract for a nutty aroma
-
½ cup white chocolate chips for a color contrast
Note: Choose candy colors to suit the season—pastels for spring, red and green for Christmas, orange and black for Halloween, or team colors for special events.
Instructions
1. Mix Dry Ingredients
- In a medium bowl, whisk together the flour, cornstarch, baking soda, and salt.
- Set aside while you prepare the wet ingredients.
2. Cream Butter and Sugars
- In a large mixing bowl, beat the softened butter on medium speed until smooth and creamy (about 1 minute).
- Add both sugars and beat for another 2–3 minutes, until light and fluffy.
3. Add Egg and Vanilla
- Crack in the egg and pour in the vanilla extract.
- Mix on low until fully incorporated. Scrape down the sides of the bowl to ensure even blending.
4. Combine Wet and Dry Mixtures
- Slowly add the dry ingredient mixture to the wet ingredients.
- Mix on low speed just until the dough comes together—do not overmix.
5. Fold in Mix-ins
- Using a rubber spatula, gently fold in the chocolate chips and candy pieces until evenly distributed.
- The dough should be thick and slightly sticky.
6. Chill the Dough
- Cover the bowl tightly with plastic wrap.
- Refrigerate for at least 1 hour, or up to overnight, for best texture.
Why chill the dough?
Chilling prevents spreading, intensifies flavor, and leads to thick, chewy cookies.
7. Preheat the Oven
- When ready to bake, preheat your oven to 350°F (175°C).
- Line two baking sheets with parchment paper or silicone mats.
8. Form Dough Balls
- Scoop out roughly 2 tablespoons of dough per cookie.
- Roll into balls and place 2 inches apart on the prepared baking sheets.
- For extra flair, press a few candy pieces on top of each ball.
9. Bake
- Bake for 10–12 minutes, or until the edges turn golden and the centers are just set.
- Do not overbake—the cookies will continue to cook on the baking sheet after removal.
10. Cool
- Let the cookies sit on the tray for 5 minutes before transferring to a cooling rack.
- Allow to cool fully for the best chewy texture.
Notes
- Use a Cookie Scoop
Ensures even-sized cookies for consistent baking. - Measure Flour Correctly
Too much flour can make cookies dry. Use the spoon-and-level method rather than scooping directly from the bag. - Use Room Temperature Ingredients
Room temperature butter and eggs blend better and create a smoother dough. - Don’t Skip the Chill
Chilling the dough is key to thickness and chewy texture. - Make Ahead Friendly
Dough balls can be frozen and baked directly from frozen—just add 1–2 minutes to baking time. - Use Silicone Mats or Parchment Paper
Prevents sticking and promotes even browning.
- Prep Time: 15 minutes (+1 hour chill)
- Cook Time: 10–12 minutes
Engagement Features
Seasonal Swaps
- Spring – Pastel candies, lemon zest, or white chocolate chips
- Summer – Red, white, and blue candy mix; coconut flakes
- Fall – Orange/brown candies; add cinnamon or chopped pecans
- Winter – Red and green candies; peppermint chips or crushed candy canes
Flavor Enhancements
- Add a dash of cinnamon or espresso powder to deepen the flavor.
- Swap out some chocolate chips for peanut butter chips or butterscotch.
- Mix in shredded coconut or chopped dried cherries for a fruity twist.
Kid-Friendly Baking Activity
- Let children roll the dough and place candies on top for a fun, hands-on project.
- Use themed candy shapes for holidays like hearts, stars, or snowflakes.
Interactive Ideas
- Host a cookie decorating night with bowls of different candy toppings.
- Make a double batch and let guests vote on their favorite mix-in combination.
- Encourage followers to share their cookie creations using a fun hashtag.
- Turn it into a cookie bar station where guests build their own versions before baking.
Storage and Shelf Life
- Store cookies in an airtight container at room temperature for up to 1 week.
- Freeze baked cookies for up to 3 months; thaw at room temperature.
- Freeze raw dough balls on a tray, then transfer to freezer bags for up to 3 months.
Common Questions
- Can I make them gluten-free?
Yes—use a 1:1 gluten-free baking flour and monitor for texture differences. - Can I use margarine or dairy-free butter?
Yes, but results may be slightly less rich and chewy. Test with a small batch first. - Can I double the recipe?
Absolutely. Just be sure to chill thoroughly and bake in batches.