The first time I made this creamy shrimp salad, it was almost by accident. I had just returned from the grocery store with a bag of cooked shrimp, some leftover vegetables in the fridge, and not much else. It was hot outside, I didn’t want to turn on the stove, and I needed something quick yet satisfying. With a bit of improvisation, I stirred together what turned out to be a refreshing, protein-packed salad that quickly became one of my favorites.
Print
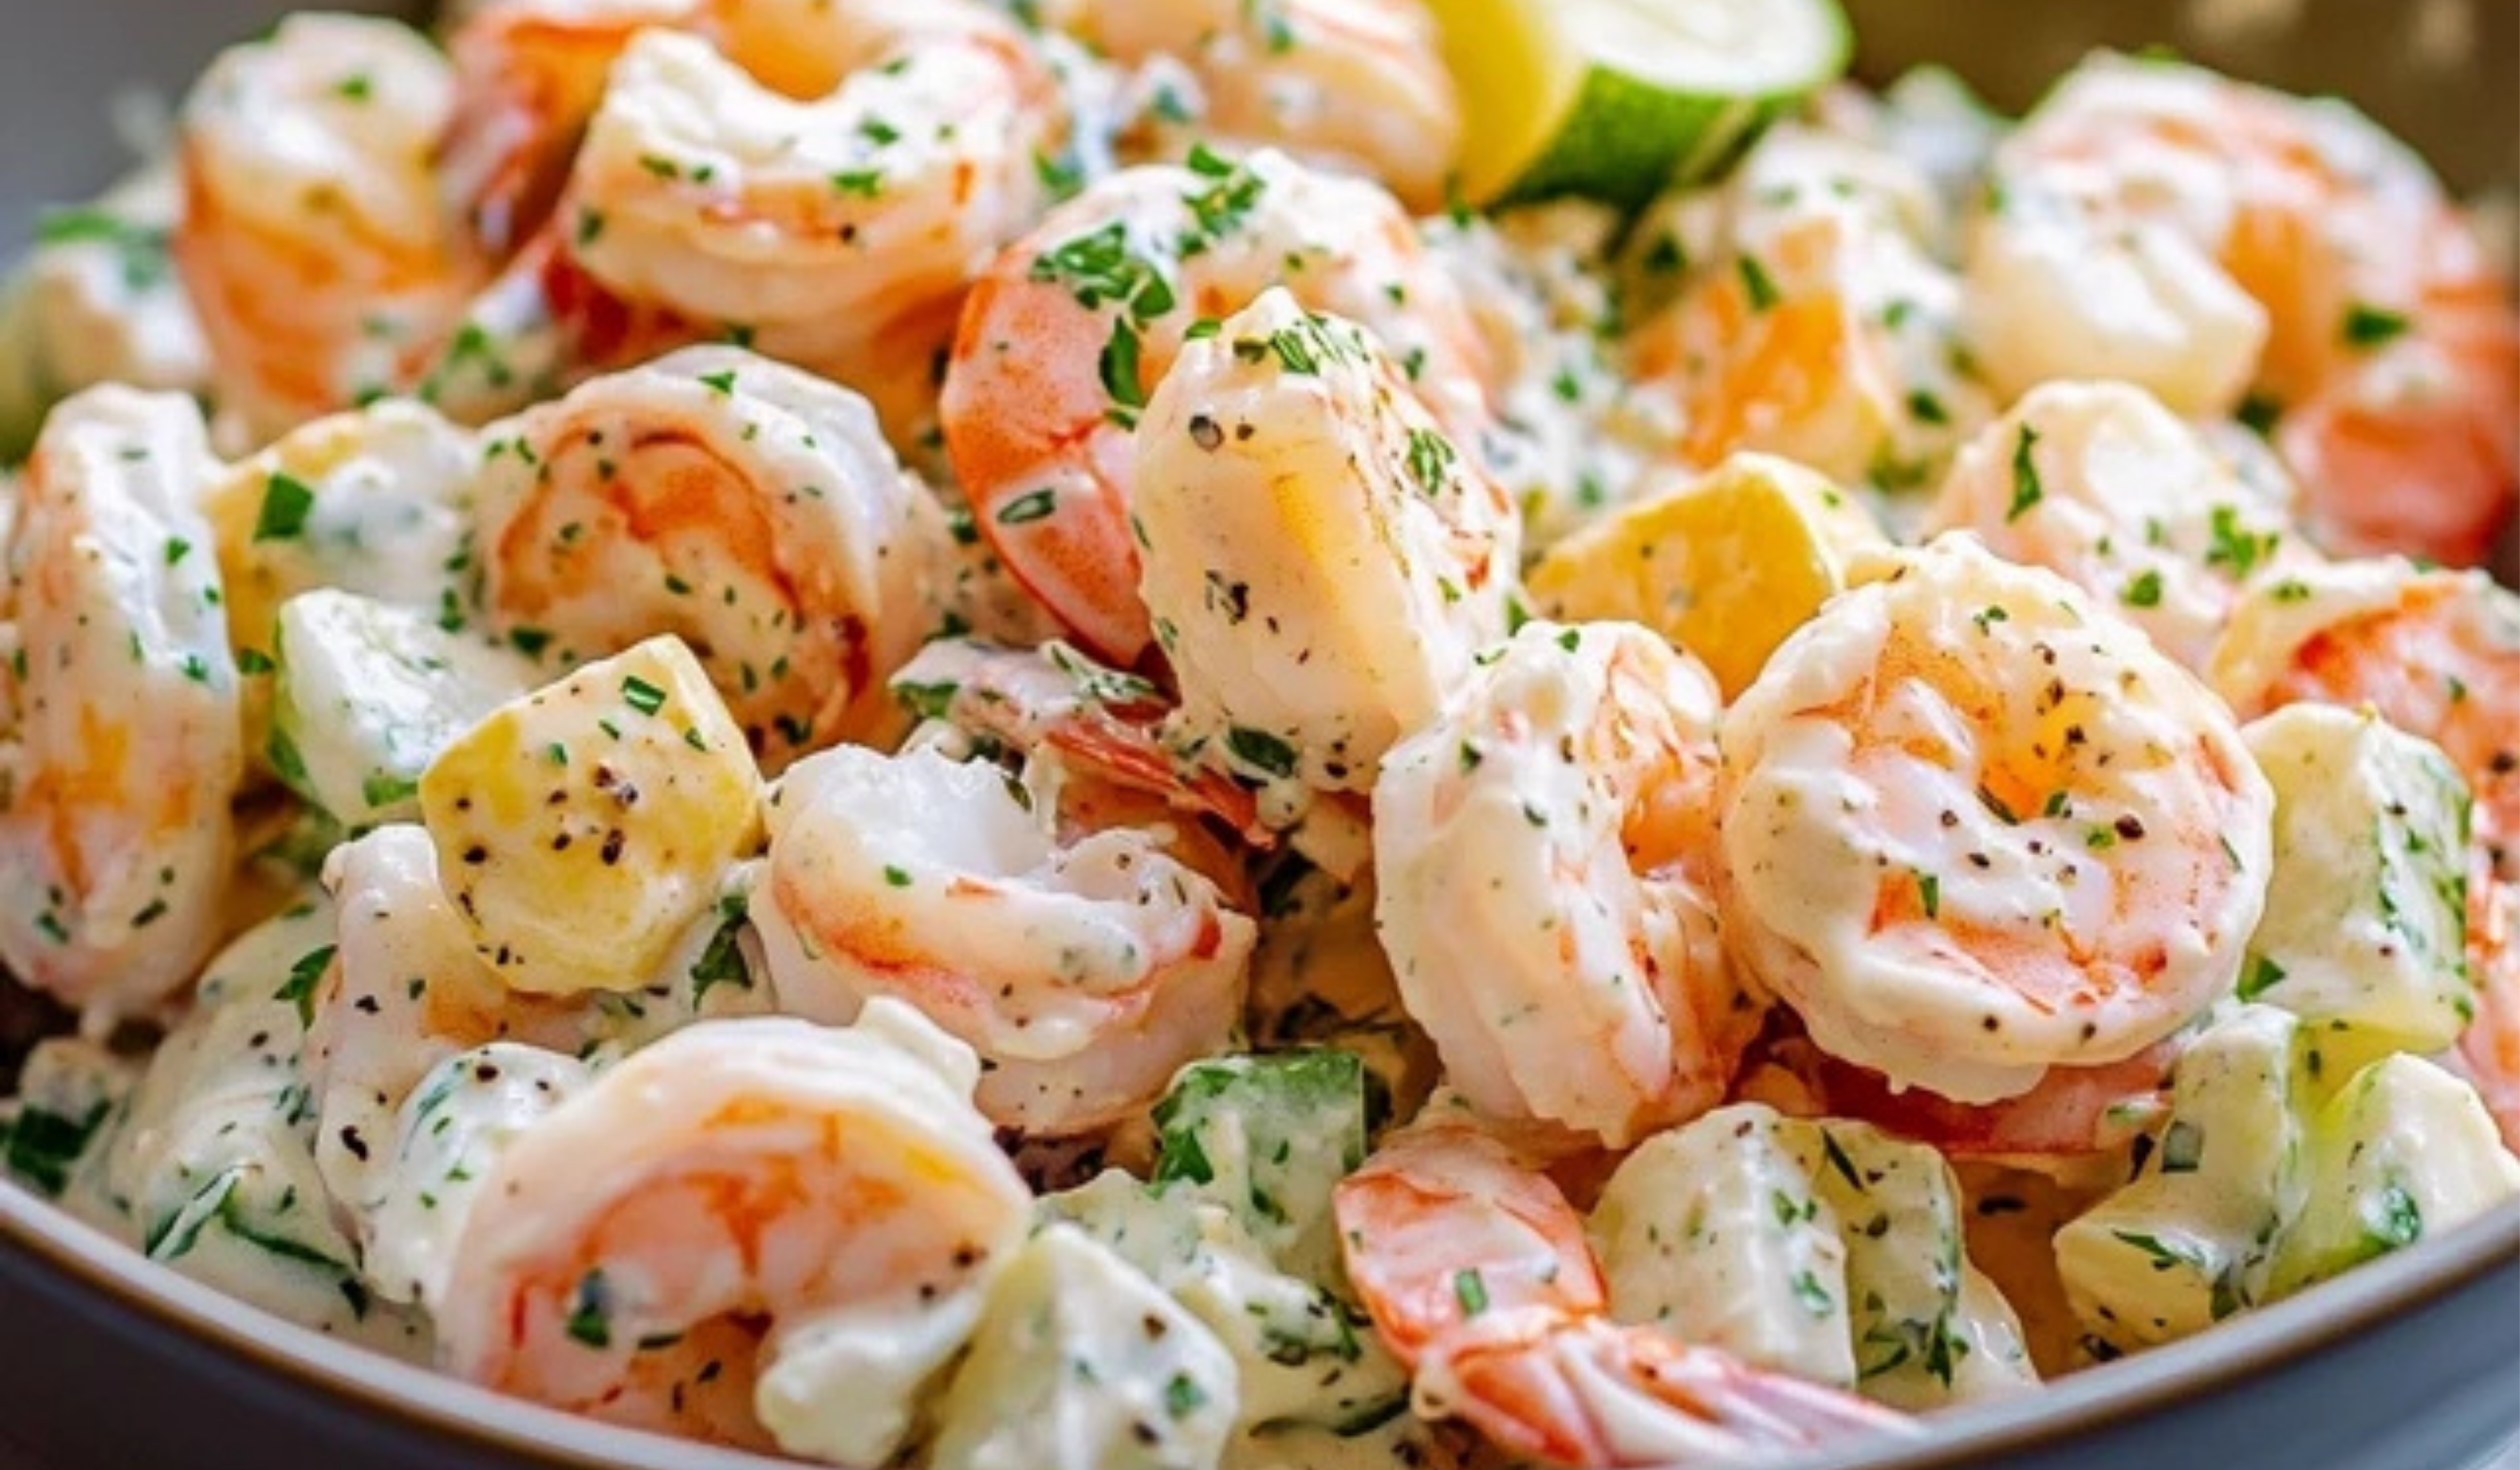
Rachel’s Simple Creamy Shrimp Salad: A Fresh Favorite for Beginner Cooks
Say hello to your new favorite salad! 🥗🍤 Rachel’s Simple Creamy Shrimp Salad is the ultimate beginner-friendly recipe—quick, easy, and full of flavor. With tender shrimp, crunchy veggies, and a creamy tangy dressing, it’s the perfect mix of fresh and indulgent. Ready in no time, this dish is a win for busy days and sunny cravings! ☀️💛
- Total Time: 15 minutes
- Yield: 4 servings 1x
Ingredients
- 1 1/2 pounds small cooked shrimp, tails and shells removed
- 1 large red bell pepper, finely diced
- 3 celery ribs, finely diced
- 1 red onion, finely diced
- 1/2 cup plain Greek yogurt (full-fat or 2% recommended for creaminess)
- Juice and zest of 1 fresh lemon
- 1/4 cup fresh chopped cilantro or parsley
- Sea salt and freshly ground black pepper, to taste
Instructions
Start by dicing all your vegetables—bell pepper, celery, and red onion—into small, uniform pieces. Smaller pieces mix more evenly and make the salad easier to eat. Place the chopped veggies in a large mixing bowl.
If your shrimp isn’t already prepped, make sure it’s thawed, rinsed, and drained well. Pat dry with paper towels to avoid watering down the dressing.
Step 2: Mix the DressingIn a small bowl, whisk together the Greek yogurt, lemon juice, and lemon zest. This combination will form the creamy, tangy base of your salad. Add a small pinch of salt and pepper. You can taste and adjust later, but a little seasoning at this stage helps develop flavor.
Step 3: CombineAdd the shrimp to your bowl of chopped vegetables. Pour the yogurt dressing over everything and sprinkle the chopped herbs on top. Use a large spoon or spatula to gently fold the mixture together until everything is evenly coated.
Step 4: Taste and AdjustTake a small bite. Does it need more salt? A touch more lemon? Maybe a little extra herb for freshness? Don’t be afraid to tweak the balance to your liking.
Step 5: Chill Before ServingCover the bowl and refrigerate the salad for at least 1 hour. This allows the flavors to meld and gives the salad that crisp, refreshing bite. Serve chilled.
Notes
Shrimp Tips
- Pre-cooked is your friend: Buying pre-cooked shrimp saves time and effort. Just make sure they’re peeled, deveined, and tails removed.
- Dry them well: Excess moisture from thawed shrimp can water down the dressing. Pat them dry before mixing.
Vegetable Prep
- Uniform size = better texture: Finely dicing the vegetables ensures you get a bit of everything in each bite.
- Use a sharp knife: A good sharp knife makes cutting quicker and safer. If you’re new to knife skills, take your time and keep your fingers tucked in.
Dressing Consistency
- Too thick? Add a splash of lemon juice or a tiny bit of water to thin it out.
- Too tart? A pinch of sugar can balance overly tangy yogurt or lemon.
Flavor Tweaks
- Add diced avocado for creaminess.
- Mix in a small spoonful of Dijon mustard for depth.
- Add finely chopped cooked chicken breast if you want to make it a surf-and-turf salad.
- Prep Time: 15 minutes
This recipe is one of those gems you’ll come back to over and over again. Whether you’re learning to cook for the first time or just need a reliable, no-fuss lunch, Rachel’s Simple Creamy Shrimp Salad is a solid choice. It comes together in under 20 minutes (plus chilling time), doesn’t require any cooking if your shrimp is pre-cooked, and uses ingredients you can find in any supermarket.
Even better? It’s nutritious, high in protein, low in processed ingredients, and adaptable to your preferences. No complicated techniques, no long prep lists—just honest, fresh food.
Ingredients and Preparation
This salad brings together a short list of whole, colorful ingredients. The flavors are bright and clean, with a creamy base that brings it all together without being heavy.
What You’ll Need:
- 1 1/2 pounds small cooked shrimp, tails and shells removed
- 1 large red bell pepper, finely diced
- 3 celery ribs, finely diced
- 1 red onion, finely diced
- 1/2 cup plain Greek yogurt (full-fat or 2% recommended for creaminess)
- Juice and zest of 1 fresh lemon
- 1/4 cup fresh chopped cilantro or parsley
- Sea salt and freshly ground black pepper, to taste
Ingredient Notes and Substitutions:
- Shrimp: This recipe works best with small, pre-cooked shrimp. You can use fresh or frozen—just make sure to thaw fully and pat them dry before mixing. If you prefer not to use shrimp, diced cooked chicken breast makes a fine substitute.
- Greek yogurt: Offers creaminess and a mild tang while keeping things light. If you don’t have yogurt, sour cream or a dairy-free alternative will work. Avoid overly flavored or sweetened varieties.
- Vegetables: Feel free to add diced cucumber or grated carrot for extra crunch. Just avoid watery veggies like tomatoes that might dilute the salad.
- Herbs: Cilantro adds a bright, citrusy flavor, while parsley provides a more neutral freshness. Use whichever suits your taste—or mix the two.
- Spice it up: A pinch of paprika or chili flakes can be added if you like a little heat.
Step-by-Step Instructions
Even if you’ve never made a shrimp dish before, this salad is beginner-proof. Here’s how to pull it together in just a few simple steps.
Step 1: Prep Your Ingredients
Start by dicing all your vegetables—bell pepper, celery, and red onion—into small, uniform pieces. Smaller pieces mix more evenly and make the salad easier to eat. Place the chopped veggies in a large mixing bowl.
If your shrimp isn’t already prepped, make sure it’s thawed, rinsed, and drained well. Pat dry with paper towels to avoid watering down the dressing.
Step 2: Mix the Dressing
In a small bowl, whisk together the Greek yogurt, lemon juice, and lemon zest. This combination will form the creamy, tangy base of your salad. Add a small pinch of salt and pepper. You can taste and adjust later, but a little seasoning at this stage helps develop flavor.
Step 3: Combine
Add the shrimp to your bowl of chopped vegetables. Pour the yogurt dressing over everything and sprinkle the chopped herbs on top. Use a large spoon or spatula to gently fold the mixture together until everything is evenly coated.
Step 4: Taste and Adjust
Take a small bite. Does it need more salt? A touch more lemon? Maybe a little extra herb for freshness? Don’t be afraid to tweak the balance to your liking.
Step 5: Chill Before Serving
Cover the bowl and refrigerate the salad for at least 1 hour. This allows the flavors to meld and gives the salad that crisp, refreshing bite. Serve chilled.
Beginner Tips and Notes
Even the simplest recipes can feel daunting if you’re just getting started in the kitchen. Here are a few helpful tips to ensure this salad comes out great every time:
Shrimp Tips
- Pre-cooked is your friend: Buying pre-cooked shrimp saves time and effort. Just make sure they’re peeled, deveined, and tails removed.
- Dry them well: Excess moisture from thawed shrimp can water down the dressing. Pat them dry before mixing.
Vegetable Prep
- Uniform size = better texture: Finely dicing the vegetables ensures you get a bit of everything in each bite.
- Use a sharp knife: A good sharp knife makes cutting quicker and safer. If you’re new to knife skills, take your time and keep your fingers tucked in.
Dressing Consistency
- Too thick? Add a splash of lemon juice or a tiny bit of water to thin it out.
- Too tart? A pinch of sugar can balance overly tangy yogurt or lemon.
Flavor Tweaks
- Add diced avocado for creaminess.
- Mix in a small spoonful of Dijon mustard for depth.
- Add finely chopped cooked chicken breast if you want to make it a surf-and-turf salad.

Serving Suggestions
This shrimp salad is incredibly versatile. You can serve it as a main dish or a side, and it works well for both everyday meals and casual gatherings.
How to Serve It
- As a wrap: Spoon the salad into lettuce cups, tortillas, or pita bread.
- On a sandwich: Layer on whole grain bread with crunchy lettuce for a satisfying lunch.
- With grains: Serve over a bowl of brown rice, couscous, or quinoa for a more filling meal.
- As a side dish: Pair with grilled chicken or roasted vegetables for a light dinner.
Storage Tips
- Keep it cold: Always refrigerate this salad and avoid leaving it out for more than an hour at room temperature.
- Storage time: It’s best eaten the day it’s made, but will stay fresh in the fridge for up to 24 hours.
- Avoid freezing: Due to the yogurt dressing and fresh vegetables, this dish doesn’t freeze well.
Engagement Features
There’s something so rewarding about making a simple dish that impresses. If you try Rachel’s Simple Creamy Shrimp Salad, I’d love to hear how it turned out for you. Did you stick with the original recipe, or add your own twist? Maybe you swapped the shrimp for grilled chicken, or added a dash of spice.
Leave a comment with your version or favorite serving method. If you’re just getting started in the kitchen, share your experience—what was easy, what felt new, and what you learned along the way.
Cooking doesn’t have to be complicated to be satisfying. Sometimes, it’s the simplest dishes that become the most memorable. Rachel’s shrimp salad is proof of that—a beginner-friendly, healthy, and delicious recipe you’ll be proud to make again and again.