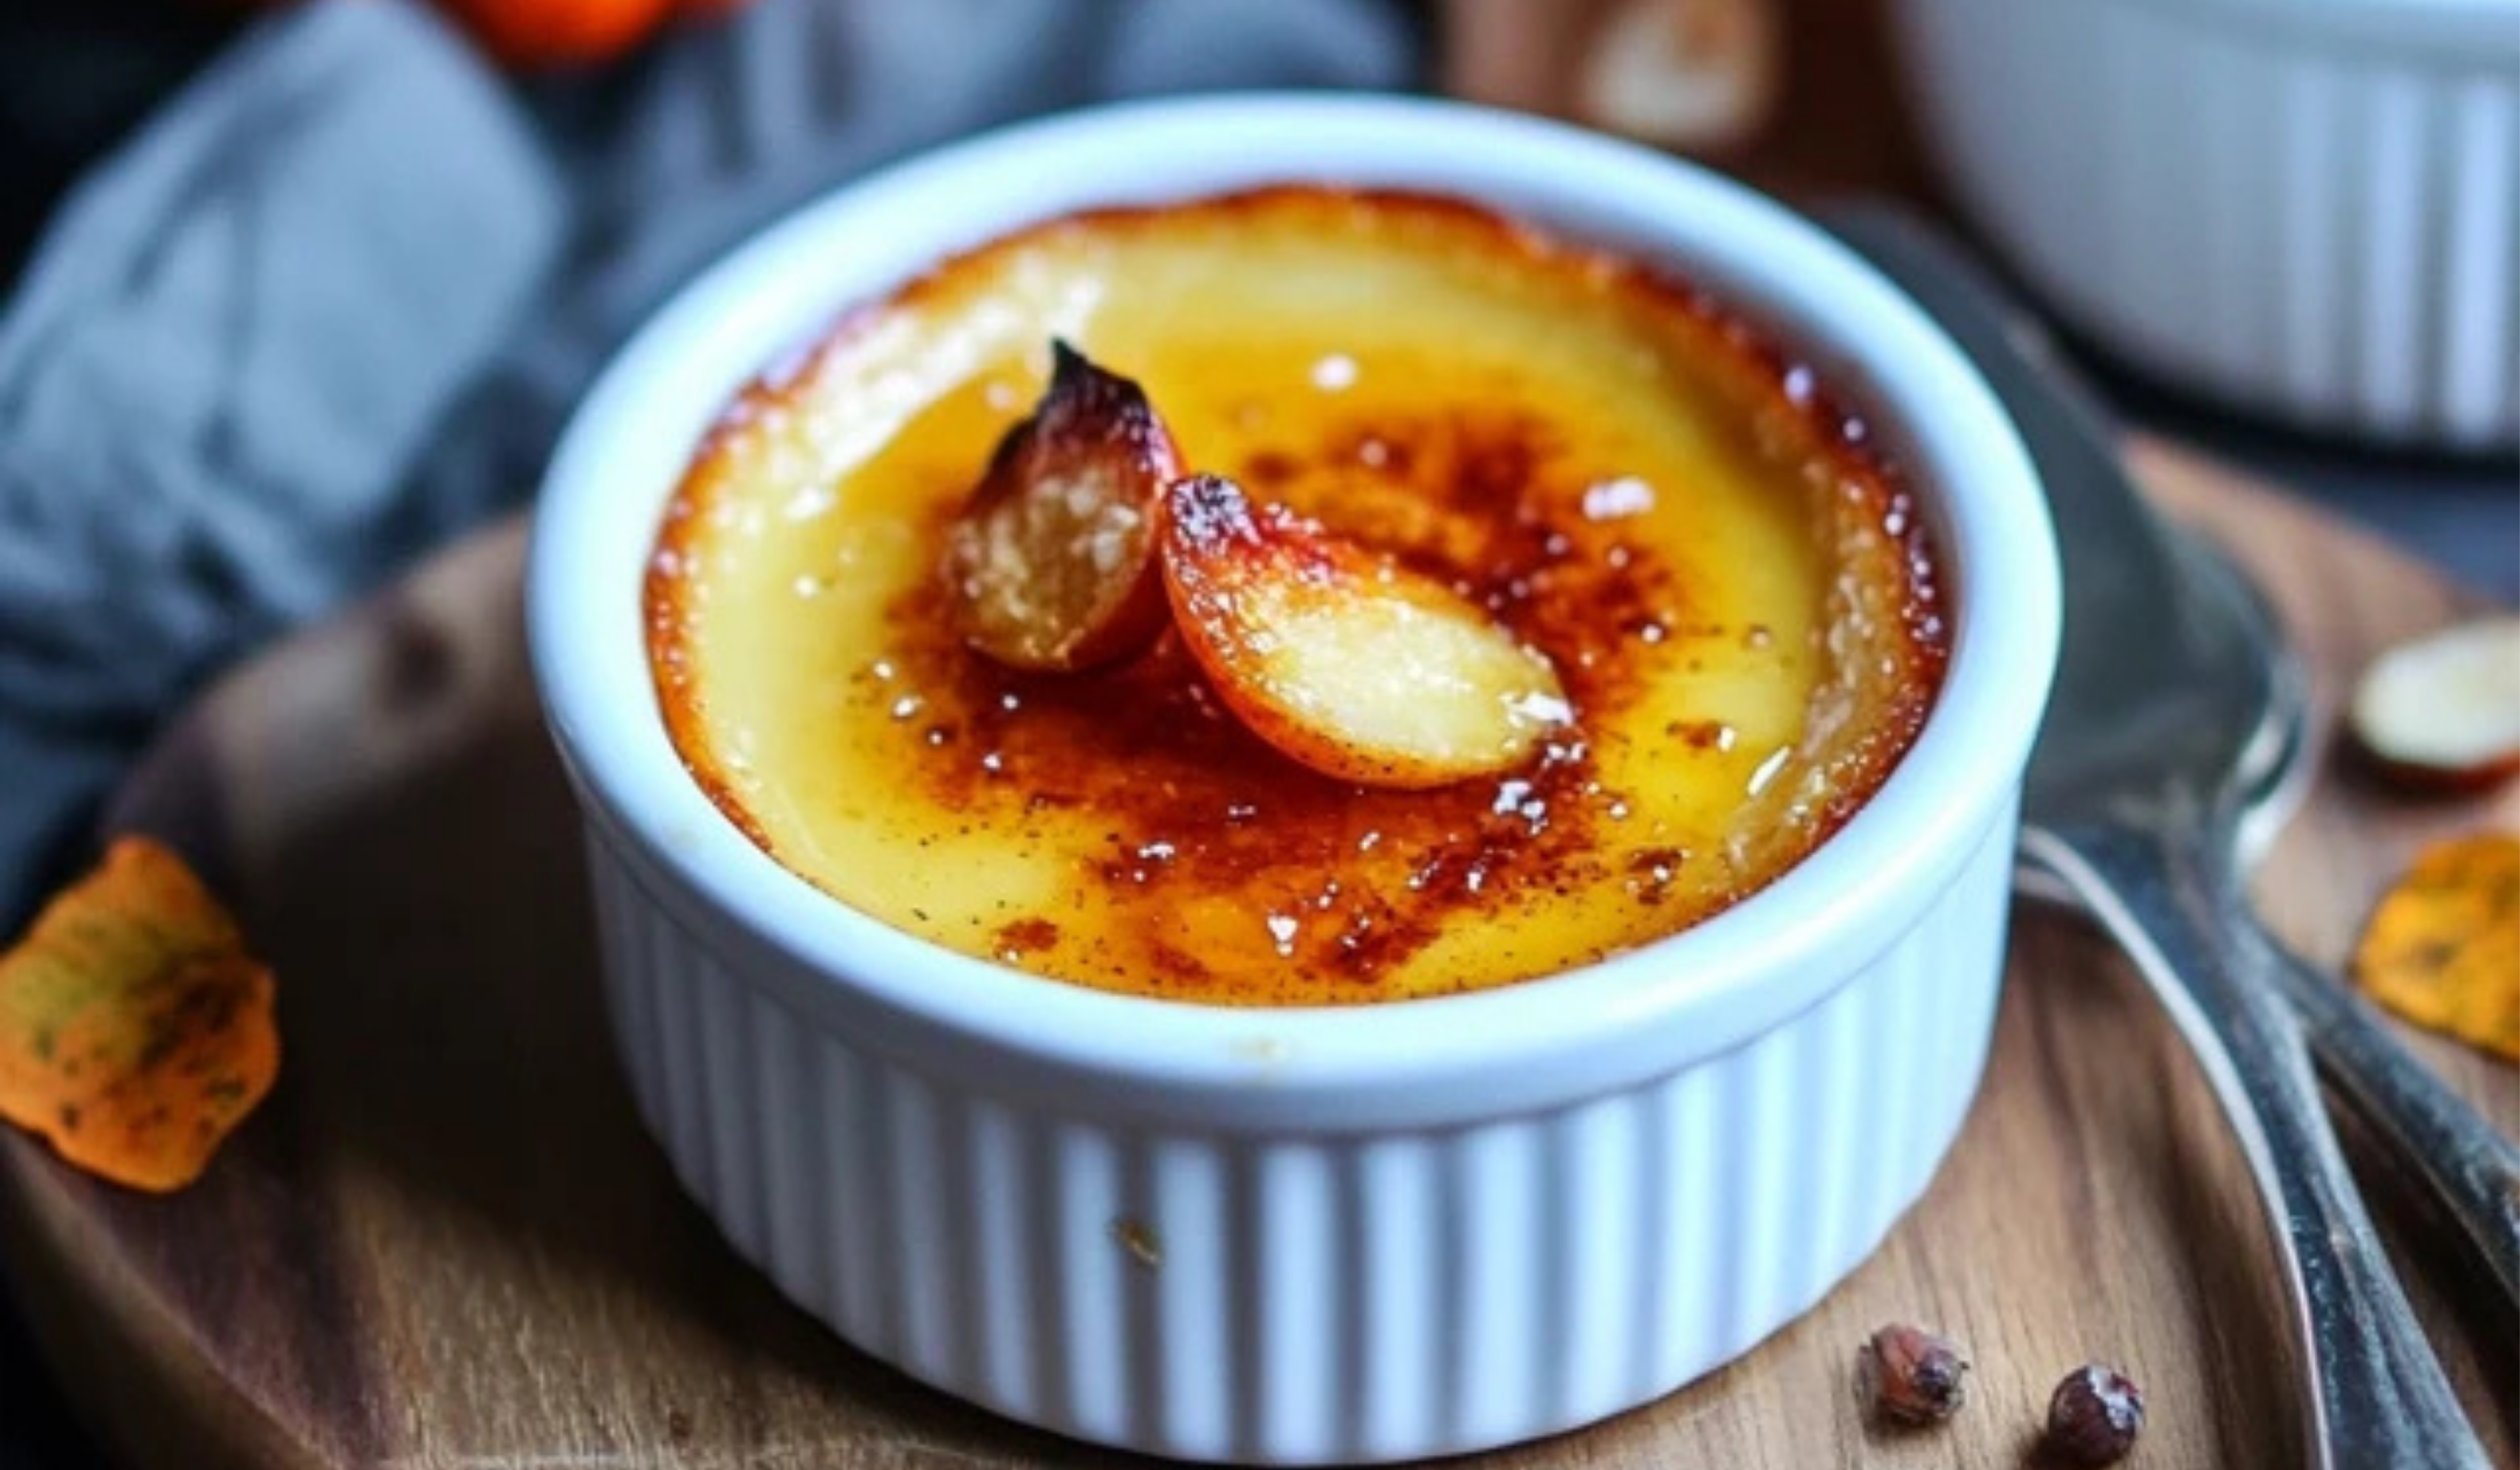
The first time I ever tasted crème brûlée, I was convinced it was something only a trained pastry chef could pull off. The delicate custard, the glassy sugar crust, the whisper of vanilla—it felt like something reserved for white tablecloth restaurants, not home kitchens. But when I stumbled upon a pumpkin variation, the idea of adding familiar autumn flavors made the dessert feel approachable, even cozy.
Print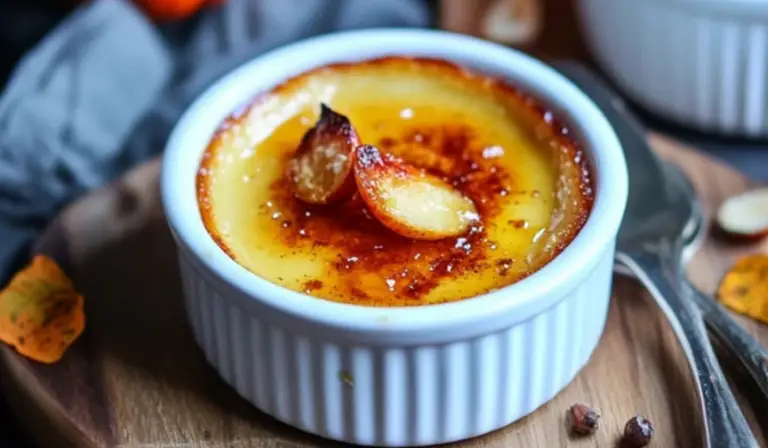
Pumpkin Crème Brûlée: A Beginner’s Guide to a Silky, Spiced Dessert
Creamy, spiced pumpkin custard topped with a crisp caramelized sugar crust—this beginner-friendly Pumpkin Crème Brûlée is a dreamy fall treat that feels fancy but is so easy to make! 🎃🍮✨
- Total Time: 45 minutes
- Yield: 6 servings 1x
Ingredients
- 6 large egg yolks
- 1/3 cup granulated sugar (plus extra for the topping)
- 1/2 cup canned pumpkin purée (not pumpkin pie filling)
- 1 teaspoon pure vanilla extract
- 1/4 teaspoon pumpkin pie spice
- 1 1/2 cups heavy whipping cream
Instructions
- Preheat and prep your space.
Begin by preheating your oven to 325°F (165°C). Place six ramekins in a deep baking dish or roasting pan. This will allow for the water bath that helps the custard cook evenly. - Whisk the egg yolks and sugar.
In a medium mixing bowl, whisk together the egg yolks and granulated sugar. Mix just until combined; you don’t want to incorporate too much air. The mixture should be pale yellow and slightly thick. - Add flavor and pumpkin.
Stir in the pumpkin purée, vanilla extract, and pumpkin pie spice. Mix until the custard base is smooth and well-blended. - Heat the cream.
In your saucepan, heat the heavy whipping cream over medium heat until it just starts to simmer. Don’t let it boil—once you see bubbles forming around the edges, remove it from the heat. - Temper the eggs.
To avoid cooking the eggs too quickly, you’ll need to temper them. Slowly pour the hot cream into the egg mixture, whisking constantly. Go gradually and keep the whisk moving to prevent curdling. - Strain the custard.
Pour the mixture through a fine mesh sieve into a clean bowl. This step removes any cooked bits of egg and ensures a smooth, creamy texture. - Fill the ramekins.
Carefully divide the custard among your six ramekins. Don’t fill them to the brim; leave about 1/4 inch at the top. - Create a water bath.
Pour hot (not boiling) water into the baking dish until it reaches halfway up the sides of the ramekins. This water bath provides gentle, even heat while baking. - Bake.
Transfer the baking dish to the middle rack of your oven. Bake for 25–30 minutes, or until the custards are set around the edges but still slightly jiggly in the center. Cooking time may vary depending on your oven. - Cool and chill.
Let the ramekins cool to room temperature on a wire rack. Once cool, transfer them to the fridge and chill for at least two hours, or up to two days. - Caramelize the sugar topping.
When ready to serve, sprinkle about 1 to 2 teaspoons of granulated sugar evenly over each custard. Use a kitchen torch to caramelize the sugar, moving the flame in a circular motion to avoid burning any spots. If you don’t have a torch, place the ramekins under a broiler for 1–2 minutes, watching carefully. - Serve immediately.
Once the sugar hardens into a crisp shell, serve the crème brûlée right away for the best texture contrast.
Notes
- Preventing curdled eggs: The key is tempering—add the hot cream very slowly while whisking constantly. Rushing this step can cause the eggs to scramble.
- No torch? No problem: While a kitchen torch gives the best results, your oven’s broiler will do the job. Keep an eye on it to avoid burning the sugar.
- Texture check: The custards should still jiggle slightly in the center when done. They’ll continue to set as they cool, so don’t overbake.
- Make ahead: You can make the custards up to two days in advance. Just wait to caramelize the sugar until right before serving.
- Efficient prep: Use a bowl with a pouring spout to easily transfer the custard to ramekins. A kettle is helpful for pouring water into the baking dish.
- Prep Time: 15 minutes
- Cook Time: 30 minutes
Fast forward to a cool October evening: I gave it a shot. I didn’t have a fancy kitchen torch or years of culinary training, just a saucepan, a whisk, and a craving for something comforting. What came out of my oven was smooth, creamy, and perfectly spiced. It tasted like fall in a ramekin, and more importantly, I made it myself—with zero stress.
That’s why this Pumpkin Crème Brûlée is perfect for beginners. It has all the elegance of a French dessert but uses simple steps, everyday ingredients, and very little active cooking time. Plus, it’s gluten-free, requires no special mixers or machines, and can be made ahead of time. Whether you’re trying to impress dinner guests or just treating yourself to something sweet, this recipe makes you look like a pro—even if you’re just starting out in the kitchen.
Ingredients and Preparation
Before you begin, take a moment to read through the ingredients. A little prep goes a long way, and this recipe rewards a calm, organized approach.
Ingredients:
- 6 large egg yolks
- 1/3 cup granulated sugar (plus extra for the topping)
- 1/2 cup canned pumpkin purée (not pumpkin pie filling)
- 1 teaspoon pure vanilla extract
- 1/4 teaspoon pumpkin pie spice
- 1 1/2 cups heavy whipping cream
Equipment:
- 6 ramekins (4-ounce size)
- 1 medium saucepan (about 3 quarts)
- Mixing bowls
- Fine mesh sieve
- Deep baking dish or roasting pan
- Whisk
- Kitchen torch or broiler
Optional ingredient substitutions:
- Pumpkin purée: Butternut squash purée works well as an alternative.
- Heavy whipping cream: For a slightly lighter texture, substitute up to half of the cream with whole milk.
- Pumpkin pie spice: You can make your own using a mix of cinnamon, nutmeg, ginger, and cloves.
- Vanilla extract: Vanilla bean paste or the seeds from half a vanilla bean can be used for deeper flavor.
Step-by-Step Instructions
Making crème brûlée might sound intimidating, but this version simplifies the process into clear, manageable steps.
- Preheat and prep your space.
Begin by preheating your oven to 325°F (165°C). Place six ramekins in a deep baking dish or roasting pan. This will allow for the water bath that helps the custard cook evenly. - Whisk the egg yolks and sugar.
In a medium mixing bowl, whisk together the egg yolks and granulated sugar. Mix just until combined; you don’t want to incorporate too much air. The mixture should be pale yellow and slightly thick. - Add flavor and pumpkin.
Stir in the pumpkin purée, vanilla extract, and pumpkin pie spice. Mix until the custard base is smooth and well-blended. - Heat the cream.
In your saucepan, heat the heavy whipping cream over medium heat until it just starts to simmer. Don’t let it boil—once you see bubbles forming around the edges, remove it from the heat. - Temper the eggs.
To avoid cooking the eggs too quickly, you’ll need to temper them. Slowly pour the hot cream into the egg mixture, whisking constantly. Go gradually and keep the whisk moving to prevent curdling. - Strain the custard.
Pour the mixture through a fine mesh sieve into a clean bowl. This step removes any cooked bits of egg and ensures a smooth, creamy texture. - Fill the ramekins.
Carefully divide the custard among your six ramekins. Don’t fill them to the brim; leave about 1/4 inch at the top. - Create a water bath.
Pour hot (not boiling) water into the baking dish until it reaches halfway up the sides of the ramekins. This water bath provides gentle, even heat while baking. - Bake.
Transfer the baking dish to the middle rack of your oven. Bake for 25–30 minutes, or until the custards are set around the edges but still slightly jiggly in the center. Cooking time may vary depending on your oven. - Cool and chill.
Let the ramekins cool to room temperature on a wire rack. Once cool, transfer them to the fridge and chill for at least two hours, or up to two days. - Caramelize the sugar topping.
When ready to serve, sprinkle about 1 to 2 teaspoons of granulated sugar evenly over each custard. Use a kitchen torch to caramelize the sugar, moving the flame in a circular motion to avoid burning any spots. If you don’t have a torch, place the ramekins under a broiler for 1–2 minutes, watching carefully. - Serve immediately.
Once the sugar hardens into a crisp shell, serve the crème brûlée right away for the best texture contrast.
Beginner Tips and Notes
- Preventing curdled eggs: The key is tempering—add the hot cream very slowly while whisking constantly. Rushing this step can cause the eggs to scramble.
- No torch? No problem: While a kitchen torch gives the best results, your oven’s broiler will do the job. Keep an eye on it to avoid burning the sugar.
- Texture check: The custards should still jiggle slightly in the center when done. They’ll continue to set as they cool, so don’t overbake.
- Make ahead: You can make the custards up to two days in advance. Just wait to caramelize the sugar until right before serving.
- Efficient prep: Use a bowl with a pouring spout to easily transfer the custard to ramekins. A kettle is helpful for pouring water into the baking dish.
Serving Suggestions
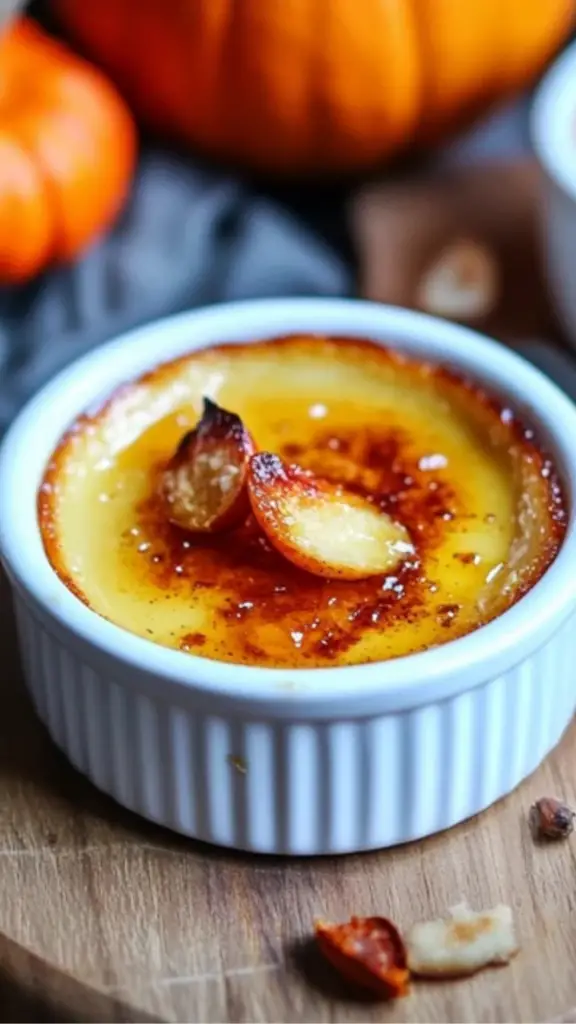
Pumpkin Crème Brûlée is elegant on its own, but you can dress it up or pair it with other items for a more complete dessert experience.
Complementary flavors:
- A few fresh berries on the side, like raspberries or blackberries
- A dollop of whipped cream with a sprinkle of cinnamon
- A crisp, buttery cookie like shortbread or biscotti
Drink pairings:
- Coffee with a touch of cream
- A glass of dessert wine like Sauternes or late harvest Riesling
- Spiced chai or cinnamon tea for a caffeine-free option
Storing leftovers:
If you have leftover custards (before caramelizing), cover them with plastic wrap and refrigerate for up to 2 days. Once caramelized, they’re best eaten immediately, as the sugar crust will soften over time.
Engagement Features
Crème brûlée might sound like something you’d only order at a restaurant, but this pumpkin version proves that you can make gourmet desserts at home—without the stress. It’s the kind of dish that builds confidence. You get to play with fire (safely), you learn how to temper eggs, and at the end of it all, you have a dessert that tastes like you’ve been baking for years.
If this is your first crème brûlée, you’re in for a real treat. The creamy custard, the deep caramelized sugar, and the warm pumpkin spice blend into a dessert that feels both classic and fresh.
Try it for a fall dinner party, holiday gathering, or just because you want something special. When you do, come back and share how it went. Did you use a torch or the broiler? Did you tweak the spices or serve it with something unique? Every kitchen story adds a little more flavor to the recipe.
You’ve got this. Happy cooking.