There’s something truly magical about homemade cookies, especially when they come with a rich history and a melt-in-your-mouth texture. Hungarian Cookie Treasures are just that—tiny bites of joy wrapped in buttery dough, filled with fruity jams, crunchy nuts, and hints of chocolate. These cookies have been a staple in Hungarian households for generations, often gracing tables during festive occasions, family gatherings, and holiday celebrations. Their delicate texture and delightful filling make them a perfect addition to any cookie platter, whether for Christmas, a tea-time treat, or simply an indulgence with your afternoon coffee.
Print
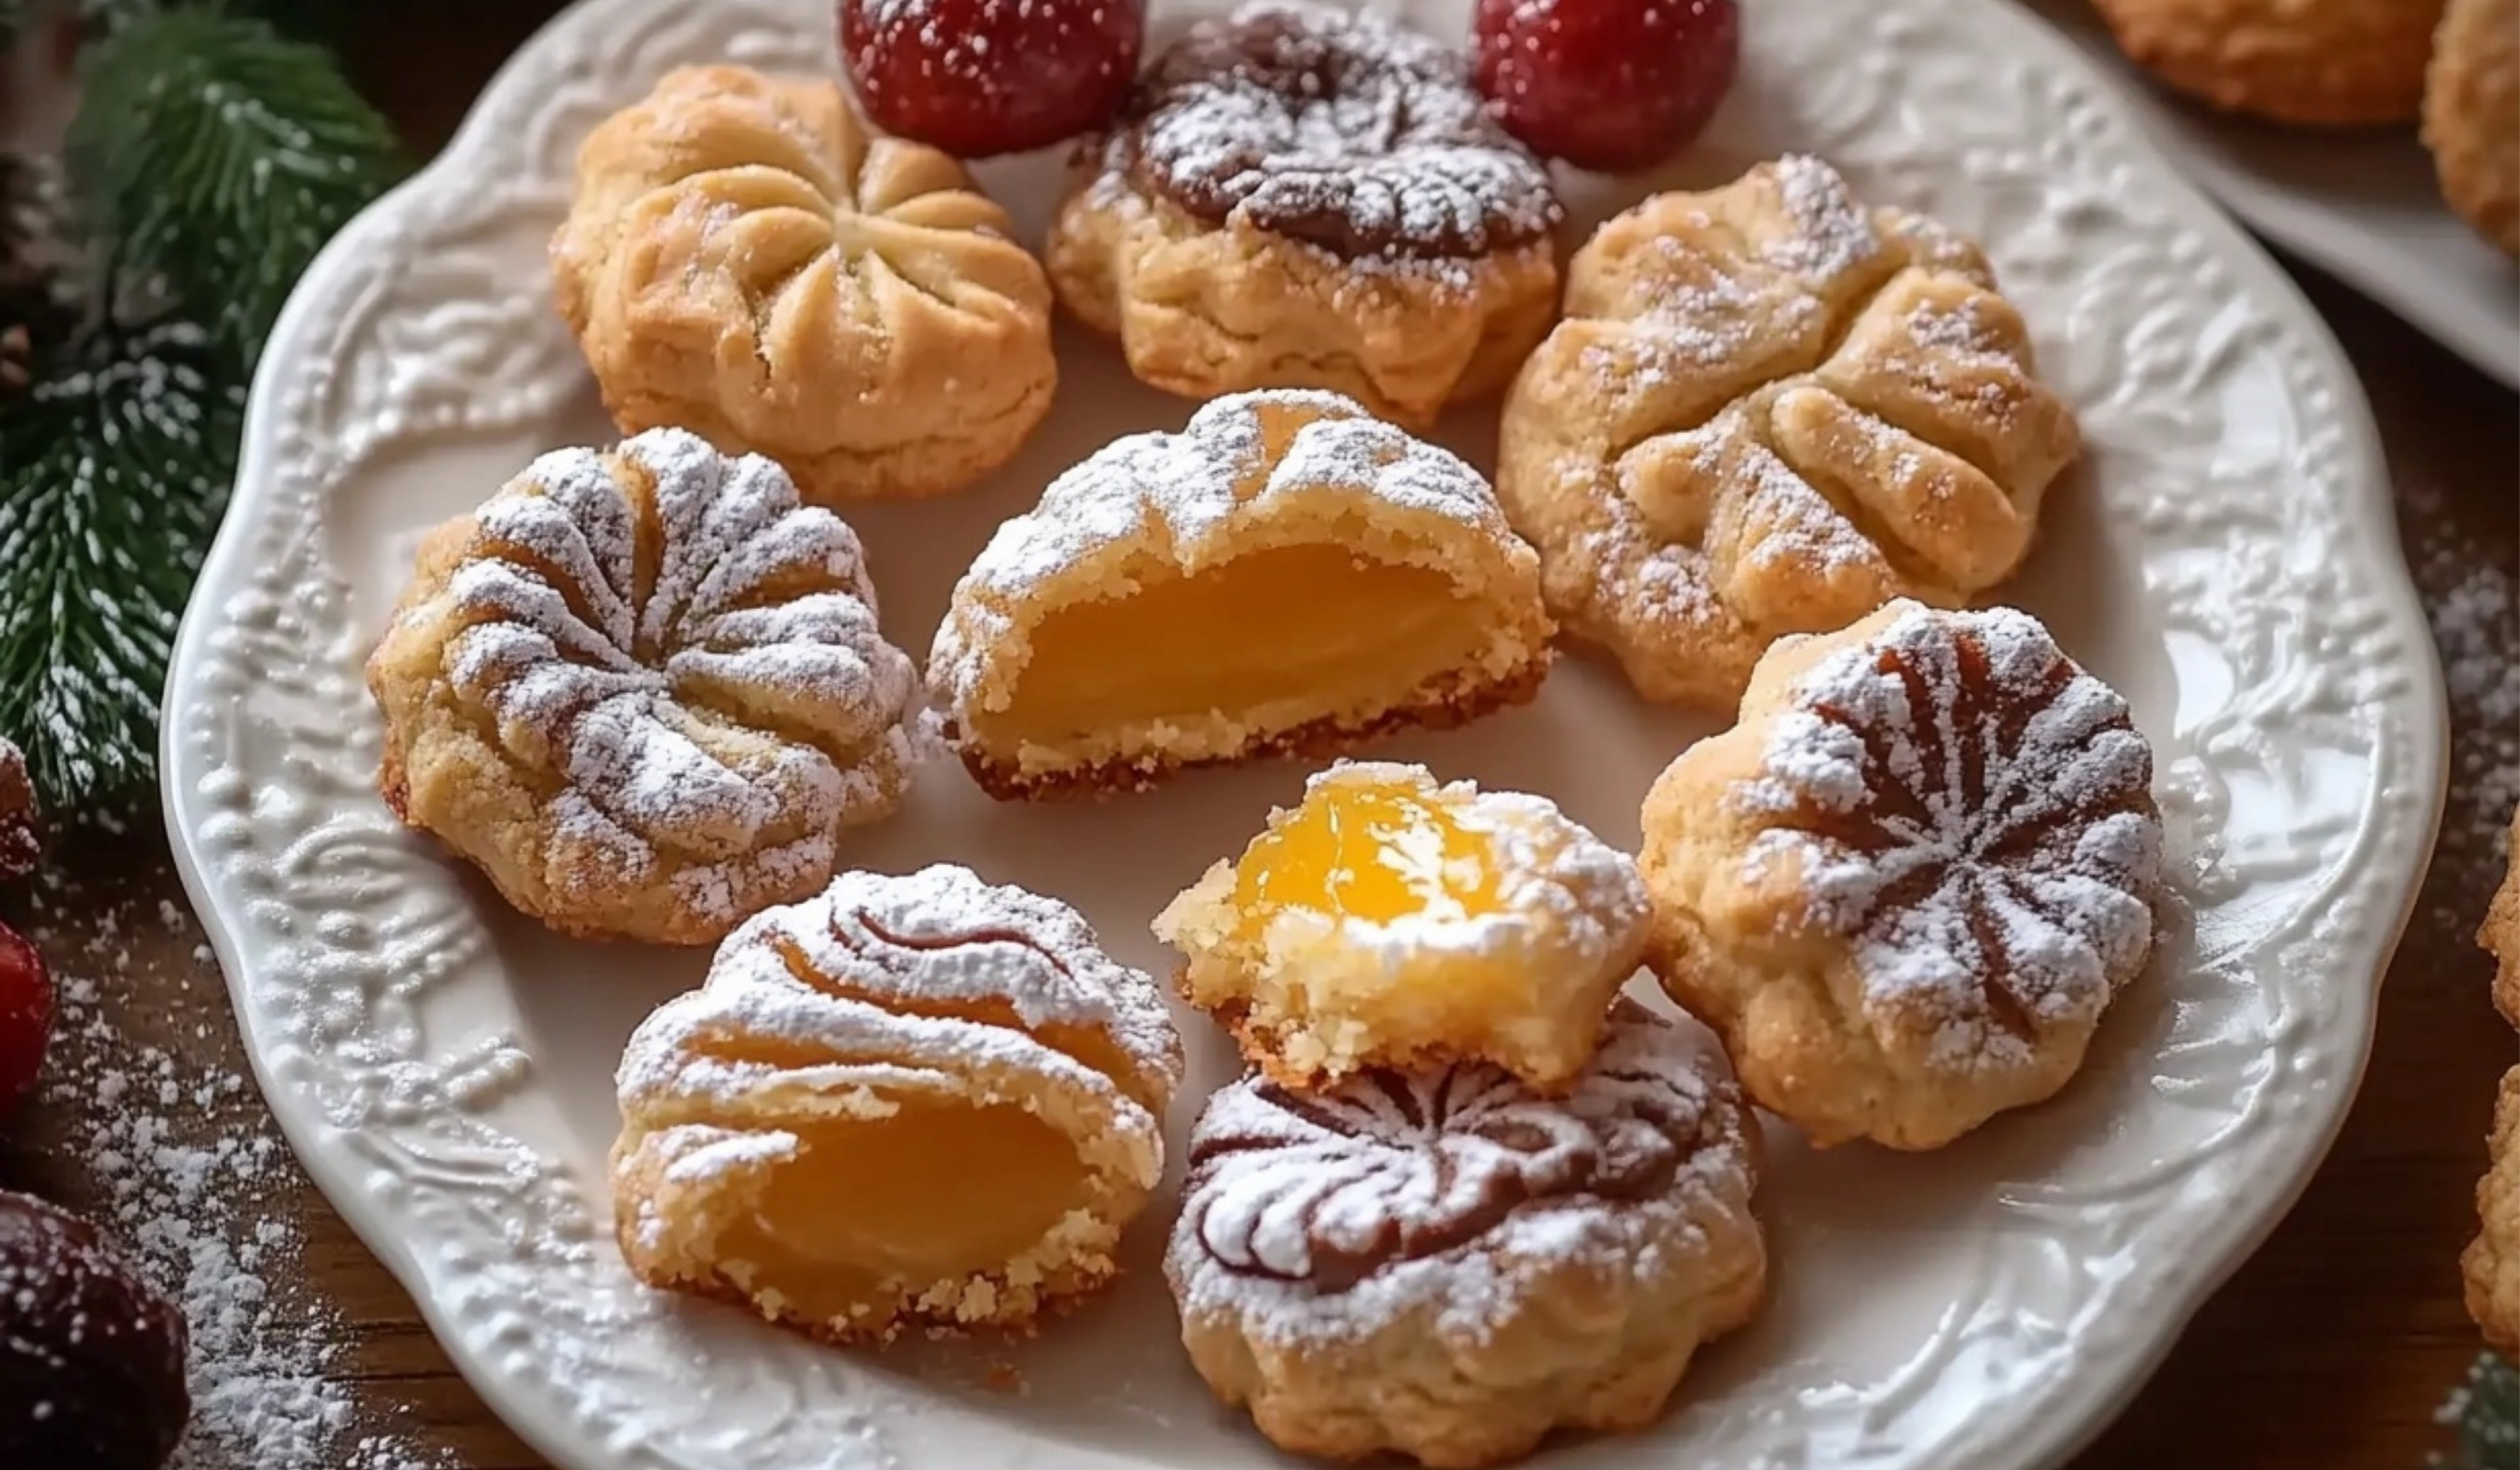
Hungarian Cookie Treasures – A Delightful Treat for Any Occasion
Looking for a treat that’s both delightful and delicious? 🍪✨ Hungarian Cookie Treasures are the answer! These buttery, jam-filled cookies are a true masterpiece—light, crumbly, and topped with a dusting of powdered sugar. 😋 Perfect for any occasion, they’re sure to impress your friends and family! 🌟 Whip them up for holiday gatherings or simply enjoy them with a cup of tea. ☕️ Trust us, these treasures will become a favorite in no time! 🏆 #DeliciousDesserts #HungarianTreasures #CookiePerfection #JamCookies #HomemadeGoodness #BakingFun #SweetsAndTreats #FoodieFavorites #BakingLove #CookieCravings 💖
- Total Time: 1 hour 12–15 minutes
- Yield: 24 cookies 1x
Ingredients
For the Dough:
- 2 cups all-purpose flour
- 1/2 teaspoon baking powder
- 1/4 teaspoon salt
- 1/2 cup unsalted butter, softened
- 1/2 cup cream cheese, softened
- 1/2 cup granulated sugar
- 1 large egg
- 1 teaspoon vanilla extract
For the Filling:
- 1/2 cup apricot jam (or your favorite jam)
- 1/4 cup finely chopped walnuts or pecans
- 1/4 cup mini chocolate chips (optional)
- Powdered sugar for dusting
Instructions
1. Prepare the Dough
- In a medium bowl, whisk together the flour, baking powder, and salt. Set aside.
- In a large mixing bowl, cream the softened butter, cream cheese, and sugar together until the mixture becomes light and fluffy. This step is important as it incorporates air into the dough, making the cookies tender.
- Beat in the egg and vanilla extract until well combined.
- Gradually add the dry ingredients to the wet mixture, stirring until just combined. Be careful not to overmix, as this can make the dough tough.
- Wrap the dough in plastic wrap and refrigerate for at least 1 hour, or overnight for best results. Chilling helps firm up the dough, making it easier to roll out.
2. Preheat the Oven
- Preheat your oven to 350°F (175°C).
- Line a baking sheet with parchment paper to prevent sticking and make cleanup easier.
3. Roll Out the Dough
- Lightly flour a clean surface and roll out the chilled dough to about 1/8-inch thickness. If the dough feels too stiff, let it sit for a few minutes before rolling.
- Use round or scalloped cookie cutters to cut out shapes. If you don’t have cookie cutters, a small glass or cup can work as well.
4. Fill and Fold
- Place a small teaspoon of jam in the center of each dough cut-out. Avoid overfilling to prevent the jam from leaking out during baking.
- Sprinkle with chopped nuts or mini chocolate chips for added texture and flavor.
- Carefully fold the edges of the cookie over the filling, gently pinching the corners to secure. You can also leave them open-faced if preferred.
5. Bake the Cookies
- Arrange the cookies on the prepared baking sheet, leaving a little space between each one.
- Bake for 12–15 minutes, or until the edges are lightly golden.
- Remove from the oven and let the cookies cool on the baking sheet for 5 minutes before transferring them to a wire rack to cool completely.
6. Dust with Powdered Sugar
- Once the cookies have fully cooled, generously dust them with powdered sugar for a beautiful finishing touch. This adds a slight sweetness and enhances their visual appeal.
Notes
- Chilling is Key – Always refrigerate the dough for at least an hour before rolling. This prevents stickiness and helps maintain the shape of the cookies.
- Avoid Overfilling – Too much jam can cause it to ooze out while baking. Stick to a small teaspoon per cookie.
- Sealing the Edges – If your cookies keep unfolding, brush a tiny amount of egg wash on the edges before folding to help them stick.
- Even Thickness – Roll out the dough evenly to ensure all cookies bake at the same rate. Using rolling pin guides or measuring strips can help.
- Baking Time May Vary – Keep an eye on the cookies, as oven temperatures can vary. They should be lightly golden around the edges but not overly browned.
- Prep Time: 1 hour (chilling time)
- Cook Time: 12–15 minutes
One of the best things about Hungarian Cookie Treasures is their beginner-friendly nature. The dough is forgiving, requiring minimal effort to roll and cut, and the filling options are endlessly customizable. If you’re new to baking, this recipe is a great way to build confidence in handling dough, working with fillings, and mastering a simple yet elegant cookie. The combination of cream cheese and butter in the dough ensures a tender texture, while the filling adds bursts of flavor with every bite.
Why This Recipe is Perfect for Beginners
- Simple Ingredients – You don’t need any fancy or hard-to-find ingredients. Everything in this recipe is a pantry staple or easily available at any grocery store.
- Easy Dough Handling – The dough is soft yet manageable, making it easy to roll and cut. Plus, chilling it before rolling helps maintain its structure.
- Customizable Fillings – Whether you prefer apricot jam, raspberry preserves, chocolate chips, or nuts, this recipe allows you to mix and match flavors.
- Minimal Equipment Needed – You only need basic kitchen tools, like a rolling pin and cookie cutters, making it accessible even for those with limited baking supplies.
Now, let’s dive into the recipe and make these delightful Hungarian Cookie Treasures!
Ingredients and Preparation
For the Dough:
- 2 cups all-purpose flour
- 1/2 teaspoon baking powder
- 1/4 teaspoon salt
- 1/2 cup unsalted butter, softened
- 1/2 cup cream cheese, softened
- 1/2 cup granulated sugar
- 1 large egg
- 1 teaspoon vanilla extract
For the Filling:
- 1/2 cup apricot jam (or your favorite jam)
- 1/4 cup finely chopped walnuts or pecans
- 1/4 cup mini chocolate chips (optional)
- Powdered sugar for dusting
Alternative Ingredient Suggestions:
- Flour Substitute: Swap all-purpose flour with a 1:1 gluten-free baking blend if you need a gluten-free option.
- Jam Variations: Try raspberry, strawberry, or even fig preserves for a different flavor.
- Nut Alternatives: Use almonds, hazelnuts, or omit nuts altogether if you prefer.
- Dairy-Free Version: Substitute butter with dairy-free margarine and use a dairy-free cream cheese alternative.
Step-by-Step Instructions
1. Prepare the Dough
- In a medium bowl, whisk together the flour, baking powder, and salt. Set aside.
- In a large mixing bowl, cream the softened butter, cream cheese, and sugar together until the mixture becomes light and fluffy. This step is important as it incorporates air into the dough, making the cookies tender.
- Beat in the egg and vanilla extract until well combined.
- Gradually add the dry ingredients to the wet mixture, stirring until just combined. Be careful not to overmix, as this can make the dough tough.
- Wrap the dough in plastic wrap and refrigerate for at least 1 hour, or overnight for best results. Chilling helps firm up the dough, making it easier to roll out.
2. Preheat the Oven
- Preheat your oven to 350°F (175°C).
- Line a baking sheet with parchment paper to prevent sticking and make cleanup easier.
3. Roll Out the Dough
- Lightly flour a clean surface and roll out the chilled dough to about 1/8-inch thickness. If the dough feels too stiff, let it sit for a few minutes before rolling.
- Use round or scalloped cookie cutters to cut out shapes. If you don’t have cookie cutters, a small glass or cup can work as well.
4. Fill and Fold
- Place a small teaspoon of jam in the center of each dough cut-out. Avoid overfilling to prevent the jam from leaking out during baking.
- Sprinkle with chopped nuts or mini chocolate chips for added texture and flavor.
- Carefully fold the edges of the cookie over the filling, gently pinching the corners to secure. You can also leave them open-faced if preferred.
5. Bake the Cookies
- Arrange the cookies on the prepared baking sheet, leaving a little space between each one.
- Bake for 12–15 minutes, or until the edges are lightly golden.
- Remove from the oven and let the cookies cool on the baking sheet for 5 minutes before transferring them to a wire rack to cool completely.
6. Dust with Powdered Sugar
- Once the cookies have fully cooled, generously dust them with powdered sugar for a beautiful finishing touch. This adds a slight sweetness and enhances their visual appeal.
Beginner Tips and Notes
- Chilling is Key – Always refrigerate the dough for at least an hour before rolling. This prevents stickiness and helps maintain the shape of the cookies.
- Avoid Overfilling – Too much jam can cause it to ooze out while baking. Stick to a small teaspoon per cookie.
- Sealing the Edges – If your cookies keep unfolding, brush a tiny amount of egg wash on the edges before folding to help them stick.
- Even Thickness – Roll out the dough evenly to ensure all cookies bake at the same rate. Using rolling pin guides or measuring strips can help.
- Baking Time May Vary – Keep an eye on the cookies, as oven temperatures can vary. They should be lightly golden around the edges but not overly browned.
Serving Suggestions
Hungarian Cookie Treasures are delightful on their own, but you can enhance your experience by pairing them with:
- Hot Beverages – Enjoy with coffee, tea, or hot chocolate for a cozy treat.
- Dipped in Chocolate – Partially dip the cooled cookies in melted chocolate for a decadent touch.
- With Ice Cream – Serve alongside vanilla or caramel ice cream for a delicious contrast of textures.
- Holiday Cookie Platter – Arrange them on a festive platter with other cookies like shortbread or gingerbread for an impressive display.
Storage Tips
- Room Temperature – Store cookies in an airtight container at room temperature for up to 5 days.
- Refrigeration – If your home is warm, store them in the fridge to keep the filling fresh.
- Freezing Option – The cookies freeze well! Place them in a single layer on a baking sheet to freeze individually before transferring to an airtight container. Thaw at room temperature before serving.
Final Thoughts
Hungarian Cookie Treasures are a joy to make and even more delightful to eat. Whether you’re baking these for a festive occasion, sharing them as gifts, or simply treating yourself, they are guaranteed to bring warmth and happiness to your kitchen. With their buttery, melt-in-your-mouth texture and customizable fillings, these cookies are a perfect introduction to baking for beginners.
Now it’s your turn! Try this recipe and let me know how it turns out. What fillings did you use? Did you put your own creative spin on them? Share your baking experience in the comments—I’d love to hear from you!