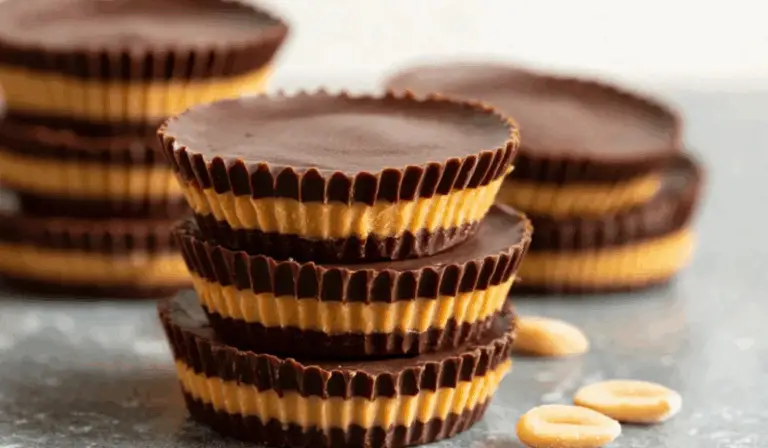
Ingredients
Chocolate Layer:
-
1 cup dark chocolate chips
-
1 tablespoon coconut oil
Peanut Butter Filling:
-
½ cup natural peanut butter (unsweetened, smooth or crunchy)
-
1 tablespoon honey or maple syrup
-
¼ teaspoon vanilla extract (optional)
-
Pinch of sea salt
Note: Use maple syrup and dairy-free chocolate chips to make these fully vegan.
Instructions
1. Melt the Chocolate
-
Add the chocolate chips and coconut oil to a microwave-safe bowl.
-
Microwave in 30-second intervals, stirring in between, until smooth and fully melted.
-
Alternatively, use a double boiler on the stovetop over low heat to gently melt the mixture.
2. Mix the Peanut Butter Filling
-
In another bowl, stir together the peanut butter, honey or maple syrup, vanilla extract (if using), and a pinch of sea salt.
-
Mix until smooth and thick but spoonable. The filling should hold its shape without being too stiff or too runny.
3. Create the Chocolate Base
-
Line a muffin tin with paper or silicone liners.
-
Spoon about 1 to 1½ teaspoons of the melted chocolate mixture into each cup, tilting or spreading it to cover the bottom evenly.
-
Place the muffin tin in the freezer for 10–15 minutes to allow the base to harden.
4. Add the Peanut Butter Layer
-
Once the bottom chocolate layer is firm, remove the tin from the freezer.
-
Spoon around 1 teaspoon of the peanut butter mixture onto each base.
-
Press lightly with the back of the spoon or spatula to spread the filling without pressing through the bottom chocolate.
5. Top with More Chocolate
-
Add another teaspoon or so of the remaining melted chocolate on top of each cup to cover the peanut butter layer completely.
-
Smooth the tops with the back of the spoon.
-
Optionally, sprinkle with a small pinch of flaky sea salt for a gourmet touch.
6. Chill Until Set
-
Return the muffin tin to the freezer for 20–30 minutes or until the peanut butter cups are fully set.
-
Once firm, transfer to an airtight container and store in the refrigerator or freezer.
Notes
- Choosing the Right Chocolate:
- Use dark chocolate for a deeper flavor and lower sugar content.
- Ensure chips are dairy-free if you’re making vegan cups.
- Semi-sweet chocolate works if you prefer a milder taste.
- Natural Peanut Butter Tips:
- Stir thoroughly before using to incorporate any separated oil.
- Use a thicker variety for easier handling—overly runny peanut butter may spread too much.
- Melting Chocolate Safely:
- Do not overheat. Melt in intervals and stir often.
- If using a double boiler, make sure the bowl doesn’t touch the simmering water to avoid burning.
- Silicone Liners for Easy Release:
- Silicone muffin liners work best because they peel off cleanly.
- If using paper liners, chill thoroughly before peeling to prevent sticking.
- Layer Firming:
- Always let each layer harden before adding the next. This prevents mixing and ensures neat, professional-looking cups.
- Add Texture:
- For crunch, stir in crushed nuts or crispy rice to the filling.
- A tiny spoonful of chia seeds can add nutrition and texture without changing the taste.
- Prep Time: 15 minutes