There is something universally comforting about chicken nuggets. Whether they remind you of childhood meals, a quick bite during a busy day, or a go-to snack for gatherings, they are a beloved favorite. While store-bought or fast-food nuggets offer convenience, making them at home allows you to enjoy a fresher, healthier, and more flavorful version without unnecessary additives or preservatives.
Print
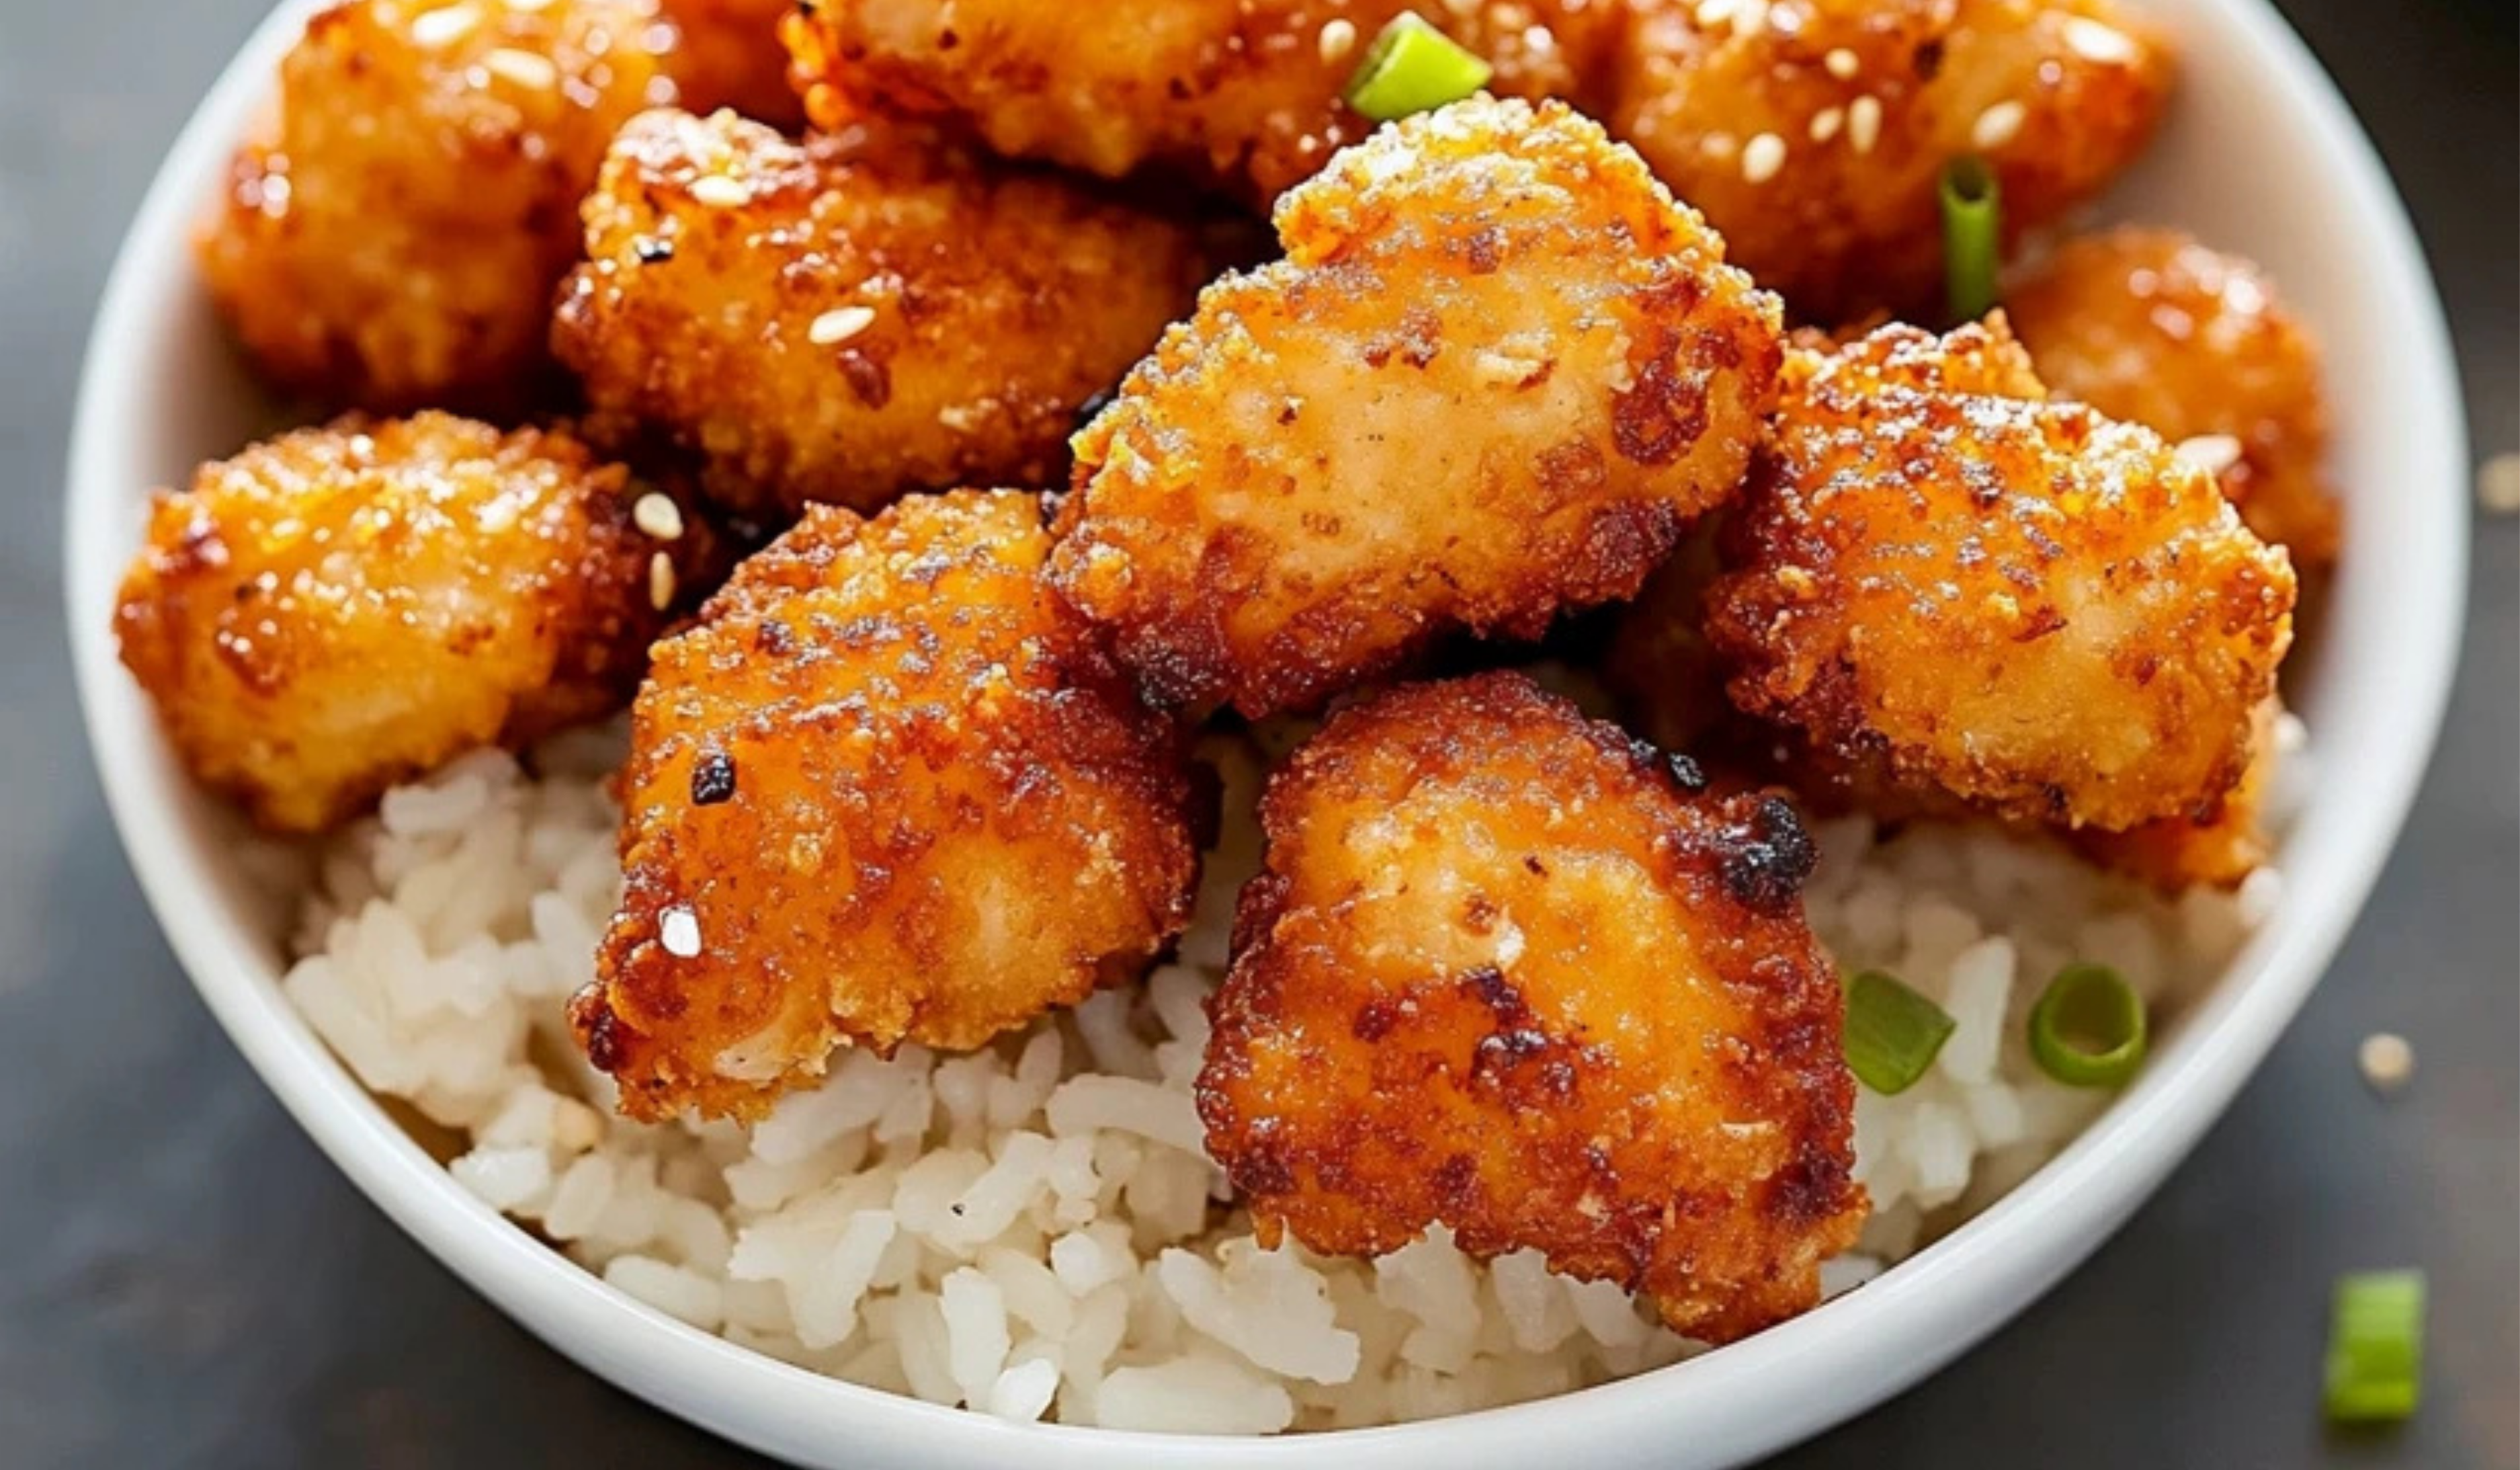
Homemade Chicken Nuggets: A Beginner-Friendly Guide to Crispy Perfection
Say goodbye to store-bought and hello to Homemade Chicken Nuggets! Golden, crispy, and packed with flavor, these nuggets are easy to make and perfect for beginner cooks. Whether it’s a snack, lunch, or dinner, every bite is pure crunchy perfection. Dip them, dunk them, and enjoy! 🍗✨
- Total Time: 25 minutes
- Yield: 4 people 1x
Ingredients
Main Ingredients
- 1 pound chicken breast (cut into bite-sized pieces)
Breading Mixture
- 1 cup breadcrumbs (regular or panko for extra crispiness)
- 1 teaspoon salt (adjust based on preference)
- 1 teaspoon black pepper (for balanced seasoning)
- 1 teaspoon garlic powder (adds depth of flavor)
- 1 teaspoon onion powder (enhances taste)
Binding Ingredient
- 1 large egg (beaten, helps the breading adhere to the chicken)
Instructions
- Preheat the Oven
- Set your oven to 400°F (200°C) and line a baking sheet with parchment paper or lightly grease it to prevent sticking. If you prefer frying, heat oil in a deep pan to 350°F (175°C).
- Prepare the Breading Mixture
- In a medium-sized bowl, combine breadcrumbs, salt, black pepper, garlic powder, and onion powder. Stir well to evenly distribute the seasonings.
- Coat the Chicken
- Beat the egg in a separate bowl. Dip each piece of chicken breast into the egg, ensuring it is fully coated.
- Transfer the egg-coated chicken to the breadcrumb mixture. Press lightly to ensure the crumbs adhere well, then shake off any excess.
- Arrange on a Baking Sheet
- Place the coated chicken pieces in a single layer on the prepared baking sheet, making sure they do not touch each other. This helps them cook evenly and get crispy.
- Bake Until Golden Brown
- Bake for 15 minutes, turning the nuggets halfway through for even crispiness. Check for doneness by cutting one nugget open—the inside should be white, and the juices should run clear. The internal temperature should reach 165°F (75°C) when measured with a meat thermometer.
- Alternative Cooking Methods
- Frying: Heat oil in a deep pan and fry the nuggets for 3-4 minutes per side until golden brown. Drain excess oil by placing them on a paper towel-lined plate.
- Air-Frying: Preheat the air fryer to 375°F (190°C) and cook for 12 minutes, shaking the basket halfway through for even cooking.
Notes
How to Ensure Crispy Nuggets
- Use panko breadcrumbs instead of regular breadcrumbs for a crispier texture.
- If baking, spray the nuggets lightly with cooking oil before placing them in the oven. This helps achieve a golden-brown crust.
- Avoid overcrowding the baking sheet or air fryer basket, as this can cause the nuggets to steam instead of crisp up.
How to Tell If the Chicken Is Cooked Through
- Cut one nugget open—it should be fully white with no pink in the center.
- If using a thermometer, ensure the internal temperature reaches 165°F (75°C).
Troubleshooting Common Issues
- If the nuggets are too dry: Try marinating the chicken in a little buttermilk for 15-20 minutes before coating. This keeps the chicken moist while cooking.
- If the breading falls off: Ensure the chicken pieces are completely dry before dipping them into the egg. Press the breadcrumbs firmly onto the chicken to help them adhere better.
- If the nuggets are not crispy enough: Increase the oven temperature slightly in the last 5 minutes or broil for a short time to add crispiness.
- Prep Time: 10 minutes
- Cook Time: 15 minutes
This recipe is ideal for beginners. It uses simple ingredients, requires minimal cooking skills, and follows an easy step-by-step process. You do not need specialized kitchen equipment or advanced techniques—just a few basic tools, a handful of ingredients, and a little bit of patience. Plus, homemade chicken nuggets can be customized to suit your taste. You can bake them for a healthier alternative, fry them for a classic crispy texture, or even air-fry them for a balance of both.
By making your own nuggets, you also gain control over what goes into them. You can opt for high-quality chicken, adjust the seasoning to your preference, and choose a cooking method that suits your dietary needs. This recipe will guide you through the entire process, providing practical tips, common troubleshooting advice, and serving suggestions to elevate your homemade nuggets to perfection.
Ingredients and Preparation
Main Ingredients
- 1 pound chicken breast (cut into bite-sized pieces)
Breading Mixture
- 1 cup breadcrumbs (regular or panko for extra crispiness)
- 1 teaspoon salt (adjust based on preference)
- 1 teaspoon black pepper (for balanced seasoning)
- 1 teaspoon garlic powder (adds depth of flavor)
- 1 teaspoon onion powder (enhances taste)
Binding Ingredient
- 1 large egg (beaten, helps the breading adhere to the chicken)
Alternative Ingredient Suggestions
- Breadcrumbs: If you want a lighter, crunchier texture, use panko breadcrumbs instead of regular ones. For a gluten-free version, opt for crushed cornflakes or almond flour.
- Seasoning: Feel free to add smoked paprika, cayenne pepper for a hint of spice, or dried herbs like oregano and parsley for extra flavor.
- Egg Substitute: If you are allergic to eggs or prefer an alternative, use buttermilk or a mixture of milk and a tablespoon of flour to help the breading stick.
Step-by-Step Instructions
- Preheat the Oven
- Set your oven to 400°F (200°C) and line a baking sheet with parchment paper or lightly grease it to prevent sticking. If you prefer frying, heat oil in a deep pan to 350°F (175°C).
- Prepare the Breading Mixture
- In a medium-sized bowl, combine breadcrumbs, salt, black pepper, garlic powder, and onion powder. Stir well to evenly distribute the seasonings.
- Coat the Chicken
- Beat the egg in a separate bowl. Dip each piece of chicken breast into the egg, ensuring it is fully coated.
- Transfer the egg-coated chicken to the breadcrumb mixture. Press lightly to ensure the crumbs adhere well, then shake off any excess.
- Arrange on a Baking Sheet
- Place the coated chicken pieces in a single layer on the prepared baking sheet, making sure they do not touch each other. This helps them cook evenly and get crispy.
- Bake Until Golden Brown
- Bake for 15 minutes, turning the nuggets halfway through for even crispiness. Check for doneness by cutting one nugget open—the inside should be white, and the juices should run clear. The internal temperature should reach 165°F (75°C) when measured with a meat thermometer.
- Alternative Cooking Methods
- Frying: Heat oil in a deep pan and fry the nuggets for 3-4 minutes per side until golden brown. Drain excess oil by placing them on a paper towel-lined plate.
- Air-Frying: Preheat the air fryer to 375°F (190°C) and cook for 12 minutes, shaking the basket halfway through for even cooking.
Beginner Tips and Notes
How to Ensure Crispy Nuggets
- Use panko breadcrumbs instead of regular breadcrumbs for a crispier texture.
- If baking, spray the nuggets lightly with cooking oil before placing them in the oven. This helps achieve a golden-brown crust.
- Avoid overcrowding the baking sheet or air fryer basket, as this can cause the nuggets to steam instead of crisp up.
How to Tell If the Chicken Is Cooked Through
- Cut one nugget open—it should be fully white with no pink in the center.
- If using a thermometer, ensure the internal temperature reaches 165°F (75°C).
Troubleshooting Common Issues
- If the nuggets are too dry: Try marinating the chicken in a little buttermilk for 15-20 minutes before coating. This keeps the chicken moist while cooking.
- If the breading falls off: Ensure the chicken pieces are completely dry before dipping them into the egg. Press the breadcrumbs firmly onto the chicken to help them adhere better.
- If the nuggets are not crispy enough: Increase the oven temperature slightly in the last 5 minutes or broil for a short time to add crispiness.

Serving Suggestions
Homemade chicken nuggets can be enjoyed on their own or paired with delicious sides and dipping sauces to enhance their flavor. Here are some ideas to make your meal complete:
Side Dish Ideas
- Oven-baked fries – Classic pairing for a balanced meal.
- Steamed vegetables – A healthy option that adds freshness.
- Rice or quinoa – A hearty base to turn nuggets into a full meal.
- Simple salad – A refreshing side with a light vinaigrette dressing.
Dipping Sauce Recommendations
- Honey mustard – Sweet and tangy flavor contrast.
- Barbecue sauce – Smoky and slightly sweet complement.
- Garlic yogurt dip – Creamy and refreshing.
- Homemade ketchup – A healthier alternative to store-bought versions.
Storage and Reheating Tips
- Store leftover nuggets in an airtight container in the refrigerator for up to 3 days.
- To reheat, bake at 350°F (175°C) for 10 minutes or air-fry for a few minutes until warmed through. Avoid microwaving, as it can make them soggy.
- For longer storage, freeze the nuggets on a baking sheet before transferring them to a freezer-safe bag. Reheat directly from frozen at 375°F (190°C) for 15 minutes.
Conclusion
Making homemade chicken nuggets is not only easy but also a rewarding experience for beginner cooks. With just a handful of ingredients and simple steps, you can enjoy crispy, flavorful nuggets that are healthier and fresher than store-bought alternatives.
This recipe is also highly adaptable—whether you choose to bake, fry, or air-fry them, you can tweak the seasonings and ingredients to match your taste preferences. Plus, learning to make them from scratch gives you greater confidence in the kitchen and helps you gain valuable cooking skills.
Now it is time to put this recipe to the test. Try it out and let us know how it turned out for you. Did you experiment with different seasonings? Did you find a favorite dipping sauce? Share your experience in the comments, and let us know if you have any questions. Happy cooking!