Lemon bars are a classic dessert that balances the tartness of citrus with the sweetness of a buttery shortbread crust. In this version, we take the traditional lemon bar to a whole new level with the vibrant flavor and stunning color of hibiscus. Hibiscus, known for its deep crimson hue and tangy, floral notes, pairs beautifully with fresh lemon juice, resulting in bars that are both visually striking and delicious. Whether you’re preparing a treat for afternoon tea, a spring celebration, or simply satisfying a citrus craving, hibiscus lemon bars are a delightful and unique choice. With their refreshing taste and eye-catching appearance, they’re guaranteed to impress both visually and on the palate. Best of all, this recipe is accessible for beginners and requires no special equipment—just your enthusiasm and a love for flavor-forward baking. The instructions below will walk you through every step of the process, ensuring a smooth and rewarding baking experience.

Ingredients and Preparation
Before you begin baking, gather all the ingredients and prepare your workspace. A little prep goes a long way in making your process smooth and stress-free.
For the Crust:
- ½ cup (1 stick) unsalted butter, softened to room temperature
- ¼ cup granulated sugar
- 1 cup all-purpose flour
- Pinch of salt
- 1 teaspoon vanilla bean paste or vanilla extract
For the Filling:
- ½ cup fresh lemon juice (from about 2 to 3 lemons)
- 1 tablespoon dried hibiscus flowers or loose hibiscus tea
- 3 large eggs
- 1½ cups granulated sugar
- ½ cup all-purpose flour
For Garnish:
- Powdered sugar, for dusting after baking
Preparation Notes:
- Use only fresh lemon juice for the best flavor; bottled juice won’t deliver the same brightness.
- If dried hibiscus flowers aren’t available, you can substitute with hibiscus tea bags—use 2 bags for every tablespoon of dried flowers.
- Make sure your butter is softened, not melted, to ensure a light, crumbly crust.
Step-by-Step Instructions
Follow these simple steps to make perfect hibiscus lemon bars every time.
Step 1: Prepare the Baking Pan
- Preheat your oven to 350°F (175°C).
- Line a 9×9-inch square baking pan with parchment paper, allowing some to overhang on the sides for easy lifting after baking.
Step 2: Make the Crust
3. In a medium bowl, cream together the softened butter and granulated sugar until the mixture is light and fluffy.
4. Add the vanilla bean paste and a pinch of salt. Mix to combine.
5. Stir in the flour gradually, mixing just until no streaks remain. The dough will be soft and crumbly.
6. Press the dough evenly into the bottom of your prepared pan, using floured fingers or the back of a spoon.
7. Chill the crust in the refrigerator for 15 minutes before baking. This helps the crust hold its shape and prevents it from puffing up.
8. Bake the crust for 15 to 18 minutes or until it is just starting to turn golden around the edges.
9. Remove from the oven and set aside to cool slightly while you prepare the filling.
Step 3: Infuse the Lemon Juice with Hibiscus
10. In a small bowl or saucepan, combine the lemon juice and dried hibiscus.
11. Let it steep for 10 to 15 minutes, or until the lemon juice turns a deep pink hue.
12. Strain the mixture through a fine mesh sieve to remove the solids. You’ll be left with a beautifully colored, floral lemon juice.
Step 4: Prepare the Filling
13. In a separate large bowl, whisk together the eggs and sugar until smooth and pale.
14. Slowly pour in the hibiscus-infused lemon juice, whisking continuously to prevent curdling.
15. Add the flour gradually, stirring until the mixture is completely smooth and lump-free.
16. Pour the filling over the warm, partially baked crust. Tilt the pan gently to spread the filling evenly.
Step 5: Bake the Bars
17. Return the pan to the oven and bake for 20 to 25 minutes, or until the center is set and no longer jiggles when gently shaken.
18. Allow the bars to cool completely in the pan. For clean slices, refrigerate the cooled bars for 1 to 2 hours before cutting.
Step 6: Serve
19. Lift the bars out of the pan using the parchment overhang and transfer to a cutting board.
20. Slice into squares or rectangles with a sharp knife, wiping the blade clean between cuts.
21. Dust the tops with powdered sugar just before serving.
Beginner Tips and Notes
- Don’t skip chilling the crust before baking. This step is key to preventing shrinkage and achieving a perfect shortbread texture.
- Steeping hibiscus too long can result in an overly strong, slightly bitter flavor. Ten to fifteen minutes is ideal.
- Always strain the hibiscus lemon juice well to avoid small flower bits in your filling.
- If your bars come out too gooey, they likely needed a few extra minutes in the oven. Use the jiggle test as your guide.
- Powdered sugar tends to dissolve into moist surfaces, so dust the bars just before serving for best appearance.
- Want a slightly tangier flavor? Add 1 teaspoon of lemon zest to the filling.
- If you don’t have vanilla bean paste, vanilla extract works just fine. The paste simply adds a richer vanilla profile.
Serving Suggestions
Hibiscus lemon bars are ideal for a wide range of occasions, and a few thoughtful touches can elevate the experience:
- Serve chilled for the most refreshing flavor. These bars are perfect on warm spring or summer days.
- Pair them with hot or iced hibiscus tea to highlight the floral notes in the dessert.
- Plate them with a dollop of whipped cream and a sprig of mint for added elegance at a dinner party.
- These bars are a beautiful addition to a dessert buffet or picnic basket. Their vibrant color makes them stand out.
- For a special touch, garnish each square with a few edible dried flowers or a thin lemon slice.
- You can also serve them alongside a fruit salad with berries, oranges, or kiwi for a balanced and colorful dessert plate.

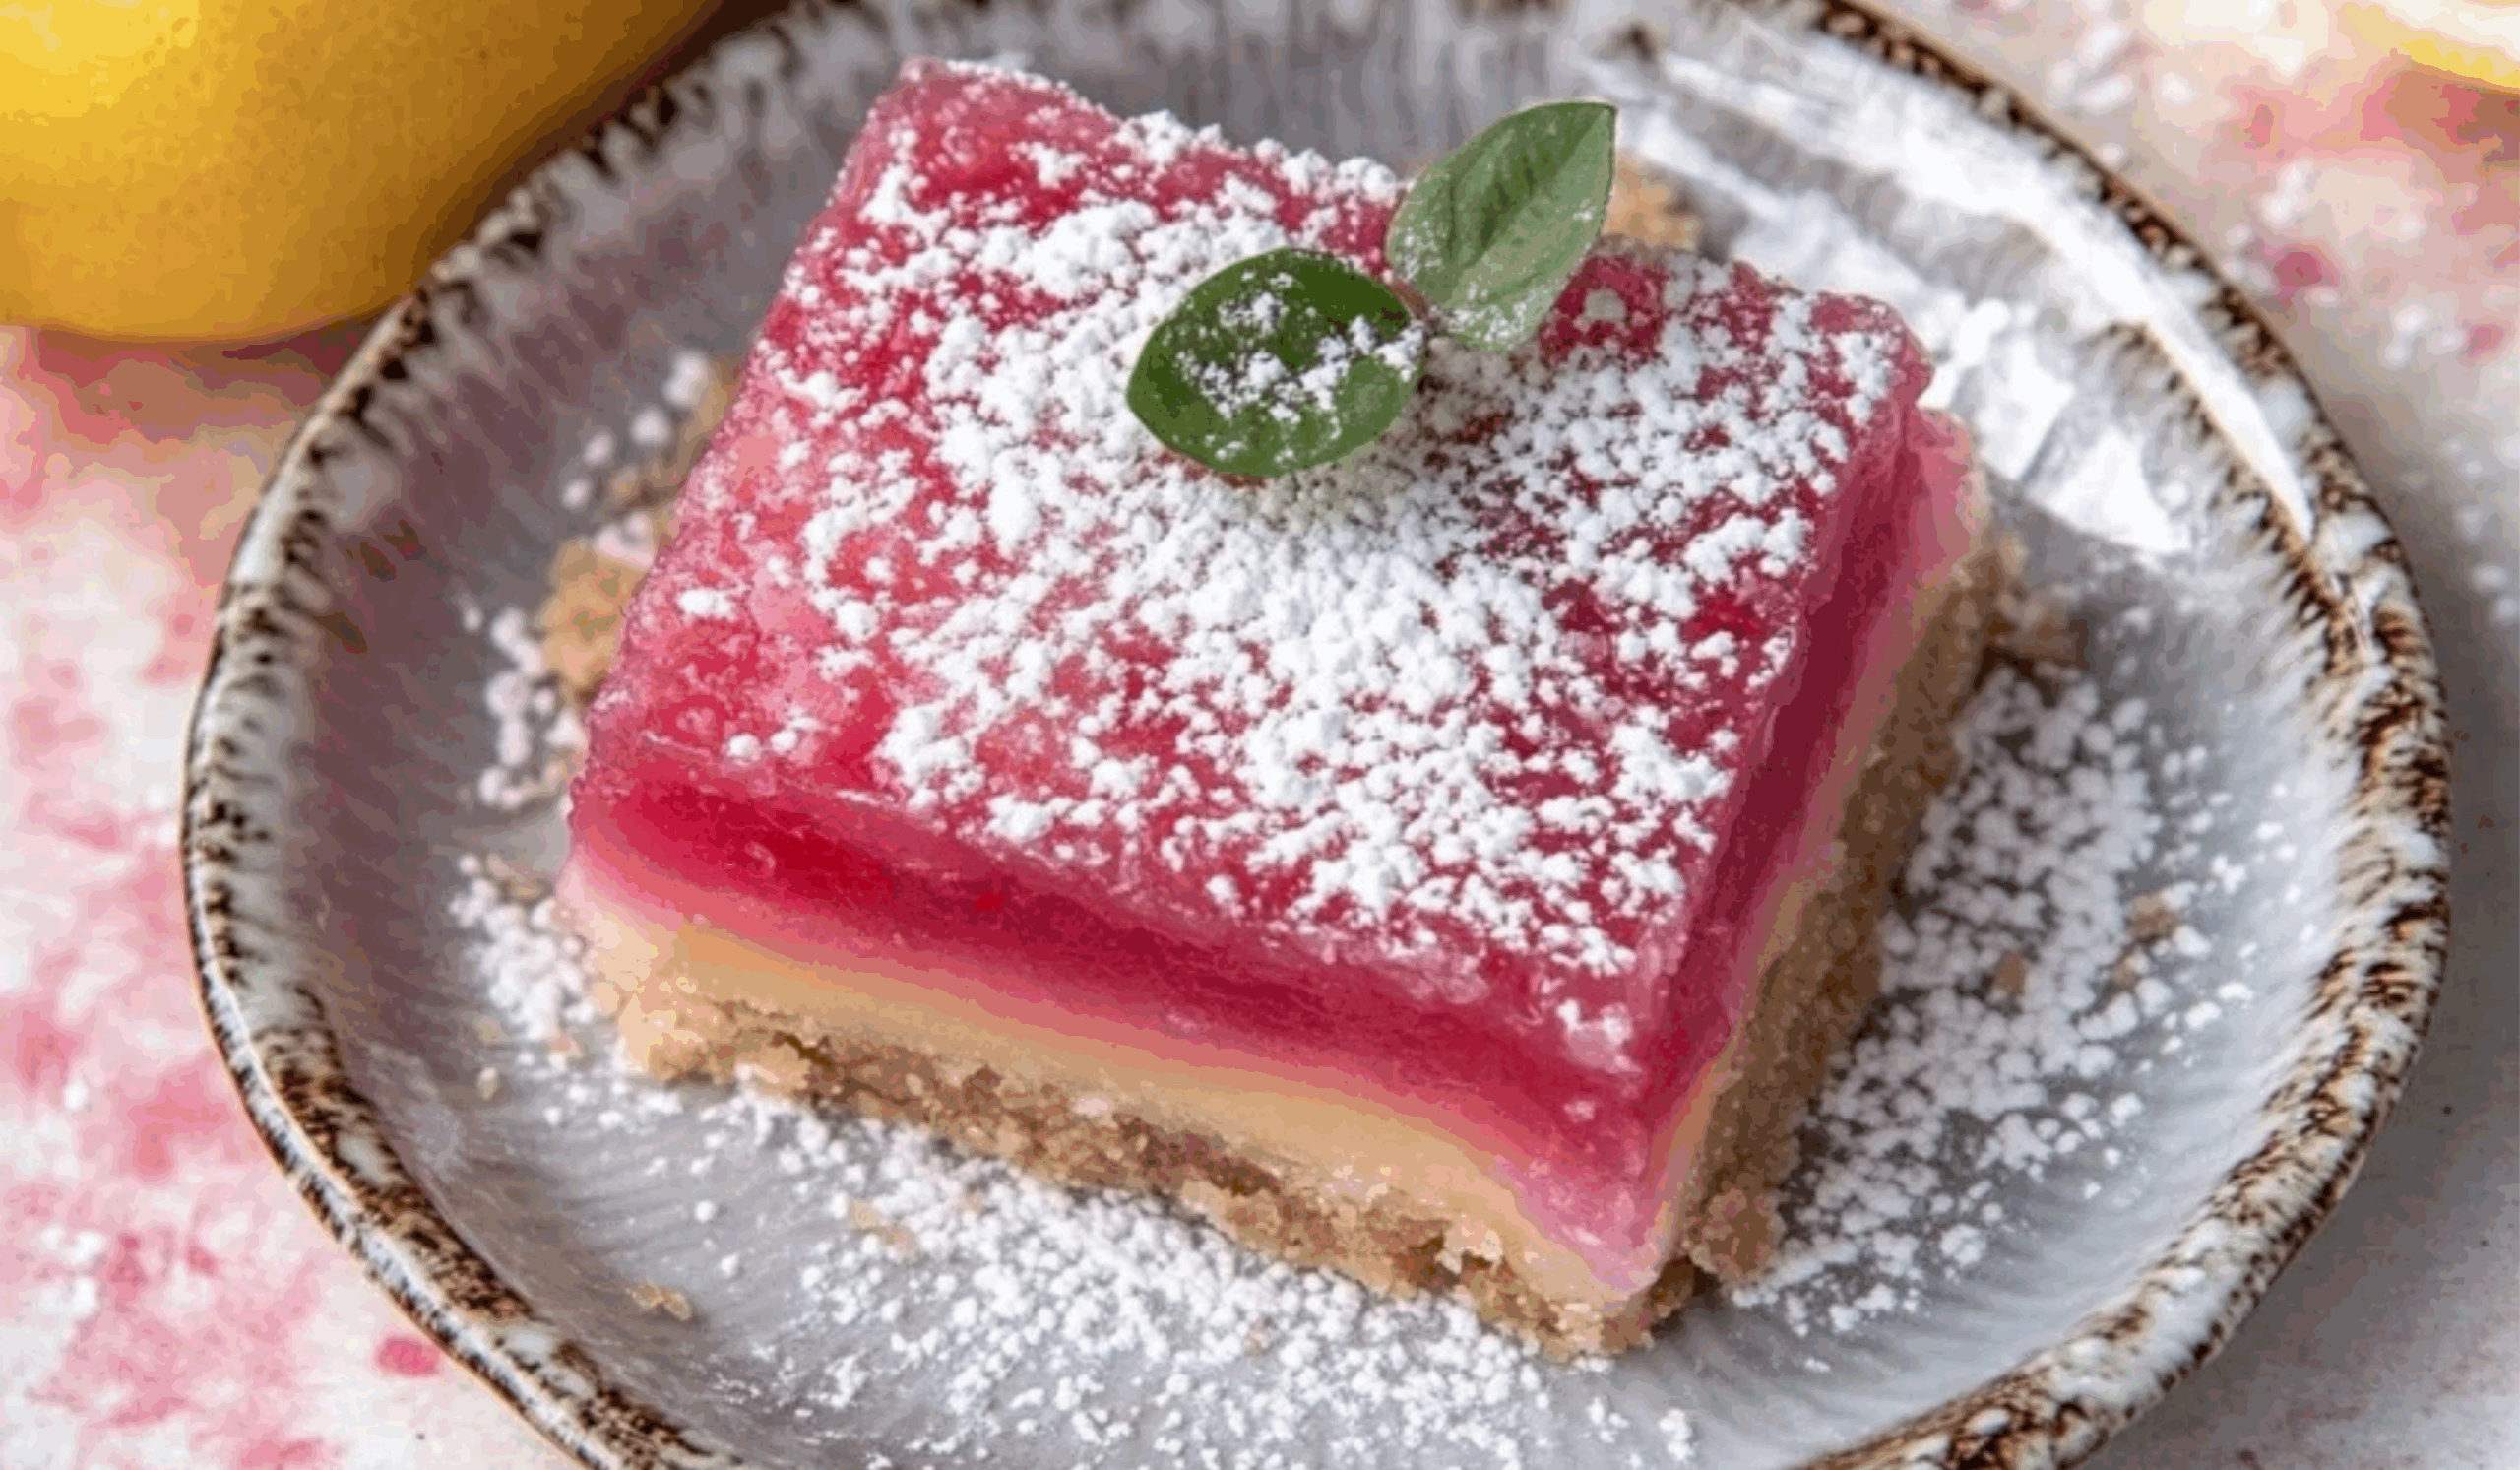
Hibiscus Lemon Bars: A Bright and Zesty Dessert with a Floral Twist
Add a floral twist to your dessert table with these Hibiscus Lemon Bars! 🍋🌺 Bright, tangy lemon meets delicate hibiscus for a dreamy, colorful bite that’s as refreshing as it is delicious. With a buttery shortbread crust and vibrant filling, they’re perfect for spring picnics, tea parties, or anytime you need a zesty pick-me-up! ✨🌸
- Total Time: 45 minutes
- Yield: 16 bars 1x
Ingredients
For the Crust:
-
½ cup (1 stick) unsalted butter, softened to room temperature
-
¼ cup granulated sugar
-
1 cup all-purpose flour
-
Pinch of salt
-
1 teaspoon vanilla bean paste or vanilla extract
For the Filling:
-
½ cup fresh lemon juice (from about 2 to 3 lemons)
-
1 tablespoon dried hibiscus flowers or loose hibiscus tea
-
3 large eggs
-
1½ cups granulated sugar
-
½ cup all-purpose flour
For Garnish:
-
Powdered sugar, for dusting after baking
Preparation Notes:
-
Use only fresh lemon juice for the best flavor; bottled juice won’t deliver the same brightness.
-
If dried hibiscus flowers aren’t available, you can substitute with hibiscus tea bags—use 2 bags for every tablespoon of dried flowers.
-
Make sure your butter is softened, not melted, to ensure a light, crumbly crust.
Instructions
Step 1: Prepare the Baking Pan
-
Preheat your oven to 350°F (175°C).
-
Line a 9×9-inch square baking pan with parchment paper, allowing some to overhang on the sides for easy lifting after baking.
Step 2: Make the Crust
3. In a medium bowl, cream together the softened butter and granulated sugar until the mixture is light and fluffy.
4. Add the vanilla bean paste and a pinch of salt. Mix to combine.
5. Stir in the flour gradually, mixing just until no streaks remain. The dough will be soft and crumbly.
6. Press the dough evenly into the bottom of your prepared pan, using floured fingers or the back of a spoon.
7. Chill the crust in the refrigerator for 15 minutes before baking. This helps the crust hold its shape and prevents it from puffing up.
8. Bake the crust for 15 to 18 minutes or until it is just starting to turn golden around the edges.
9. Remove from the oven and set aside to cool slightly while you prepare the filling.
Step 3: Infuse the Lemon Juice with Hibiscus
10. In a small bowl or saucepan, combine the lemon juice and dried hibiscus.
11. Let it steep for 10 to 15 minutes, or until the lemon juice turns a deep pink hue.
12. Strain the mixture through a fine mesh sieve to remove the solids. You’ll be left with a beautifully colored, floral lemon juice.
Step 4: Prepare the Filling
13. In a separate large bowl, whisk together the eggs and sugar until smooth and pale.
14. Slowly pour in the hibiscus-infused lemon juice, whisking continuously to prevent curdling.
15. Add the flour gradually, stirring until the mixture is completely smooth and lump-free.
16. Pour the filling over the warm, partially baked crust. Tilt the pan gently to spread the filling evenly.
Step 5: Bake the Bars
17. Return the pan to the oven and bake for 20 to 25 minutes, or until the center is set and no longer jiggles when gently shaken.
18. Allow the bars to cool completely in the pan. For clean slices, refrigerate the cooled bars for 1 to 2 hours before cutting.
Step 6: Serve
19. Lift the bars out of the pan using the parchment overhang and transfer to a cutting board.
20. Slice into squares or rectangles with a sharp knife, wiping the blade clean between cuts.
21. Dust the tops with powdered sugar just before serving.
Notes
- Don’t skip chilling the crust before baking. This step is key to preventing shrinkage and achieving a perfect shortbread texture.
- Steeping hibiscus too long can result in an overly strong, slightly bitter flavor. Ten to fifteen minutes is ideal.
- Always strain the hibiscus lemon juice well to avoid small flower bits in your filling.
- If your bars come out too gooey, they likely needed a few extra minutes in the oven. Use the jiggle test as your guide.
- Powdered sugar tends to dissolve into moist surfaces, so dust the bars just before serving for best appearance.
- Want a slightly tangier flavor? Add 1 teaspoon of lemon zest to the filling.
- If you don’t have vanilla bean paste, vanilla extract works just fine. The paste simply adds a richer vanilla profile.
- Prep Time: 20 minutes
- Cook Time: 25 minutes
Engagement Features
Have you tried making these hibiscus lemon bars? We’d love to hear how it went. Did you stick with the original recipe or make some creative adjustments? Maybe you tried a different citrus like lime or orange, or added some zest for more flavor. Share your experience and let others in the community know what worked well for you. If you have questions, whether about steeping hibiscus, adjusting sweetness, or getting the right consistency, don’t hesitate to ask. These conversations help other home bakers improve their skills and enjoy their time in the kitchen. Your feedback is valuable—leave a comment with your results, a photo of your bars, or even a suggestion for what you’d like to bake next. Let’s build a helpful space where baking is joyful, flavorful, and rewarding for everyone.