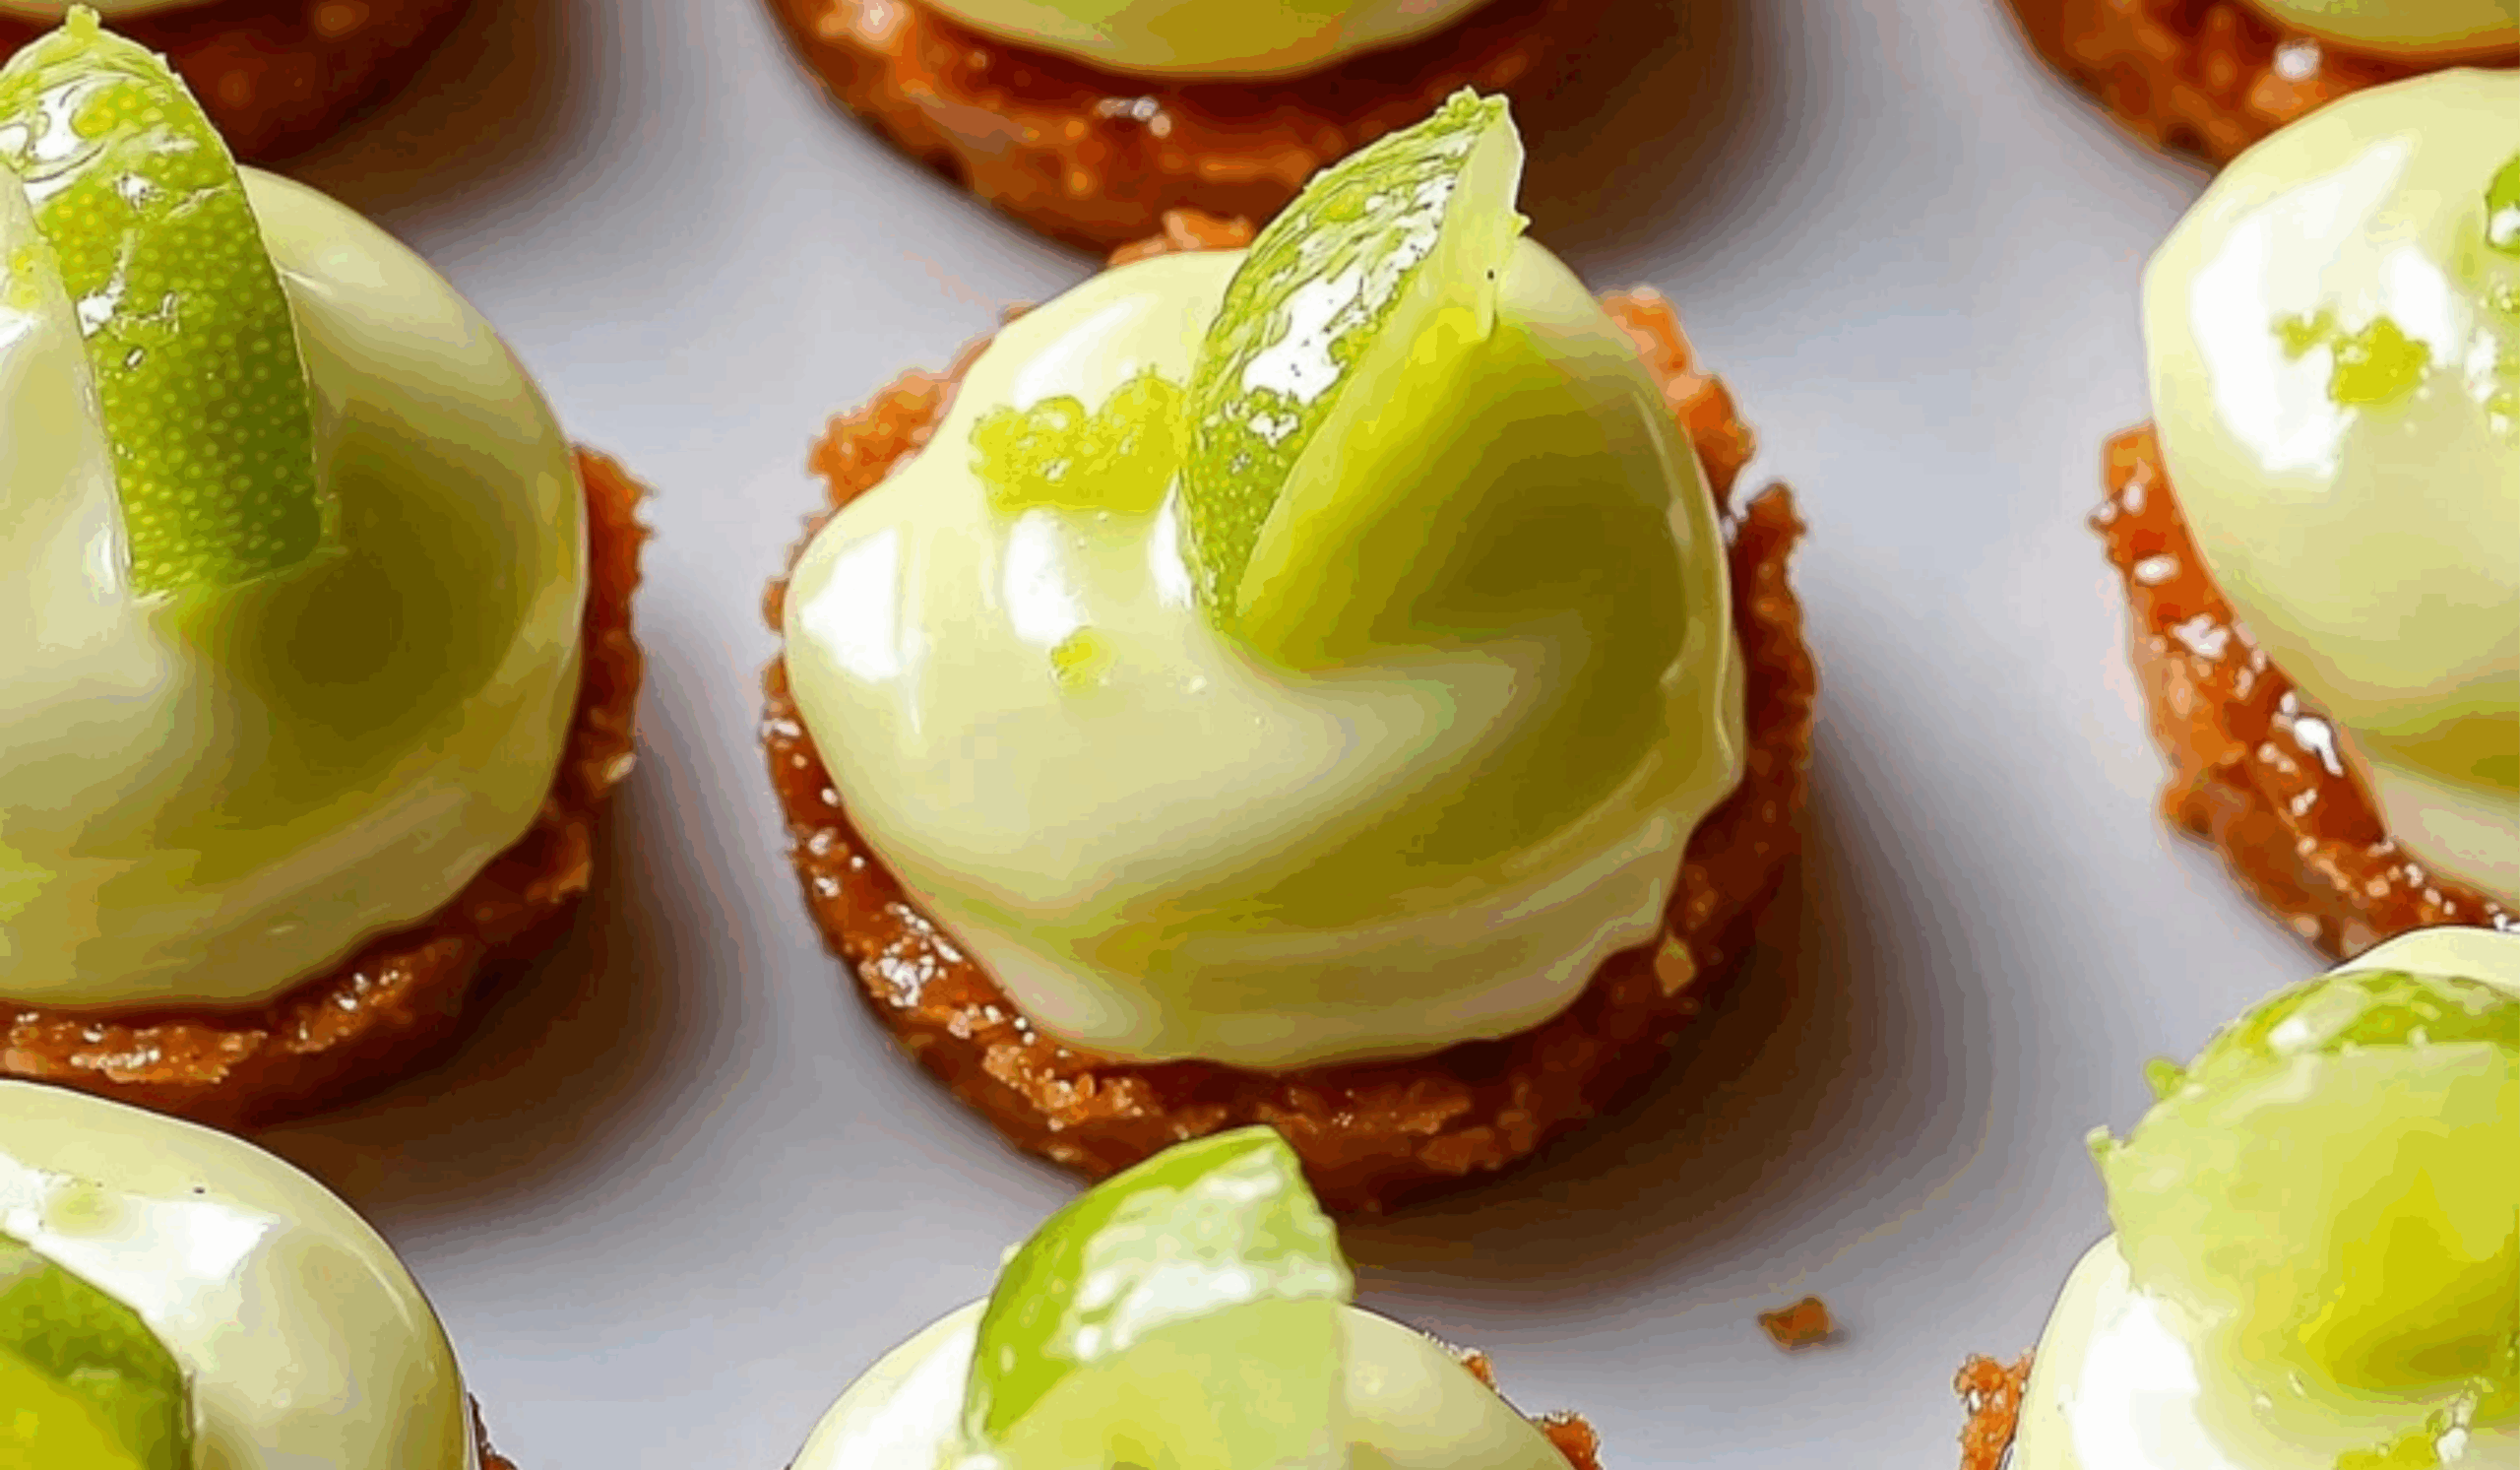
Key lime pie is a classic American dessert with roots tracing back to the Florida Keys. Known for its vibrant tartness balanced by a sweet, creamy texture, traditional key lime pie is a favorite for many. However, it often requires baking, which can be time-consuming and challenging for beginners. This recipe simplifies the process by creating a no-bake version of mini key lime pies that deliver the same delicious flavors without the fuss.
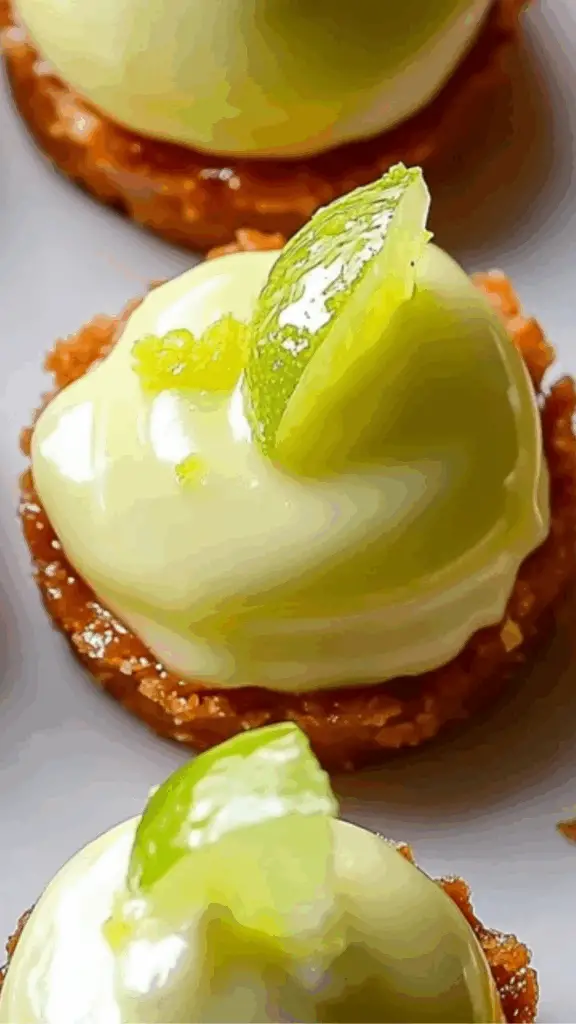
These individual-sized pies are perfect for portion control, parties, or whenever you want a quick, refreshing dessert. This version avoids any pork, ham, or bacon and focuses on fresh, simple ingredients to keep it light and accessible. Whether you’re a beginner baker or looking for a cool treat to enjoy on a warm day, these mini pies are an excellent choice.
Ingredients and Preparation
Before getting started, gather the following ingredients. This recipe is straightforward and uses common pantry items:
Crust:
- 1 cup graham cracker crumbs
- ¼ cup melted butter
- 2 tablespoons granulated sugar
Filling:
- 1 (14-ounce) can sweetened condensed milk
- ⅓ cup key lime juice (freshly squeezed preferred)
- 1 teaspoon lime zest
Topping:
- 1 cup heavy cream
- 2 tablespoons powdered sugar
- Lime slices or zest for garnish (optional)
Preparation notes:
- Use fresh key lime juice for the best tangy flavor; bottled juice can be used but may alter the freshness.
- Graham cracker crumbs can be store-bought or homemade by crushing graham crackers in a plastic bag with a rolling pin.
- Ensure the butter is melted but not hot when mixing with the crumbs to avoid sogginess.
Step-by-Step Instructions
- Prepare the crust:
- In a medium bowl, combine 1 cup graham cracker crumbs, ¼ cup melted butter, and 2 tablespoons sugar.
- Stir until the mixture resembles wet sand and all crumbs are moistened evenly.
- Line a standard muffin tin with cupcake liners or grease it lightly.
- Divide the crumb mixture evenly among 12 muffin cups.
- Using the back of a spoon or your fingers, press the crumbs firmly into the bottom and slightly up the sides to form a compact crust. Firm pressure ensures the crust holds together well.
- Make the filling:
- In a separate bowl, whisk together 1 can of sweetened condensed milk, ⅓ cup fresh key lime juice, and 1 teaspoon lime zest until smooth and well combined. The mixture will thicken slightly as it blends.
- Assemble the pies:
- Pour or spoon the lime filling evenly over each prepared crust. Fill each cup nearly to the top but leave space for whipped cream topping.
- Chill the pies:
- Place the muffin tin in the refrigerator and chill for at least 2 hours or until the filling is fully set. For best results, allow them to chill overnight.
- Prepare the whipped cream topping:
- Before serving, pour 1 cup heavy cream and 2 tablespoons powdered sugar into a chilled bowl.
- Using a hand mixer or stand mixer, whip the cream until stiff peaks form. Avoid overwhipping to prevent the cream from turning grainy.
- Serve the pies:
- Top each mini pie with a generous dollop of freshly whipped cream.
- Garnish with a thin lime slice or sprinkle with extra lime zest for an elegant touch.
- Serve immediately or keep refrigerated until ready to enjoy.
Beginner Tips and Notes
- Chilling the bowl and beaters for whipping cream: Place your mixing bowl and beaters in the refrigerator for 15-20 minutes before whipping the cream. This helps the cream whip faster and hold its structure longer.
- Pressing the crust firmly: If the crust isn’t compacted enough, it may crumble when eating. Use firm, even pressure to ensure a solid base.
- Using fresh key lime juice: For the best flavor, squeeze fresh key limes yourself. Bottled juice can work in a pinch but lacks the bright, fresh taste. If key limes aren’t available, regular limes can be used, though flavor will be slightly different.
- Avoiding overmixing the whipped cream: Watch carefully when whipping cream; once stiff peaks form, stop mixing to avoid turning the cream into butter.
- Chilling time: Do not skip or shorten the refrigeration time. The filling needs time to set properly to hold its shape and texture.
- Substitutions: If you prefer, the crust can be made with crushed digestive biscuits or vanilla wafer cookies. For a dairy-free option, try coconut cream instead of heavy cream, though texture will vary.
- Storage: Keep pies refrigerated and covered. They are best eaten within 2-3 days for freshness. The crust may soften slightly over time but will still taste delicious.
Serving Suggestions
- These mini key lime pies are perfect as a light dessert after a heavy meal due to their refreshing citrus flavor.
- Serve chilled with iced herbal tea or sparkling water with a slice of lime for a complete summer treat.
- For parties, arrange the pies on a decorative platter and garnish with fresh mint leaves to add a pop of color and aroma.
- You can add fresh berries such as raspberries or blueberries on top of the whipped cream for a colorful variation.
- For a tropical twist, sprinkle shredded toasted coconut on top of the whipped cream.
- Mini pies can also be served alongside grilled chicken or fish dishes as a palate cleanser.
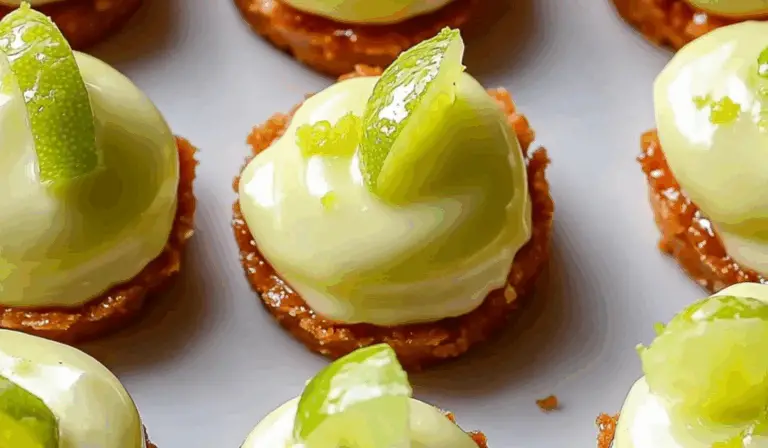
Heavenly No-Bake Mini Key Lime Pies: A Refreshing Dessert
Dive into a slice of paradise with these No-Bake Mini Key Lime Pies! 🍈✨ Refreshingly tangy and perfectly creamy, these little delights are effortless to make and bursting with zesty lime flavor. 🍋🥧 No oven needed—just chill and enjoy a cool, dreamy dessert that’s ideal for summer or any day you crave a citrusy treat! 🧊🌞
- Total Time: 2 hours 15 minutes (including chilling)
- Yield: 12 mini pies 1x
Ingredients
Crust:
- 1 cup graham cracker crumbs
- ¼ cup melted butter
- 2 tablespoons granulated sugar
Filling:
- 1 (14-ounce) can sweetened condensed milk
- ⅓ cup key lime juice (freshly squeezed preferred)
- 1 teaspoon lime zest
Topping:
- 1 cup heavy cream
- 2 tablespoons powdered sugar
- Lime slices or zest for garnish (optional)
Preparation notes:
- Use fresh key lime juice for the best tangy flavor; bottled juice can be used but may alter the freshness.
- Graham cracker crumbs can be store-bought or homemade by crushing graham crackers in a plastic bag with a rolling pin.
- Ensure the butter is melted but not hot when mixing with the crumbs to avoid sogginess.
Instructions
- Prepare the crust:
- In a medium bowl, combine 1 cup graham cracker crumbs, ¼ cup melted butter, and 2 tablespoons sugar.
- Stir until the mixture resembles wet sand and all crumbs are moistened evenly.
- Line a standard muffin tin with cupcake liners or grease it lightly.
- Divide the crumb mixture evenly among 12 muffin cups.
- Using the back of a spoon or your fingers, press the crumbs firmly into the bottom and slightly up the sides to form a compact crust. Firm pressure ensures the crust holds together well.
- Make the filling:
- In a separate bowl, whisk together 1 can of sweetened condensed milk, ⅓ cup fresh key lime juice, and 1 teaspoon lime zest until smooth and well combined. The mixture will thicken slightly as it blends.
- Assemble the pies:
- Pour or spoon the lime filling evenly over each prepared crust. Fill each cup nearly to the top but leave space for whipped cream topping.
- Chill the pies:
- Place the muffin tin in the refrigerator and chill for at least 2 hours or until the filling is fully set. For best results, allow them to chill overnight.
- Prepare the whipped cream topping:
- Before serving, pour 1 cup heavy cream and 2 tablespoons powdered sugar into a chilled bowl.
- Using a hand mixer or stand mixer, whip the cream until stiff peaks form. Avoid overwhipping to prevent the cream from turning grainy.
- Serve the pies:
- Top each mini pie with a generous dollop of freshly whipped cream.
- Garnish with a thin lime slice or sprinkle with extra lime zest for an elegant touch.
- Serve immediately or keep refrigerated until ready to enjoy.
Notes
- Chilling the bowl and beaters for whipping cream: Place your mixing bowl and beaters in the refrigerator for 15-20 minutes before whipping the cream. This helps the cream whip faster and hold its structure longer.
- Pressing the crust firmly: If the crust isn’t compacted enough, it may crumble when eating. Use firm, even pressure to ensure a solid base.
- Using fresh key lime juice: For the best flavor, squeeze fresh key limes yourself. Bottled juice can work in a pinch but lacks the bright, fresh taste. If key limes aren’t available, regular limes can be used, though flavor will be slightly different.
- Avoiding overmixing the whipped cream: Watch carefully when whipping cream; once stiff peaks form, stop mixing to avoid turning the cream into butter.
- Chilling time: Do not skip or shorten the refrigeration time. The filling needs time to set properly to hold its shape and texture.
- Substitutions: If you prefer, the crust can be made with crushed digestive biscuits or vanilla wafer cookies. For a dairy-free option, try coconut cream instead of heavy cream, though texture will vary.
- Storage: Keep pies refrigerated and covered. They are best eaten within 2-3 days for freshness. The crust may soften slightly over time but will still taste delicious.
- Prep Time: 15 minutes
Engagement Features
- Have you ever tried making key lime pie from scratch? What challenges or surprises did you encounter?
- If you make these no-bake mini pies, what creative toppings or variations did you try? Share your ideas!
- Key lime pie has many variations across the world. Would you try swapping lime for another citrus fruit like lemon or orange? How do you think it would change the flavor?
- For those new to no-bake desserts, what other recipes would you like to try that don’t require an oven?
- How do you prefer your key lime pie — more tart or sweeter? Do you adjust the amount of lime juice or sugar?
This recipe offers a simple, approachable way to enjoy the classic flavors of key lime pie without baking or complex steps. The no-bake mini pies are perfect for beginners and anyone who wants a refreshing, easy-to-make dessert. The balance of tart lime and sweet creamy filling, along with the crisp crumbly crust, creates a satisfying treat that’s hard to resist. Give it a try for your next gathering or as a special homemade dessert to brighten up any day.