There is something deeply comforting about the aroma of freshly baked bread filling a home. The warmth of the oven, the anticipation of that first bite, and the satisfaction of creating something from scratch make baking an experience worth savoring. I still remember my first time making homemade dinner rolls—I was nervous, unsure if the dough would rise properly or if I would end up with dense, dry bread. But as soon as I pulled those golden, buttery rolls from the oven and took my first bite, I knew I had found a recipe worth perfecting.
Print
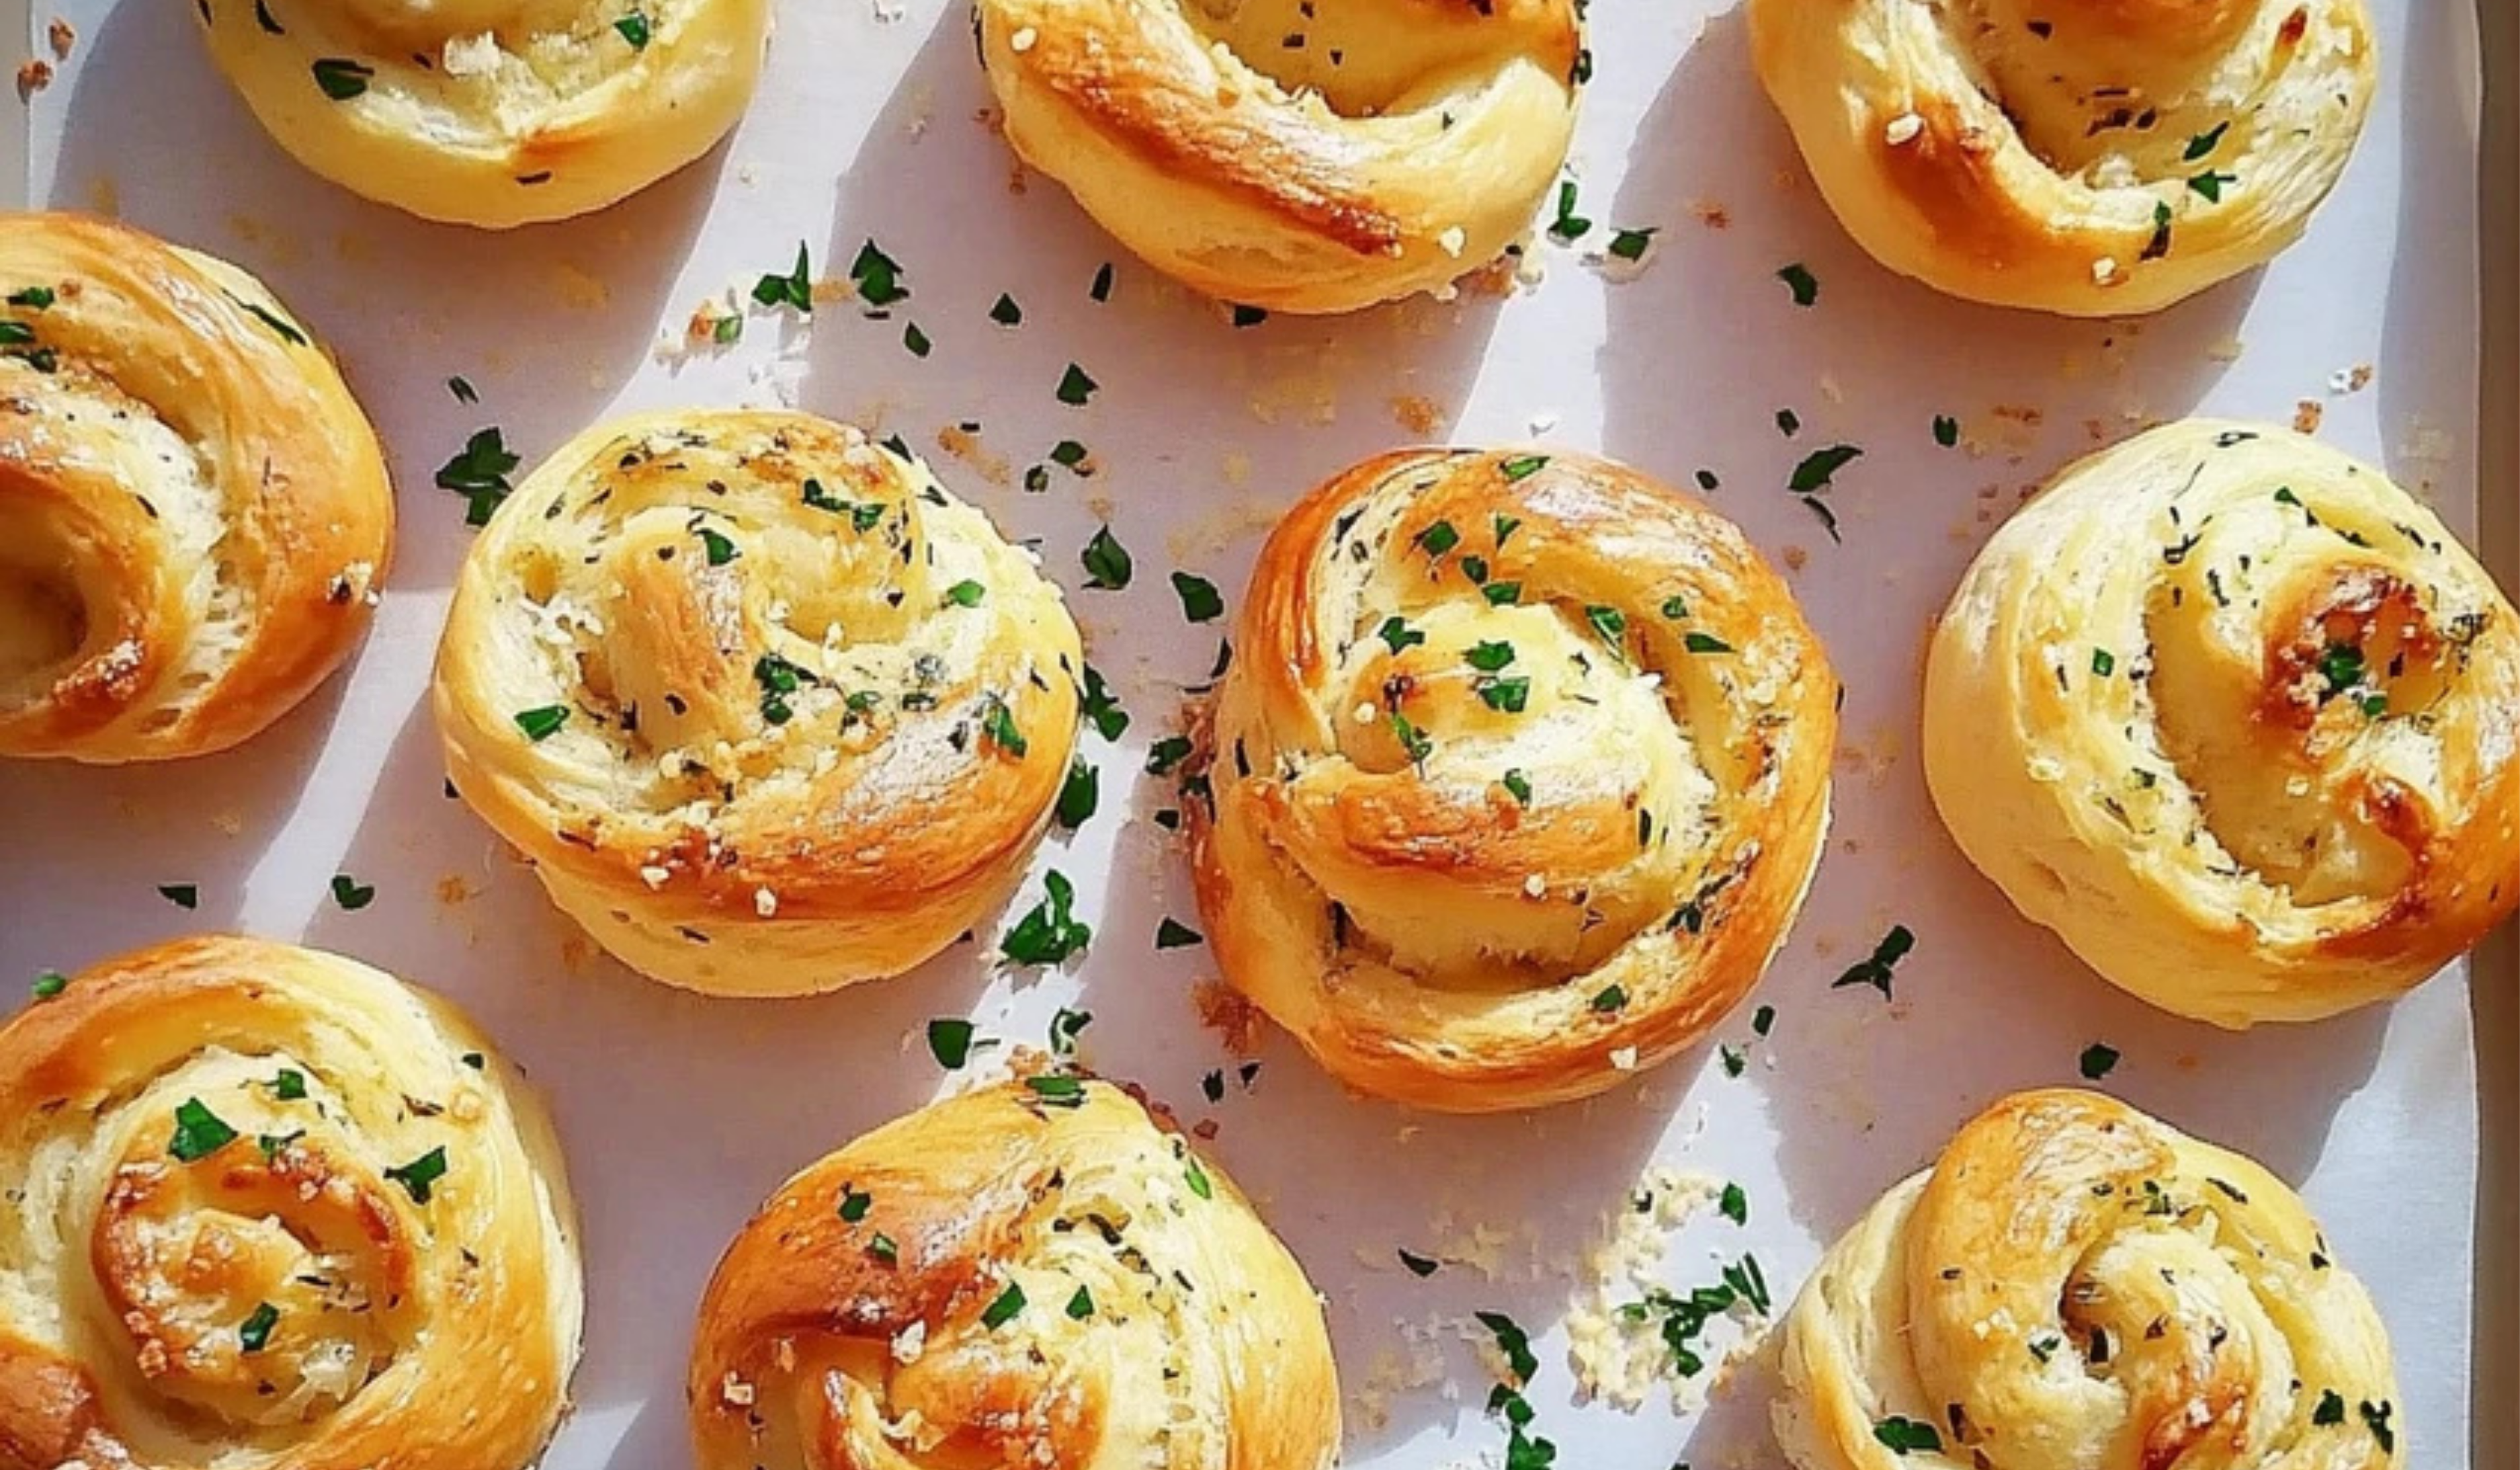
Garlic Parmesan Dinner Rolls: A Beginner’s Guide to Irresistible Homemade Bread
These Garlic Parmesan Dinner Rolls are a game-changer for any meal! Soft, fluffy, and infused with rich garlic butter and melty Parmesan, they’re perfect for beginners looking to bake irresistible homemade bread. Serve them warm for the ultimate comfort food experience!
- Total Time: 1 hour 10 minutes
- Yield: 24 rolls 1x
Ingredients
For the Dough
- 2 packets active dry yeast (1/2 oz. or 14 g)
- 1 tablespoon sugar
- 1/4 cup warm water (110°F or 43°C)
- 1 1/4 cups milk
- 5 tablespoons sugar
- 3/4 teaspoon salt
- 1/4 cup unsalted butter
- 4 1/2 cups all-purpose flour, sifted
- 1 large egg
For the Topping
- 4 cloves garlic, finely minced
- 1/2 cup salted butter, melted
- 2 tablespoons chopped parsley
- 1/3 cup shredded Parmesan cheese
Instructions
Step 1: Activating the Yeast
- In a small bowl, dissolve the yeast and 1 tablespoon of sugar in warm water. Let it sit for about 5 minutes until it becomes foamy. This indicates that the yeast is active and ready to use. If the mixture does not foam, the yeast may be expired, and you will need to start over with fresh yeast.
Step 2: Preparing the Dough
- In a small saucepan, heat the milk, remaining sugar, salt, and butter over low heat until the butter melts. Do not let the mixture boil—just warm it until the ingredients are combined. Let it cool slightly until it is lukewarm.
- In a large mixing bowl, whisk the egg into the yeast mixture.
- Gradually add the yeast mixture, milk mixture, and flour together, stirring to combine.
Step 3: Kneading the Dough
- Once the dough starts to come together, transfer it to a floured surface and knead for about 10 minutes. If using a stand mixer with a dough hook, knead on medium speed for 5 minutes. The dough should be soft and slightly sticky but not overly wet. If it is too sticky, add a little more flour, one tablespoon at a time.
Step 4: First Rest and Shaping
- Cover the dough with a damp cloth and let it rest for 15 minutes. This allows the gluten to relax and makes the dough easier to work with.
- After resting, divide the dough into 24 equal portions. Roll each portion into a small ball.
- Take each ball and roll it into a rope, then tie it into a knot for a decorative touch. Place the shaped rolls on a lined baking sheet.
Step 5: Second Rise
- Cover the rolls with a cloth and let them rise in a warm place for about 25 minutes. They should almost double in size. If your kitchen is cold, place the rolls in an oven that has been turned off but slightly warmed.
Step 6: Preparing the Garlic Butter Topping
- While the rolls are rising, mix the melted butter, minced garlic, and chopped parsley in a bowl.
Step 7: Baking the Rolls
- Preheat your oven to 350°F (176°C).
- Brush the garlic butter mixture over the tops of the risen rolls. Sprinkle with shredded Parmesan cheese.
- Bake for 10–15 minutes, or until the tops are golden brown and the rolls sound hollow when tapped.
Step 8: Finishing Touches
- Brush the warm rolls with any remaining garlic butter for an extra boost of flavor. Serve immediately.
Notes
Troubleshooting Common Issues
- Yeast Is Not Activating: Ensure the water is warm but not too hot (110°F or 43°C is ideal). If the water is too hot, it can kill the yeast.
- Dense Rolls: This can happen if too much flour is added or if the dough is not kneaded enough. Make sure to knead for at least 10 minutes by hand or 5 minutes in a mixer.
- Overbrowning: If the rolls brown too quickly, cover them loosely with aluminum foil during the last few minutes of baking.
Kitchen Tips
- How to Check If the Rolls Are Done: Insert a toothpick into the center of a roll. If it comes out clean, they are ready.
- Storing Leftovers: Store leftover rolls in an airtight container at room temperature for up to two days or in the refrigerator for up to a week. Reheat in a low oven before serving.
- Freezing Instructions: Once cooled, freeze the rolls in a zip-top bag. To reheat, warm them in a 300°F (150°C) oven for 10 minutes.
- Prep Time: 20 minutes
- Cook Time: 10 minutes
This Garlic Parmesan Dinner Rolls recipe is perfect for beginners because it is simple, requires minimal ingredients, and yields incredible results. The dough is soft, fluffy, and infused with the rich flavors of garlic, Parmesan, and fresh herbs. Unlike store-bought rolls, these homemade delights are free from unnecessary additives and preservatives, making them a healthier choice. Whether you’re preparing them for a weeknight dinner or a special occasion, these rolls are guaranteed to impress.
If you have never worked with yeast before, don’t worry—this guide will walk you through each step with clear, easy-to-follow instructions. By the end, you will have mastered a foundational bread recipe that you can customize and adapt to your liking.
Ingredients and Preparation
Before diving into the recipe, it is important to gather all the necessary ingredients. Having everything measured and ready will make the process smoother, especially for beginner bakers.
Ingredients
For the Dough
- 2 packets active dry yeast (1/2 oz. or 14 g)
- 1 tablespoon sugar
- 1/4 cup warm water (110°F or 43°C)
- 1 1/4 cups milk
- 5 tablespoons sugar
- 3/4 teaspoon salt
- 1/4 cup unsalted butter
- 4 1/2 cups all-purpose flour, sifted
- 1 large egg
For the Topping
- 4 cloves garlic, finely minced
- 1/2 cup salted butter, melted
- 2 tablespoons chopped parsley
- 1/3 cup shredded Parmesan cheese
Ingredient Substitutions and Tips
- Dairy-Free Option: Use plant-based milk and dairy-free butter. Nutritional yeast can be substituted for Parmesan cheese for a similar umami flavor.
- Sugar Alternatives: Honey or maple syrup can be used instead of sugar.
- Flour Options: If you prefer whole wheat rolls, substitute up to half of the all-purpose flour with whole wheat flour.
- Herbs: Fresh basil or thyme can be used instead of parsley for a different flavor profile.
Step-by-Step Instructions
Baking bread can feel intimidating, but by breaking it down into clear steps, the process becomes much more approachable.
Step 1: Activating the Yeast
- In a small bowl, dissolve the yeast and 1 tablespoon of sugar in warm water. Let it sit for about 5 minutes until it becomes foamy. This indicates that the yeast is active and ready to use. If the mixture does not foam, the yeast may be expired, and you will need to start over with fresh yeast.
Step 2: Preparing the Dough
- In a small saucepan, heat the milk, remaining sugar, salt, and butter over low heat until the butter melts. Do not let the mixture boil—just warm it until the ingredients are combined. Let it cool slightly until it is lukewarm.
- In a large mixing bowl, whisk the egg into the yeast mixture.
- Gradually add the yeast mixture, milk mixture, and flour together, stirring to combine.
Step 3: Kneading the Dough
- Once the dough starts to come together, transfer it to a floured surface and knead for about 10 minutes. If using a stand mixer with a dough hook, knead on medium speed for 5 minutes. The dough should be soft and slightly sticky but not overly wet. If it is too sticky, add a little more flour, one tablespoon at a time.
Step 4: First Rest and Shaping
- Cover the dough with a damp cloth and let it rest for 15 minutes. This allows the gluten to relax and makes the dough easier to work with.
- After resting, divide the dough into 24 equal portions. Roll each portion into a small ball.
- Take each ball and roll it into a rope, then tie it into a knot for a decorative touch. Place the shaped rolls on a lined baking sheet.
Step 5: Second Rise
- Cover the rolls with a cloth and let them rise in a warm place for about 25 minutes. They should almost double in size. If your kitchen is cold, place the rolls in an oven that has been turned off but slightly warmed.
Step 6: Preparing the Garlic Butter Topping
- While the rolls are rising, mix the melted butter, minced garlic, and chopped parsley in a bowl.
Step 7: Baking the Rolls
- Preheat your oven to 350°F (176°C).
- Brush the garlic butter mixture over the tops of the risen rolls. Sprinkle with shredded Parmesan cheese.
- Bake for 10–15 minutes, or until the tops are golden brown and the rolls sound hollow when tapped.
Step 8: Finishing Touches
- Brush the warm rolls with any remaining garlic butter for an extra boost of flavor. Serve immediately.
Beginner Tips and Notes
Troubleshooting Common Issues
- Yeast Is Not Activating: Ensure the water is warm but not too hot (110°F or 43°C is ideal). If the water is too hot, it can kill the yeast.
- Dense Rolls: This can happen if too much flour is added or if the dough is not kneaded enough. Make sure to knead for at least 10 minutes by hand or 5 minutes in a mixer.
- Overbrowning: If the rolls brown too quickly, cover them loosely with aluminum foil during the last few minutes of baking.
Kitchen Tips
- How to Check If the Rolls Are Done: Insert a toothpick into the center of a roll. If it comes out clean, they are ready.
- Storing Leftovers: Store leftover rolls in an airtight container at room temperature for up to two days or in the refrigerator for up to a week. Reheat in a low oven before serving.
- Freezing Instructions: Once cooled, freeze the rolls in a zip-top bag. To reheat, warm them in a 300°F (150°C) oven for 10 minutes.

Serving Suggestions
These garlic Parmesan rolls pair well with a variety of meals:
- Soups and Stews: Serve alongside a hearty chicken soup or beef stew for a comforting meal.
- Grilled Chicken or Beef: Use these rolls as a side for grilled chicken breast or a juicy steak.
- Sandwiches: Slice them in half and use as a base for mini sandwiches with roasted chicken, grilled vegetables, or cheese.
- Dips: Enjoy with marinara sauce or a creamy cheese dip for an appetizer.
Conclusion: Your First Step Into Bread Baking
Homemade Garlic Parmesan Dinner Rolls are a fantastic introduction to bread baking. With simple ingredients, easy-to-follow steps, and a delicious result, this recipe is perfect for beginners. The process of kneading, shaping, and baking is incredibly rewarding, and once you master these rolls, you will feel more confident tackling other bread recipes.
Now it’s your turn—try making these dinner rolls and share your experience. Did you experiment with different herbs or cheeses? Did you serve them with a special meal? Let us know your thoughts in the comments. Happy baking!