There is something truly special about a dessert that looks elegant yet requires minimal effort. For many beginner cooks, the idea of making truffles might seem intimidating, but this recipe proves that indulgence does not have to be complicated. These Easy Brownie Truffles transform a simple boxed brownie mix into a rich and decadent treat, all with the help of cream cheese and smooth chocolate coating.
Print
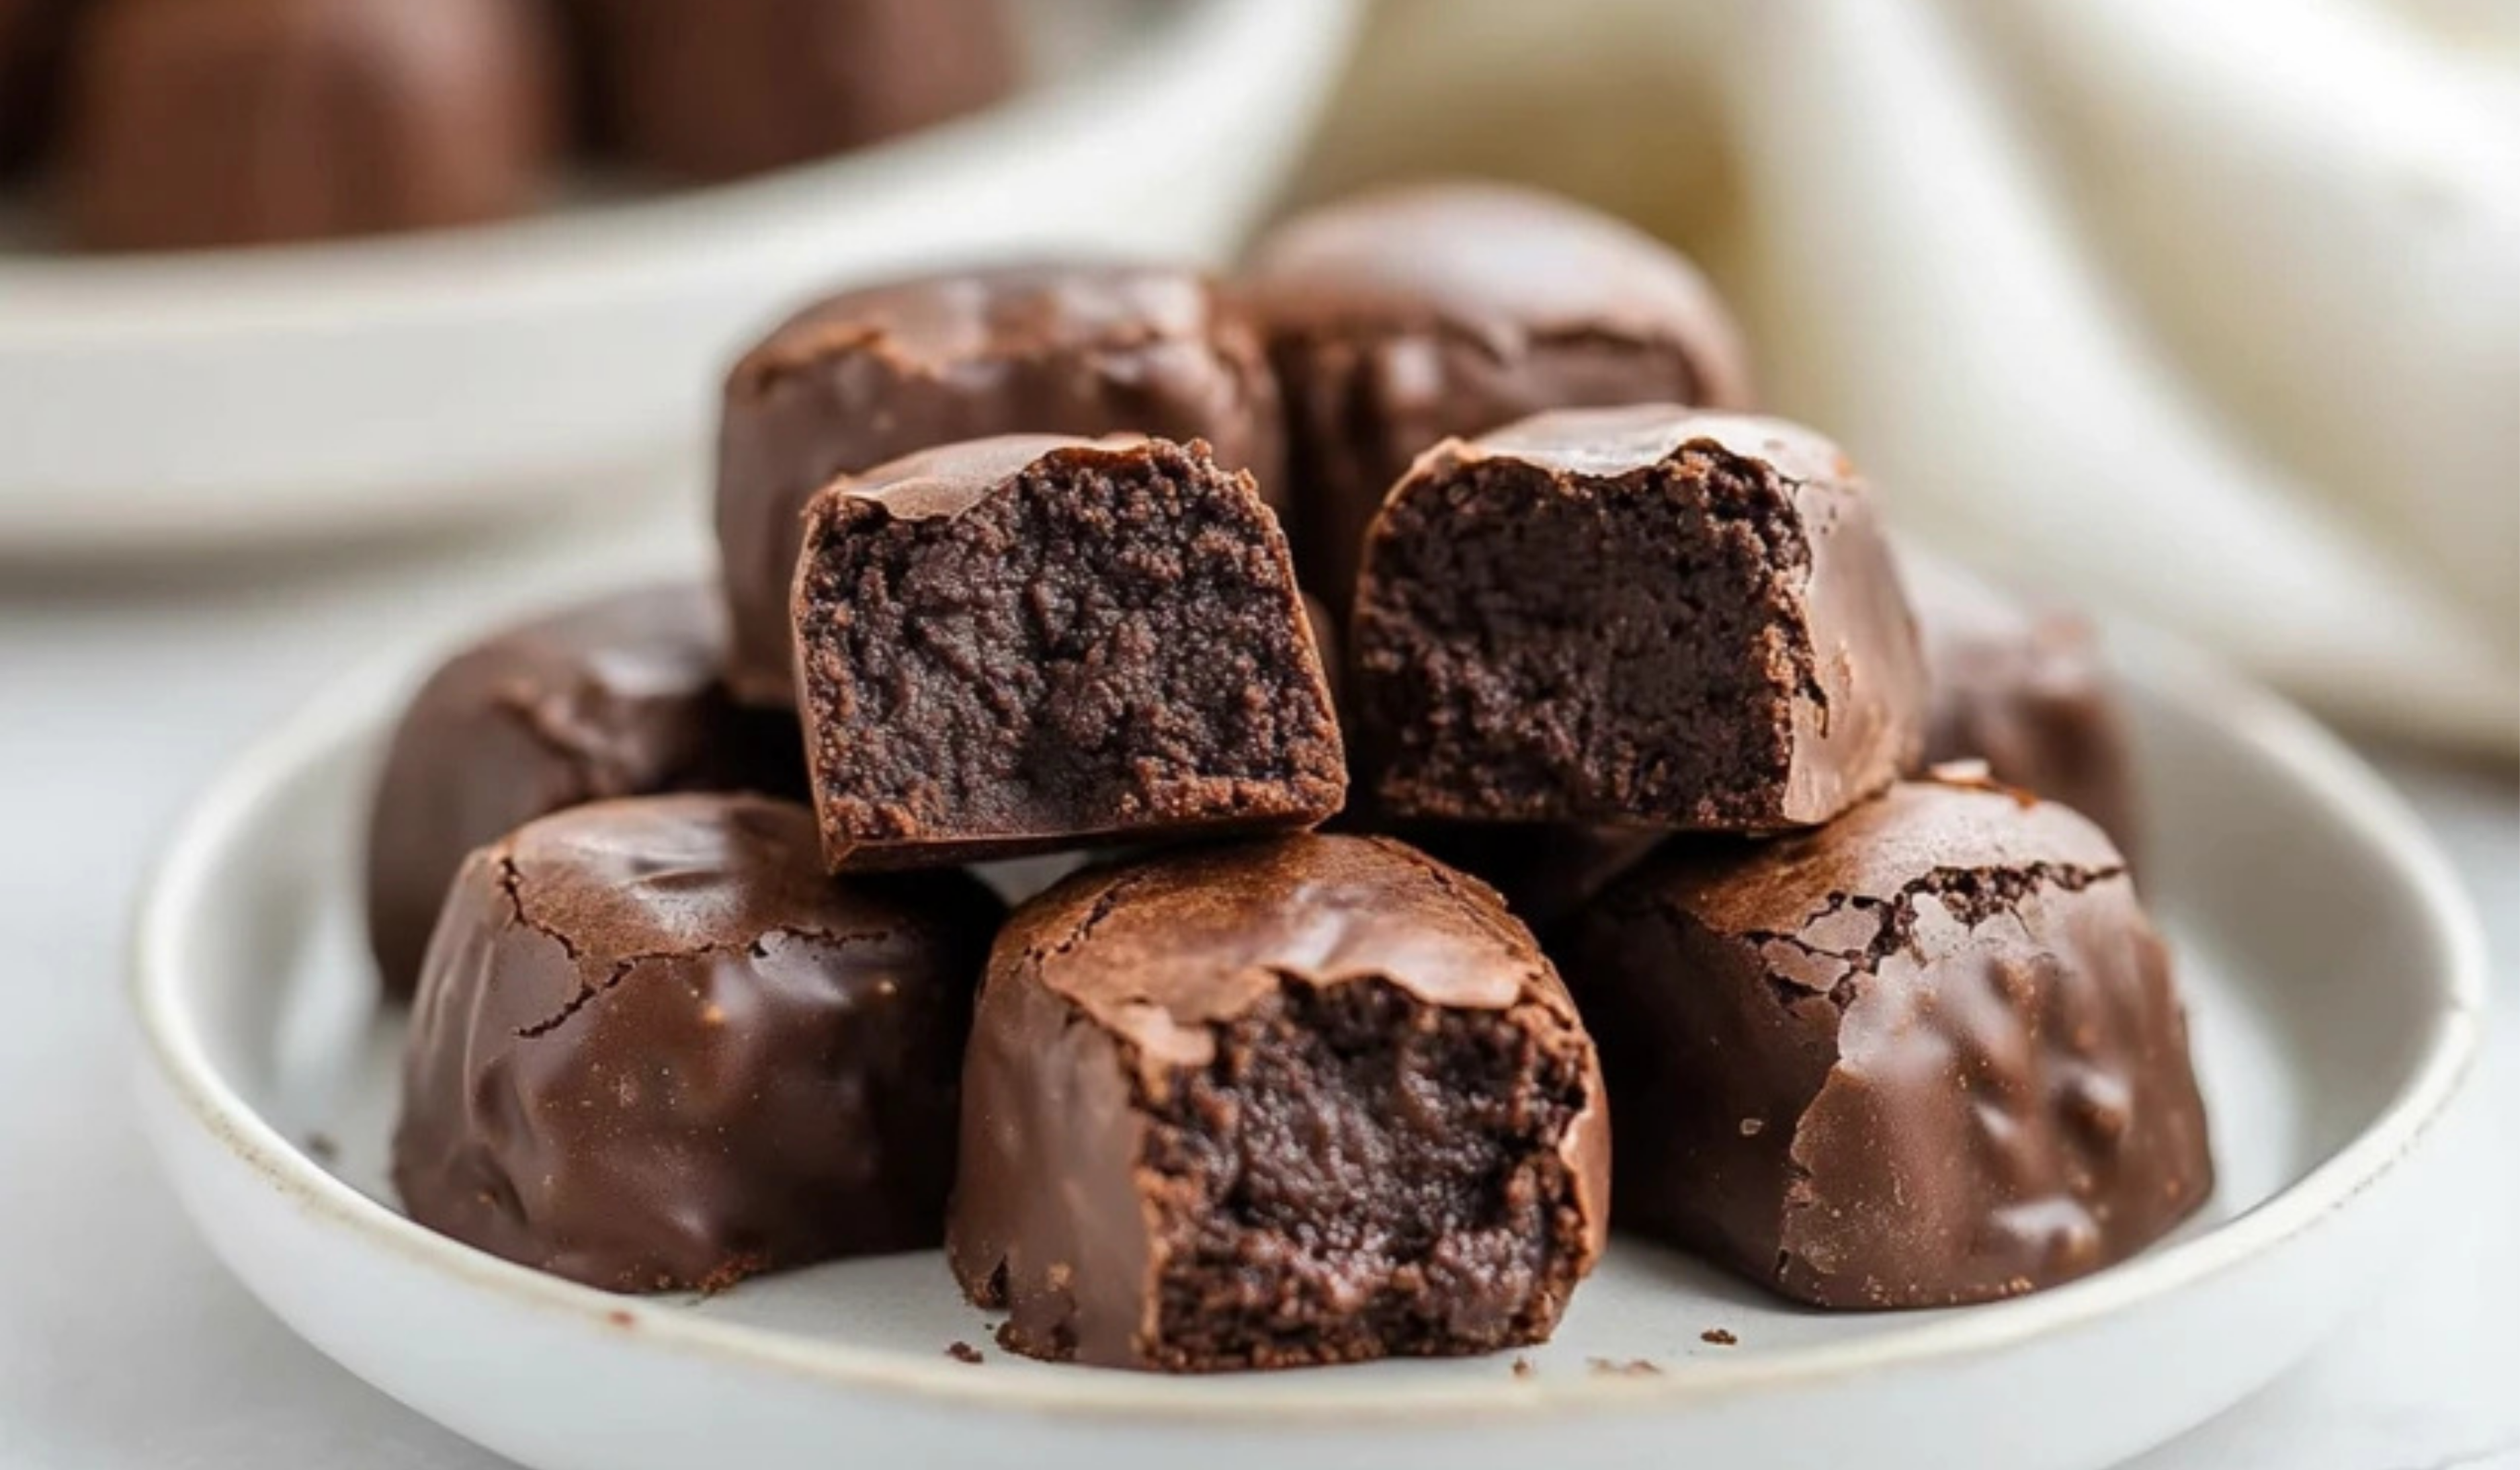
Easy Brownie Truffles: A Beginner-Friendly Dessert Delight
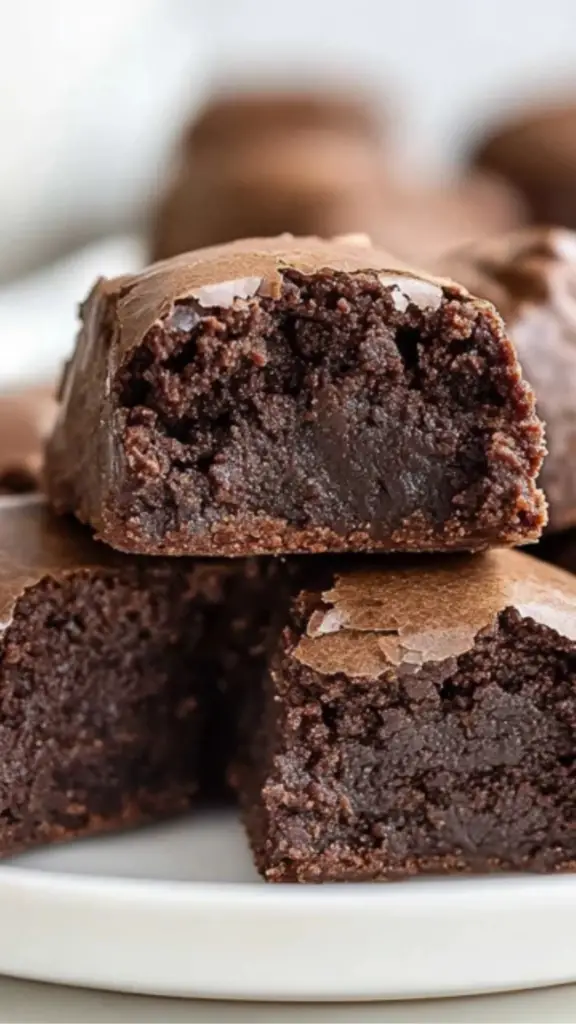
Fudgy, chocolatey, and irresistibly rich—these Easy Brownie Truffles are pure bite-sized bliss! With a soft, melt-in-your-mouth center and a decadent chocolate coating, they’re the perfect treat for any occasion. No fancy skills needed, just pure chocolate magic! 🍫✨
- Total Time: 55 minutes
- Yield: 40 truffles 1x
Ingredients
- 1 (18-ounce) box of brownie mix (plus the ingredients listed on the package)
- 8 ounces full-fat, brick-style cream cheese, softened to room temperature
- 3 cups chocolate melting wafers (milk, dark, or white chocolate)
- Sprinkles or other decorations (optional)
Instructions
Step 1: Bake the Brownies
Follow the instructions on the brownie mix package to prepare the batter. Pour it into a 9×13-inch baking pan and bake according to the directions. Once baked, allow the brownies to cool completely before moving on to the next step. This ensures they will mix properly with the cream cheese.
Step 2: Prepare the Brownie Mixture
Once the brownies are completely cool, use a spoon or fork to scoop out the soft center into a large mixing bowl, leaving behind the firmer edges. This helps create a smoother truffle texture.
Add the softened cream cheese to the bowl. Using a hand mixer or stand mixer, blend until the mixture is fully combined and smooth, with no visible lumps of cream cheese. If mixing by hand, use a wooden spoon or spatula and press the mixture together until fully incorporated.
Step 3: Form the Truffle Balls
Using a small spoon or a tablespoon-sized cookie scoop, scoop out portions of the brownie mixture and roll them into smooth balls with your hands. Arrange them on a parchment-lined baking sheet to prevent sticking.
Step 4: Freeze the Truffles
Place the baking sheet in the freezer for at least 30 minutes or until the truffles are firm. This helps them hold their shape when coated in chocolate.
Step 5: Melt the Chocolate
In a microwave-safe bowl, melt the chocolate wafers in 20-second increments, stirring between each session, until the chocolate is completely smooth. Avoid overheating, as chocolate can burn quickly. If using chocolate chips or baking chocolate, add a teaspoon of vegetable oil or butter for a silkier consistency.
Step 6: Coat the Truffles
Using a fork, dip each frozen truffle into the melted chocolate, ensuring it is fully coated. Gently tap the fork against the side of the bowl to remove excess chocolate. Place the coated truffles back onto the parchment-lined baking sheet.
Step 7: Decorate and Set
Immediately add sprinkles or other decorations while the chocolate is still wet. This helps them stick properly. Once all truffles are coated and decorated, place the tray in the refrigerator for 15-20 minutes to allow the chocolate to set.
Notes
How to Avoid Common Mistakes
- Brownies too crumbly? If your brownies seem too dry to mix with the cream cheese, add a teaspoon of milk to soften the texture.
- Truffles too sticky? If the brownie mixture sticks to your hands while rolling, lightly coat your palms with cocoa powder or powdered sugar.
- Chocolate coating too thick? If your chocolate is clumpy or too thick, add a small amount of vegetable oil or melted butter to thin it out.
Storage Tips
- Refrigeration: Store the truffles in an airtight container in the refrigerator for up to one week.
- Freezing: To store for a longer period, freeze the truffles for up to two months. Arrange them in a single layer on a parchment-lined tray and freeze until solid before transferring them to a sealed container or zip-top bag. Allow them to thaw in the refrigerator before serving.
Efficiency Tips
- Batch Preparation: Make a double batch and freeze half for future use.
- Assembly Line Method: When coating truffles in chocolate, work in small batches to prevent them from softening too quickly.
- Melting Chocolate Safely: Always stir melted chocolate frequently and avoid moisture, as even a small amount of water can cause it to seize and become grainy.
- Prep Time: 30 minutes
- Cook Time: 25 minutes
The first time I made brownie truffles, I was looking for a last-minute dessert that felt fancy but did not demand hours of baking. I had a box of brownie mix in my pantry, and after some experimenting, I discovered how well brownies and cream cheese combine to create a smooth, melt-in-your-mouth texture. After dipping them in chocolate and adding sprinkles, I realized I had found the perfect bite-sized dessert—one that impresses guests but remains approachable for beginner cooks.
This recipe is ideal for anyone new to baking because it simplifies the process without compromising on taste. By using a boxed mix, there is no need to worry about measuring flour or sugar. The steps are straightforward, and the ingredients are easy to find. These truffles are also incredibly versatile, allowing for a variety of toppings and coatings. Whether for a party, a holiday gathering, or just a personal treat, these brownie truffles deliver a luxurious dessert with minimal effort.
Ingredients and Preparation
Ingredients
- 1 (18-ounce) box of brownie mix (plus the ingredients listed on the package)
- 8 ounces full-fat, brick-style cream cheese, softened to room temperature
- 3 cups chocolate melting wafers (milk, dark, or white chocolate)
- Sprinkles or other decorations (optional)
Ingredient Substitutions and Alternatives
- Brownie Mix: If you prefer to make brownies from scratch, use a basic brownie recipe with flour, cocoa powder, sugar, eggs, butter, and vanilla extract.
- Cream Cheese: Full-fat cream cheese is recommended for the best texture, but you can use a lower-fat version if needed. Avoid whipped or spreadable cream cheese, as it will make the mixture too soft.
- Chocolate Melting Wafers: Chocolate chips or baking chocolate can be used instead, but they may require the addition of a small amount of vegetable oil or butter for a smoother consistency.
- Decorations: Sprinkles add a fun touch, but you can also use crushed nuts, shredded coconut, or a drizzle of caramel or white chocolate for variety.
Step-by-Step Instructions
Step 1: Bake the Brownies
Follow the instructions on the brownie mix package to prepare the batter. Pour it into a 9×13-inch baking pan and bake according to the directions. Once baked, allow the brownies to cool completely before moving on to the next step. This ensures they will mix properly with the cream cheese.
Step 2: Prepare the Brownie Mixture
Once the brownies are completely cool, use a spoon or fork to scoop out the soft center into a large mixing bowl, leaving behind the firmer edges. This helps create a smoother truffle texture.
Add the softened cream cheese to the bowl. Using a hand mixer or stand mixer, blend until the mixture is fully combined and smooth, with no visible lumps of cream cheese. If mixing by hand, use a wooden spoon or spatula and press the mixture together until fully incorporated.
Step 3: Form the Truffle Balls
Using a small spoon or a tablespoon-sized cookie scoop, scoop out portions of the brownie mixture and roll them into smooth balls with your hands. Arrange them on a parchment-lined baking sheet to prevent sticking.
Step 4: Freeze the Truffles
Place the baking sheet in the freezer for at least 30 minutes or until the truffles are firm. This helps them hold their shape when coated in chocolate.
Step 5: Melt the Chocolate
In a microwave-safe bowl, melt the chocolate wafers in 20-second increments, stirring between each session, until the chocolate is completely smooth. Avoid overheating, as chocolate can burn quickly. If using chocolate chips or baking chocolate, add a teaspoon of vegetable oil or butter for a silkier consistency.
Step 6: Coat the Truffles
Using a fork, dip each frozen truffle into the melted chocolate, ensuring it is fully coated. Gently tap the fork against the side of the bowl to remove excess chocolate. Place the coated truffles back onto the parchment-lined baking sheet.
Step 7: Decorate and Set
Immediately add sprinkles or other decorations while the chocolate is still wet. This helps them stick properly. Once all truffles are coated and decorated, place the tray in the refrigerator for 15-20 minutes to allow the chocolate to set.
Beginner Tips and Notes
How to Avoid Common Mistakes
- Brownies too crumbly? If your brownies seem too dry to mix with the cream cheese, add a teaspoon of milk to soften the texture.
- Truffles too sticky? If the brownie mixture sticks to your hands while rolling, lightly coat your palms with cocoa powder or powdered sugar.
- Chocolate coating too thick? If your chocolate is clumpy or too thick, add a small amount of vegetable oil or melted butter to thin it out.
Storage Tips
- Refrigeration: Store the truffles in an airtight container in the refrigerator for up to one week.
- Freezing: To store for a longer period, freeze the truffles for up to two months. Arrange them in a single layer on a parchment-lined tray and freeze until solid before transferring them to a sealed container or zip-top bag. Allow them to thaw in the refrigerator before serving.
Efficiency Tips
- Batch Preparation: Make a double batch and freeze half for future use.
- Assembly Line Method: When coating truffles in chocolate, work in small batches to prevent them from softening too quickly.
- Melting Chocolate Safely: Always stir melted chocolate frequently and avoid moisture, as even a small amount of water can cause it to seize and become grainy.
Serving Suggestions
Brownie truffles are delicious on their own, but pairing them with complementary flavors can elevate their appeal.
- Coffee or Tea Pairing: Serve these truffles with a hot cup of coffee, chai, or black tea for a balanced contrast of flavors.
- Dipping Sauces: Offer caramel or raspberry sauce for an extra layer of indulgence.
- Dessert Platter: Arrange brownie truffles alongside fresh strawberries, nuts, or chocolate-covered pretzels for a beautiful dessert board.
- Ice Cream Addition: Crumble a few truffles over vanilla or chocolate ice cream for a rich topping.
Engagement Features
Baking is not just about the end result—it is about the experience and the joy of sharing. If you are new to making truffles, do not be afraid to experiment with different flavors and toppings. Swap the sprinkles for crushed nuts, drizzle with white chocolate, or add a hint of espresso powder to the brownie mixture for a mocha twist.
If you try this recipe, share your experience. Did you add a unique twist? Have questions about the process? Let others know how it turned out. Beginners often feel more confident when they hear about others’ successes and learning moments.
Easy, delicious, and endlessly customizable, these brownie truffles prove that homemade desserts do not have to be complicated. With just a few ingredients and a little patience, you can create a treat that is perfect for any occasion. Whether you make them for a celebration or just as a personal indulgence, these truffles will quickly become a favorite go-to dessert.