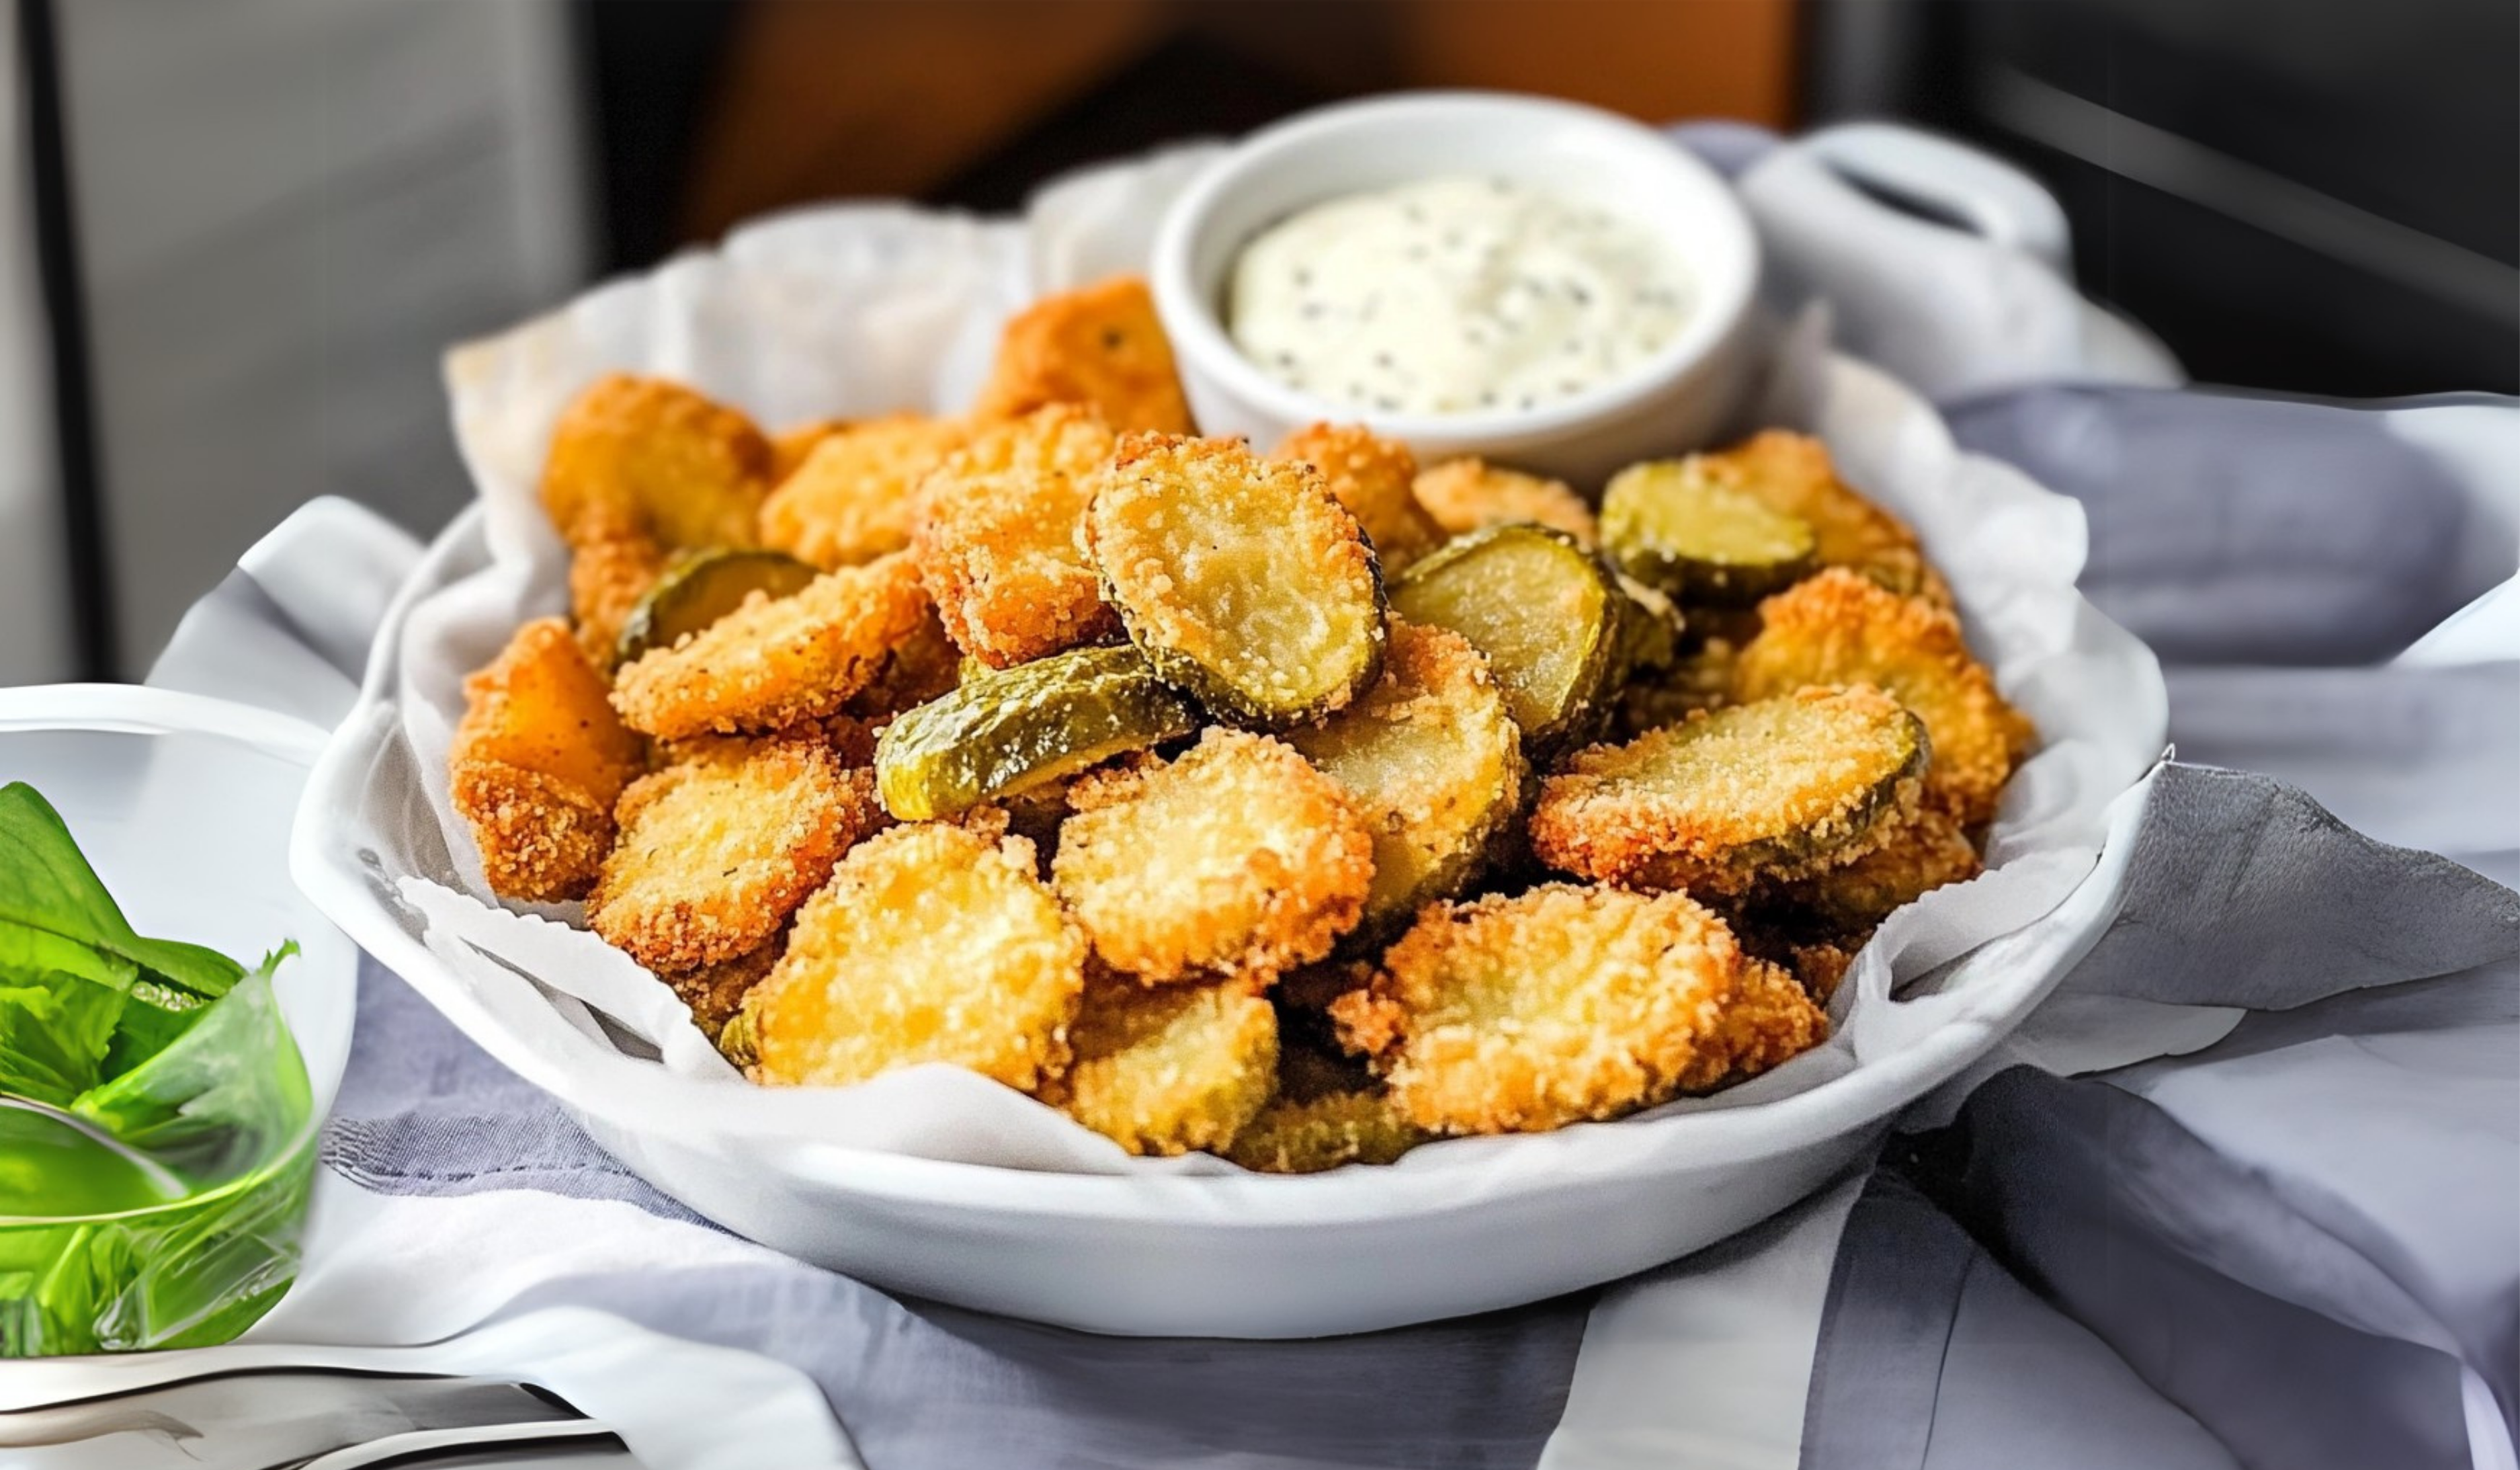
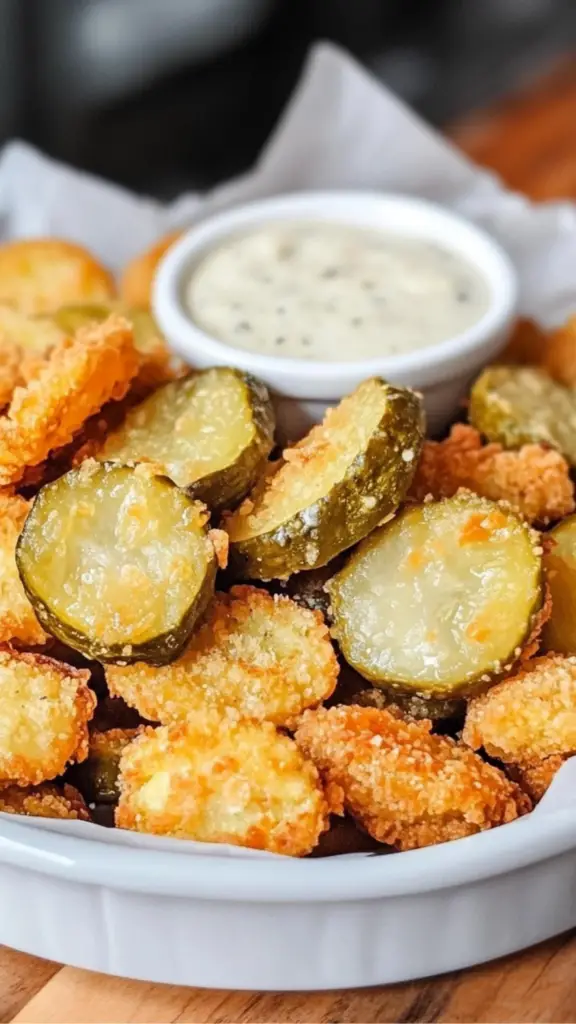
When it comes to crowd-pleasing appetizers, Fried Pickles sit at the top of the list. This recipe, shared by Lil’ Luna, transforms humble dill pickles into a crispy, golden snack that is impossible to resist. Whether you’re hosting a game day gathering, throwing a casual get-together, or simply craving a crunchy treat, these fried pickles deliver on all fronts. With their tangy center and perfectly seasoned crust, they’re a testament to how a simple ingredient can be elevated to culinary greatness.
Print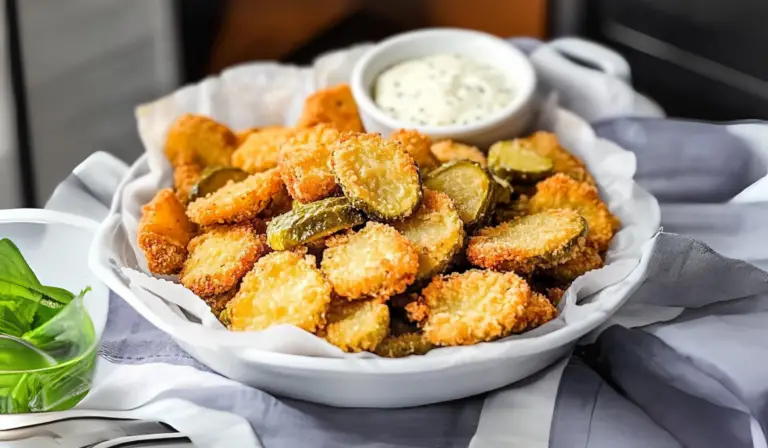
Crispy Fried Pickles
Crunchy, tangy, and downright addictive! These Crispy Fried Pickles are the snack you didn’t know you needed. 🥒💥 #CrispySnackAttack #PicklePerfection #DeepFriedDelight #SnackGoals #GoldenCrisp #DippinFun #GameDayBites #PickleObsession #SnackTimeWin #TangyAndCrispy
- Total Time: 25 minutes
- Yield: 6 servings 1x
Ingredients
- Vegetable Oil: Perfect for frying because of its high smoke point and neutral flavor.
- Dill Pickle Slices (16 oz jar): Their tanginess complements the savory breading beautifully.
- All-Purpose Flour (½ cup): Forms the base of the batter and helps the breading stick.
- Garlic Salt (2 tsp): Adds a savory, garlicky depth to the batter.
- Italian Seasoning (1 tsp): A blend of herbs that gives the pickles a subtle aromatic kick.
- Pepper (¼ tsp): For a touch of heat and balance.
- Water (¾ cup): Ensures the batter is smooth and easy to coat.
- Panko Breadcrumbs (1½ cups): Creates a light, crispy coating.
Instructions
1. Prepare the Frying Oil
Start by filling a frying pan with about ½ inch of vegetable oil. Heat the oil over medium-high heat until it reaches a temperature of 350–375°F. Use a candy or deep-fry thermometer to ensure accuracy; maintaining the right temperature is key to crispy, non-greasy pickles.
2. Prep the Pickles
Drain the jar of dill pickles and spread the slices on paper towels. Pat them dry thoroughly to remove excess moisture. This step is crucial, as any leftover juice can cause the oil to splatter and may affect the crispiness of the coating.
3. Make the Batter
In a shallow bowl, whisk together:
- ½ cup of all-purpose flour
- 2 teaspoons of garlic salt
- 1 teaspoon of Italian seasoning
- ¼ teaspoon of pepper
Gradually add ¾ cup of water and whisk until you achieve a smooth, lump-free batter.
4. Set Up the Breading Station
Place 1½ cups of panko breadcrumbs in a separate shallow dish. Arrange your breading station in this order: batter bowl, breadcrumbs dish, and a plate for the coated pickles.
5. Coat the Pickles
Work in small batches to ensure even coating. Dip each pickle slice into the batter, letting the excess drip off. Then, press the pickle into the panko breadcrumbs, turning it to coat all sides.
6. Fry to Perfection
Carefully place the coated pickles into the hot oil. Fry for 1–2 minutes on each side, or until they’re golden brown and crisp. Use a slotted spoon or tongs to remove the pickles and transfer them to a plate lined with paper towels to drain excess oil. Repeat with the remaining pickles.
Notes
- Maintain Oil Temperature: If the oil is too hot, the pickles will burn; too cold, and they’ll absorb excess oil. Adjust the heat as needed between batches.
- Dry Pickles Thoroughly: Removing moisture prevents the coating from sliding off and keeps the oil from splattering.
- Double-Coat for Extra Crunch: For a thicker crust, dip the battered pickles in the breadcrumbs twice.
- Serve Immediately: Fried pickles are best enjoyed fresh out of the fryer when they’re at their crispiest.
- Prep Time: 15 minutes
- Cook Time: 10 minutes
In this article, we’ll walk you through every step to create this indulgent snack. From mastering the ideal breading technique to achieving the perfect crunch, you’ll be set up for success. Let’s dive into this fried pickles recipe that guarantees a delightful flavor explosion with every bite.
Why Fried Pickles Are a Must-Try
The magic of fried pickles lies in the contrast between their tangy, juicy interior and the crisp, golden coating. The pickles provide a refreshing bite, while the seasoned batter and panko breadcrumbs add layers of flavor and texture.
Not only are they delicious, but they’re also incredibly versatile. Fried pickles can be served as an appetizer, a side dish, or even a snack paired with your favorite dipping sauces like ranch, spicy mayo, or blue cheese dressing. Their quick preparation and universal appeal make them a hit for any occasion.
Ingredients Breakdown
This recipe uses straightforward ingredients, but the combination is what makes it special. Here’s what you need:
Essential Ingredients:
- Vegetable Oil: Perfect for frying because of its high smoke point and neutral flavor.
- Dill Pickle Slices (16 oz jar): Their tanginess complements the savory breading beautifully.
- All-Purpose Flour (½ cup): Forms the base of the batter and helps the breading stick.
- Garlic Salt (2 tsp): Adds a savory, garlicky depth to the batter.
- Italian Seasoning (1 tsp): A blend of herbs that gives the pickles a subtle aromatic kick.
- Pepper (¼ tsp): For a touch of heat and balance.
- Water (¾ cup): Ensures the batter is smooth and easy to coat.
- Panko Breadcrumbs (1½ cups): Creates a light, crispy coating.
Step-by-Step Instructions
1. Prepare the Frying Oil
Start by filling a frying pan with about ½ inch of vegetable oil. Heat the oil over medium-high heat until it reaches a temperature of 350–375°F. Use a candy or deep-fry thermometer to ensure accuracy; maintaining the right temperature is key to crispy, non-greasy pickles.
2. Prep the Pickles
Drain the jar of dill pickles and spread the slices on paper towels. Pat them dry thoroughly to remove excess moisture. This step is crucial, as any leftover juice can cause the oil to splatter and may affect the crispiness of the coating.
3. Make the Batter
In a shallow bowl, whisk together:
- ½ cup of all-purpose flour
- 2 teaspoons of garlic salt
- 1 teaspoon of Italian seasoning
- ¼ teaspoon of pepper
Gradually add ¾ cup of water and whisk until you achieve a smooth, lump-free batter.
4. Set Up the Breading Station
Place 1½ cups of panko breadcrumbs in a separate shallow dish. Arrange your breading station in this order: batter bowl, breadcrumbs dish, and a plate for the coated pickles.
5. Coat the Pickles
Work in small batches to ensure even coating. Dip each pickle slice into the batter, letting the excess drip off. Then, press the pickle into the panko breadcrumbs, turning it to coat all sides.
6. Fry to Perfection
Carefully place the coated pickles into the hot oil. Fry for 1–2 minutes on each side, or until they’re golden brown and crisp. Use a slotted spoon or tongs to remove the pickles and transfer them to a plate lined with paper towels to drain excess oil. Repeat with the remaining pickles.
Tips for the Best Fried Pickles
- Maintain Oil Temperature: If the oil is too hot, the pickles will burn; too cold, and they’ll absorb excess oil. Adjust the heat as needed between batches.
- Dry Pickles Thoroughly: Removing moisture prevents the coating from sliding off and keeps the oil from splattering.
- Double-Coat for Extra Crunch: For a thicker crust, dip the battered pickles in the breadcrumbs twice.
- Serve Immediately: Fried pickles are best enjoyed fresh out of the fryer when they’re at their crispiest.
Flavor Variations
- Spicy Fried Pickles: Add cayenne pepper or paprika to the batter for a kick. Pair with spicy ranch for an extra zing.
- Cheesy Coating: Mix grated Parmesan cheese into the panko breadcrumbs for a cheesy twist.
- Herb-Infused: Swap Italian seasoning for fresh herbs like dill or parsley to complement the pickle’s flavor.
Serving Suggestions
Fried pickles are versatile and pair well with various dipping sauces. Here are some ideas:
- Classic Ranch Dressing: The cool, creamy tang balances the richness of the fried coating.
- Spicy Mayo: Add sriracha to mayo for a zesty dip.
- Honey Mustard: A sweet and tangy option that contrasts beautifully with the savory pickles.
Serve them alongside other appetizers like onion rings, chicken wings, or mozzarella sticks for a complete party spread.
The Experience: Flavors, Textures, and Aromas
The first bite of a fried pickle is an explosion of textures and flavors. The crisp coating gives way to the tangy, juicy pickle inside. The subtle garlic and herb notes in the batter enhance the pickles without overpowering their natural flavor. The breadcrumbs provide a satisfying crunch, while the frying process adds a golden hue and a toasty aroma that is utterly enticing.
Why You’ll Love This Recipe
- Quick and Easy: Ready in under 30 minutes, it’s perfect for last-minute cravings.
- Customizable: Adjust the seasonings or pair with different dips to suit your taste.
- Crowd-Pleaser: A hit at parties, potlucks, or as a side dish for casual dinners.
Whether you’re a pickle lover or a curious snacker, this recipe promises satisfaction with every crispy bite. So gather your ingredients and get ready to fry up a batch of these irresistible pickles!
Enjoy your culinary adventure and don’t forget to share this recipe with fellow food enthusiasts. 🍽️