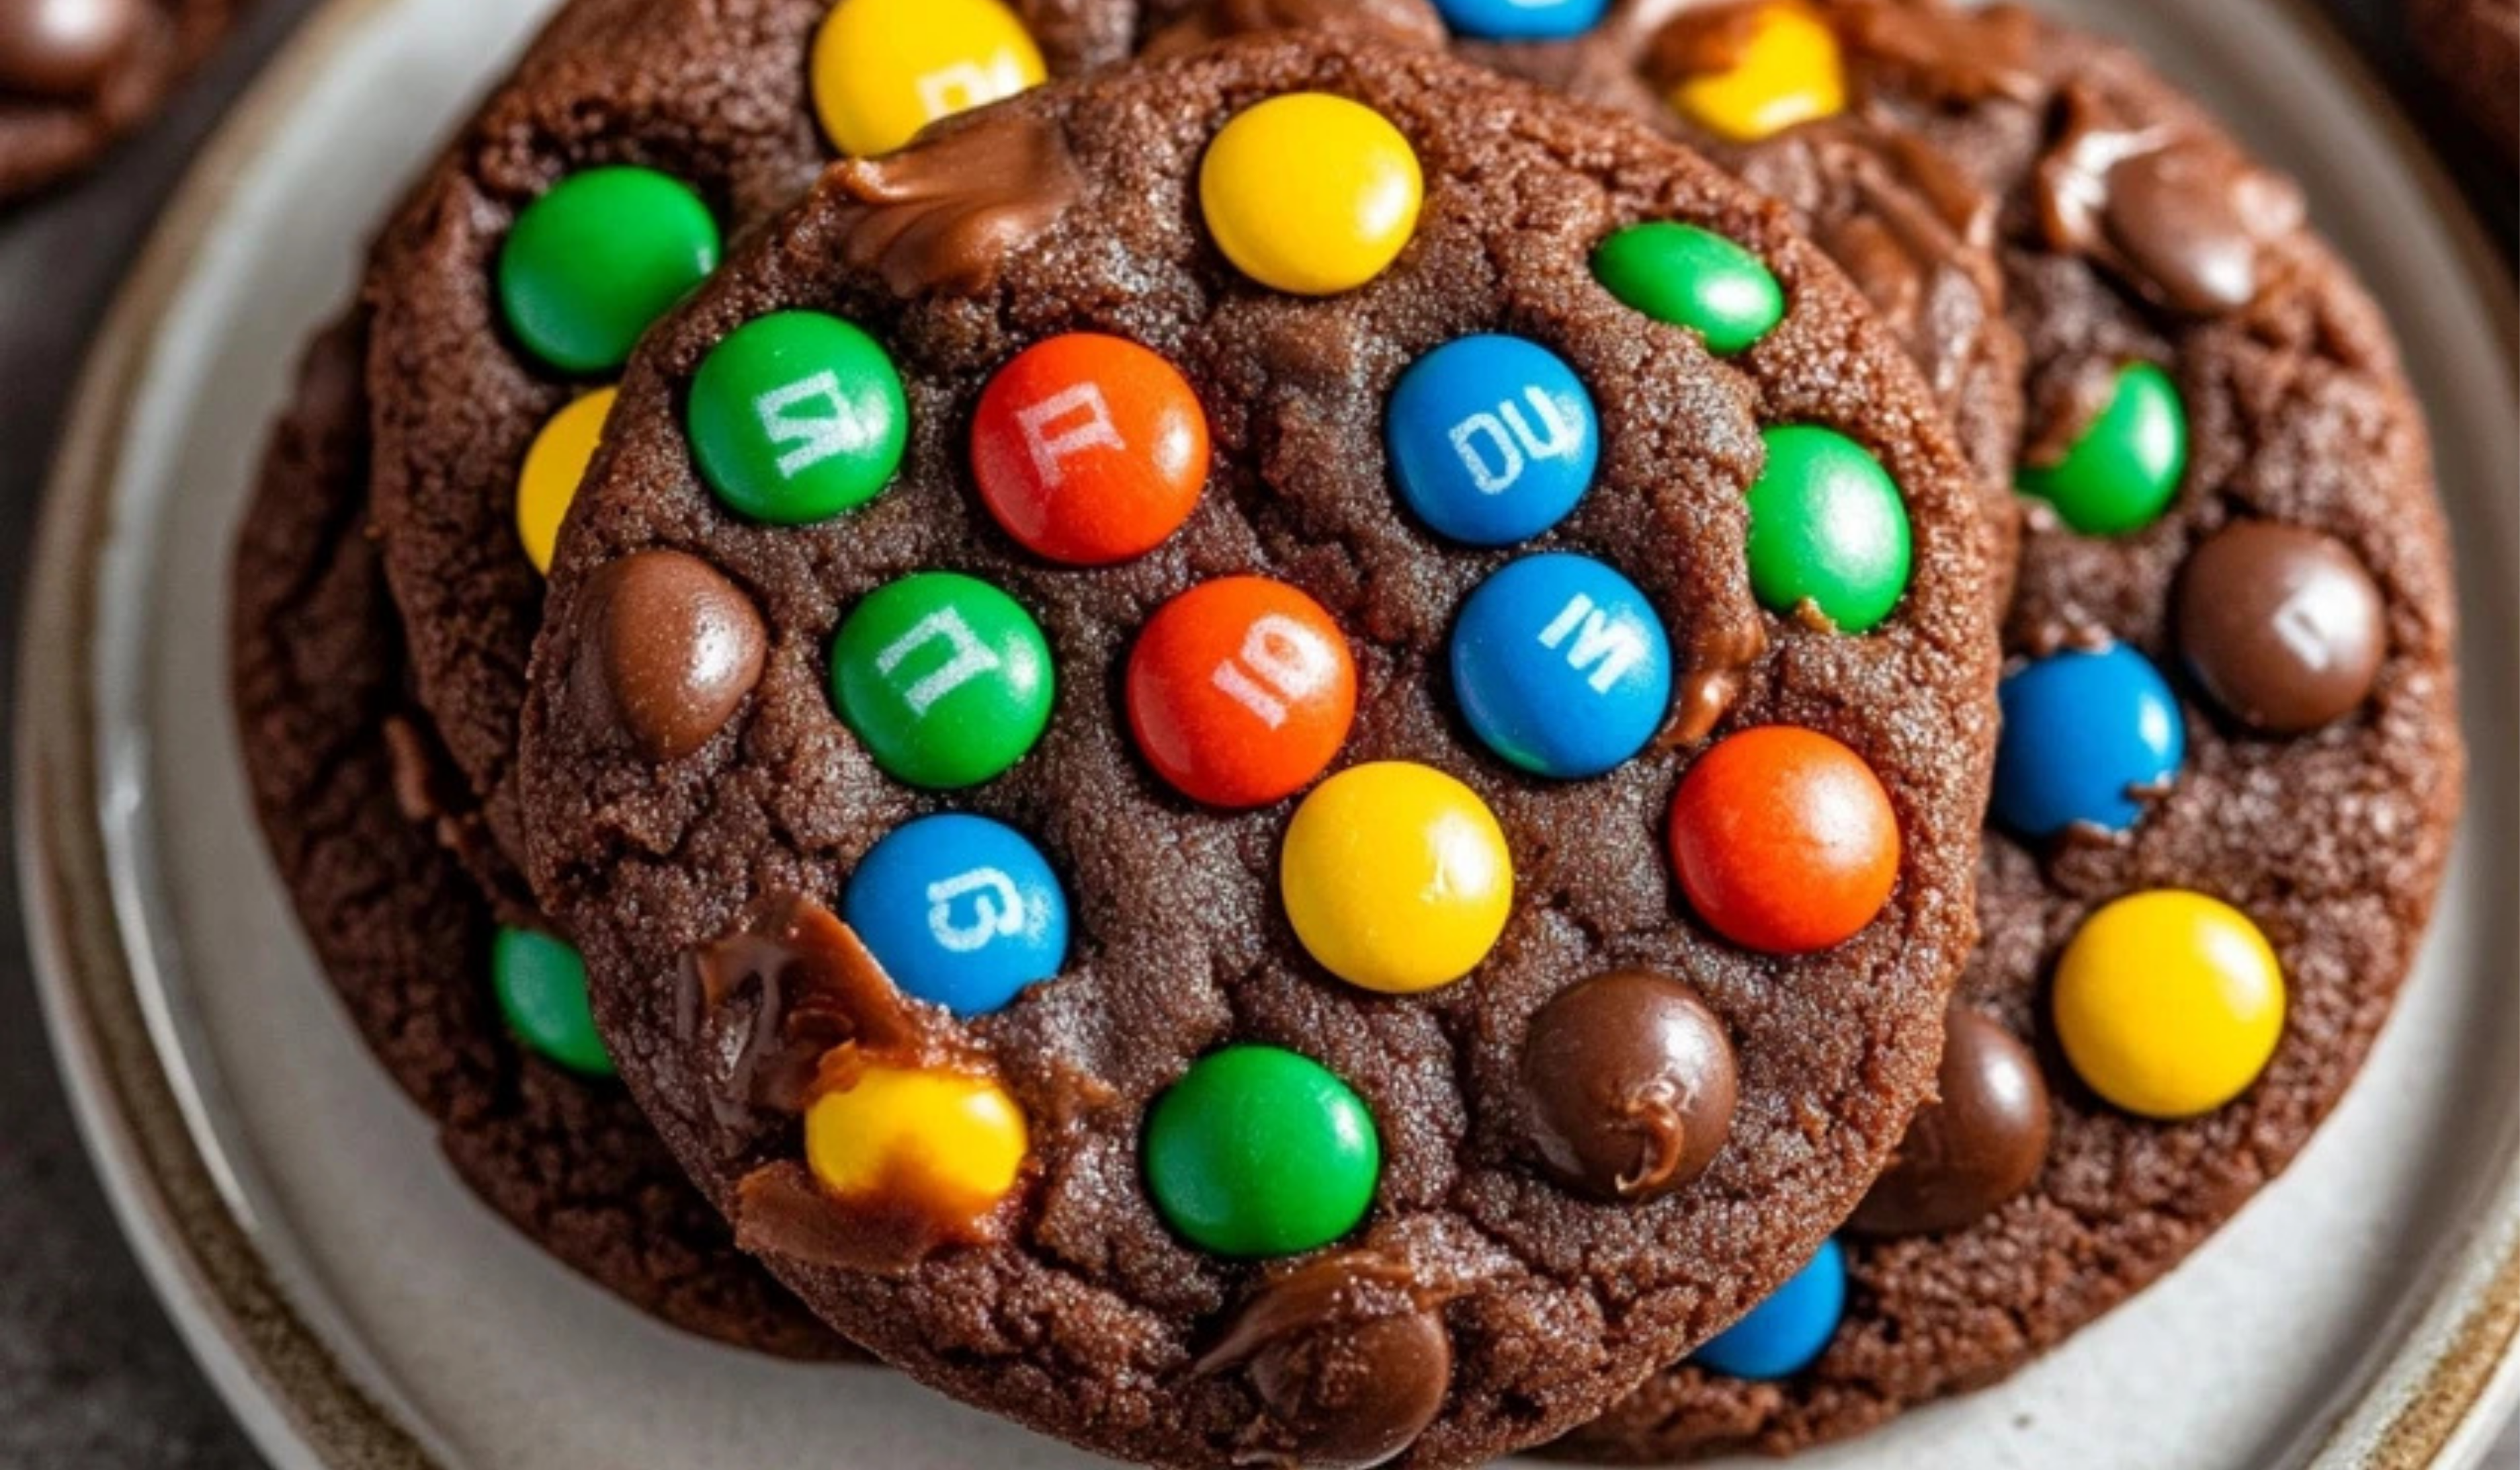
Baking cookies is one of those timeless kitchen activities that never fails to bring joy. The warm, comforting aroma that fills the house as cookies bake in the oven has the power to brighten even the dullest days. For beginners, a simple yet rewarding recipe is the key to building confidence and skill in the kitchen. Chocolate M&M Cookies are the perfect choice for anyone just starting out. They’re easy to make, require basic ingredients, and the outcome is always impressive: soft, chewy cookies with bursts of colorful M&Ms in every bite. Whether you’re baking for a special occasion or just to enjoy a sweet treat, this recipe will quickly become a favorite in your kitchen.
Print
Chocolate M&M Cookies: A Sweet Journey for Beginner Cooks
- Total Time: 25 minutes
- Yield: 14 servings (cookies) 1x
Ingredients
- 8 tablespoons (113 grams) unsalted butter, softened to room temperature
- ¼ cup white granulated sugar
- ½ cup cocoa powder (use regular unsweetened cocoa powder for the best results)
- ½ cup brown sugar (you can substitute with muscovado sugar for a richer flavor)
- 1 teaspoon vanilla extract (or ½ teaspoon vanilla paste)
- 2 large eggs
- 1 and ½ cups all-purpose flour (feel free to substitute with a popular gluten-free flour blend if needed)
- 1 teaspoon baking soda
- ¼ teaspoon salt
- ¾ cup M&Ms (without peanuts)
Instructions
- Preheat the Oven: Start by preheating your oven to 350°F (175°C). This ensures that the cookies bake evenly and come out with the perfect texture.
- Cream the Butter and Sugars: In a large mixing bowl, combine the softened butter, white granulated sugar, and brown sugar. Using an electric hand mixer (or a stand mixer if you have one), beat the ingredients on low speed until they’re smooth and creamy. This step is important because the butter must be soft in order to mix properly with the sugars. If the butter is too cold, it won’t cream together well, and your cookies may be too dense.
- Add the Wet Ingredients: Once the butter and sugars are creamy, add the two eggs and vanilla extract to the bowl. Mix on low speed until everything is well combined. The wet ingredients should be smooth and slightly fluffy at this point.
- Combine the Dry Ingredients: In a separate large bowl, whisk together the all-purpose flour, cocoa powder, baking soda, and salt. This step ensures that the dry ingredients are evenly distributed and helps avoid clumping when you add them to the wet ingredients.
- Add the Dry Ingredients to the Wet Ingredients: Gradually add the dry ingredients to the wet ingredients, about half a cup at a time. Mix on low speed after each addition until the flour is just combined. You don’t need to overmix the dough, so stop once there are just a few lumps of flour left.
- Stir in the M&Ms: Once the dough is almost fully mixed, add the M&Ms to the bowl. Gently fold them into the dough with a spatula or spoon. The dough will be thick and slightly sticky, which is perfect for rolling into cookie balls.
- Chill the Dough: It’s important to chill the dough before baking to prevent the cookies from spreading too much. Transfer the dough to the fridge and let it chill for 30 minutes to 1 hour. This also helps the cookies maintain their shape and have a chewy texture. If the dough becomes too hard after chilling, let it sit at room temperature for a few minutes until it’s soft enough to roll.
- Shape the Cookies: Once the dough is chilled, use a spoon or cookie scoop to scoop out 2-tablespoon portions of dough. Roll each portion into a ball about 2 inches in diameter. Place the dough balls on a baking sheet lined with parchment paper, making sure to leave at least 2 inches of space between each cookie.
- Bake the Cookies: Bake the cookies in your preheated oven for 10-12 minutes. The exact time will depend on your oven, so keep an eye on them. You want the cookies to be slightly soft in the center when you remove them, as they will continue to cook a bit once out of the oven.
- Cool the Cookies: After baking, let the cookies sit on the baking sheet for 5-10 minutes to firm up. Then, carefully transfer them to a wire rack to cool completely. The cookies will set as they cool, and the texture will remain soft and chewy inside.
Notes
- Overmixing the Dough: Be careful not to overmix the dough after adding the dry ingredients. Overmixing can result in tough cookies, which is not what we want. Mix until the ingredients are just combined.
- Cookies Spreading Too Much: If the dough spreads too much while baking, it could be because the dough was too warm when placed on the baking sheet. Always chill the dough before baking to prevent excessive spreading.
- Underbaking: If you like a soft, chewy center, don’t overbake your cookies. It’s better to slightly underbake them, as they will firm up as they cool. Check the cookies after 10 minutes—if the edges are set but the center is still soft, they’re ready to come out.
- Sticky Dough: If your dough is too sticky to roll, simply chill it longer. If you’re in a rush, you can also dust your hands with a little flour to help with rolling.
- Prep Time: 15 minutes
- Cook Time: 10 minutes
What makes this recipe particularly beginner-friendly is its simplicity. The steps are straightforward, and the ingredients are easy to find at any grocery store. Plus, with the added bonus of M&Ms, these cookies are not only delicious but also visually fun, making them perfect for kids to help with (or to enjoy themselves). Whether you’re an experienced baker or new to the kitchen, this recipe will guide you step-by-step to creating a batch of cookies that will have everyone asking for more.
Why Chocolate M&M Cookies Are Perfect for Beginners
For anyone who is just beginning their baking journey, one of the most important things is simplicity. Too many complicated ingredients or instructions can feel overwhelming and discouraging. But with Chocolate M&M Cookies, there’s no need to stress. The ingredients are simple: butter, sugar, cocoa powder, eggs, flour, and of course, M&Ms. Most of these items are pantry staples that you may already have on hand, and the few additional ingredients can be found easily at any grocery store.
Additionally, the method for making these cookies is straightforward. The key is to follow each step carefully, but even if you miss a small detail here or there, the result will still be delicious. The most important thing is to enjoy the process and have fun while baking. And if you happen to make a mistake, don’t worry—baking is all about trial and error, and every mistake is just another opportunity to learn and improve.
Lastly, the health benefits of homemade cookies are often underestimated. While store-bought cookies are full of preservatives, these homemade treats offer a chance to control what goes into them. You can substitute ingredients to suit dietary needs or preferences, whether it’s using a gluten-free flour blend or reducing the amount of sugar. The result? A fresher, more personalized dessert that’s free of artificial additives.
Ingredients and Preparation: What You Need for Chocolate M&M Cookies
Before you get started, let’s gather everything you need. This recipe makes about 14 cookies, but you can easily double or halve it depending on how many people you’re baking for.
Ingredients:
- 8 tablespoons (113 grams) unsalted butter, softened to room temperature
- ¼ cup white granulated sugar
- ½ cup cocoa powder (use regular unsweetened cocoa powder for the best results)
- ½ cup brown sugar (you can substitute with muscovado sugar for a richer flavor)
- 1 teaspoon vanilla extract (or ½ teaspoon vanilla paste)
- 2 large eggs
- 1 and ½ cups all-purpose flour (feel free to substitute with a popular gluten-free flour blend if needed)
- 1 teaspoon baking soda
- ¼ teaspoon salt
- ¾ cup M&Ms (without peanuts)
Alternative Ingredient Suggestions:
- Flour: If you prefer a gluten-free option, you can use a gluten-free flour blend in place of the all-purpose flour. Be sure to check the packaging for any special instructions when substituting.
- Sugar: If you’d like a less sweet version of these cookies, you can reduce the sugar slightly. Alternatively, coconut sugar can be used for a more natural sweetener with a caramel-like flavor.
- Butter: While unsalted butter is recommended for consistency in flavor, you can use salted butter if that’s all you have on hand. Just reduce the additional salt in the recipe to balance the flavors.
- M&Ms: While this recipe calls for regular M&Ms, feel free to experiment with other types of candy-coated chocolates, like peanut M&Ms or mini chocolate chips, for a variation.
Step-by-Step Instructions for Chocolate M&M Cookies
Now that you’ve gathered your ingredients, it’s time to get baking! Follow these simple steps, and you’ll have a batch of warm, gooey cookies in no time.
- Preheat the Oven: Start by preheating your oven to 350°F (175°C). This ensures that the cookies bake evenly and come out with the perfect texture.
- Cream the Butter and Sugars: In a large mixing bowl, combine the softened butter, white granulated sugar, and brown sugar. Using an electric hand mixer (or a stand mixer if you have one), beat the ingredients on low speed until they’re smooth and creamy. This step is important because the butter must be soft in order to mix properly with the sugars. If the butter is too cold, it won’t cream together well, and your cookies may be too dense.
- Add the Wet Ingredients: Once the butter and sugars are creamy, add the two eggs and vanilla extract to the bowl. Mix on low speed until everything is well combined. The wet ingredients should be smooth and slightly fluffy at this point.
- Combine the Dry Ingredients: In a separate large bowl, whisk together the all-purpose flour, cocoa powder, baking soda, and salt. This step ensures that the dry ingredients are evenly distributed and helps avoid clumping when you add them to the wet ingredients.
- Add the Dry Ingredients to the Wet Ingredients: Gradually add the dry ingredients to the wet ingredients, about half a cup at a time. Mix on low speed after each addition until the flour is just combined. You don’t need to overmix the dough, so stop once there are just a few lumps of flour left.
- Stir in the M&Ms: Once the dough is almost fully mixed, add the M&Ms to the bowl. Gently fold them into the dough with a spatula or spoon. The dough will be thick and slightly sticky, which is perfect for rolling into cookie balls.
- Chill the Dough: It’s important to chill the dough before baking to prevent the cookies from spreading too much. Transfer the dough to the fridge and let it chill for 30 minutes to 1 hour. This also helps the cookies maintain their shape and have a chewy texture. If the dough becomes too hard after chilling, let it sit at room temperature for a few minutes until it’s soft enough to roll.
- Shape the Cookies: Once the dough is chilled, use a spoon or cookie scoop to scoop out 2-tablespoon portions of dough. Roll each portion into a ball about 2 inches in diameter. Place the dough balls on a baking sheet lined with parchment paper, making sure to leave at least 2 inches of space between each cookie.
- Bake the Cookies: Bake the cookies in your preheated oven for 10-12 minutes. The exact time will depend on your oven, so keep an eye on them. You want the cookies to be slightly soft in the center when you remove them, as they will continue to cook a bit once out of the oven.
- Cool the Cookies: After baking, let the cookies sit on the baking sheet for 5-10 minutes to firm up. Then, carefully transfer them to a wire rack to cool completely. The cookies will set as they cool, and the texture will remain soft and chewy inside.
Beginner Tips and Notes
Baking cookies is a learning experience, and sometimes things don’t go exactly as planned. Here are some tips and troubleshooting advice to ensure your Chocolate M&M Cookies turn out perfectly:
- Overmixing the Dough: Be careful not to overmix the dough after adding the dry ingredients. Overmixing can result in tough cookies, which is not what we want. Mix until the ingredients are just combined.
- Cookies Spreading Too Much: If the dough spreads too much while baking, it could be because the dough was too warm when placed on the baking sheet. Always chill the dough before baking to prevent excessive spreading.
- Underbaking: If you like a soft, chewy center, don’t overbake your cookies. It’s better to slightly underbake them, as they will firm up as they cool. Check the cookies after 10 minutes—if the edges are set but the center is still soft, they’re ready to come out.
- Sticky Dough: If your dough is too sticky to roll, simply chill it longer. If you’re in a rush, you can also dust your hands with a little flour to help with rolling.

Serving Suggestions
These Chocolate M&M Cookies are delicious on their own, but you can elevate the experience by pairing them with complementary treats. Here are a few serving ideas:
- With Ice Cream: Pair your cookies with a scoop of vanilla or chocolate ice cream for the ultimate dessert. The warm, gooey cookies contrast perfectly with the cold, creamy ice cream.
- With a Cup of Milk: There’s nothing like enjoying freshly baked cookies with a glass of milk. The rich chocolate flavor and M&Ms go hand-in-hand with a chilled glass of milk, making for a nostalgic treat.
- As a Party Snack: These cookies make a great addition to any party spread. They’re easy to serve, and the colorful M&Ms will be a hit with kids and adults alike.
Storage Tips for Leftovers
If you have any leftover cookies (though that’s unlikely!), store them in an airtight container at room temperature for up to 5 days. To keep the cookies soft, place a slice of bread in the container; the bread helps absorb any excess moisture and keeps the cookies from drying out. You can also freeze the cookies for longer storage. Just place them in a freezer-safe container or bag, and they will stay fresh for up to 3 months.
Conclusion: A Cookie Recipe Worth Trying
Chocolate M&M Cookies are a fantastic recipe for beginner bakers. With simple ingredients, easy-to-follow steps, and delicious results, they’re sure to become a regular in your baking routine. The best part? You get to enjoy the warm, homemade cookies as a reward for your efforts. Don’t be afraid to experiment with different add-ins or tweaks to the recipe—baking is all about having fun and making it your own. Try this recipe out, and let us know how it goes! Share your thoughts in the comments below and connect with other baking enthusiasts. Happy baking!