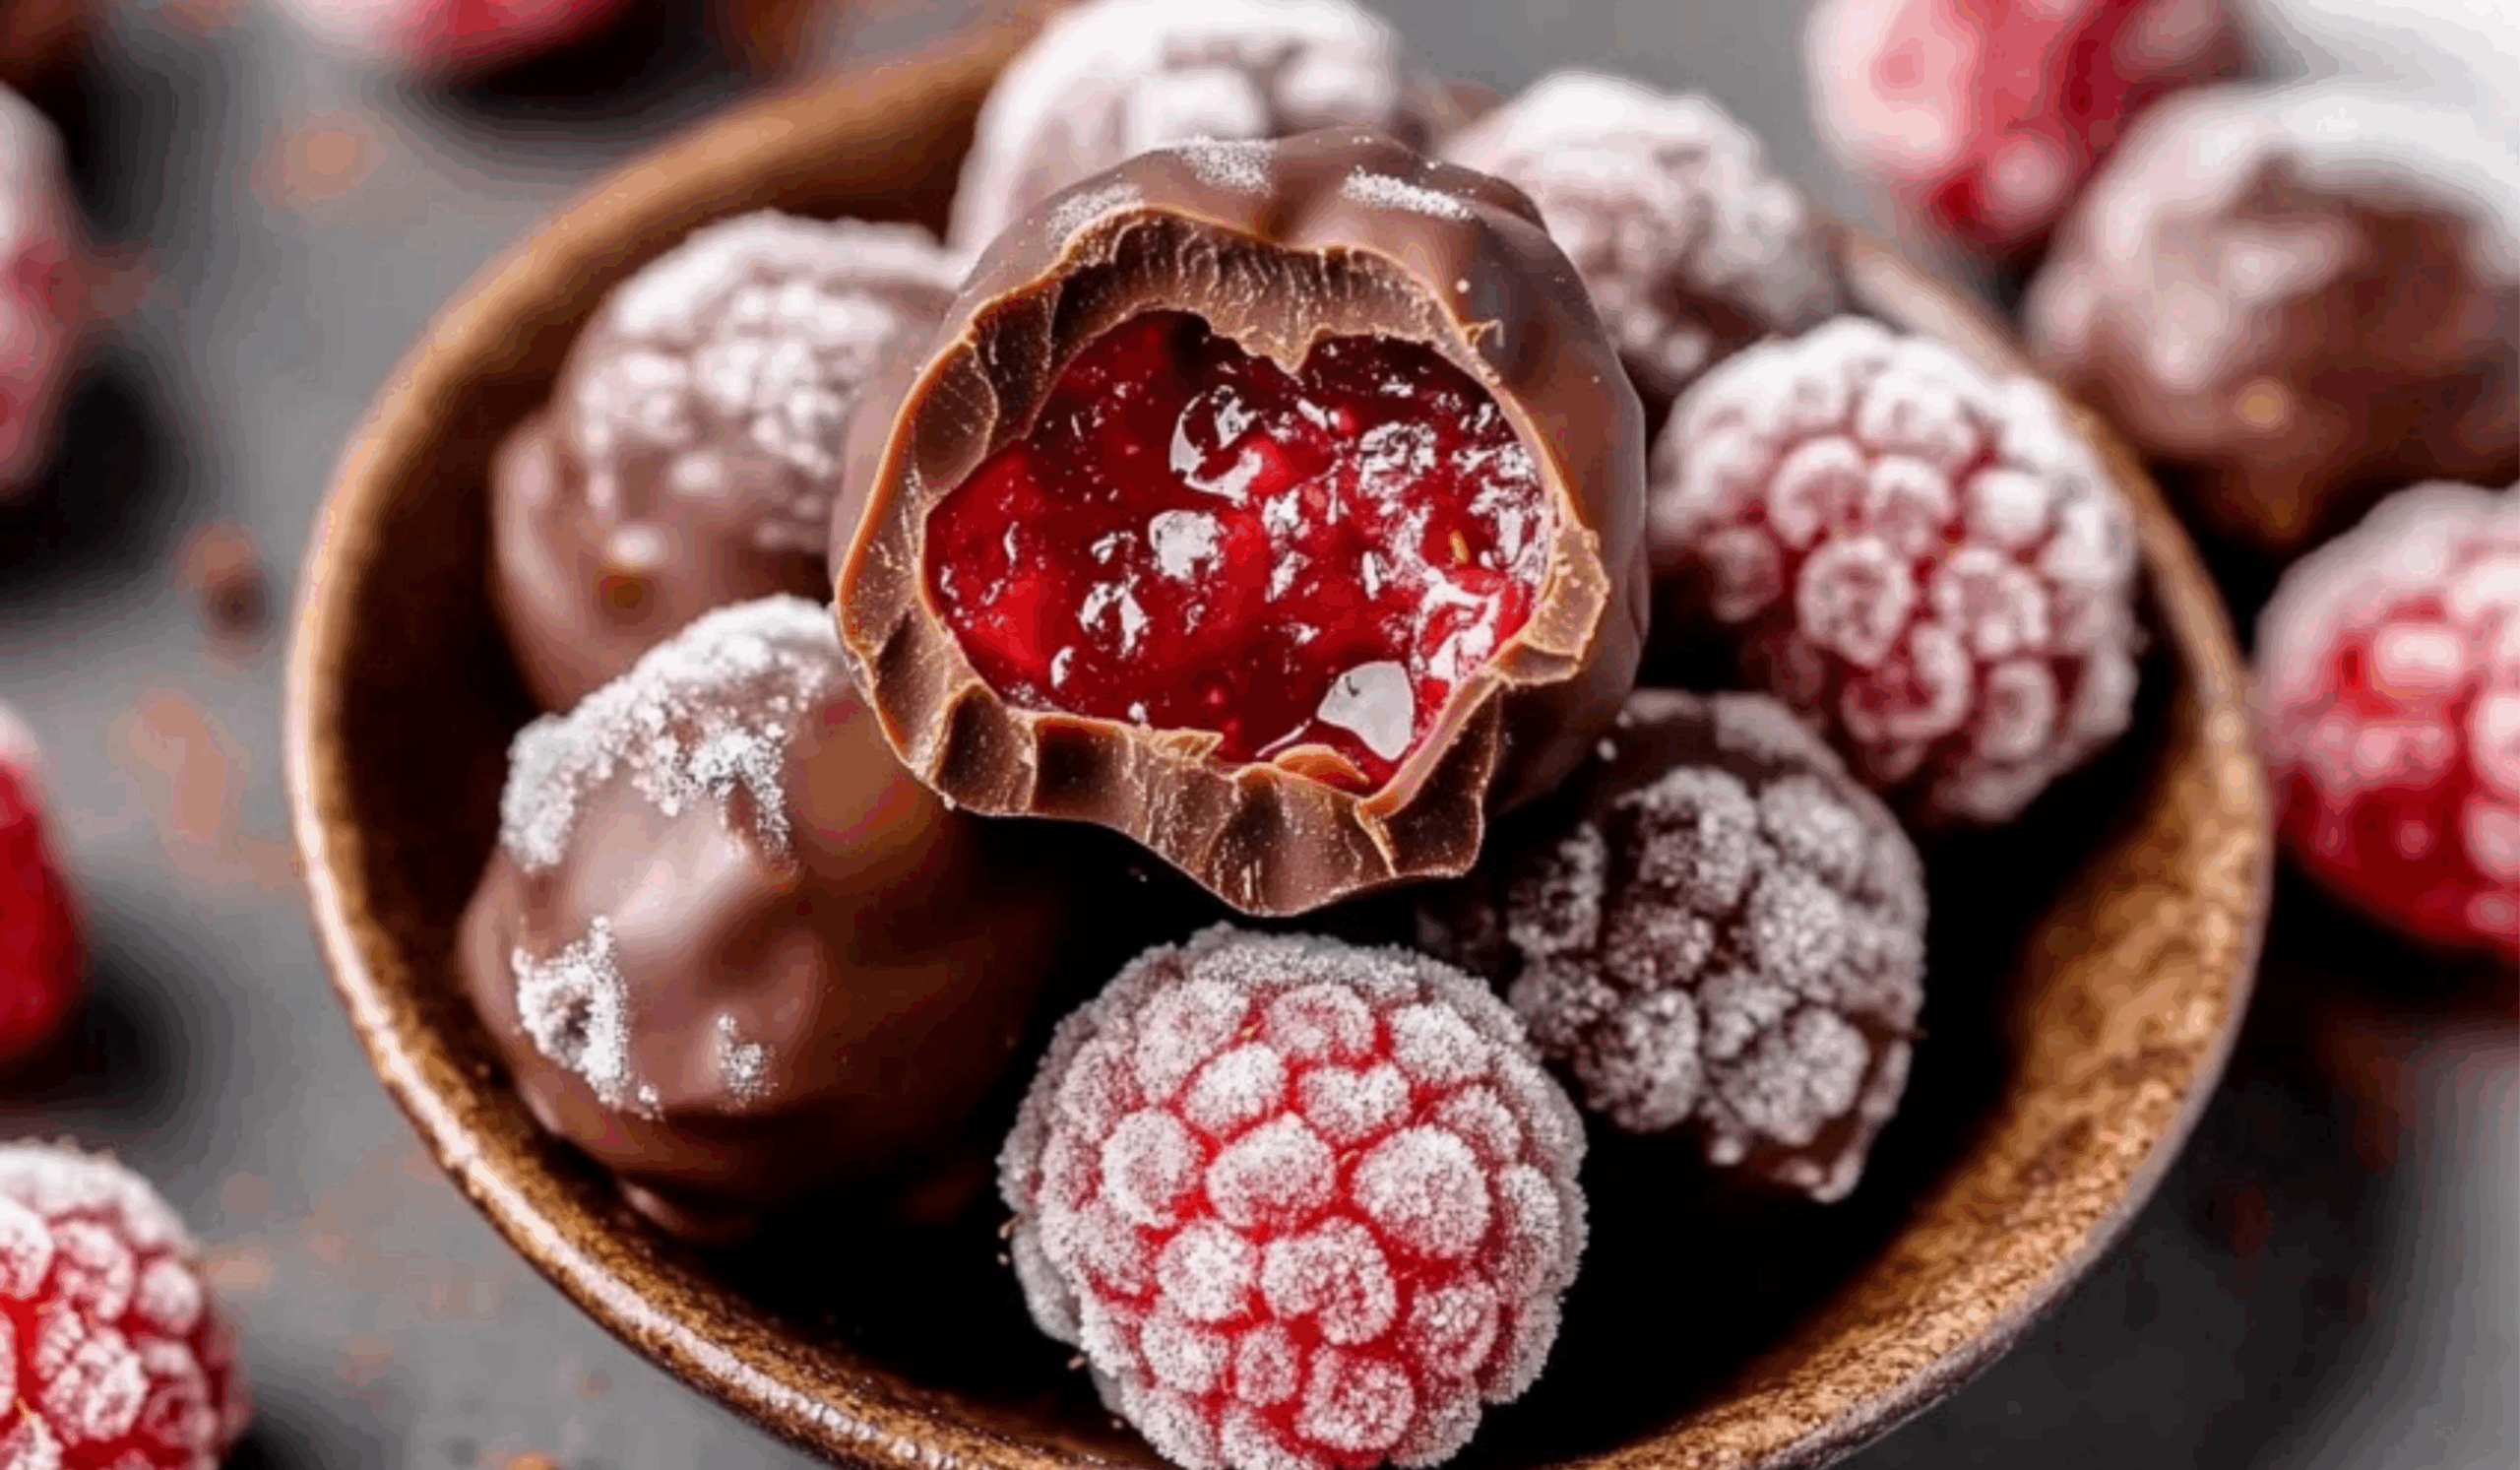
If you’ve ever craved a sweet snack that’s both satisfying and healthy, chocolate-covered frozen raspberries might just become your new favorite. They’re cold, rich, refreshing, and incredibly easy to make—no oven, no fancy equipment, and no long list of ingredients. These tiny bites are a clever way to enjoy the contrast of tart, juicy berries with smooth chocolate and creamy yogurt. Whether you’re whipping them up for a quick weeknight snack, packing them into a school lunch, or serving them as a light dessert after dinner, this recipe strikes the perfect balance of nutrition and indulgence. The best part? They’re customizable for various diets, low in sugar, and quick to prepare—even if you’re a total beginner in the kitchen.
Ingredients and Preparation
This recipe includes two popular versions: one using a yogurt base, and one using a double layer of chocolate (white and dark). Both versions are simple and require only a handful of ingredients. Here’s what you need:
Yogurt Version
Ingredients:
- 28 fresh raspberries (about 1 standard container)
- 1/3 cup vanilla yogurt (use full-fat for a richer flavor)
- 1/2 cup dark chocolate chips
- 2 teaspoons coconut oil
Preparation Steps:
- Wash raspberries gently and pat dry thoroughly.
- Line a baking tray or flat dish with parchment paper for easy cleanup and to prevent sticking.
White Chocolate and Dark Chocolate Version
Ingredients:
- 28 fresh raspberries
- 1/2 cup white chocolate chips
- 1/2 cup dark chocolate chips
- 4 teaspoons coconut oil, divided (2 for each type of chocolate)
Preparation Steps:
- Rinse and dry the raspberries.
- Line your tray with parchment paper and prepare two bowls for the melting process.
Step-by-Step Instructions
Yogurt Version Instructions:
- Coat with Yogurt:
- Using a spoon, toothpick, or your fingers, gently dip each raspberry into the yogurt to coat it fully.
- Shake off any excess and place each one onto the parchment-lined tray.
- Freeze Until Solid:
- Place the tray in the freezer for 30 to 60 minutes, or until the yogurt coating is frozen solid.
- Melt the Chocolate:
- In a microwave-safe bowl, combine the dark chocolate chips and 2 teaspoons of coconut oil.
- Microwave in 30-second intervals, stirring between each, until smooth and fully melted.
- Dip in Chocolate:
- Remove the frozen yogurt raspberries from the freezer.
- Quickly dip each one into the melted chocolate to coat it, then return it to the tray.
- Final Freeze:
- Once all are coated in chocolate, freeze again until the chocolate hardens (about 10 to 15 minutes).
White & Dark Chocolate Version Instructions:
- Melt White Chocolate:
- In a bowl, melt white chocolate chips with 2 teaspoons coconut oil.
- Microwave in 30-second bursts, stirring each time, until smooth.
- Dip in White Chocolate:
- Coat each raspberry fully in white chocolate.
- Lay them on the lined tray and freeze for 30–60 minutes until firm.
- Melt Dark Chocolate:
- In a separate bowl, melt the dark chocolate chips with the remaining 2 teaspoons of coconut oil.
- Final Chocolate Coating:
- Take the white chocolate-covered raspberries from the freezer.
- Dip each one into the melted dark chocolate and place it back on the tray.
- Final Freeze:
- Freeze again until the final chocolate coating is fully set.
Beginner Tips and Notes
- Use Fresh, Firm Raspberries:
- Soft or mushy raspberries don’t hold up well to dipping and freezing. Look for berries that are firm and plump.
- Pat Raspberries Completely Dry:
- Moisture prevents the yogurt and chocolate from sticking. Gently dry them with a paper towel before coating.
- Full-Fat Yogurt for Best Texture:
- Non-fat yogurts are thinner and tend to run off the berry. Full-fat yogurt gives better coverage and taste.
- Customize Your Chocolate:
- Use semi-sweet, milk, or dark chocolate depending on your flavor preference. For a dairy-free version, opt for vegan chocolate chips.
- Microwave Chocolate in Short Bursts:
- Always stir between each microwave burst to prevent burning. Chocolate burns easily if overheated.
- Keep Hands Cold or Use Tools:
- If the chocolate starts melting in your hands, switch to using a toothpick or fork for dipping.
- Work Quickly:
- When dipping yogurt-covered raspberries in chocolate, they can melt quickly. Work fast or in small batches straight from the freezer.
Serving Suggestions
- Light Dessert After Meals:
- These make a perfect low-sugar finish to dinner, especially when served cold from the freezer.
- Healthy Snack:
- Pack a few in a container to bring to school, work, or the gym. Just keep them cold in a cooler or insulated bag.
- Topping for Breakfast Bowls:
- Add a few to the top of oatmeal, granola, or Greek yogurt bowls to make them visually stunning and delicious.
- Party Treat or Holiday Platter:
- Serve them on a decorative tray alongside other frozen fruits or chocolate-dipped snacks for an impressive party spread.
- Gift Idea:
- Place a handful in small boxes or gift bags lined with parchment and refrigerate until you’re ready to deliver.
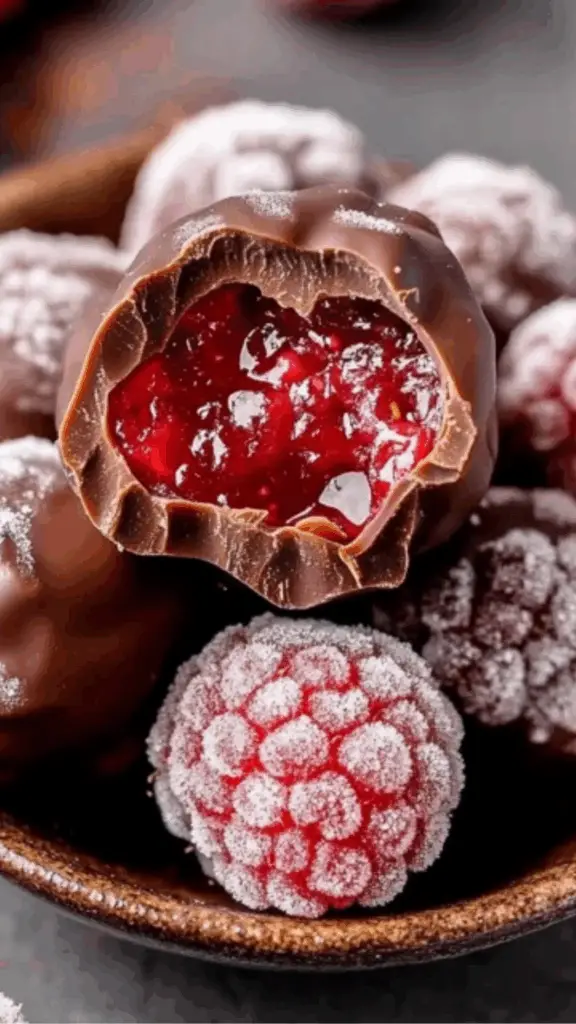
Chocolate-Covered Frozen Raspberries: A Healthy Sweet Treat You’ll Crave All Year Round
Craving something sweet and healthy? Try Chocolate-Covered Frozen Raspberries! 🍓🍫 These frosty little gems are bursting with juicy flavor and coated in luscious dark chocolate for a snack that satisfies every time. Perfect for hot days or late-night cravings, they’re super easy and seriously addictive. One bite and you’ll be hooked! ❄️✨
- Total Time: 45 minutes
- Yield: Serves 6 (12 tacos) 1x
Ingredients
- ¼ cup olive oil
- 2 medium yellow onions, finely chopped
- 2 bell peppers (choose any color), finely chopped
- 4 garlic cloves, finely chopped
- 2 pounds ground chicken (preferably a mix of white and dark meat for juiciness)
- 1 tablespoon paprika
- 2 teaspoons ancho chili powder
- 1½ teaspoons ground cumin
- ½ teaspoon dried oregano
- ⅛ teaspoon cayenne pepper (optional for heat)
- 1¾ teaspoons salt
- 1 (8-ounce) can tomato sauce
- ½ cup chopped fresh cilantro (optional)
- 12 hard taco shells or soft tortillas based on preference
Instructions
- Prepare your ingredients: Finely chop the onions, bell peppers, and garlic. Having all ingredients ready before cooking will streamline the process.
- Heat the oil: In a large skillet, heat ¼ cup olive oil over medium heat until shimmering.
- Sauté vegetables: Add the chopped onions and bell peppers to the skillet. Cook for about 7 to 8 minutes, stirring occasionally until the vegetables soften and the onions turn translucent.
- Add garlic: Stir in the chopped garlic and cook for an additional minute, ensuring the garlic does not burn but releases its aroma.
- Cook the chicken: Add the ground chicken to the skillet. Break it up with a wooden spoon or spatula as it cooks. Stir continuously until the chicken is no longer pink, about 6 to 8 minutes.
- Season the meat: Sprinkle the paprika, ancho chili powder, cumin, oregano, cayenne pepper (if using), and salt evenly over the chicken. Stir well to combine the spices with the meat and vegetables.
- Add tomato sauce: Pour in the tomato sauce and stir to combine. Reduce heat to low and let the mixture simmer for about 10 minutes, stirring occasionally. This allows the flavors to meld and the sauce to thicken slightly.
- Add fresh cilantro: If using, stir in the chopped cilantro just before removing from heat to preserve its fresh flavor.
- Warm the taco shells: While the chicken simmers, heat the taco shells according to package instructions or warm soft tortillas on a skillet until pliable and lightly toasted.
- Assemble tacos: Spoon the chicken mixture into each taco shell. Add your choice of toppings such as shredded lettuce or cabbage, cheese, sour cream, avocado slices, diced tomatoes, and onions.
- Serve: Serve immediately while warm, accompanied by lime wedges for a zesty finish.
Notes
- Choose the right ground chicken: For juicy tacos, use a combination of white and dark meat ground chicken. Lean ground chicken can become dry quickly, so consider adding a tablespoon of olive oil if your meat is very lean.
- Chop vegetables uniformly: Finely and evenly chopped vegetables cook more evenly and blend better with the chicken for consistent flavor in every bite.
- Spice it to your taste: The ancho chili powder adds a smoky depth. If unavailable, mild chili powder works as a substitute. Adjust the cayenne pepper to control the heat level. Omit it for a milder taco.
- Simmer for flavor: Don’t rush the simmering step after adding the tomato sauce. This is when the spices fully infuse into the meat, making the dish flavorful and cohesive.
- Cilantro is optional: Some people dislike cilantro. If you prefer, skip it or substitute with fresh parsley for a different herbaceous note.
- Taco shell options: Hard taco shells offer a satisfying crunch, but soft corn or flour tortillas are excellent alternatives and easier to eat without crumbling.
- Storage: The cooked chicken filling can be stored in an airtight container in the fridge for up to 3 days. Reheat gently on the stovetop or microwave before serving.
- Freezing tip: You can freeze the cooked chicken mixture for up to 3 months. Defrost overnight in the fridge before reheating.
- Prep Time: 15 minutes
- Cook Time: 30 minutes
Engagement Features
- Try Different Fruits:
- How do you think this would taste with strawberries, blueberries, or even banana slices? Try your favorite fruit and see which one you like best.
- Experiment with Add-ons:
- Add a dusting of crushed nuts, coconut flakes, or cinnamon on the wet chocolate before freezing. Which topping do you think adds the best crunch or flavor?
- Try a Flavor Twist:
- Add a drop of peppermint extract or orange zest to the chocolate before dipping for a seasonal variation. What flavors would you mix in?
- Use Different Yogurts:
- Have you tried coconut or almond-based yogurt alternatives? They’re a great dairy-free substitute and bring their own unique flavor.
- Join the Challenge:
- Make a batch and share your creative version with family or friends. How did they react? Did they guess the berries were homemade?
Conclusion
Chocolate-covered frozen raspberries are more than just a sweet treat—they’re a creative way to enjoy healthy ingredients in a satisfying form. With minimal prep, simple steps, and plenty of room for customization, this recipe suits all skill levels and occasions. You can easily adapt the coating, choose between single or double layers, and even adjust the sweetness based on your dietary preferences. Whether you’re keeping a stash in the freezer for quick desserts or presenting them at a party, these tiny indulgences pack big flavor. Try it once, and you may find yourself making batch after batch—not just in summer, but year-round. Have you tried a version of your own? Let us know how it turned out or what new twist you added.