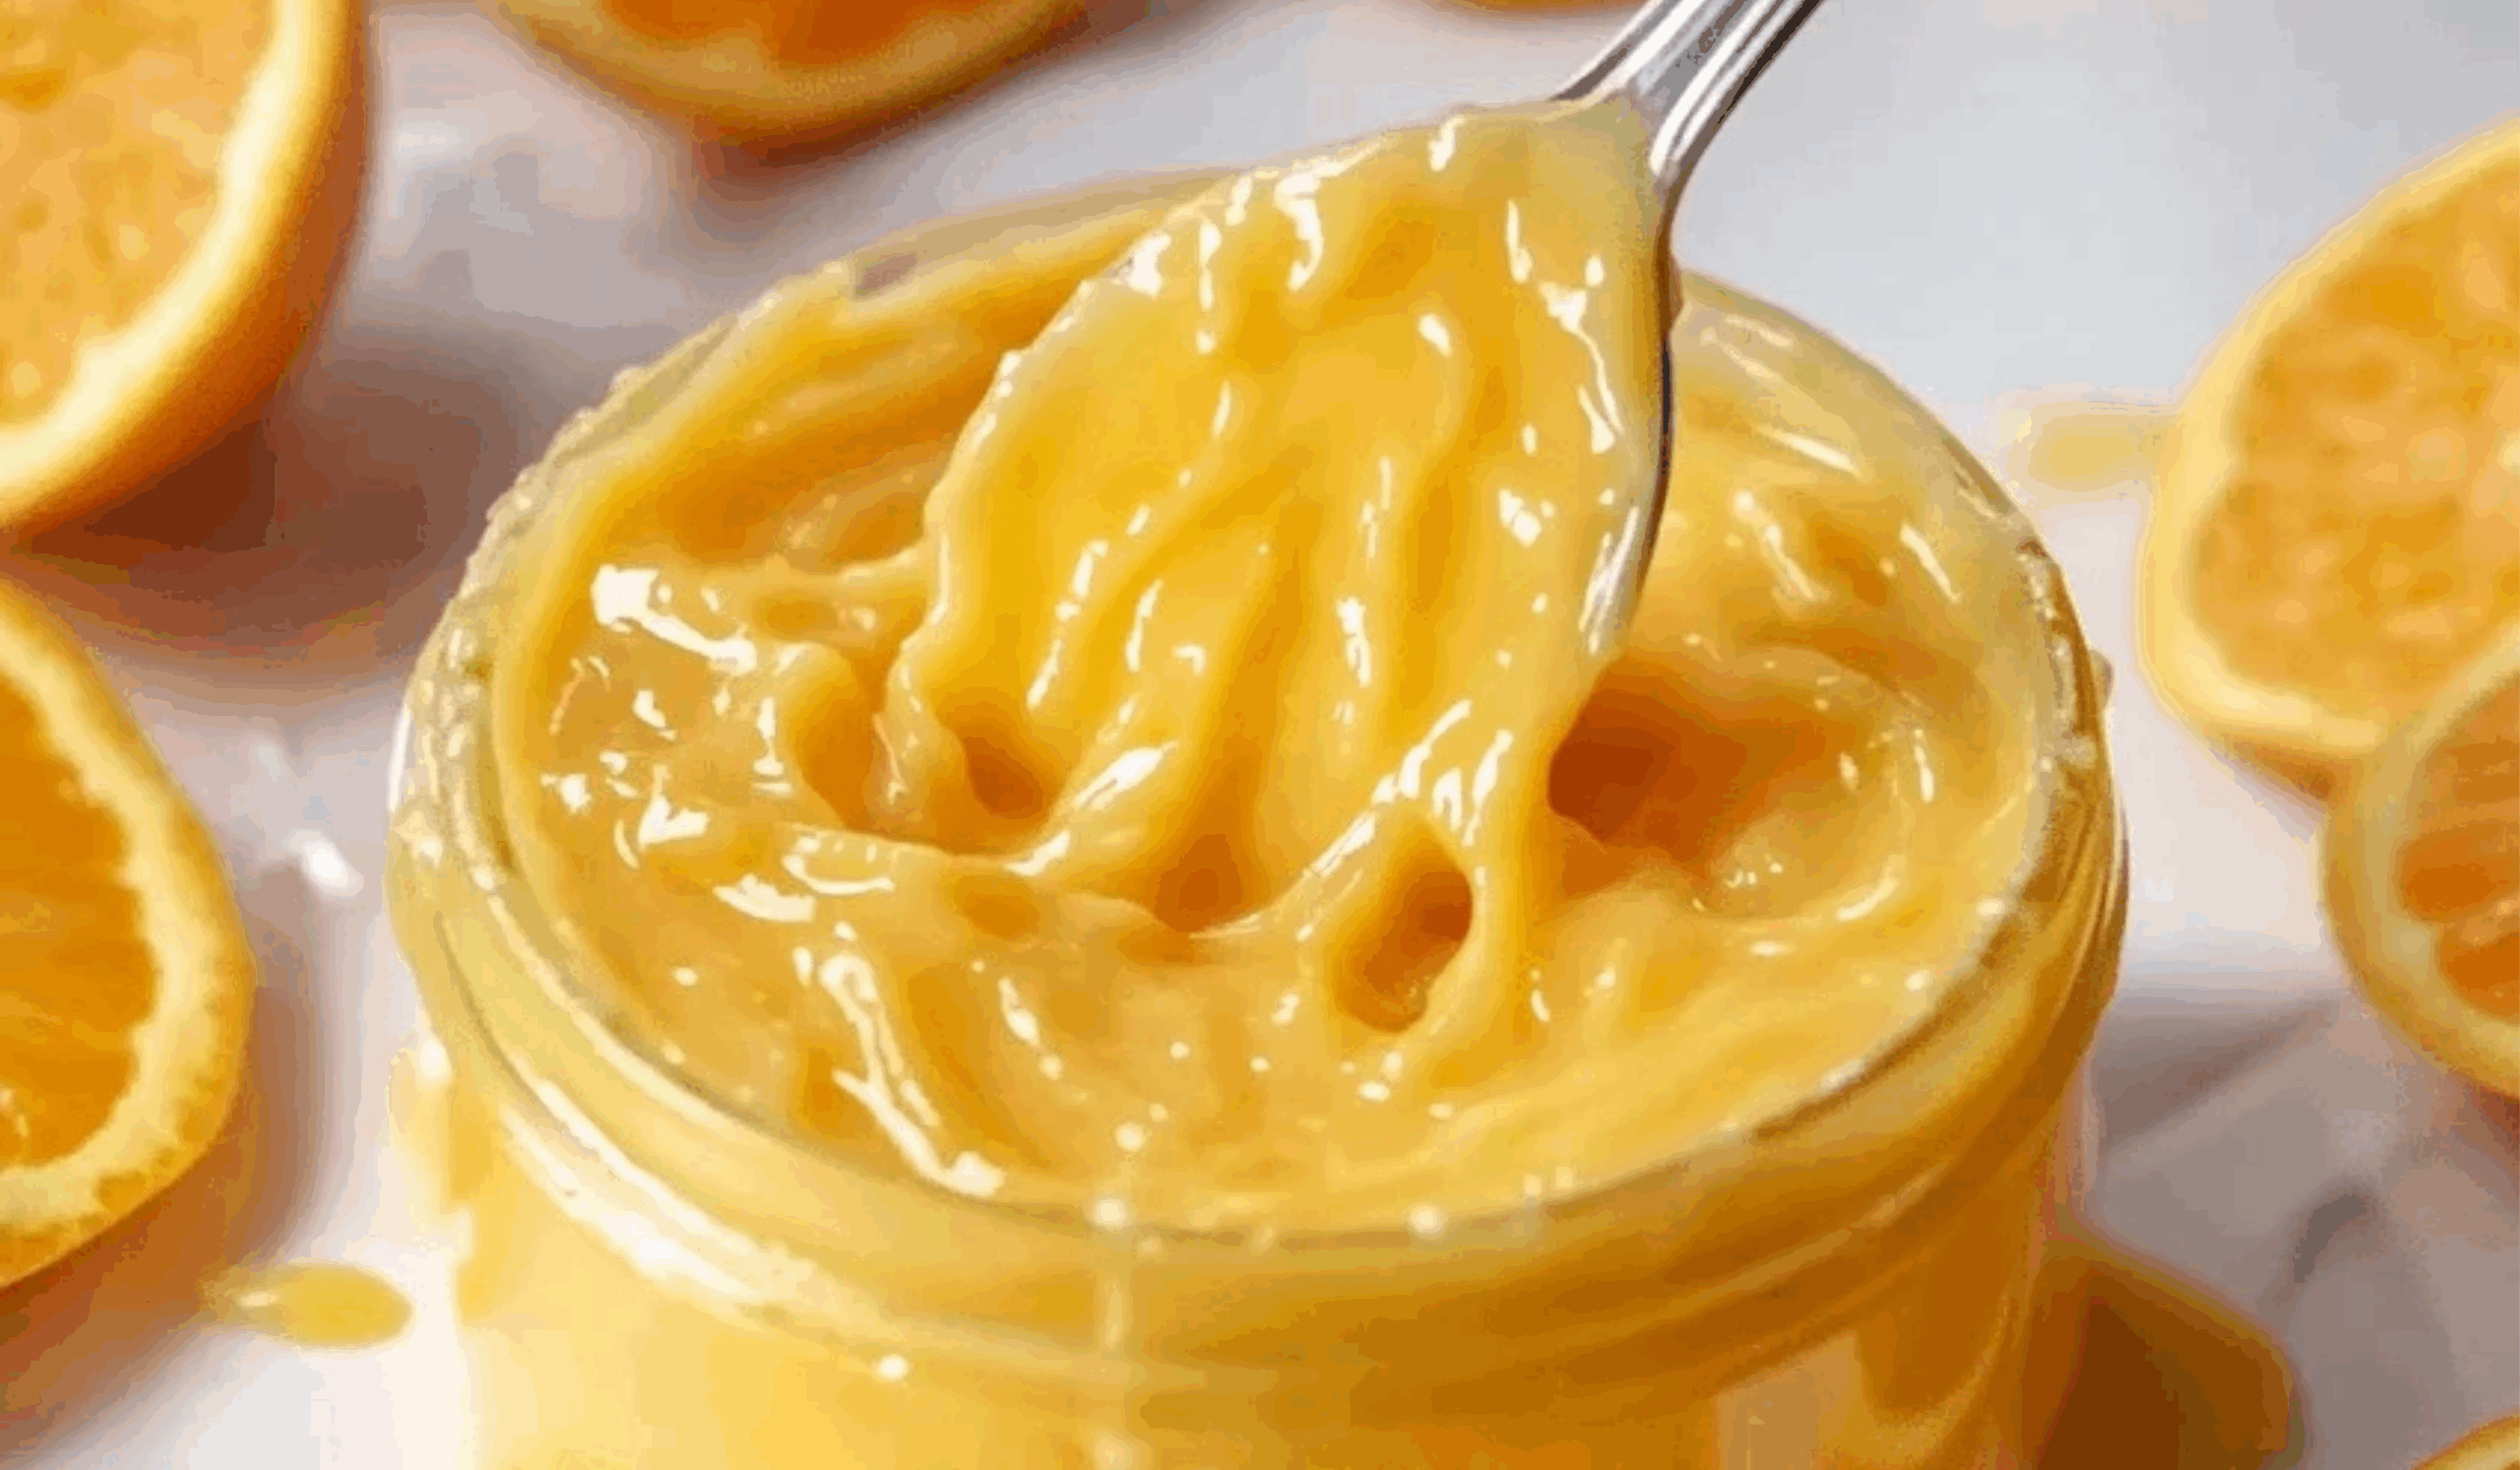
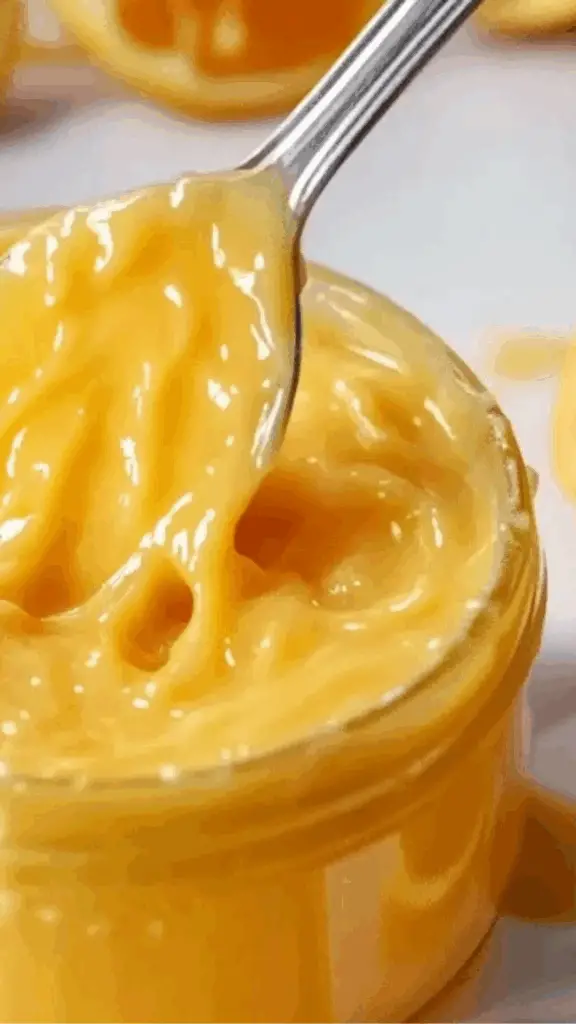
Orange curd is a citrus lover’s dream. With its bold, tangy flavor, smooth custard texture, and brilliant orange color, this spreadable delight offers a perfect balance of sweet and tart. Whether used to fill cakes, spread on toast, or layered into tarts, it’s one of those kitchen creations that seems fancier than it is. Made from just six ingredients—eggs, sugar, orange zest and juice, butter, and salt—this homemade orange curd is surprisingly easy, even for beginners. Unlike store-bought options that can taste artificial, this version delivers a rich, vibrant flavor that only comes from fresh fruit. This guide will walk you through each step of the process, providing clear instructions, beginner-friendly tips, and suggestions for how to enjoy your finished curd in a variety of ways.
Ingredients and Preparation
This recipe yields about 1¼ cups of curd, which is enough to fill a small cake or about six tart shells. It can be easily scaled up or down depending on your needs. The key to a good curd lies in fresh ingredients and attention to heat while cooking. For the best color and flavor, Cara Cara oranges or blood oranges are recommended, but any variety of sweet oranges will work.
Ingredients:
- ⅔ cup (133 grams) granulated sugar
- 3 tablespoons freshly grated orange zest (from about 2 large oranges)
- 6 large egg yolks (or 3 whole large eggs)
- ½ cup (120 grams) freshly squeezed orange juice
- ½ teaspoon salt (omit if using salted butter)
- ½ cup (113 grams) unsalted butter, cut into tablespoon-sized pieces and kept cold
Recommended tools:
- Non-reactive saucepan (such as ceramic or stainless steel)
- Whisk
- Rubber spatula or wooden spoon
- Fine-mesh strainer
- Heatproof bowl
- Microplane or zester
Step-by-Step Instructions
- Infuse the Sugar with Zest:
- In your saucepan, combine the granulated sugar and freshly grated orange zest.
- Rub the zest into the sugar using your fingertips. This step releases the essential oils from the zest, infusing the sugar with a deep citrus aroma and enhancing flavor.
- Whisk in the Eggs:
- Add the egg yolks (or whole eggs if preferred) into the saucepan.
- Whisk them into the sugar-zest mixture until fully blended and smooth. The consistency should be creamy and pale.
- Add Juice and Salt:
- Stir in the freshly squeezed orange juice and salt. The mixture will be runny at this stage, which is normal.
- Cook Gently Over Medium-Low Heat:
- Place the saucepan over medium-low heat and cook the mixture, stirring constantly.
- Use a rubber spatula or wooden spoon to keep the mixture moving and to prevent any egg from scrambling at the bottom of the pan.
- Stir continuously for 15 to 25 minutes, depending on your stove and pan. The curd will gradually thicken and coat the back of your spoon or spatula.
- Add Butter Off Heat:
- Once thickened, remove the saucepan from the heat.
- Add the cold butter pieces one at a time, stirring until each piece melts before adding the next. This method ensures a silky, emulsified texture and balances the tartness of the orange.
- Strain for Smoothness:
- Pour the finished curd through a fine-mesh strainer into a clean bowl.
- This step removes any bits of zest or cooked egg, resulting in a perfectly smooth finish.
- Chill and Store:
- Press plastic wrap directly onto the surface of the curd to prevent a skin from forming.
- Let it cool to room temperature, then refrigerate for at least 2 hours before using.
- Store in the refrigerator for up to 2 weeks, or freeze for longer storage (up to 1 month).
Beginner Tips and Notes
- Use a non-reactive pan: Avoid aluminum or cast iron pans, which can react with citrus and leave a metallic taste. Stick to ceramic, stainless steel, or enamel-coated pans.
- Be patient with heat: Low and slow is the key to preventing scrambled eggs. Don’t rush the cooking process by increasing the heat.
- Keep stirring: Continuous movement prevents clumping and promotes even cooking.
- Test for doneness: Dip a spoon into the curd, then run your finger across the back. If it leaves a clean line, the curd is ready.
- Choose the right oranges: Blood oranges or Cara Cara oranges offer a deeper color and more complex flavor than standard navel oranges.
- Zesting tip: Only zest the bright orange outer skin—avoid the bitter white pith beneath.
- Whole eggs vs. yolks: Using whole eggs gives a lighter texture and slightly less richness. Using only yolks results in a denser, more custard-like curd. Choose based on your preference.
- Butter temperature matters: Adding cold butter helps cool down the curd while creating a smooth emulsion.
- Straining is essential: It’s the difference between homemade quality and professional results. Don’t skip it.
- Make it ahead: This curd keeps well in the fridge and gets better as the flavors meld. It’s ideal for prep-ahead desserts.
Serving Suggestions
- As a cake filling: Spread orange curd between cake layers, especially in vanilla or chocolate cakes, for a bright flavor contrast.
- In cupcakes: Core the center of cupcakes and fill them with orange curd for a surprise burst of citrus.
- With toast or scones: Use it like jam on buttered toast or warm scones for a citrusy breakfast or snack.
- In tart shells: Spoon the curd into pre-baked tart shells and top with whipped cream or berries for a simple dessert.
- As a cheesecake topping: Swirl it on top of a baked or no-bake cheesecake before serving.
- Swirled into yogurt: Add a few spoonfuls to plain Greek yogurt for a quick and flavorful snack.
- Layered in parfaits: Alternate layers of crushed cookies, whipped cream, and orange curd for a delightful no-bake treat.
- With pancakes or waffles: Use it as a tangy topping in place of syrup.
- As a dip for fruit: Pair with strawberries, bananas, or apple slices for a refreshing fruit dip.
- Frozen into popsicles: Mix with cream and freeze in molds for citrus creamsicles.
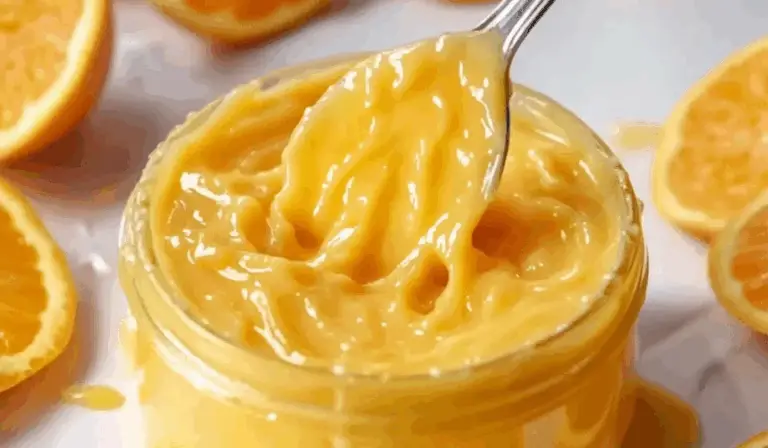
Bright and Silky Orange Curd Recipe for Beginners
Add a burst of sunshine to your day with this Bright and Silky Orange Curd! 🍊☀️ Smooth, citrusy, and perfectly sweet, it’s an easy recipe that even beginners can master. Spread it on toast, swirl into yogurt, or spoon it straight from the jar—you’ll be hooked! 💛🍯
- Total Time: 30 minutes
- Yield: About 1¼ cups 1x
Ingredients
- ⅔ cup (133 grams) granulated sugar
- 3 tablespoons freshly grated orange zest (from about 2 large oranges)
- 6 large egg yolks (or 3 whole large eggs)
- ½ cup (120 grams) freshly squeezed orange juice
- ½ teaspoon salt (omit if using salted butter)
- ½ cup (113 grams) unsalted butter, cut into tablespoon-sized pieces and kept cold
Recommended tools:
- Non-reactive saucepan (such as ceramic or stainless steel)
- Whisk
- Rubber spatula or wooden spoon
- Fine-mesh strainer
- Heatproof bowl
- Microplane or zester
Instructions
- Infuse the Sugar with Zest:
- In your saucepan, combine the granulated sugar and freshly grated orange zest.
- Rub the zest into the sugar using your fingertips. This step releases the essential oils from the zest, infusing the sugar with a deep citrus aroma and enhancing flavor.
- Whisk in the Eggs:
- Add the egg yolks (or whole eggs if preferred) into the saucepan.
- Whisk them into the sugar-zest mixture until fully blended and smooth. The consistency should be creamy and pale.
- Add Juice and Salt:
- Stir in the freshly squeezed orange juice and salt. The mixture will be runny at this stage, which is normal.
- Cook Gently Over Medium-Low Heat:
- Place the saucepan over medium-low heat and cook the mixture, stirring constantly.
- Use a rubber spatula or wooden spoon to keep the mixture moving and to prevent any egg from scrambling at the bottom of the pan.
- Stir continuously for 15 to 25 minutes, depending on your stove and pan. The curd will gradually thicken and coat the back of your spoon or spatula.
- Add Butter Off Heat:
- Once thickened, remove the saucepan from the heat.
- Add the cold butter pieces one at a time, stirring until each piece melts before adding the next. This method ensures a silky, emulsified texture and balances the tartness of the orange.
- Strain for Smoothness:
- Pour the finished curd through a fine-mesh strainer into a clean bowl.
- This step removes any bits of zest or cooked egg, resulting in a perfectly smooth finish.
- Chill and Store:
- Press plastic wrap directly onto the surface of the curd to prevent a skin from forming.
- Let it cool to room temperature, then refrigerate for at least 2 hours before using.
- Store in the refrigerator for up to 2 weeks, or freeze for longer storage (up to 1 month).
Notes
- Use a non-reactive pan: Avoid aluminum or cast iron pans, which can react with citrus and leave a metallic taste. Stick to ceramic, stainless steel, or enamel-coated pans.
- Be patient with heat: Low and slow is the key to preventing scrambled eggs. Don’t rush the cooking process by increasing the heat.
- Keep stirring: Continuous movement prevents clumping and promotes even cooking.
- Test for doneness: Dip a spoon into the curd, then run your finger across the back. If it leaves a clean line, the curd is ready.
- Choose the right oranges: Blood oranges or Cara Cara oranges offer a deeper color and more complex flavor than standard navel oranges.
- Zesting tip: Only zest the bright orange outer skin—avoid the bitter white pith beneath.
- Whole eggs vs. yolks: Using whole eggs gives a lighter texture and slightly less richness. Using only yolks results in a denser, more custard-like curd. Choose based on your preference.
- Butter temperature matters: Adding cold butter helps cool down the curd while creating a smooth emulsion.
- Straining is essential: It’s the difference between homemade quality and professional results. Don’t skip it.
- Make it ahead: This curd keeps well in the fridge and gets better as the flavors meld. It’s ideal for prep-ahead desserts.
- Prep Time: 10 minutes
- Cook Time: 20 minutes
Engagement Features
Have you ever made your own fruit curd at home? What citrus would you like to try next—lemon, lime, or maybe grapefruit? Orange curd is an ideal starting point because it’s slightly sweeter and more forgiving than lemon. Once you’ve mastered this version, experiment with different citrus fruits or mix in a splash of vanilla or ginger for extra flavor depth. What would you pair this curd with first—a layer cake, breakfast scone, or spooned straight from the jar? Try it out, then come back and share your results. What worked well? What would you change next time? Your insights help other home bakers feel confident and inspired to try new recipes.