Grilling chicken is one of the most delightful and satisfying ways to prepare this versatile meat. The smoky aroma, the charred crispy skin, and the juicy, tender meat are what make BBQ Chicken on the Grill a timeless favorite. Whether you’re cooking for a family dinner, a summer BBQ, or a gathering of friends, grilled BBQ chicken never fails to impress.
Print
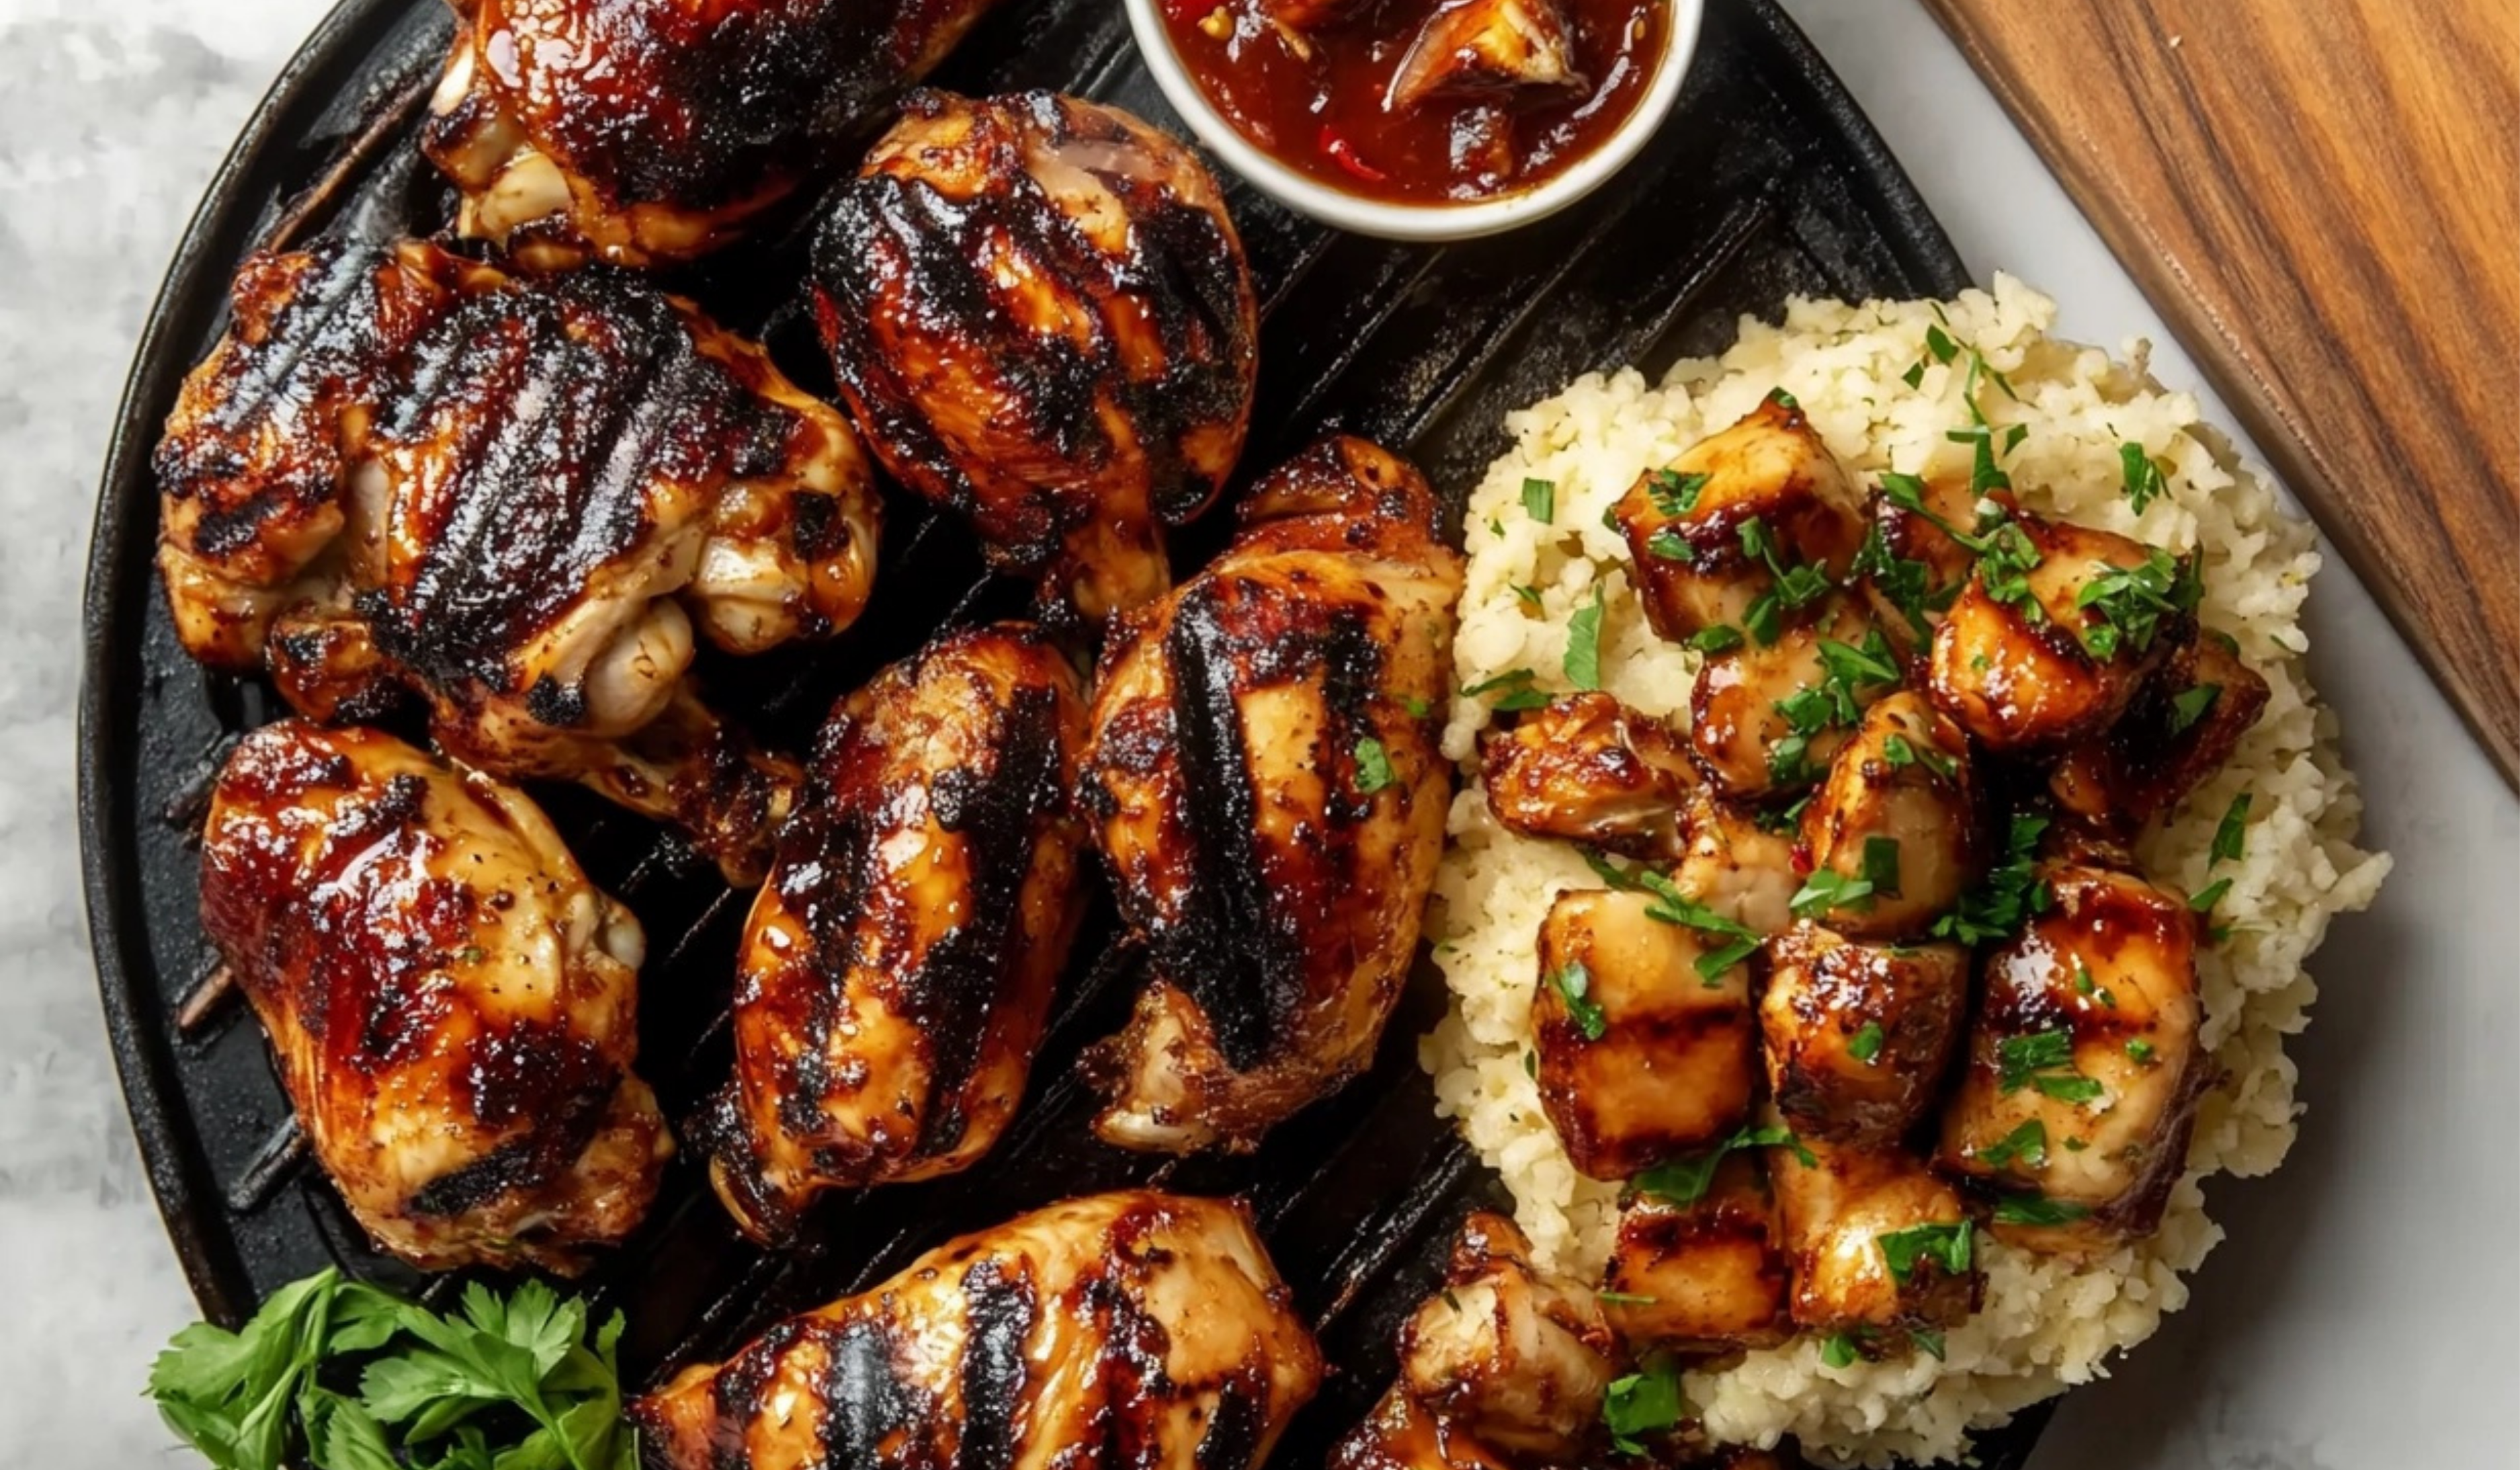
BBQ Chicken on the Grill: A Flavorful, Savory Delight
🔥🍗 BBQ Chicken on the Grill is the ultimate summer treat! 🌞 Perfectly charred on the outside and juicy on the inside, this savory delight is packed with smoky, tangy flavors that will make your taste buds dance. 🌽🌿 Whether it’s for a weekend cookout or a family dinner, this BBQ chicken will steal the show! 😋🍴
#BBQChicken #GrillMaster #SmokyDelight #SummerVibes #GrilledGoodness #BBQTime #FlavorfulEats #OutdoorCooking #SavoryFlavors #GrillSeason 🔥🍗
- Total Time: 110 mins
- Yield: 4 to 6 servings 1x
Ingredients
For the Chicken:
- 4 pounds of bone-in, skin-on chicken parts (legs, thighs, wings, breasts)
- Kosher salt, to taste
- 2–3 tablespoons extra virgin olive oil or vegetable oil
- 1 cup of your favorite BBQ sauce (store-bought or homemade)
For the BBQ Sauce (Optional Homemade Version):
- 1 cup ketchup
- 1/4 cup apple cider vinegar
- 1/4 cup brown sugar
- 1 tablespoon Worcestershire sauce
- 1 teaspoon garlic powder
- 1 teaspoon onion powder
- 1/2 teaspoon smoked paprika
- Salt and pepper to taste
Instructions
Step 1: Coat the Chicken with Oil and Salt
Begin by patting the chicken dry with paper towels to remove any excess moisture. This step helps the skin crisp up during grilling. Once dry, drizzle the chicken with olive oil (or vegetable oil) and rub it all over each piece, ensuring it is evenly coated. Then, sprinkle kosher salt generously on all sides of the chicken. Salt enhances the natural flavor of the meat and prepares the chicken for the grilling process.
Setting Up the Grill
The next step is preparing the grill. Whether you’re using a charcoal or gas grill, you’ll need to create a two-zone fire to cook the chicken properly. This means one side of the grill will be for high, direct heat (searing), while the other side will be for low, indirect heat (slow cooking).
Step 2: Prepare Your Grill
For a charcoal grill, arrange the coals on one side, leaving the other side without coals to create a cooler zone. If you’re using a gas grill, turn on only one burner to create a direct heat side, while leaving the other side off for indirect heat.
Preheat the grill to a high temperature, around 450°F (232°C) on the hot side, and lower it to a medium-low temperature (around 250°F–275°F or 121°C–135°C) on the cooler side.
Searing the Chicken
Once your grill is ready, it’s time to start cooking. Searing is a crucial step in getting that beautiful crispy skin and smoky flavor on your BBQ chicken.
Step 3: Sear the Chicken on High Heat
Place the chicken pieces, skin side down, directly on the hot side of the grill. Grill the chicken uncovered for about 5-10 minutes, depending on how hot your grill is. You want to achieve a golden, crispy skin without burning it, so keep an eye on the chicken during this time. The skin will render out some fat and become beautifully crisp.
Once you’ve achieved a nice sear on one side, carefully flip the chicken over to the other side using tongs or a spatula.
Moving the Chicken to Indirect Heat
Now that your chicken has a crispy, golden sear, it’s time to move it to the cooler side of the grill where it can cook slowly and evenly. This indirect heat allows the chicken to cook through without drying out.
Step 4: Move to the Cooler Side
Transfer the chicken pieces to the cooler side of the grill, away from the direct heat. If you’re using a gas grill, this is the side without the flame. Cover the grill, ensuring the temperature stays between 250°F and 275°F (121°C–135°C). Let the chicken cook undisturbed for about 20-30 minutes.
Basting with BBQ Sauce
Now, it’s time for the BBQ sauce. Basting the chicken with sauce as it cooks is what gives BBQ chicken its characteristic flavor.
Step 5: Flip and Baste
After 20-30 minutes, flip the chicken over and brush it generously with your BBQ sauce of choice. The sauce adds a layer of tangy, sweet, and smoky flavor that infuses the meat as it cooks. Cover the grill again and allow the chicken to cook for an additional 15-20 minutes.
Continue this process of flipping, basting, and cooking the chicken for another 10-30 minutes, depending on the size of your chicken pieces and the heat of your grill. The key here is to maintain a low temperature, allowing the chicken to cook “low and slow,” which ensures it stays juicy and tender.
Checking for Doneness
The next important step is checking whether your chicken is cooked through. Overcooking chicken can lead to dry, tough meat, so it’s crucial to get the timing right.
Step 6: Check the Internal Temperature
The best way to ensure your chicken is cooked to perfection is by using a meat thermometer. For chicken breasts, the internal temperature should reach 160°F (71°C), while for thighs, it should reach 170°F (77°C). Insert the thermometer into the thickest part of the meat, avoiding bones.
Alternatively, you can check doneness by cutting into the thickest part of the chicken. If the juices run clear, the chicken is ready. If the juices are pink or red, it needs more time on the grill.
Notes
Ingredient Substitutions:
- BBQ Sauce: Feel free to experiment with different BBQ sauces, such as sweet, smoky, or tangy variations. You can even try making your own BBQ sauce at home for a personalized touch.
- Chicken Parts: If you prefer white meat, use chicken breasts. However, keep in mind that breasts are more prone to drying out, so it’s essential to cook them over indirect heat and monitor them closely.
- Spices: Add spices like smoked paprika, cumin, or cayenne pepper to the chicken for an extra kick of flavor.
Variations:
- Spicy BBQ Chicken: For a spicier version, mix some hot sauce or chili powder into your BBQ sauce or rub the chicken with a spicy seasoning before grilling.
- Citrus BBQ Chicken: Add a touch of lemon or lime zest to your BBQ sauce for a refreshing citrus twist.
- Herb-Infused BBQ Chicken: Mix some fresh herbs like rosemary, thyme, or parsley into your BBQ sauce for an aromatic, herbaceous flavor.
Serving Suggestions:
- Pair your BBQ chicken with classic sides like baked beans, cornbread, or a fresh corn on the cob.
- For a lighter side, try a cucumber and tomato salad or a fresh green salad with a tangy vinaigrette.
- If you’re serving the chicken at a party, consider offering a variety of dipping sauces alongside the BBQ sauce, such as ranch dressing, blue cheese, or garlic aioli.
- Prep Time: 5 mins
- Cook Time: 105 mins
This recipe is designed for those who love rich, flavorful chicken with a perfect balance of smoky, tangy BBQ sauce and a crispy, golden-brown skin. By using bone-in, skin-on chicken parts, such as thighs, legs, and breasts, the chicken remains tender and juicy even after long, slow cooking over the grill. The chicken skin, even if you don’t plan to eat it, plays a vital role in protecting the meat from drying out while grilling, ensuring a moist and flavorful result.
In this article, we’ll guide you through every step of preparing BBQ Chicken on the Grill—from seasoning the chicken to grilling it to perfection, and even offering tips for customizing the recipe to your personal taste. Whether you’re an experienced griller or a novice, you’ll find this recipe easy to follow, and the results will undoubtedly be mouthwatering.
Ingredients for BBQ Chicken on the Grill
The success of your BBQ chicken depends on high-quality ingredients and simple preparation. Here’s what you need for the recipe:
For the Chicken:
- 4 pounds of bone-in, skin-on chicken parts (legs, thighs, wings, breasts)
- Kosher salt, to taste
- 2-3 tablespoons extra virgin olive oil or vegetable oil
- 1 cup of your favorite BBQ sauce (store-bought or homemade)
For the BBQ Sauce (Optional Homemade Version):
- 1 cup ketchup
- 1/4 cup apple cider vinegar
- 1/4 cup brown sugar
- 1 tablespoon Worcestershire sauce
- 1 teaspoon garlic powder
- 1 teaspoon onion powder
- 1/2 teaspoon smoked paprika
- Salt and pepper to taste
Preparing the Chicken
Before you fire up the grill, it’s important to prepare the chicken properly. The key to a flavorful BBQ chicken is the seasoning and the way it’s coated with oil and salt. The oil not only adds flavor, but it also helps the seasoning stick to the chicken, while the salt draws out moisture, allowing the seasoning to penetrate deeper into the meat.
Step 1: Coat the Chicken with Oil and Salt
Begin by patting the chicken dry with paper towels to remove any excess moisture. This step helps the skin crisp up during grilling. Once dry, drizzle the chicken with olive oil (or vegetable oil) and rub it all over each piece, ensuring it is evenly coated. Then, sprinkle kosher salt generously on all sides of the chicken. Salt enhances the natural flavor of the meat and prepares the chicken for the grilling process.
Setting Up the Grill
The next step is preparing the grill. Whether you’re using a charcoal or gas grill, you’ll need to create a two-zone fire to cook the chicken properly. This means one side of the grill will be for high, direct heat (searing), while the other side will be for low, indirect heat (slow cooking).
Step 2: Prepare Your Grill
For a charcoal grill, arrange the coals on one side, leaving the other side without coals to create a cooler zone. If you’re using a gas grill, turn on only one burner to create a direct heat side, while leaving the other side off for indirect heat.
Preheat the grill to a high temperature, around 450°F (232°C) on the hot side, and lower it to a medium-low temperature (around 250°F–275°F or 121°C–135°C) on the cooler side.
Searing the Chicken
Once your grill is ready, it’s time to start cooking. Searing is a crucial step in getting that beautiful crispy skin and smoky flavor on your BBQ chicken.
Step 3: Sear the Chicken on High Heat
Place the chicken pieces, skin side down, directly on the hot side of the grill. Grill the chicken uncovered for about 5-10 minutes, depending on how hot your grill is. You want to achieve a golden, crispy skin without burning it, so keep an eye on the chicken during this time. The skin will render out some fat and become beautifully crisp.
Once you’ve achieved a nice sear on one side, carefully flip the chicken over to the other side using tongs or a spatula.
Moving the Chicken to Indirect Heat
Now that your chicken has a crispy, golden sear, it’s time to move it to the cooler side of the grill where it can cook slowly and evenly. This indirect heat allows the chicken to cook through without drying out.
Step 4: Move to the Cooler Side
Transfer the chicken pieces to the cooler side of the grill, away from the direct heat. If you’re using a gas grill, this is the side without the flame. Cover the grill, ensuring the temperature stays between 250°F and 275°F (121°C–135°C). Let the chicken cook undisturbed for about 20-30 minutes.
Basting with BBQ Sauce
Now, it’s time for the BBQ sauce. Basting the chicken with sauce as it cooks is what gives BBQ chicken its characteristic flavor.
Step 5: Flip and Baste
After 20-30 minutes, flip the chicken over and brush it generously with your BBQ sauce of choice. The sauce adds a layer of tangy, sweet, and smoky flavor that infuses the meat as it cooks. Cover the grill again and allow the chicken to cook for an additional 15-20 minutes.
Continue this process of flipping, basting, and cooking the chicken for another 10-30 minutes, depending on the size of your chicken pieces and the heat of your grill. The key here is to maintain a low temperature, allowing the chicken to cook “low and slow,” which ensures it stays juicy and tender.
Checking for Doneness
The next important step is checking whether your chicken is cooked through. Overcooking chicken can lead to dry, tough meat, so it’s crucial to get the timing right.
Step 6: Check the Internal Temperature
The best way to ensure your chicken is cooked to perfection is by using a meat thermometer. For chicken breasts, the internal temperature should reach 160°F (71°C), while for thighs, it should reach 170°F (77°C). Insert the thermometer into the thickest part of the meat, avoiding bones.
Alternatively, you can check doneness by cutting into the thickest part of the chicken. If the juices run clear, the chicken is ready. If the juices are pink or red, it needs more time on the grill.
Final Searing for Extra Crispness
If you want an extra crispy finish, you can sear the chicken one final time on the hot side of the grill. This step will create a beautiful char and deepen the smoky flavor.
Step 7: Final Sear
Move the chicken back to the hot side of the grill, skin side down, for 1-2 minutes. This quick searing will give the skin a final crisp and a delicious, smoky finish.
Serving the BBQ Chicken
Once your chicken is cooked and perfectly seared, it’s time to serve. Brush with additional BBQ sauce for extra flavor, and serve alongside your favorite side dishes.
Step 8: Serve and Enjoy
Serve the BBQ chicken with a side of coleslaw, grilled vegetables, or a simple green salad. The chicken’s rich flavor pairs beautifully with a variety of sides, adding to the overall experience of your meal.
Tips and Variations
Now that you know how to prepare BBQ Chicken on the Grill, let’s talk about some tips and variations you can try to elevate the dish and make it your own.
Ingredient Substitutions:
- BBQ Sauce: Feel free to experiment with different BBQ sauces, such as sweet, smoky, or tangy variations. You can even try making your own BBQ sauce at home for a personalized touch.
- Chicken Parts: If you prefer white meat, use chicken breasts. However, keep in mind that breasts are more prone to drying out, so it’s essential to cook them over indirect heat and monitor them closely.
- Spices: Add spices like smoked paprika, cumin, or cayenne pepper to the chicken for an extra kick of flavor.
Variations:
- Spicy BBQ Chicken: For a spicier version, mix some hot sauce or chili powder into your BBQ sauce or rub the chicken with a spicy seasoning before grilling.
- Citrus BBQ Chicken: Add a touch of lemon or lime zest to your BBQ sauce for a refreshing citrus twist.
- Herb-Infused BBQ Chicken: Mix some fresh herbs like rosemary, thyme, or parsley into your BBQ sauce for an aromatic, herbaceous flavor.

Serving Suggestions:
- Pair your BBQ chicken with classic sides like baked beans, cornbread, or a fresh corn on the cob.
- For a lighter side, try a cucumber and tomato salad or a fresh green salad with a tangy vinaigrette.
- If you’re serving the chicken at a party, consider offering a variety of dipping sauces alongside the BBQ sauce, such as ranch dressing, blue cheese, or garlic aioli.
Final Thoughts
BBQ Chicken on the Grill is a tried-and-true recipe that never disappoints. The combination of smoky, tangy BBQ sauce, juicy chicken, and crispy skin makes it a guaranteed hit for any occasion. With just a few simple ingredients and a bit of time on the grill, you can create a flavorful dish that’s sure to impress your family and friends.
Whether you’re a seasoned grilling pro or a beginner, this recipe provides a straightforward approach to cooking BBQ chicken that will leave your taste buds wanting more. So fire up the grill, get ready for some serious flavor, and enjoy the delicious BBQ chicken you’ve created.
Happy grilling!