There’s something undeniably comforting about apple pie—the warm, cinnamon-spiced apples, the rich aroma filling the kitchen, and the buttery crust that crumbles with each bite. Pair that with the creamy decadence of cheesecake, and you have a dessert that is not only delicious but also visually stunning. Apple Pie Cheesecake Trifles take the best of both worlds and layer them into an elegant yet easy-to-make treat that even beginner cooks can master.
Print
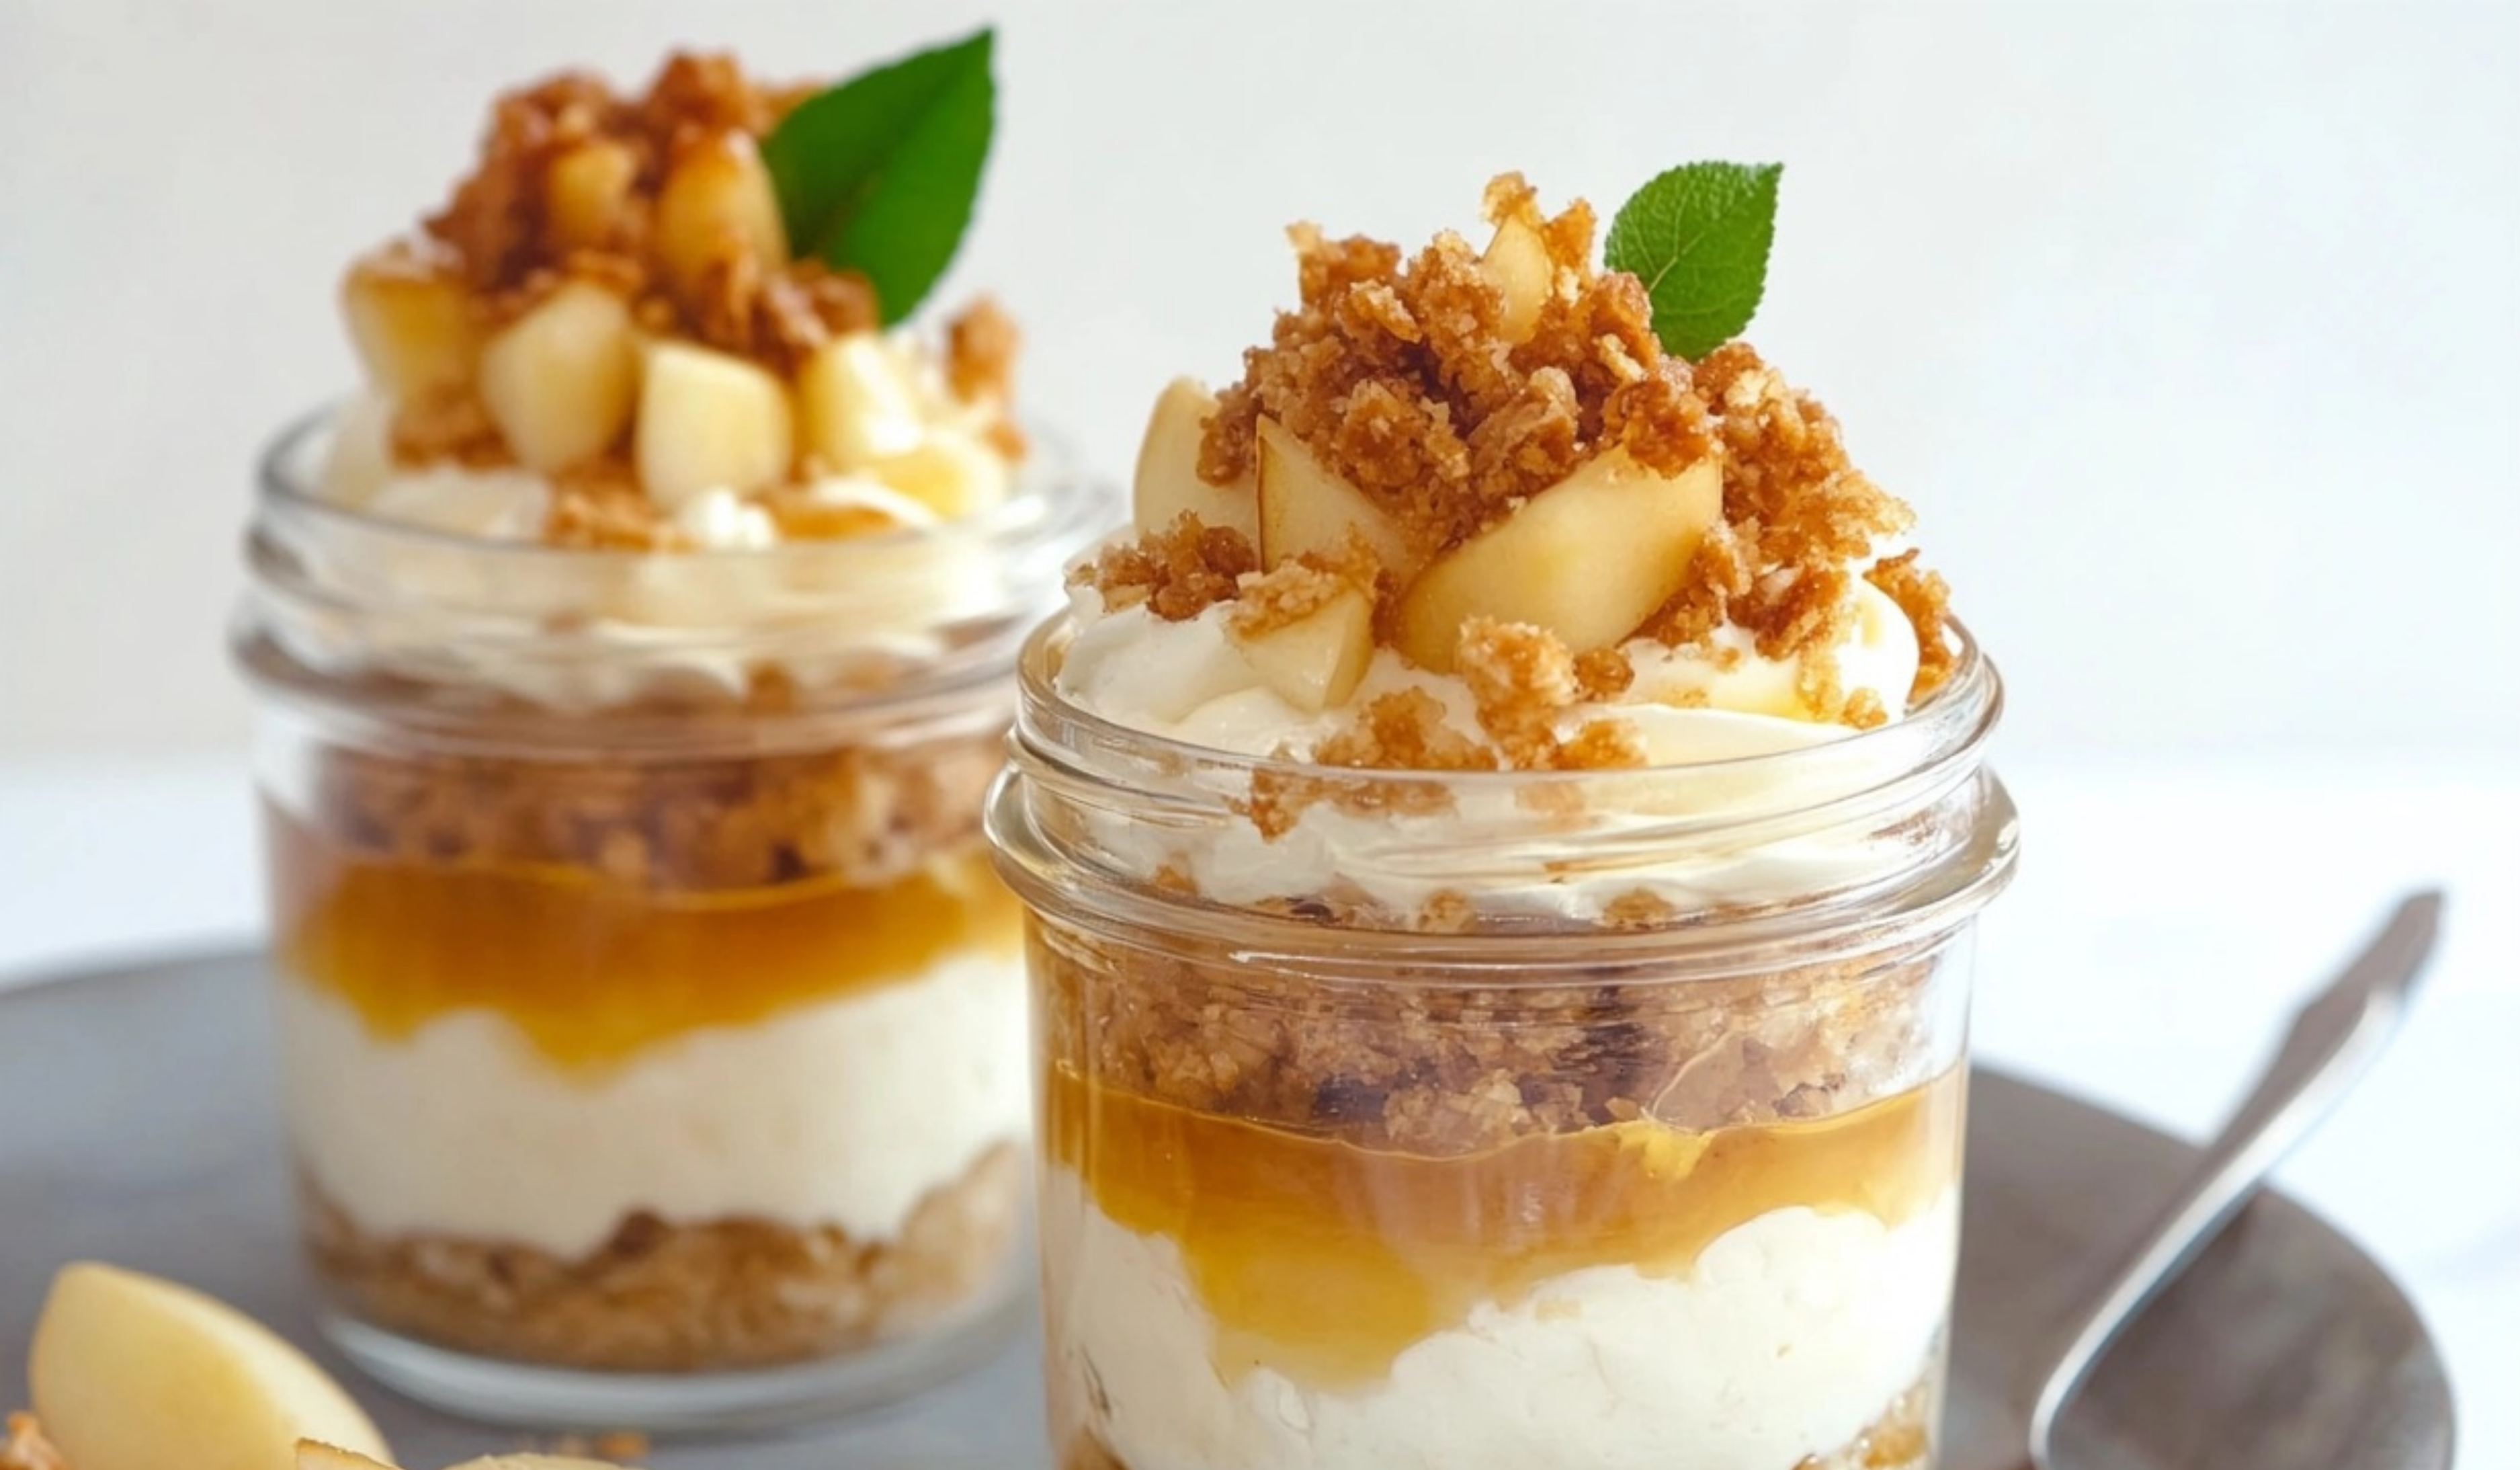
Apple Pie Cheesecake Trifles: A Beginner-Friendly Dessert with a Twist
Indulge in the perfect blend of apple pie and cheesecake with these Apple Pie Cheesecake Trifles! Layers of cinnamon-spiced apples, creamy cheesecake filling, and buttery graham crumbs create a heavenly dessert that’s easy to assemble. A beginner-friendly treat that’s both comforting and elegant!
- Total Time: 20 minutes
- Yield: 4 servings 1x
Ingredients
Crust
- 12 graham crackers, crushed
- ½ teaspoon cinnamon
- 4 tablespoons butter, melted
Alternative Ingredient Options:
- Instead of graham crackers, use crushed digestive biscuits or vanilla wafer cookies.
- Swap the butter for melted coconut oil if you prefer a dairy-free option.
Cream Cheese Filling
- 2 (8-ounce) packages of cream cheese, softened
- 1 ½ cups powdered sugar
- 1 ½ teaspoons vanilla extract
Alternative Ingredient Options:
- Use mascarpone cheese for an extra creamy texture.
- Substitute half of the cream cheese with Greek yogurt for a lighter option.
- Add a dash of lemon juice for a slight tang to balance the sweetness.
Apple Topping
- 3 apples, peeled, cored, and diced
- 3 tablespoons butter
- 1 tablespoon flour
- 1 teaspoon cinnamon
- ¼ teaspoon allspice
- ¼ cup sugar
Instructions
Step 1: Prepare the Crust
- Place the graham crackers into a food processor or blender. Add cinnamon and pulse until the mixture reaches a slightly coarse texture. If you don’t have a food processor, place the crackers in a sealed plastic bag and crush them with a rolling pin.
- Pour the melted butter over the crushed crackers and stir until well combined. The texture should resemble damp sand.
- Gently spoon the mixture into the bottom of your serving glasses or dessert cups. Press down lightly with the back of a spoon to compact the crust slightly.
Step 2: Make the Cream Cheese Filling
- In a large bowl, use a hand mixer or stand mixer to beat the softened cream cheese until smooth.
- Gradually add powdered sugar and continue mixing until well combined.
- Add the vanilla extract and mix until the filling is smooth and creamy.
- Transfer the cream cheese mixture into a piping bag or a zip-top bag with the corner cut off.
- Pipe a thick layer over the graham cracker crust in each serving glass.
- Place the glasses in the refrigerator and let the filling firm up for about an hour.
Step 3: Prepare the Apple Topping
- Peel, core, and dice the apples into small, even-sized pieces.
- In a large skillet, melt the butter over medium-high heat. Add the apples and cook for about five minutes, stirring frequently. The apples should become tender but not mushy.
- Remove the skillet from heat and stir in the flour, cinnamon, allspice, and sugar. Mix well to coat the apples evenly.
- Allow the mixture to cool slightly. As it cools, it will thicken into a syrupy consistency.
Step 4: Assemble the Trifles
- Once the cream cheese filling has set, evenly divide the apple mixture over the top of each dessert glass.
- For extra indulgence, drizzle caramel sauce over the apples.
- Add a dollop of whipped cream and sprinkle with chopped nuts if desired.
Notes
- Choosing the Right Apples: If you prefer a sweeter apple topping, use Honeycrisp or Fuji apples. For a more tart flavor, Granny Smith apples work best.
- Preventing Soggy Layers: If making ahead, store each layer separately and assemble just before serving to maintain texture.
- How to Tell If Your Cream Cheese Filling is Right: If it looks too runny, refrigerate for 30 minutes before piping. If too thick, add a tablespoon of milk and mix again.
- Avoiding Overcooked Apples: Cooking apples for too long will make them mushy. Stir frequently and remove them from heat as soon as they soften.
- Substituting Sweeteners: If reducing sugar, try using coconut sugar, maple syrup, or honey in place of granulated sugar.
- Prep Time: 15 minutes
- Cook Time: 5 minutes
I still remember the first time I attempted a homemade apple pie. While the filling turned out delicious, the crust was another story—it was tough, uneven, and not at all what I had envisioned. When I discovered trifles, I realized that I could enjoy the same incredible flavors without the stress of making a perfect pie crust. This dessert delivers all the nostalgic warmth of apple pie but in a fuss-free, no-bake format that anyone can make.
Whether you are preparing a dessert for a special gathering, looking for a make-ahead treat, or simply craving something sweet, this Apple Pie Cheesecake Trifle is an excellent choice. It is simple to prepare, doesn’t require an oven, and allows for creativity with ingredient substitutions.
Why This Recipe is Perfect for Beginners
- No Baking Required – Traditional cheesecakes and pies often require baking and precise techniques, but this recipe eliminates that hurdle, making it approachable for anyone.
- Simple Ingredients – The ingredients are easy to find, and most are pantry staples.
- Customizable and Forgiving – You can adjust the flavors, swap ingredients, and experiment with textures without worrying about ruining the dish.
- Minimal Equipment Needed – A food processor, a hand or stand mixer, and a skillet are the only tools you need to create this layered masterpiece.
Ingredients and Preparation
Crust
- 12 graham crackers, crushed
- ½ teaspoon cinnamon
- 4 tablespoons butter, melted
Alternative Ingredient Options:
- Instead of graham crackers, use crushed digestive biscuits or vanilla wafer cookies.
- Swap the butter for melted coconut oil if you prefer a dairy-free option.
Cream Cheese Filling
- 2 (8-ounce) packages of cream cheese, softened
- 1 ½ cups powdered sugar
- 1 ½ teaspoons vanilla extract
Alternative Ingredient Options:
- Use mascarpone cheese for an extra creamy texture.
- Substitute half of the cream cheese with Greek yogurt for a lighter option.
- Add a dash of lemon juice for a slight tang to balance the sweetness.
Apple Topping
- 3 apples, peeled, cored, and diced
- 3 tablespoons butter
- 1 tablespoon flour
- 1 teaspoon cinnamon
- ¼ teaspoon allspice
- ¼ cup sugar
Alternative Ingredient Options:
- Use honey or maple syrup instead of sugar for a more natural sweetness.
- Replace allspice with nutmeg or a pumpkin spice blend for a different flavor profile.
Optional Garnish
- Caramel sauce
- Whipped cream
- Chopped nuts (such as pecans or walnuts)
Step-by-Step Instructions
Step 1: Prepare the Crust
- Place the graham crackers into a food processor or blender. Add cinnamon and pulse until the mixture reaches a slightly coarse texture. If you don’t have a food processor, place the crackers in a sealed plastic bag and crush them with a rolling pin.
- Pour the melted butter over the crushed crackers and stir until well combined. The texture should resemble damp sand.
- Gently spoon the mixture into the bottom of your serving glasses or dessert cups. Press down lightly with the back of a spoon to compact the crust slightly.
Step 2: Make the Cream Cheese Filling
- In a large bowl, use a hand mixer or stand mixer to beat the softened cream cheese until smooth.
- Gradually add powdered sugar and continue mixing until well combined.
- Add the vanilla extract and mix until the filling is smooth and creamy.
- Transfer the cream cheese mixture into a piping bag or a zip-top bag with the corner cut off.
- Pipe a thick layer over the graham cracker crust in each serving glass.
- Place the glasses in the refrigerator and let the filling firm up for about an hour.
Step 3: Prepare the Apple Topping
- Peel, core, and dice the apples into small, even-sized pieces.
- In a large skillet, melt the butter over medium-high heat. Add the apples and cook for about five minutes, stirring frequently. The apples should become tender but not mushy.
- Remove the skillet from heat and stir in the flour, cinnamon, allspice, and sugar. Mix well to coat the apples evenly.
- Allow the mixture to cool slightly. As it cools, it will thicken into a syrupy consistency.
Step 4: Assemble the Trifles
- Once the cream cheese filling has set, evenly divide the apple mixture over the top of each dessert glass.
- For extra indulgence, drizzle caramel sauce over the apples.
- Add a dollop of whipped cream and sprinkle with chopped nuts if desired.
Beginner Tips and Notes
- Choosing the Right Apples: If you prefer a sweeter apple topping, use Honeycrisp or Fuji apples. For a more tart flavor, Granny Smith apples work best.
- Preventing Soggy Layers: If making ahead, store each layer separately and assemble just before serving to maintain texture.
- How to Tell If Your Cream Cheese Filling is Right: If it looks too runny, refrigerate for 30 minutes before piping. If too thick, add a tablespoon of milk and mix again.
- Avoiding Overcooked Apples: Cooking apples for too long will make them mushy. Stir frequently and remove them from heat as soon as they soften.
- Substituting Sweeteners: If reducing sugar, try using coconut sugar, maple syrup, or honey in place of granulated sugar.

Serving Suggestions
These trifles are delicious on their own, but you can elevate them by serving with:
- A warm cup of chai tea or cinnamon-spiced coffee.
- A drizzle of dark chocolate for a decadent twist.
- A side of vanilla or cinnamon ice cream for added creaminess.
- A sprinkle of granola for a crunchy contrast.
Storage Tips:
- If not serving immediately, keep the trifles covered in the refrigerator for up to two days.
- Do not freeze, as the cream cheese filling may become grainy once thawed.
- Store leftover apple topping separately in an airtight container for up to three days and reheat slightly before using.
Why You’ll Love This Recipe
These Apple Pie Cheesecake Trifles are the perfect balance of rich, creamy, spiced, and buttery flavors. They bring the nostalgia of homemade apple pie without the time-consuming process of rolling out dough. They are beginner-friendly, require minimal equipment, and can be customized to fit different preferences.
If you’re new to making desserts, this is a great recipe to build confidence in the kitchen. Each step is simple, and even if the layers are not perfectly neat, they will still taste incredible.
I’d love to hear how your trifles turn out! Did you try any variations? Let me know in the comments and share your experience. Happy cooking!