Ingredients
Scale
- 250g crushed digestive biscuits – These form the base of the cheesecake and give it a crunchy texture. If you can’t find digestive biscuits, graham crackers are a great alternative.
- 100g unsalted butter, melted – Butter helps to bind the crushed biscuits together and creates a firm, delicious crust.
- 300g full-fat cream cheese – Full-fat cream cheese is essential for achieving that rich, creamy texture that makes this cheesecake so irresistible. Make sure it’s softened before mixing.
- 150g icing sugar – This provides the sweetness needed to balance the tanginess of the lemon curd.
- 100ml double cream – Double cream adds extra smoothness to the cheesecake filling and helps it set well.
- 6 tbsp lemon curd – The star of the show! Lemon curd gives these bars their signature flavor. You can find lemon curd in most grocery stores, or you can make it yourself for an extra special touch.
- Extra lemon curd for swirling – A few dollops of lemon curd on top create beautiful swirls that make these bars visually appealing.
Instructions
- Prepare the Pan
Start by greasing and lining an 8 x 8-inch square pan. This ensures that your cheesecake bars come out easily once they’re set. - Make the Biscuit Base
Place the crushed digestive biscuits in a medium-sized bowl and pour the melted butter over them. Use a wooden spoon or spatula to mix until all the biscuit crumbs are coated with butter. This will create a cohesive, slightly damp mixture that will form the base of your cheesecake. - Press the Biscuit Mixture into the Pan
Tip the biscuit mixture into the prepared pan and press it into the corners. You can use your hands or a spatula to level it off. Make sure the crust is firmly packed to avoid any crumbling when you slice the bars later. - Chill the Biscuit Base
Place the pan in the fridge and chill the biscuit base for at least 30 minutes. This helps the base set and firm up before you add the creamy cheesecake filling. - Prepare the Cheesecake Filling
Once the base is chilled, place the cream cheese and icing sugar into a large bowl or stand mixer. Beat the mixture on medium-high speed for about 2 minutes, or until it becomes light and fluffy. This step is crucial for getting that smooth, airy texture that makes this cheesecake so irresistible. - Add the Cream and Lemon Curd
Add the double cream to the mixture and continue beating until it becomes smooth and thick. Next, add the lemon curd and mix until everything is well combined. The lemon curd will give the cheesecake its tangy flavor and beautiful golden color. - Assemble the Cheesecake Bars
Pour the cheesecake mixture over the chilled biscuit base and smooth it out with a spatula. Make sure the filling is evenly spread across the entire base. - Add the Lemon Curd Swirls
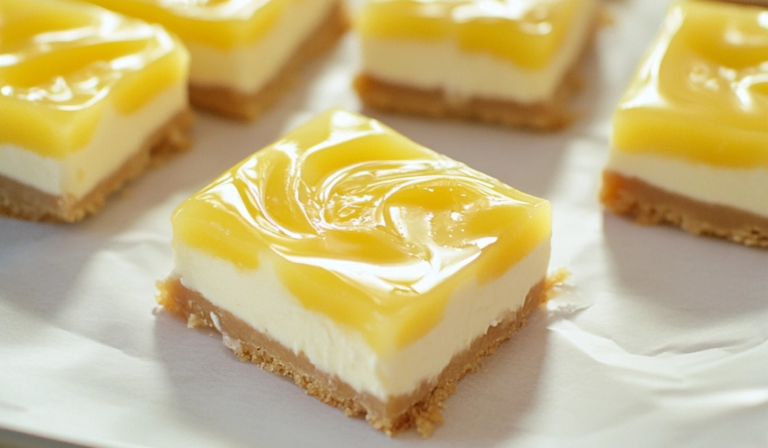
Now, take a few dollops of extra lemon curd and place them on top of the cheesecake. Using a skewer or a knife, gently drag the lemon curd through the filling to create beautiful swirls. The contrast of the creamy cheesecake and the tangy lemon curd will not only taste amazing but also look stunning. - Chill the Cheesecake Bars
Place the pan in the fridge and allow the cheesecake to set for at least 3 hours. This step is essential for achieving the right consistency and ensuring the bars hold together when sliced. - Slice and Serve
Once the cheesecake has set, slice it into 9 or 12 bars, depending on your preferred portion size. These bars will keep for up to 3 days in an airtight container in the fridge.
Notes
- Cream Cheese: Make sure your cream cheese is softened before using it in the recipe. Cold cream cheese can lead to lumps in the filling, which will make the texture uneven.
- Crust Texture: If you find that your biscuit base isn’t holding together after pressing it into the pan, try adding a bit more melted butter to the mixture. The butter acts as a binder, so don’t be afraid to adjust the amount.
- Lemon Curd Swirls: When swirling the lemon curd through the cheesecake, be gentle. Over-mixing can cause the curd to blend too much into the filling, losing that beautiful swirl effect. A light hand is key here!
- Chilling Time: Be patient with the chilling time. It’s tempting to cut into the bars early, but giving them enough time to set ensures that the texture is smooth and the bars stay intact.
- Prep Time: 40 minutes