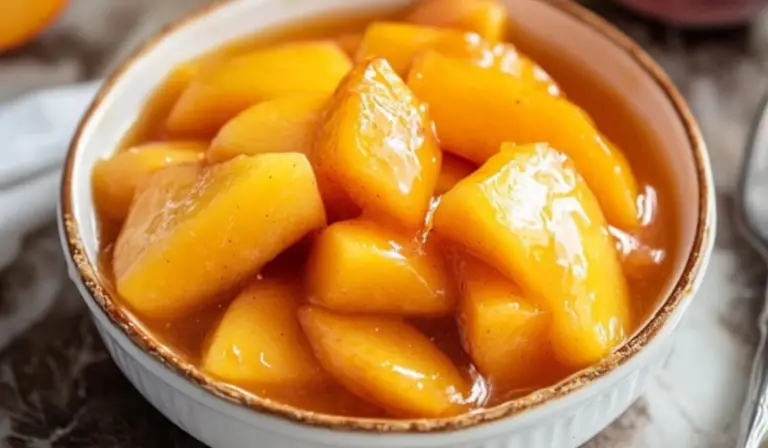
Ingredients
- 5 large peaches
Fresh or frozen both work beautifully. If using fresh, make sure they’re ripe but firm. You can peel them or leave the skin on based on your preference. - 1/2 teaspoon vanilla extract
Adds warmth and depth to the flavor profile. - 1 1/2 tablespoons lemon juice
Brightens the flavor and helps preserve the color of the peaches. - 3 tablespoons cornstarch
Acts as a thickening agent to create a rich, syrupy texture. - 1/2 cup white sugar
Brings sweetness and helps caramelize the fruit. - 1/2 cup golden brown sugar
Adds a subtle molasses flavor and enhances the filling’s color. - 1/8 teaspoon ground cinnamon
A small amount, but powerful—gives the pie filling that classic, cozy aroma. - 1 cup water
Combines with cornstarch and sugar to create the syrup base.
Instructions
1. Make the Syrup Base
In a large saucepan, combine the vanilla extract, lemon juice, cornstarch, white sugar, brown sugar, cinnamon, and water. Use a whisk to blend everything thoroughly—this ensures the cornstarch doesn’t clump.
2. Heat and Thicken the Mixture
Place the saucepan over medium heat. Stir continuously as the mixture begins to warm and thicken. This usually takes about 2 to 3 minutes. You’ll notice the mixture turning from cloudy to glossy and thick—this means the cornstarch is activating.
3. Prepare the Peaches
While your syrup is heating, wash and slice your peaches into 1/4-inch thick slices. If using fresh peaches and you prefer them peeled, a quick blanch in boiling water will help the skins slide off easily. Otherwise, feel free to leave the skins on for a more rustic feel.
4. Add the Peaches to the Syrup
Once the syrup has thickened, add the sliced peaches to the saucepan. Stir gently to coat the peaches without breaking them up. Let the mixture simmer for 5 to 7 minutes. The cooking time will depend on how ripe your peaches are—very ripe peaches soften faster, while firmer peaches may need the full 7 minutes.
You’re aiming for tender, slightly softened peaches that still hold their shape. Avoid overcooking, as the fruit can become mushy.
5. Cool and Store
Once the peaches have reached your desired consistency, remove the pan from heat. Allow the mixture to cool to room temperature, then spoon it into clean glass jars or airtight containers. Refrigerate for up to two weeks.
Notes
Common Troubleshooting Tips
- Lumpy Syrup? If you notice lumps forming in your syrup base, it likely means the cornstarch wasn’t fully dissolved before heating. Whisking thoroughly at the beginning helps avoid this. You can also pass the syrup through a fine mesh sieve before adding peaches to remove any clumps.
- Overcooked Peaches? If your fruit is getting too soft too fast, reduce the heat and shorten the simmering time. Keep in mind that the filling will continue to thicken as it cools.
- Filling too Thin? If your pie filling isn’t thick enough after cooling, you can return it to the stove and add a slurry (1 teaspoon cornstarch mixed with 1 tablespoon cold water), then simmer until thickened.
Efficient Kitchen Tips
- Prepping Peaches: To easily peel peaches, blanch them in boiling water for 30 seconds, then transfer them to an ice bath. The skins will slide right off.
- Time-Saver: Make a double batch and freeze half for a quick dessert later.
- Storage Tip: Use wide-mouth jars for easier scooping. Let the filling cool completely before sealing to prevent condensation.
- Prep Time: 10 minutes
- Cook Time: 10 minutes